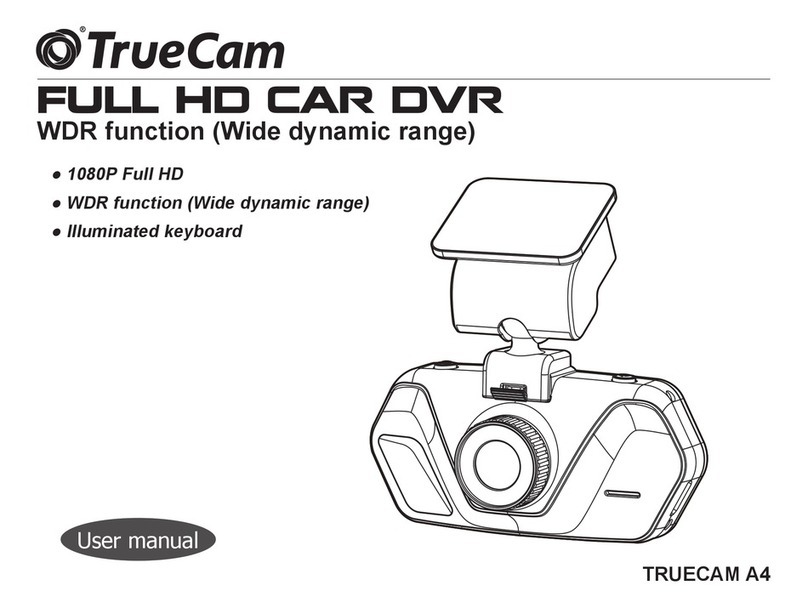
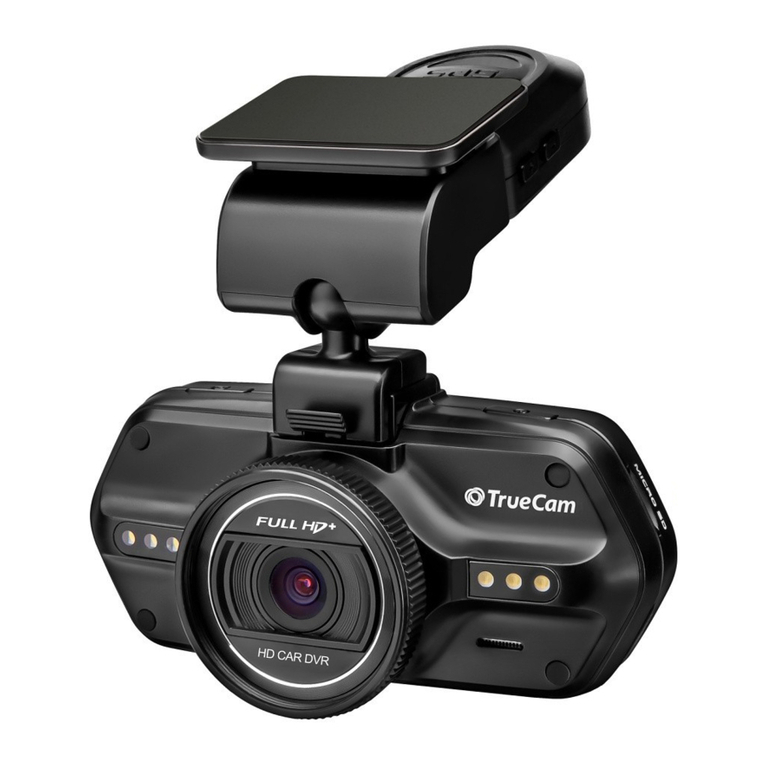
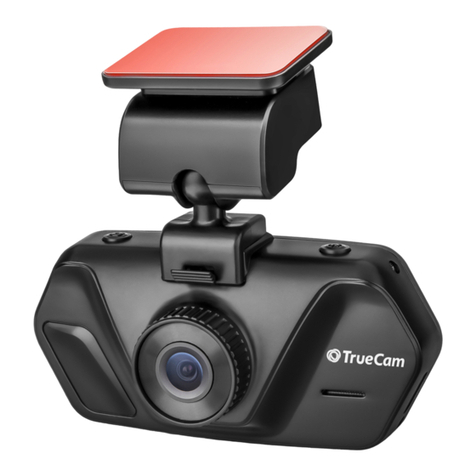
TrueCam A6 User manual

1
FULL HD CAR DVR
USER MANUAL
TRUECAM A6
Rear Camera (Optional)
● 1080P Full HD
● 720P HD Rear camera
● WDR function (Wide dynamic range)
● Illuminated keyboard
● GPS locator & Speed camera detector (optional)
● CPL & UV lters available (optional)

2
Product pictures & Function......................................................................................1
a) Device Introduction...........................................................................................................1
b) Introduction of accessories.......................................................................................................2
c) Button functions in recording mode....................................................................................3
d) Button functions in playback mode..................................................................................3
e) LED light status list............................................................................................................4
f ) Product accessories.........................................................................................................4
Basic operation...............................................................................................5
a) TF card installation....................................................................................................5
b) Rear Camera Installation.............................................................................................................6
c) GPS locator and speed camera detector (optional)...............................................................7
d) CPL Installation (optional).............................................................................................8
e) Power supply...........................................................................................................................9
Device operation.............................................................................................9
a) Automatic video-recording.................................................................................................................9
b) Taking picture.......................................................................................................................................9
c) Motion Detection..........................................................................................................................9
d) File Protection...........................................................................................................................10
e) G-sensor function................................................................................................................10
Important Functions..........................................................................................11
a) Parking mode.........................................................................................................................11
b) Timelapse.........................................................................................................................11
c) Loop settings...........................................................................................................11
d) Delay ON/OFF...............................................................................................................11
e) Displaying GPS (optional)...................................................................................................11
f ) Speed Display (optional).......................................................................................................11
g) Player...................................................................................................................12

3
Icons on screen display................................................................................13
a) In standby status........................................................................................................13
b) In recording status..............................................................................................................14
c) Function SPEEDOMETER (optional with GPS module)..............................................................15
Menu setting..........................................................................................16
a) In the recording mode.....................................................................................................16
b) In the playback mode..........................................................................................................18
Connection..................................................................................................18
a) TV or monitor connection.............................................................................................................18
b) Computer connection............................................................................................................18
Technical specifications...............................................................................19

1
Product pictures & Function
a) Device Introduction
1. TF Card Slot 2. HDMI Port 3. LED Light
4. Lens 5. Speaker 6. Status Light (Blue)
7. Charging Light (Red) 8. Menu Button 9. File Protection Button
10. Mode Button 11. LCD Display 12. Up Button
13. OK Button 14. Down Button 15. Power Button
16. Holder Connector 17. Photo Button 18. USB Port
19. Reset Button 20. Microphone 21. Rear camera
2
45
13
14
11
1
3
12
15 16 17
18 19 20
8
9
10
6
7
21

2
b) Introduction of accessories
28
27
22
23
24
25
26
22. GPS module with speed
camera detector (optional) 23. Speed camera detector
voice switch 24. Power connector 25. Adhesive surface
26. Camera holder 27. Power connector 28. Holder connect with Device Port

3
c) Button functions in recording mode
Button Function Action Remark
Main switch On/Off Long press Turns the camera on/off
SPEEDOMETER Short press Turns the SPEEDOMETER function on/off
Menu button Menu settings Press In the standby mode, it displays the Menu
function
File protection
button File Protection Press In recording mode, it locks/unlocks the record
Photo trigger Taking a photograph Press Takes a photograph
Mode button
Mode switching /
turns the LCD screen
off
Press
Switches between recording/playback modes
In the recording mode - turns off the LCD screen
"Up" button Move up Press In the menu - moves up
OK button Starting a recording Press Turns the video recording On/Off
"Down" button Move down/turns the
sound recording off Press
In the menu - moves down
In the recording mode - turns the sound
recording On/Off
d) Button functions in playback mode
Button Function Action Remark
Menu button Menu setting Short press Enter menu list
Mode button Switch mode Short press Switch video/playback mode

4
Up button
1) Previous le Short press Previous le
2) Rewind Short press When playing video, press this button to
rewind
OK button Play/pause video le Short press Play/pause video le
Down button
1) Next le Short press Next le
2) Fast forward Short press When playing video, press this button to
fast forward play
e) LED light status list
LED light Status Description
Rec light (blue)
Flash Device is recording
On Device is in standby or playback mode
Off Device is off
Charging light (red) On Charging battery
Off Charging nished
f) Product accessories
1. Car DVR 1x 2. Car charger 1x 3. Camera holder 1x 4. 3M sticker 1x
5. Suction mount 2x 6. USB cable 1x 7. Quick Start Guide 1x 8. Rear camera 1x
9. GPS module / Speed camera detector 1x (optional)

5
Basic operation
a) TF card installation
Insert the Micro SD card into the slot so that the connectors on the card are facing towards the camera display.
When inserting or removing the SD card, keep your camera turned off.

6
b) Rear Camera Installation
Connect the extension cable
of rear camera thru device
USB port.

7
c) GPS locator and speed camera detector (optional)
Insert GPS / Speed camera detector module into the camera holder, as in the picture bellow:
Install the device on the windshield with the sticker or the suction mount.
When the device is powered, speed camera detector speaker will provide voice instructions from the speed
camera detector speaker, and the device will automatically start to receive GPS signal. When not connected to a
GPS satellite, GPS icon " " will be shown red on the LCD display.
When connected to a GPS satellite, GPS icon " " will be shown on the LCD display.

8
d) CPL Installation (optional)
Circular-Polarizing Filters, could reduce the re ection of inner car on the car window.
Without CPL With CPL
Install CPL onto device thru screw on
device camera.
Adjustment circle ring
And after install CPL onto device and install device
onto car window, rotate the adjustment circle ring on
CPL to get the good Polarized effect to car window
re ection.

9
e) Power supply
Connect the USB port and the cigarette lighter socket with the car charger, then start the engine, the device will
automatically power on and start recording.
Note:
There are two mini USB ports, one is on the device, another one is on the camera holder.
When the charging USB cable is connected to the camera, only the camera will by powered.
When the charging USB cable is connected to the camera holder, both the camera and the GPS / Speed
camera detector will by powered.
So if want to work with GPS / Speed camera detector module, car charger need connect with mini USB
port on camera holder.
Device operation
a) Automatic video-recording
1. Start the car engine.
2. The device will turn on and start recording automatically.
3. Press le protection button to lock or unlock the recording video le.
4. Press down button to start or stop audio recording.
5. Press Power button to turn on the speedometr function.
6. Press OK button to stop or start recording.
7. When you turn the car engine off, the device will save the le and will be automatically powered off.
b) Taking picture
In recording mode, press camera button to take a photo in the current recording resolution.
In standby mode, press camera button to take a photo in the menu setting resolution.
c) Motion Detection
1. In the recording mode, press the Menu button to enter the settings, then select Motion Detection.
2. If the camera registers moving objects within its range, a ashing red dot “ ” will appear on the display and
the device will begin recording.
Once there are no moving objects detected, the device automatically stops recording.

10
The intensity of movement depends on the selected motion detection sensitivity. Users must know that selecting
high sensitivity may soon lead to a full memory card.
It is not recommended that both the motion detection and loop recording be used together.
d) File Protection
1. During recording, press the le protection button. Then the “ ” will appear on the screen and the camera
saves the current recordingand protects it frombeing overwritten in the time loop mode.
2. Press the le protection button again to disable the le protection.
This function allows you to lock the video and protects it from being overwritten with another recording. Videos can
be locked directly in the recording mode and in the playback mode.
e) G-sensor function
In case of an accident, the gravity sensor (G-sensor) can gather direction and other important data of the
collision. According to the value set for the G-sensor sensitivity, the camera will determine whether to turn the
protection mode on or not. If the protection mode is not turned on, the current video may be overwritten by loop
recording. Be careful when setting the G-sensor to a high sensitivity as it may cause le locking even when
driving on a rough road. This might ll up the memory card quickly.
G-sensor directions are shown in the picture bellow:

11
Important Functions
a) Parking mode
When the function is activated in the menu, the camera will protect the vehicle during your absence. If the vehicle
moves slightly, the camera begins recording automatically. After 60 seconds, the recording stops and the camera
turns off if the movement is not repeated. The device uses a built-in battery for power. To extend battery life, which is
up to 24 hours when fully charged, connect the device to an external power source, e.g. connect it to a car cigarette
lighter.
b) Timelapse
The Timelapse function can be activated/deactivated in the menu. When the function is activated, the camera
records with the selected speed (fps = frames per second), at 15 fps, 10 fps or 5 fps. The less fps you set, the more
accelerated the resulting recording will be. The advantages of this function are as follows: 1) The total recording time
that can t on a memory card is several times higher. 2) The whole recording can be watched a lot faster, without
you missing any unexpected or unusual situations. Timelapse recording is captured by both the front and rear
camera.
c) Loop settings
The Time Loop allows continuous recording regardless of the memory card capacity. You can choose from three
time intervals: 2 min / 3 min / 5 min. The selected interval determines the length of recording time which the camera
will save. The advantage of using this setup is that you will never run out of space on your memory card. Moreover,
it is very easy to send very small les via e.g. e-mail for use as evidence.
d) Delay ON/OFF
This function is used to delay turning the camera on/off after starting/stopping the engine of your car. It is therefore
possible to increase free space on the memory card (regarding delayed turning on), or to have a record of what
happens when you leave your car (regarding delayed turning off).
e) Displaying GPS (optional)
It shows your GPS position directly in the video. The location is displayed in the form of coordinates.
f) Speed Display (optional)
It shows your speed directly in the video. It can be used for checking later.

12
g) Player
* Player uses data from GPS module (optional).
TrueCam A6 camera offers you smart and useful software. On a single screen it allows you to view your footage,
the route on map, the speed chart and the g-forces obtained from the camera’s internal G-sensor.
Player can be downloaded at: http://bit.ly/1lKXk8S

13
Icons on screen display
a) In standby status
3
WDR
P
2013/11/06
12M
1080FHD 01:07:38
14:25:30
13
Parking control
Video mode
Remaining power
GPS icon (GPS module optional)
TF card
G-Sensor
Picture size
Loop recording time
WDR mode
Auto Exposure Sounds on Sounds off
FMotion detection
LED light on
LED light auto
LED light off
Front Camera Resolution
Date Time
AAAAAA
License plate number
Recording time remaining
(calculated from the card
remaining space)

14
b) In recording status
Note I: The sign “720FHD” will be displayed on the camera screen only with the attached rear camera.
Note II: When connecting the rear camera, the front camera adjusts the resolution to 1440 x 1080p.
3
WDR
2013/11/06
12M
1080FHD
720FHD
14:25:30
13
00:01:38
AAAAAA
P
F
Rear camera Resolution
Video mode
TF card
G-Sensor
Picture size
Loop recording time
WDR mode
Auto Exposure
Parking control
Already Recording time in
current video file.
Remaining power
Sounds on Sounds off
Motion detection
File protection lock
LED light
Front Camera Resolution
License plate number
Date Time GPS icon (GPS module optional)

15
c) Function SPEEDOMETER (optional with GPS module)
When in recording mode or standby mode, pressing up button will switch the screen to the picture bellow and
information about current speed, compass and distance to speed camera will be shown.
If the driving speed is above the current speed limit, the below picture will appear.
Compass
Distance to current speed camera
Current Car Speed
Speed Limitation of
current speed camera
Overspeed Icon
Speed Limitation of
current speed camera

16
Menu setting
The device uses two modes - recording and playback.
a) In the recording mode
Function Menu item Note
Resolution 1080p / 720p / WVGA / VGA Sets the video resolution.
TimeLapse Off / 15 fps / 10 fps / 5 fps Sets the number of images for Timelapse.
Dual recording Off / On Sets both cameras to record.
Loop recording Off / 2 minutes / 3 minutes / 5 minutes Sets the length of the video time loop.
Picture resolution 12M / 8M / 5M / 3M / 2MHD Sets the photo resolution.
Exposure
+2.3 / +1.3 / +0.0 / -1.3 / -2.3 / -1.0 / - 4.3
/ -5.3 / -2.0
The "+" increases recording brightness.
The "-" decreases brightness and darkens
the recording.
White Balance Auto / Daylight / Cloudy / Light bulb /
Fluorescent lamp We recommend setting it to Auto. White
Balance depends on light conditions.
WDR Off / On WDR settings.
Motion Detection Off / Low / Medium / High Motion Detection function settings.
Parking mode Off / On Parking mode function settings.
G-Sensor set Off / Low / Medium / High G-Sensor sensitivity settings.
Record Audio Off / On Audio Recording settings.
Date Stamp Off / On Timestamp in the video settings.
Drive name - - - - - - Sets the driver's name.
Driver name stamp Off / On Sets the display of the driver's name.
Image Rotation Off / On Rotates the image 180 degrees.
Date/Time YY/MM/DD Date and Time settings.
Power on delay Off / 10 s / 20 s / 30 s
Sets the delay when turning the camera on.

17
Power off delay Off / 10 s / 20 s / 30 s
Sets the delay when turning the camera off.
Auto Power Off Off / 1 min / 3 min / 5 min
By setting the time, the camera switches off
automatically in the standby mode after a
given period of time if it does not detect any
motion.
Beep Sound Off / On Sets the camera's tones On/Off.
Screensavers
Speedometer: 1 min / 3 min / 5 min /
Display off: 1 min / 3 min / 5 min / Off
Instead of playing recorded footage, the
camera screen can be turned off after a
certain time interval, or the Speedometer
function can be set.
Key backlighting Auto / Off / On Sets the backlighting of keys.
LED illumination Auto / Off / On Camera illumination settings.
TV mode NTSC / PAL TV mode settings.
Frequency 50Hz / 60Hz Video frequency settings.
Language
English / French / Spanish / Portuguese
/ German / Italian / Hungarian / Czech
/ Polish / Serbian / Chinese / Russian /
Japanese
Language settings.
E-Dog Voice Setting English / German / Polish 1 / Polish 2 /
Czech 1 / Czech 2 / Hungarian / Serbian GPS Module language settings.
Time Zone Setting GTM Chooses the time zone.
GPS Watermatk Off / On Sets the display of the GPS in a video.
Speed Watermark Off / On Shows the speed in a video.
Format Cancel / OK Formats data on the memory card.
Default Setting Cancel / OK Resets the camera to the original factory
settings.
Software version Displays the installed FW version.
Table of contents
Languages:
Other TrueCam DVR manuals
Popular DVR manuals by other brands
Identivision
Identivision ICR-E42-83-163 Installer manual
XENO
XENO XHDAR Quick setup guide
Vivid
Vivid DVV212-A installation manual
EverFocus
EverFocus PowerPlex EDR1600 Administrator's guide and operating instructions
Seorim Technology
Seorim Technology Micro DVR AKR-200 quick guide
Protex
Protex PRX-MG04 Series user manual
