TRUEFORM NOLITA User manual

NOLITAVANITY
INSTALLATION INSTRUCTIONS
Thank you for choosing Trueform Concrete.
Nolita’s slender, open design is meant to impart a sense of lightness and spaciousness in your room.
Whether your wall is tiled or sheetrocked, we strongly recommend fastening Nolita to your wall.
For the best results, please read these instructions in their entirety to understand the complete process
before you begin.
Note: Trueform assumes that you have notched or removed any wall trim or base molding along the floor
that may prevent the vanity from touching the wall. Leaving this trim in place will result in a gap between
the sink and the wall.
Philips head screwdriver
Caulk or silicone
Power drill with pilot bit and 9/32” bit. Tile bits are required if your wall is tiled.
Materials Required
PAGE 1 of 4

3 sleeve anchors
3 sleeve anchor screws
16 screws for assembling the
base and setting the sink top
Allen key for tightening screws
Tethering to WallBase Assembly
Hardware Provided
Leveling Feet
Set screws (to secure sink top)
Rear
Front
PAGE 2 of 4
assembling nolita

1. Place the assembled vanity base (without the sink) in its final location and use the leveling feet on the
bottom of the base to position it such that it rests evenly on the floor. A clockwise motion reduces the
distance to the bottom of the vanity while a counter-clockwise motion increases the distance. The
vanity top should be level in all directions before proceeding to Step 2.
2. In the rear of the base is a top stretcher containing 3 holes that enable you to anchor the metal base to
the wall. Either use a pencil to mark each hole’s location on the wall or use a small bit to drill pilot holes
in the wall. Note that you can use the 2 outer-most holes and still achieve an adequate hold.
3. Move the vanity base away from the wall and use a 9/32” bit to enlarge the pilot holes. Drive the supplied
anchor sleeves into the holes until they are flush to the wall. Note that an anchor is not required for any
locations where you hit a stud. Here, wood screws can be utilized.
4. Place the concrete sink on the base and center it over the base horizontally, ensuring that it also lines
up flush against the rear-most point of the base. Locate the two set screws included in metal tabs on
the left and right stretchers toward the rear of the base. These screws secure the sink to the base and
prevent any horizonal movement. Once the concrete top is perfectly centered on the base, slowly turn
each screw - alternating from one to the other - until “snug” contact is made with the inner apron of
both sides of the sink. Do not overtighten as this may crack the sink.
5. Once the base is secured to the top, apply a small bead of caulk or silicone on the vertical surface of the
sink that comes in contact with the wall.
6. Gently move the vanity base back to its final location, ensuring that the holes line up with the anchors.
Use the supplied screws to tether the vanity base to the anchors. Again, do not overtighten these
screws.
7. Clean up any excess caulk (with water) or silicone (with denatured alchocol) that may have leaked onto
visible areas of the sink.
8. For best results you should wait 24 hours for the caulk / silicon to set and dry until proceeding with any
plumbing as this will further secure the entire vanity to the wall.
That’s it! We hope you enjoy your Nolita Vanity. If you have any questions or need assistance, feel
free to reach us at 888-474-7977 or at info@trueformconcrete.com.
tethering NOLITA to YOUR wall
PAGE 3 of 4

Now that your concrete is installed, you'll want to properly care for it. Follow these simple guidelines to keep your concrete
looking beautiful for years to come:
Avoid dragging sharp, hard objects across the concrete surface to prevent scratching. Minor white scratches should be
expected throughout the piece from use over time. Applying Pledge every now and then can fill in minor scratches and
give your pieces a nice sheen.
Avoid leaving acidic foods and beverages (lemon juice, mustard, vinegar, wine, soda, tomatoes, bananas,
pumpkins/gourds, etc.) perfumes and colognes, cleaners that contain vinegar or citric acids, and other harsh
chemicals or solvents (ammonia, acetone, hydrogen peroxide, etc.) on the concrete surface. Clean or remove these
substances as soon as possible as they may “eat” through the sealer (which can leave light hazing) and could possibly
expose or stain your concrete. There are, of course, other items and products that may damage your sealer. We have
tested against the most typical stain agents, but please use standard precautions to keep your concrete protected.
Avoid using abrasive soaps, cleansers, or scrubbing pads that can wear down the sealer. We recommend using mild,
non-abrasive, non-ammonia, non-citric acid, non-vinegar, non-bleach soaps and cleaners.
Please use standard care and precautions with your concrete products. Concrete is extremely durable; however, it is
not invincible. Excessive force can do damage to your piece.
TRUEFORM warrants for a period of one (1) year from the date of delivery that its Products shall perform in a good and workmanlike manner in accordance
with applicable standards; comply with any applicable laws, rules or regulations; and not violate or infringe upon any presently issued patent or copyright
of any third party. This warranty does not include or cover 1) hairline cracks in the concrete, 2) damage caused during installation or due to incorrect
installation, 3) damage caused by incorrect cleaning or care, 4) damage caused by incorrect use, 5) damage caused by acts of abuse to the products such
as scratches, chips, stains, or other markings/damage, or 6) damage caused by drilling into or attempting to alter the product from the way in which it
was received.
THE FOREGOING WARRANTIES ARE TRUEFORM’S ONLY WARRANTIES CONCERNING THE PRODUCTS, AND ARE MADE FOR THE BENEFIT OF THE
CUSTOMER ONLY AND ARE IN LIEU OF ALL OTHER WARRANTIES OR REPRESENTATIONS, EXPRESS OR IMPLIED, INCLUDING, BUT NOT LIMITED TO,
ANY IMPLIED WARRANTIES OF MERCHANTABILITY AND FITNESS FOR A PARTICULAR PURPOSE OR OTHERWISE.
TRUEFORM’s sole responsibility is limited to the repair or replacement, at its own expense, of any non-conforming TRUEFORM Products discovered by
the Customer and reported to TRUEFORM within seven (7) days from the date of delivery.
TRUEFORM SHALL HAVE NO LIABILITY OR OTHER RESPONSIBILITY TO THE CUSTOMER OR ANY THIRD PARTY WITH RESPECT TO ANY LIABILITY, LOSS
OR DAMAGE ALLEGEDLY CAUSED DIRECTLY OR INDIRECTLY BY OUR PRODUCTS AND SERVICES AND THE USE OF THIS MANUAL, INCLUDING, BUT NOT
LIMITED TO, ANY INTERRUPTION OF SERVICE, LOSS OF BUSINESS, ANTICIPATORY PROFITS, OR INDIRECT, SPECIAL OR CONSEQUENTIAL DAMAGES.
The material in this manual is for informational purposes only. The products it describes are subject to change without prior notice, due to the
manufacturer’s continuous development program.
If you have any questions or if there is anything we can do to improve your experience, please let us know.
We’d be happy to hear your feedback.
Warranties, Limitations of Liability and Exclusive Remedies
Certifications
Questions or Feedback?
CSA B45.8 / IAPMO Z403
ASME A112.8.2 / CSA B125.2
PAGE 4 of 4
Trueform Concrete, LLC / 105 W Dewey Ave, Suite 509. Wharton NJ 07885 / 888.474.7977 makers@trueformconcrete.com
www.trueformconcrete.com
ProductCare & Maintenance
Table of contents
Other TRUEFORM Bathroom Fixture manuals
Popular Bathroom Fixture manuals by other brands
Spectrum Brands
Spectrum Brands Pfister Zeelan 8P8-WS2-ZLS Maintenance & Care Guide

Twyford
Twyford Hydr8 instruction manual
Delta Commercial
Delta Commercial TECK T13H Series manual
Triton
Triton ENVI Quick start user guide

Helvex
Helvex UH-3008-WOA installation guide

storke
storke Small basin installation guide

KERRA
KERRA PICO Assembly and maintenance instructions
Grohe
Grohe RAINSHOWER SYSTEM 27 472 quick start guide
INR
INR Tugela 0501 Series instructions

Porcelanosa
Porcelanosa noken VITAE 100182380 manual
Bradley
Bradley Express EXD-3/WHTAS installation instructions
Mirolin
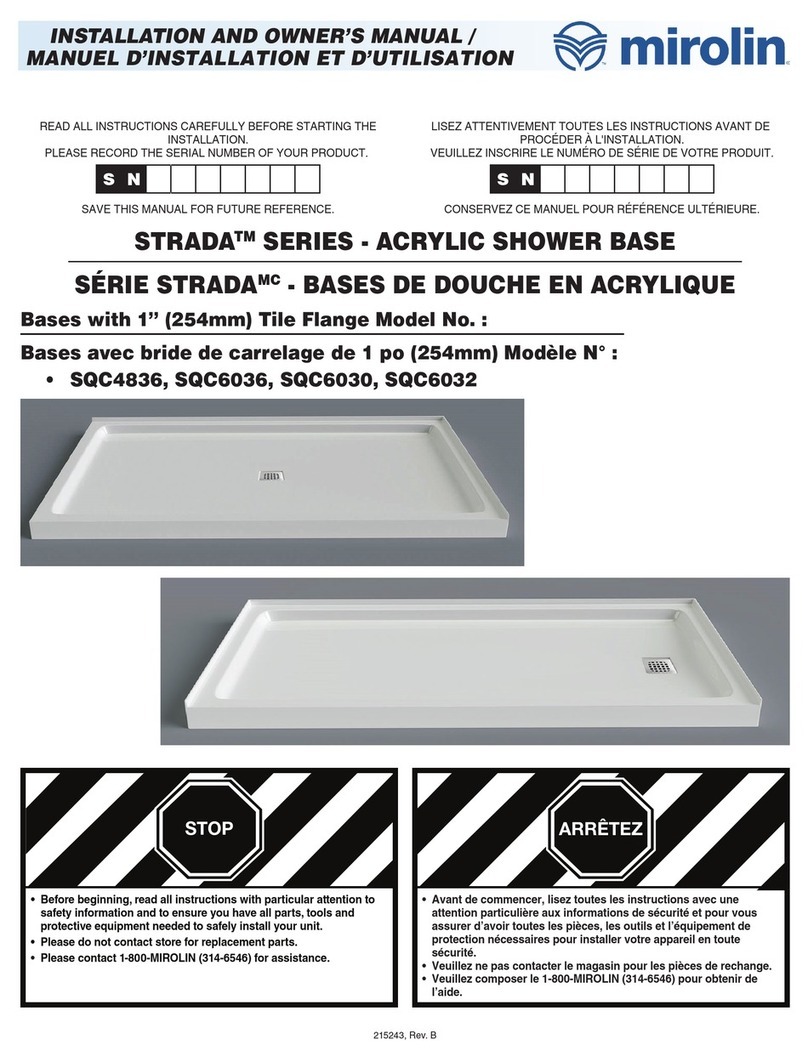
Mirolin STRADA Series Installation and owner's manual
