TRUEFORM PRISM SINK User manual

PRISM SINK
BRACKET MOUNTING INSTRUCTIONS
TOOLS NEEDED
APPLICATIONS
HARDWARE (INCLUDED)
Pencil
Tape Measure
Magnec Torpedo level
Two Clamps
Power Drill
1/2” Socket or Wrench
5/16” Drill Bit
3/16“ Pilot Bit
Silicone Adhesive
Water-Based Caulk
MOUNTING TO STEEL STUDS (MIN. 20 GA)
Although these brackets are engineered for both
wood and steel studs, Trueform strongly
recommends outfing the wall with wood studs
when possible. Therefore, mounng screws are
not included for steel stud applicaons.
If brackets must be installed on steel studs, we
recommend using 5/16” hex-head sheet metal
screws. Also note that applicable steel studs
should be no thinner than 20 gauge.
MOUNTING TO WOOD STUDS
MOUNTING TO MASONRY/CMU
Complete mounng hardware is included for
wood stud applicaons only.
These bracket are not intended for mounng on
masonry or CMU walls. If this is required, please
contact a sales rep at 888-474-7977 for
alternave soluons.
Trueform “L” brackets can be mounted to either wood studs or steel studs.
For FSB-L-XS, FSB-L-S & FSB-L:
Three 5/16” x 1-1/2” hex head wood
screws
For FSB-L-XL:
Four 5/16” x 2-1/2” hex head wood
screws

*This sink is not ADA compliant.
Page 2 of 4
Supporng Arm Supporng Arm
Orientaon 1 Orientaon 2
Stud Mount
Stud Mount
Floor Floor
Each bracket has a Supporng Arm (on which the sink
rests) and a Stud Mount that aaches firmly to a wood or
steel wall stud. Brackets can be orientated either way -
with the Stud Mount facing upward or downward.
Locate your product SKU (also shown on packing slip) and determine the corresponding Bracket-to-Center dimensions
using the chart below. Note that the +/- means that you have some flexibility in terms of bracket placement. Also idenfy
our Bracket Height (H”) value as this is essenal for determing at what height your brackets should be installed to achieve
ADA height of 34”.
To mount your sink at other heights, use the following formula to determine your Bracket Height:
1. Overview
2. Idenfying Your Bracket-to-Center and Bracket Height Values
Sink Resng on Brackets: Rear Elevaon
Each of Trueform’s floang sinks has two hollow
channels on the underside that enable it to rest on our
stud-mounted brackets.
The Bracket-to-Center dimensions tell you the distance
from the center of the sink to the locaon of both the
le and right brackets. This distance will vary depending
on the size of your sink.
Sink SKU# Bracket SKU Bracket Height “H”Bracket-to-Center Dimensions
FLO-PRISM-24-ADA
FLO-PRISM-30-ADA
FLO-PRISM-36-ADA
FLO-PRISM-60-ADA
FLO-PRISM-72-ADA
FLO-PRISM-24-ADA:
FLO-PRISM-30-ADA:
FLO-PRISM-36-ADA:
FLO-PRISM-60-ADA:
FLO-PRISM-72-ADA:
(Sink height) - (2.5”) = Bracket Height
(Sink height) - (2.5”) = Bracket Height
(Sink height) - (2.0”) = Bracket Height
(Sink height) - (2.0”) = Bracket Height
(Sink height) - (2.0”) = Bracket Height
10.25” +/- 0.5”
13” +/- 0.5”
16“ +/- 0.25”
27.5“ +/- 0.5”
32.5” +/- 1.5”
FSB-L
FSB-L
FSB-L
FSB-XL
FSB-XL
31.5” from floor (for ADA sink height of 34”)
31.5“ from floor (for ADA sink height of 34”)
32” from floor (for ADA sink height of 34”)
32” from floor (for ADA sink height of 34”)
32” from floor (for ADA sink height of 34”)
CENTER
Bracket-to-Center
Dimensions
Drain Tailpiece
Bracket-to-Center
Dimensions
BRACKETS

Page 3 of 4
3. Mounng Your Brackets and Sink
Mounng
Stud
Mounng
Stud
Quesons or Feedback?
Call us at 1-888-474-7977 or email
us at makers@trueformconcrete.com
Determine and mark where the Center of your sink will be (see “C” in drawing below). Trueform assumes that your
concrete sink drain will be centered on your plumbing waste line.
Determine and mark the distance from Center to where the le and right brackets will be mounted. The Bracket-to-
Center dimensions are found on the table on the previous page, the Product Tech Sheet (”Rear Elevaon”), or your
Trueform Custom Drawing (if applicable). If there is no wall stud on either side of where the brackets will be aached,
either a full stud must be added or an exisng nearby stud must be packed out to meet this distance. Doubling up
studs is recommended for FSB-XL brackets.
Measuring up from the finished floor, mark a mounng stud at Bracket Height (“H”) indicated in the previous table.
This is where the top of the bracket will reach. Use your 6' Level to mark a Height Line across each mounng stud.
Note that the finished sink height is typically 34" - 36, and that dimensions in the chart are for the ADA height of 34".
Clamp the first bracket to the center of the appropriate stud with the top of the Supporng Arm at your Height Line.
Use your Magnec Torpedo level on the supporng arm of the bracket to make sure the arm is independently level.
Run the 5/16" Drill Bit in reverse for a moment at each bracket hole to create an index for the 3/16" Pilot Bit.
Drill 3/16" pilot holes and then insert and ghten each lag bolt using a socket or wrench.
Clamp the second bracket to the appropriate stud at the Height Line and place the 6' Level across the two brackets.
Repeat steps 5-7 for each bracket, making sure it remains level with the first bracket.
If your sink is available, place it on the brackets to ensure they were installed correctly and that the sink rests evenly.
Remove the sink and patch up and finish the wall with the applicable covering (sheetrock, le, etc.).
Once Step 11 is complete, apply silicone adhesive to the top surface of each bracket and then set the sink back into its
final resng posion. If desired, apply caulk on the backside edge (between the sink and the finished wall) before
sliding the sink against the rear wall. Avoid using harsh chemicals when cleaning up.
It is important to note that brackets must be mounted to wood (or steel) studs and must be perfectly leveled,
independently and to each other. Details regarding tools and hardware in certain steps may differ if you are
mounng to steel studs. Do not measure from the floor when leveling brackets since the floor may not be level.
1.
2.
3.
4.
5.
6.
7.
8.
9.
10.
11.
12.

Product Care & Maintenance
Page 4 of 4
This sink is ADA Compliant when installed per secon 606
(Sinks and Lavatories) of the ADA Accessibility Guidelines.
Now that your concrete is installed, you'll want to properly care for it. Follow these simple guidelines to keep your concrete
looking beauful for years to come:
For opmum protecon, we have applied 3 coats of our state-of-the-art topical sealer to your product. This will enhance
the concrete’s color while resisng just about any typical/expected “stain threat”. Proper maintenance will ensure that your
concrete looks and performs well for years to come.
General cleaning is best done using a cloth soaked in some warm water with mild dish soap of neutral pH. We also
recommend natural cleaning products from Beer Life. For removing heavier grease, Simple Green is a trusted formula that
is non-abrasive and has a mild alkaline pH. Applying Pledge can fill in hairline scratches and give your pieces a nice sheen.
Although our sealer is able to withstand harsh liquids & chemicals, it’s sll a good idea to clean these substances from the
surface. This includes turmeric, highly-acidic liquids (lemon juice, mustard, vinegar, wine, soda, citric acid, tomatoes) and
other harsh chemicals or solvents (perfumes, ammonia, acetone, hydrogen peroxide, etc.).
Please use standard care and precauons with your concrete products. Concrete is extremely durable; however, it is not
invincible. Excessive force can do damage to your piece.
TRUEFORM warrants for a period of one (1) year from the date of delivery that its Products shall perform in a good and workmanlike manner in accordance
with applicable standards; comply with any applicable laws, rules or regulaons; and not violate or infringe upon any presently issued patent or copyright of
any third party. This warranty does not include or cover 1) hairline cracks in the concrete, 2) damage caused during installaon or due to incorrect
installaon, 3) damage caused by incorrect cleaning or care, 4) damage caused by incorrect use, 5) damage caused by acts of abuse to the products such as
scratches, chips, stains, or other markings/damage, or 6) damage caused by drilling into or aempng to alter the product from the way in which it was
received.
THE FOREGOING WARRANTIES ARE TRUEFORM’S ONLY WARRANTIES CONCERNING THE PRODUCTS, AND ARE MADE FOR THE BENEFIT OF THE
CUSTOMER ONLY AND ARE IN LIEU OF ALL OTHER WARRANTIES OR REPRESENTATIONS, EXPRESS OR IMPLIED, INCLUDING, BUT NOT LIMITED TO,
ANY IMPLIED WARRANTIES OF MERCHANTABILITY AND FITNESS FOR A PARTICULAR PURPOSE OR OTHERWISE.
TRUEFORM’s sole responsibility is limited to the repair or replacement, at its own expense, of any non-conforming TRUEFORM Products discovered by the
Customer and reported to TRUEFORM within seven (7) days from the date of delivery.
TRUEFORM SHALL HAVE NO LIABILITY OR OTHER RESPONSIBILITY TO THE CUSTOMER OR ANY THIRD PARTY WITH RESPECT TO ANY LIABILITY,
LOSS OR DAMAGE ALLEGEDLY CAUSED DIRECTLY OR INDIRECTLY BY OUR PRODUCTS AND SERVICES AND THE USE OF THIS MANUAL,
INCLUDING, BUT NOT LIMITED TO, ANY INTERRUPTION OF SERVICE, LOSS OF BUSINESS, ANTICIPATORY PROFITS, OR INDIRECT, SPECIAL OR
CONSEQUENTIAL DAMAGES.
The material in this manual is for informaonal purposes only. The products it describes are subject to change without prior noce, due to the manufacturer’s
connuous development program.
If you have any quesons or if there is anything we can do to improve your experience, please let us know.
We’d be happy to hear your feedback.
Warranes, Limitaons of Liability and Exclusive Remedies
Cerficaons
Quesons or Feedback?
CSA B45.8 / IAPMO Z403
ASME A112.8.2 / CSA B125.2
For more informaon see our Concrete Care & Maintenance document:
hps://site-.s3.us-east-2.amazonaws.com/assets/concrete-care-maintenance.pdf
Trueform Concrete, LLC
105 W Dewey Ave, Suite 509. Wharton NJ 07885
888.474.7977 info@trueformconcrete.com
www.trueformconcrete.com
Other TRUEFORM Bathroom Fixture manuals
Popular Bathroom Fixture manuals by other brands

Kohler
Kohler NEW PURIST K-701574T installation instructions

iDo
iDo PORSGRUND 8-01 Operating and maintenance instruction

Glacier bay
Glacier bay HD58303-3810H Use and care guide
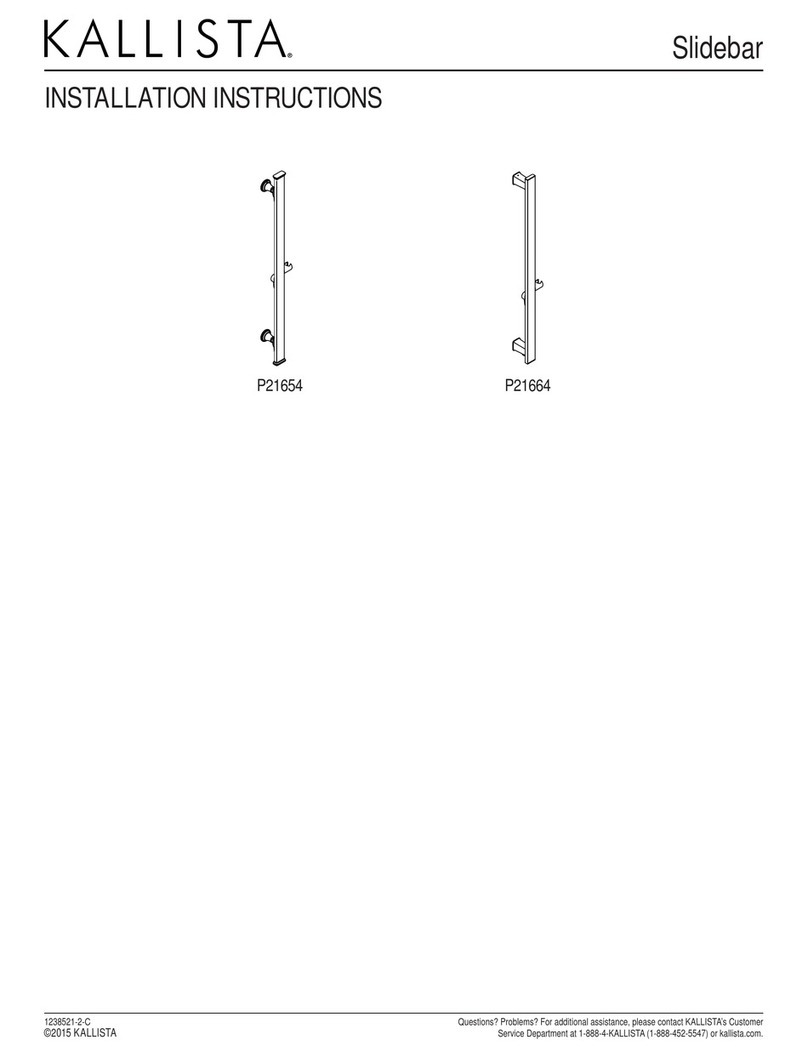
Kallista
Kallista P21654 installation instructions

Sanela
Sanela SLU 93N Instructions for use

Spectrum Brands
Spectrum Brands Pfister Penn LF-049-PE Quick installation guide
