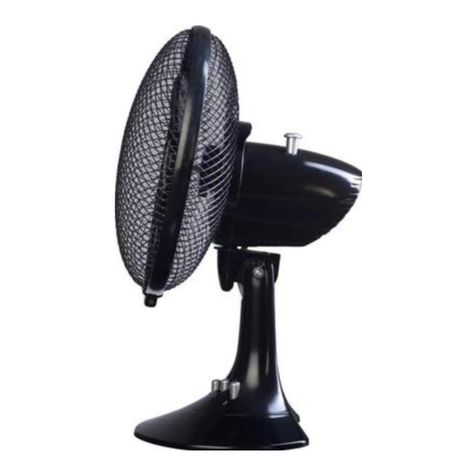
Trustech BLF-07F User manual

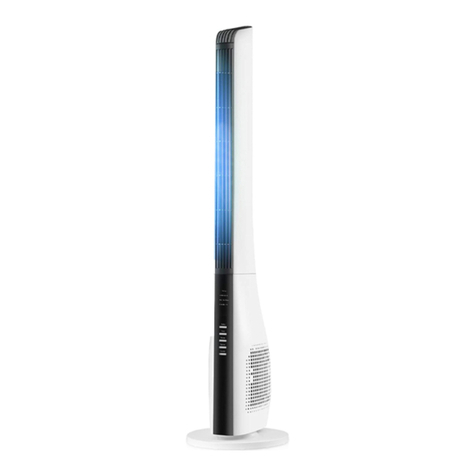
BLADELESS FAN USER MANUAL
MODEL: BLF-07F
Thank you for choosing Trustech bladeless fan !
This user manual will provide you with valuable information necessary for the proper care
and maintenance of your new product. Please take a few moments to thoroughly read it and
start enjoying your cool summer!
Always here to help you
For any questions or help, please email us: Support@trustechproducts.com

IMPORTANT INSTRUCTIONS
1.Please confirm that the power outlet is AC 120V, otherwise it will cause danger and
product failure. This product is for domestic and indoor use only.
2.Do not use it for business or outdoor.
3.Please place it on a stable floor to avoid accidents caused by the product shaking.
4.Do not put the power cord, plug or body in water or other liquids to avoid accidents due to
electric shock.
5.Do not hang or place the power cord on a hot surface to avoid tripping or damaging the
power cord.
6.Please remove the dust on the plug carefully to avoid causing fire.
7.Unplug the power plug, please hold the plug and pull it out of the socket.Do not pull the
power cord to avoid the damage of the power cord.
8.If the power cord or plug is damaged or the product is in malfunction, please do not deal
with it by yourself.
9.When a fault occurs, turn off the power immediately, unplug it, and then conduct simple
troubleshooting or contact the support team for guidance.
10.Do not disassemble,repair or modify the product by yourself to avoid danger and
malfunction.
11.This appliance is not intended to be used by children. Children can only use this
appliances under the supervision of their guardian or a person who can be responsible for
their safety.
SPECIFICATION
Voltage Rating
120 V (60Hz)
Power Consumption
40W
Unit Size
10.6 in. (D) ×10.6 in. (W) ×13.4 in. (H)
Unit Weight
7.55lb

SAFETY FEATURES
WARNING: It is normal for the power cord to feel warm to the touch; however, a loose fit
between the outlet and the plug may cause overheating of the plug. If this occurs, try
inserting the plug into a different outlet. Contact a qualified electrician to inspect the
original outlet for damage.
OPERATION INSTRUCTION
①② ③④⑤
①.Timing button: Set timer
(1.) The timer can be set in both power on and off status. If the fan was power on, the timer
is set to close the fan in the setting hour. If the fan was power off, the timer is set to activate
⑥
⑦
THIS APPLIANCE HAS A POLARIZED PLUG
(one blade is wider than the other).
To reduce the risk of electric shock, this plug is intended to fit in a
polarized outlet only one way. If the plug does not fit fully in the
outlet, reverse the plug. If it still does not fit, contact a qualified
electrician to install the proper outlet.
DO NOT ATTEMPT TO MODIFY THIS PLUG OR DEFEAT THIS SAFETY
FEATURE IN ANY WAY.

the fan in the setting hour.
(2.) The unit of the timer setting is one hour. e.g Press once to turn to timer setting mode
and twice for 1 hour setting.
(3.) When the fan is in timer setting mode, the display will show "0". The minimum time
setting is 1 hour and the maximum time setting is 12 hours.
(4.) Press the timing button. The digital display will switch to timing mode.The display will
cycle from 0-12.
②.Fan button: Adjust air speed.
There are 8 speeds in cold air mode: F1, F2, F3, F4, F5, F6, F7, F8. Press the Fan button to
select the speeds from the lowest to highest. F8 is the highest speed and F1 is the lowest
speed.
③.Switch button: Turn on and off the power of the product.
(1.) The fan will in the F1 mode when the power is turned on for the first time.
(2.) The product has a memory function of the speed selected last time as long as the main
power has not been cut off. Except for the timer function, the machine will maintain the
former air speed setting.
④.Left and right buttons: Turn/Stop the head Left & Right Rotating
When the fan is turning left and right, the display will show 1 and it will show 0 when the
oscillation is turned off.
⑤. Up and down buttons: Turn/Stop the head Up & Down Rotating
When the fan is turning up and down, the display will show 2.
When press the “Left and Right”button and the “Up and Down”button at the same time or
continuously, the fan would on up, down, left and right rotation. The display will show 3.
When the oscillation is turned off, the display will show 0.
⑥. Digital display: It displays air speed or timer, and it displays "00" meaning ready for use.
NOTE: The digital display will automatically turn off after 30 seconds of no operation.
When the digital display is off, press any button to activate the digital display.
⑦.Signal receiving window: used to receive remote control signals.
Remote control
Switch button: Turn on and
off the power of the product.
Fan button:
Adjust air speed
Timing button:
Set timer
Left and right buttons:
Up and down buttons:
Turn left or right to shake head.
Turn the head up and down

The remote control uses on button cell battery, type CR2025(3V).To remove the battery
carriage use your thumb to squeeze the release tab to the right and then pull the carriage
out. Place the battery into the carriage and slide the carriage back into the remote.
NOTE:
Follow battery disposal instruction on battery packaging, or contact your local safety
council for safely disposal of batteries.
CLEANING AND MAINTENANCE
1. Please clean it regularly to avoid the dust gathered which might lead to the disorders of
the product.
2. Please make sure the power is cut off and the fan is unplugged from the socket before
cleaning. Also, please be aware of the motor should be cool down before cleaning the fan.
3. Do not use alcohol, volatile oil, bleach-etc. to wipe this product.
4.Cleaning methods for various parts
(1) Body shell and air outlet: please wipe it with a slightly damp cloth, do not soak in water.
(2) Rear grille and filter sponge: Use a screwdriver to loosen the fixed screws of the rear grille.
Rear grille and filter sponges can be cleaned with water and please make sure that these
components are completely dry before re-installing them to the machine.

TROUBLESHOOTING
Problems
PROBABLE CAUSE
SOLUTION
Stop working
The plug is not inserted into
the socket
Make sure the product is in a
power-on Status.
Malfunction of motor
Contact Customer Service or
Support team via email.
Malfunction of control panel
Wind weakens
Product is not placed on a
horizontal surface
Put product on a horizontal
surface
Noise while working
Malfunction of motor
Contact Customer Service or
Support team via email.
Dust accumulation
Please do regular cleaning
Noise while oscillation
Normal situation at first use
The product will return to
normal after using 5-10
minutes
Malfunction of motor
Contact Customer Service or
Support team via email.
WARRANTY
TRUSTECH warrants this product against defects in materials and/or workmanship under
normal use for a period of ONE (1) YEAR from the date of purchase by the original purchaser
(“Warranty Period”). If a defect arises and a valid claim is received within the Warranty
Period, TRUSTECH will either offers 1) repair the defect at no charge, using new or
refurbished replacement parts, or 2) replace the product with a new product that is at least
functionally equivalent to the original product, or provide a store credit in the amount of the
purchase price of the original product. A replacement product or part, including a
user-installable part installed in accordance with instructions provided by TRUSTECH,
assumes the remaining warranty of the original product. When a product or part is
exchanged, any replacement item becomes your property and the replaced item becomes
TRUSTECH’ s property. When a store credit is given, the original product must be returned to
TRUSTECH and becomes TRUSTECH’ s property. To claim the warranty, please email
TRUSTECH Limited Warranty Service at Support@trustechproducts.com. To speed up the
process, please describe the issues in detail and attach a short vide of the disorders in the
email.

This warranty does not apply to:
a) damage caused by not following the User Manual instruction or installing other
components to the products; b) damage caused by accident, abuse, misuse, fire, floods,
earthquake or other external causes; c) damage caused by service provided by anyone who
is not a representative of TRUSTECH; d) accessories used in conjunction with a covered
product; e) a product or part that has been modified to alter functionality or capability; f)
items intended to be periodically replaced by the purchaser during the normal life of the
product including but not limited to batteries or light bulbs; g) any product sold as special
condition including but not limited to floor demonstration models and refurbished items;
or h) a product that is used commercially or for a commercial purpose.
CONTACT US
Thank you for choosing TRUSTECH product.
For any questions or concerns about the product, please write to
Support@trustechproducts.com. Our usual response time is within 12 hours!
Table of contents
Other Trustech Fan manuals
Popular Fan manuals by other brands
Monte Carlo Fan Company
Monte Carlo Fan Company 5BY52 Series Owner's guide and installation manual

Blumfeldt
Blumfeldt Wintergarden manual
Bimar
Bimar VTM35 Instruction booklet
Hunter
Hunter 20801 Parts guide
BLAUBERG Ventilatoren
BLAUBERG Ventilatoren Box EC user manual
Emerson
Emerson CF710AB01 owner's manual
Craftmade
Craftmade Contractor Design CD52 Specifications
Holmes
Holmes HAOF12 Series owner's guide
Monte Carlo Fan Company
Monte Carlo Fan Company 3VMR52XXD Series Owner's guide and installation manual
Monte Carlo Fan Company
Monte Carlo Fan Company 5CE52 Series owner's manual
Sulion
Sulion SIRO 2181776 manual
Sulion
Sulion SUMMER manual
