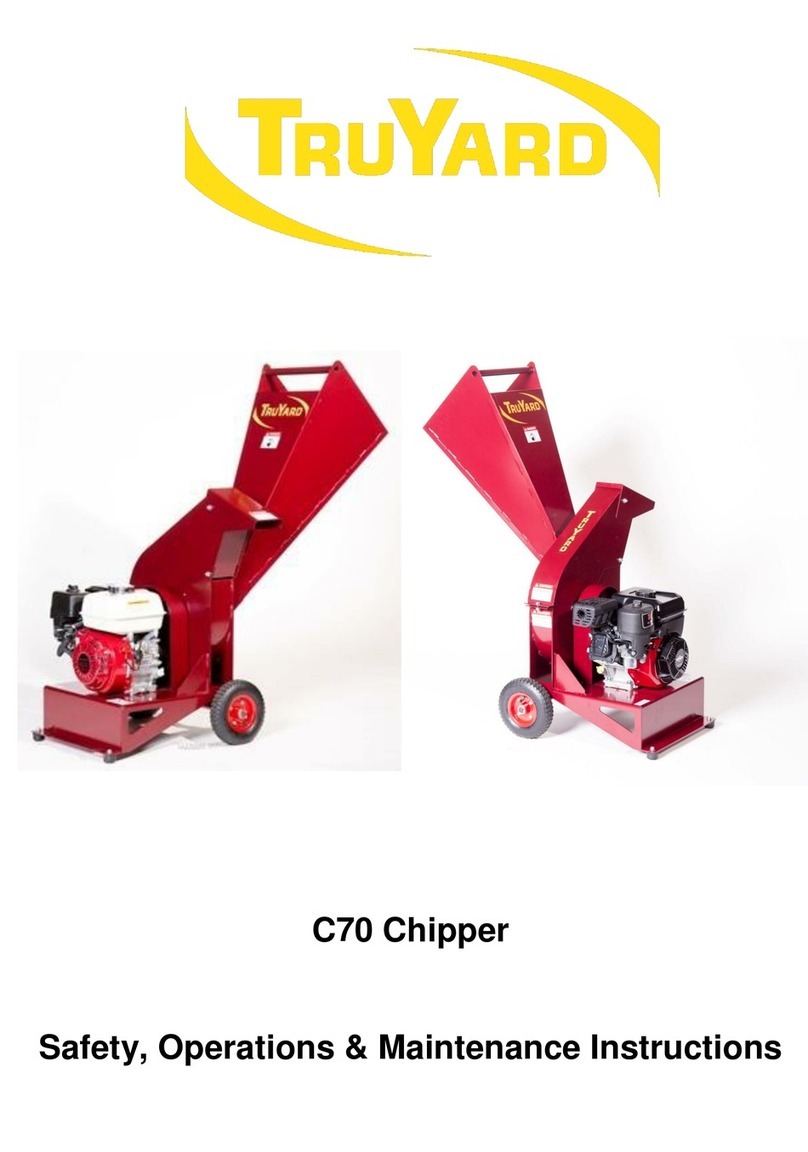
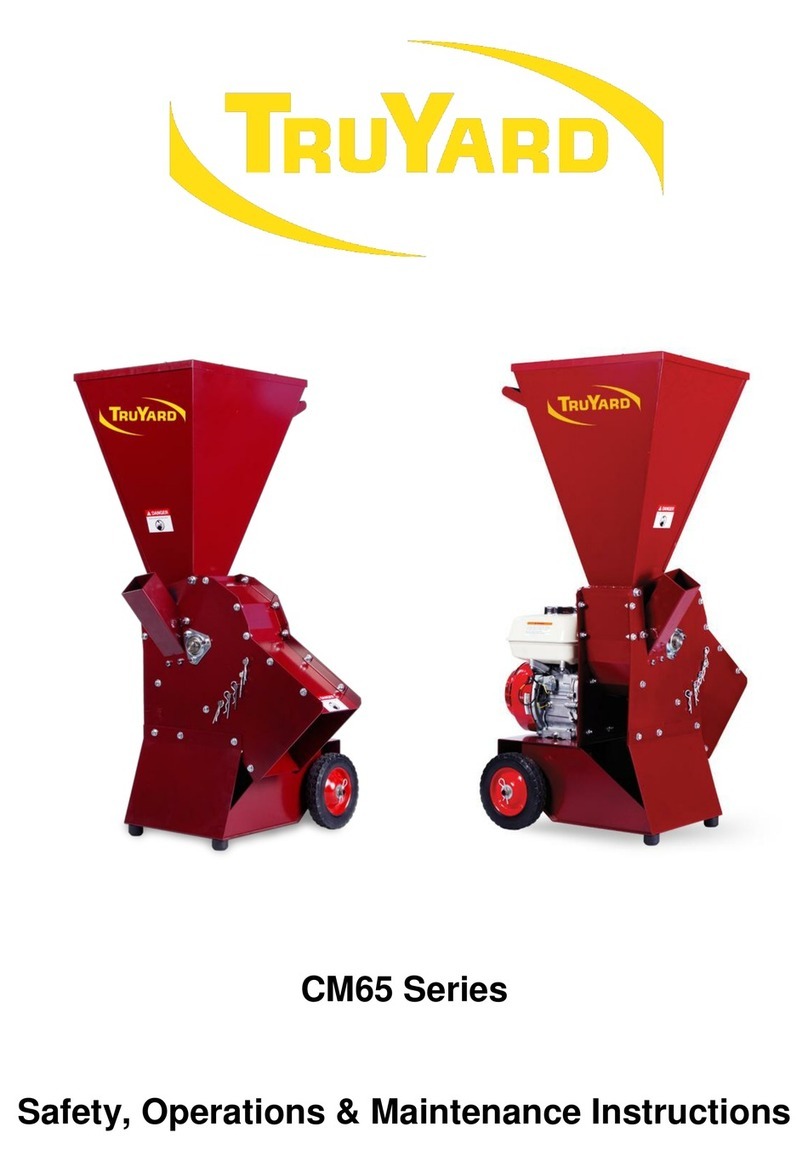
TruYard CM90 Series Guide

CM90 and CM95 Series
Safety, Operations & Maintenance Instructions

2
INTRODUCTION
This manual contains information concerned with safe practices when operating the
machine, safety precautions that are necessary during operation, maintenance
instructions and troubleshooting.
Before operating the machine it is imperative to have read and understood this
manual. The instructions of this manual are intended to be read and followed to
ensure the proper running of the CM90/95 and the safety of the user.
In the case of sale or transfer of the machine, this manual must be handed over. In
the event that this manual is damaged or lost, the owner must ask the manufacturer
or the former owner for a copy. This manual is to be considered as an integral part of
the machine.
The information conveyed on this manual is reflective of the machine at point of sale.
The manufacturer has the right to modify the machine for technical or commercial
reasons and this does not make the manual unsuitable for use.
The copyright for this manual belongs to the manufacturer. The technical texts,
images and pictures within this manual cannot be published or used, completely or in
part, without written consent from the manufacturer.

3
Contents
INFORMATION ABOUT THE MACHINE..................................................................................................................... 4
INTENDED USE OF THE CM90/95........................................................................................................................... 4
MACHINE DESCRIPTION .......................................................................................................................................... 4
IDENTIFICATION OF MAIN PARTS..................................................................................................................... 5
SPECIFICATIONS........................................................................................................................................................ 6
ACCIDENT PREVENTION MEASURES.................................................................................................................. 7
SAFETY LABELS AND DESCRIPTIONS................................................................................................................ 8
AFTER A PERIOD OF INACTIVITY.......................................................................................................................... 8
OPERATING INSTRUCTIONS....................................................................................................................................... 9
BEFORE USE ............................................................................................................................................................... 9
DURING OPERATION................................................................................................................................................. 9
MACHINE BLOCKAGE............................................................................................................................................. 10
AFTER USE................................................................................................................................................................. 10
GENERAL MAINTENANCE......................................................................................................................................... 11
ADJUSTMENT OR REPLACEMENT OF THE CHIPPER BLADES ................................................................. 11
ADJUSTING BELT TENSION.................................................................................................................................. 13
DISCHARGE BARS................................................................................................................................................... 14
TYRE PRESSURE...................................................................................................................................................... 14
STORAGE.................................................................................................................................................................... 15
CLEANING .................................................................................................................................................................. 15
PARTS LIST.................................................................................................................................................................... 16
WARRANTY POLICY.................................................................................................................................................... 18
TROUBLESHOOTING................................................................................................................................................... 18
MACHINE MAINTENANCE SCHEDULE................................................................................................................... 19
NOTES.............................................................................................................................................................................. 19

4
INFORMATION ABOUT THE MACHINE
INTENDED USE OF THE CM90/95
The Truyard CM90/95 is designed to chip most branches and prunings alongside
other organic material such as palm, and mulch other organic waste such as shrubs,
leaves, manure, cardboard and hay. It is not designed to process inorganic waste.
MACHINE DESCRIPTION
The Truyard CM90/95’s chipping and mulching mechanism consists of a flywheel with
two mounted blades and hammers respectively. As the flywheel rotates at a high
speed, the blades chip the incoming material and as smaller material is entered into
the mulching chute, the hammers mulch the material.
The CM90/95 consists of the following features:
A pair of pneumatic wheels to manoeuvre the machine
A chipper chute
A flywheel with two chipper blades
Hammers to mulch the material
An engine
A discharge chute
A mulching chute
A handle to lift and move the machine
A frame with a stand
5 discharge bars
An optional towbar attachment with a jockey wheel or PTO design for the CM95

5
IDENTIFICATION OF MAIN PARTS
Pneumatic
Wheels
Handle
Discharge
Chute
Chipper
Chute
Engine
Frame and
stand or
optional towbar
and jockey
wheel and PTO
for CM95
Flywheel
(Disconnect
the spark plug
and ensure
flywheel is at
a complete
stop before
opening the
discharge
chute)
Mulching Chute
Hammers
Discharge
Bars

6
SPECIFICATIONS
CM90
Engine Specifications
Transmission
Engine
Honda GX270, key-start
models available
Belt Drive
V Belt B section
Engine Type
Petrol
Pulleys
Cast iron
Cutting System
No Load
Starting
Clutch
Yes
Chipping Capacity
Up to 90mm
Machine Construction
Number of Blades
2
Weight
135kg
Mulching Hammers
28 spring steel reversible
hammers
Chassis
Steel construction
Discharge Bars
5
Special Features
Self-feeding
Yes
Warranty
Domestic Application
2 years, Commercial
Application 3 Months
CM95
Engine Specifications
Transmission
Engine
Honda GX390, key-start
models available
Belt Drive
V Belt B section
Engine Type
Petrol
Pulleys
Cast iron
Cutting System
No Load
Starting
Clutch
Yes
Chipping Capacity
Up to 95mm
Machine Construction
Number of Blades
2
Weight
160kg
Mulching Hammers
40 spring steel reversible
hammers
Chassis
Steel construction
Discharge Bars
5
Special Features
Feeding System
Warranty
Domestic Application
2 years, Commercial
Application 90 days
Self-feeding
Yes
Optional
Towing
Attachments
PTO design or
Towbar, Jockey
Wheel and Hitch
available

7
SAFETY PRECAUTIONS
ACCIDENT PREVENTION MEASURES
1) Ensure that the operator of the machine has read and understood fully this
manual and the engine manual
2) Always wear suitable footwear. Do not use in bare feet
3) Always stop the engine and disconnect the sparkplugs when guards are not in
place
4) Check that the items to be chipped are free of all foreign debris. This includes
and is not limited to nails, wire, rope etc
5) Do not allow children to come near the CM90/95. Always ensure that children
are at a safe distance and are well away from the machine
6) Do not put hands whatsoever inside the machine or near the belt or blade while
the machine is running
7) Read the engine manufactures operating instructions carefully. Do not alter
governor settings or over speed the engine
8) Carefully follow the refuelling safety instructions when refuelling the engine:
Always refuel the CM90/95 outdoors in a well ventilated area
Ensure the engine is turned off and cooled before beginning refuelling
process.
Keep all ignition and heat sources clear of the refuelling area.
If spillage occurs mop up immediately and wait a suitable time so the
fumes disappear
When storing fuel make sure it is in a suitably designed container
(AS/NZS 2906:2001) and it is stored in a cool dry place.
9) Use your CM90/95 only in daylight when visibility is good
10) When using the CM90/95 slopes should be treated with caution. Never
aaaaaplace the CM90/95 on uneven ground
11) Never leave the CM90/95 unattended whilst engine is running
12) Do not use CM90/95 in confined spaces with no ventilation
13) It is advisable to wear safety glasses and hearing protection whilst operating
aaaaathe CM90/95
14) Always operate with all guards in place
STRICT ADHERANCE TO THE FOLLOWING RULES,
PRECAUTIONS AND SAFETY MEASURES LISTED HERE MUST
BE CONDUCTED TO AVOID THE DANGER OF ACCIDENT AND
DAMAGE TO PEOPLE AND THE MACHINE.

8
SAFETY LABELS AND DESCRIPTIONS
CAUTION –keep hands and feet
away from the discharge and inlet
openings on the machine as this
could cause injury
CAUTION –the operating of the
engine, its maintenance and starting
must be done after having read the
manual to prevent any harmful
incidents and misuse of the engine
from occurring
CAUTION –ensure that the operator
has read and understood this manual
before operating the machine to
prevent injury
CAUTION –keep hands and feet
away from openings on the machine
to prevent injury
AFTER A PERIOD OF INACTIVITY
Ensure the following checks have been done on the CM90/95 before operation after a
long period of inactivity:
Check that the machine is undamaged and all guards are attached
Check all the mechanical parts of the machine are not rusty and are in working
condition
Ensure the flywheel and the blades rotate freely, are sharp and are connected
to the machine
Ensure that the engine has sufficient oil and fuel
Check all nuts and bolts are tight

9
OPERATING INSTRUCTIONS
BEFORE USE
Before operating the machine it is important to ensure the following to use the
machine to its full capability and to keep the operator and the surrounding area safe.
Make sure that the operator has read and understood how to use the engine as
per the manufacturer’s instructions
Ensure that the oil and fuel in the engine are as per the engine manufacturers
instructions
Check that all guards and parts are in place
Make sure the throttle control is at its lowest setting. At idle the centrifugal
clutch should be disengaged
Ensure that the CM90/95 is located on flat, even ground and that there are no
people or animals in the vicinity of its working function, including the area
surrounding the discharge chute
Ensure that the operator has read and understood this manual, including how to
control the machine
Wear the prescribed safety equipment
Check that the material to go through the CM90/95 does not contain nails,
ropes or any metal object that can damage the machine whilst it is being
mulched
DURING OPERATION
Once satisfied that the above criteria have been met, turn on the engine as per the
manufactures instructions. Once running:
Gently increase the throttle until the clutch engages and the blades rotate.
Operate the CM90/95 at near full throttle for optimal performance
For the CM90/95 all branches go through the chipper chute. It is best if the
thickest end of the branch gets fed into the chipper chute first; generally this is
the end that you cut the branch at. Sometimes it may be required to prune the
side branches to fit the main branch into the chipper chute. Ensure this is done
before you start chipping. The CM90/95 generally will draw the branches in and
on no occasion do you need to put your hand inside the chipper chute. Once
the branch has been put through, put the leaves and other organic waste
through the mulching chute at the top of the machine. Once again, do not put
your hands in the mulching chute.
To adjust the cutting of the CM90/95, the discharge bars can be taken out or
put in. Ensure that when adjusting the amount of discharge bars in the machine
that the machine is off and the flywheel has stopped rotating. The discharge
bars are important for the efficient use of the machine. They are there for the
purpose of allowing the CM90/95 to handle multiple types of material without

10
clogging. For an example let the top bar be no.1 and the bottom bar be no. 5.
For dry materials such as gum trees etc. leave all the bars in. For wetter
materials, plants, manure, flowers etc with higher water content, take out no. 3
and no. 5. For newspapers and cardboard, take out no. 5, 4 and 3. Generally, if
what is being inserted into the machine is not coming out, there are too many
bars in place.
MACHINE BLOCKAGE
During operation it is possible that a branch or pruning with a diameter higher than
the working capacity of them machine is entered, and blocks the rotation of the
flywheel.
To remove the blockage, ensure that the machine has been turned off, the spark plug
has been disconnected and that the flywheel has no power supply that will make it
rotate while the material is being removed. Once the blockage has been taken out,
the machine can be re-started.
AFTER USE
When you have finished operation of the machine and have turned the engine off:
Allow machine to cool down
Check the machine over to see if there are any irregularities that could impede
your next use
Check fuel and oil levels for next use

11
GENERAL MAINTENANCE
For the servicing of the machine it is strongly recommended, for safety and quality of
the maintenance, for this to be conducted by authorised professionals from Truyard
authorised dealers who know the machine.
ADJUSTMENT OR REPLACEMENT OF THE CHIPPER BLADES
Disconnect the spark plug to
ensure that the machine will not
receive power whilst you are
working on the flywheel
Take off the hopper plate of the
machine using a 13mm spanner.
Place a bar through the flywheel.
Ensure that the flywheel doesn’t
rotate when this bar is in place
by pulling the engine cord.
Remove the chipper chute using
a 13mm spanner to give access
to the bolt holding the chipper
blade.

12
Using a 19mm spanner, loosen
the nut that connects the chipper
blade to the flywheel.
CAUTION –THE CHIPPER
BLADE IS SHARP AND CAN
CAUSE INJURY
In order to fully remove the nut
and bolt, use an 8mm Allen key
to counter the force from the
spanner. Remove the nuts and
bolts from the chipper blade.
Once all three have been
removed, take out the chipper
blade. The chipper blade will
come out of the chipper chute
entrance. When putting the
blades back in you should
always replace the nuts and bolts
and Loctite the thread for safety.
CAUTION –THE CHIPPER
BLADE IS SHARP AND CAN
CAUSE INJURY

13
ADJUSTING BELT TENSION
Remove the protective cover that
sits over the belts with a 13mm
socket.
Using a 17mm spanner, loosen
the nuts that connect the engine
to the frame of the machine.
Once all four have been
loosened, slide the engine on the
rails to increase the belt tension.
Re-tighten the nuts and ensure
that the engine is secure.
NOTE: WHEN ADJUSTING THE
BELT, THE FLYWHEEL
SHOULD TURN WITHOUT
TURNING THE MOTOR. DO
NOT OVERTIGHTEN.

14
DISCHARGE BARS
CORRECT
WRONG
CORRECT POSITION OF CLIP FOR
DISCHARGE BARS
When re-inserting the discharge
bars, ensure that the R-clip is fully
inserted such that it is pushed all
the way through to the large loop
before restarting the machine
WARNING!
MAKE SURE MACHINE IS TURNED
OFF, HAS COME TO A COMPLETE
STOP AND SPARK PLUG LEAD IS
REMOVED BEFORE ACCESSING
ANY PART OF THE MACHINE
TYRE PRESSURE
The maximum tyre pressure for the pneumatic tyres is 18psi. Over inflation of the tyre
can cause injury.

15
STORAGE
In the case that the CM90/95 will not be used for an extended period, it is important to
store the machine in a location that is sheltered from the weather to avoid damages to
the machine.
The storage temperate recommended is between 0°C and 50°C.
Before this period in storage, it is recommended to:
Properly clean the machine
Carefully free the flywheel from any remains of chipped wood
Ensure that the area in which the machine is to be stored is sheltered and the
ground surface is flat and compact
Perform a check of the machine to detect possible damages or irregularities
and to ensure that the safety labels are undamaged and clearly visible
CLEANING
Regularly clean the machine using only compressed air, blowing away wood dust and
green waste residue. For this operation ensure that you wear protective gloves and
eyewear.

16
PARTS LIST

17

18
WARRANTY POLICY
Under the warranty your CM90/95 is warrantied for 2 years from the date of purchase
against mechanical defects, faulty workmanship or material. 90 days for commercial
use. This warranty covers only the replacement, repair or adjustment of any part
which fails as a result of a fault in manufacture or assembly. Defective parts will be
repaired or replaced without charge for labour or materials subject to the conditions
detailed below.
Warranty Exclusions, Limitations and Rights:
1) Any failure that results from accident, abuse or neglect is not covered by this
warranty
2) Transport of the CM90/95 to and from the manufacturer, their agents or dealers, to
be paid for by the owner
3) Proof of purchase date must be provided prior to the commencement of the
warranty work
4) Any failure of parts or material that is contributable to fair wear
5) Any indirect or consequential loss, damage, costs or expenses suffered by the
consumer that may result either directly or indirectly from the failure or malfunction
of the product
6) Any repairs carried out other than those by authorised Truyard agents or dealers
cancel this warranty
7) Engine warranty is separate and is in accordance with the Engine manufacturers
express warranty
TROUBLESHOOTING
ISSUE
CAUSE
SOLUTION
Irregular
Chipping
Worn or damaged
blades
Anvil not adjusted
Loose belts
Change blades or rotate them around
180°
Adjust to within 1-2mm of chipper blade
Adjust the belts to the correct tension
Excessive
noise
Over tightened
belts
Bearing
Loosen and inspect belt damage in case
they need to be replaced
Replace the bearing
Motor starts
but mulcher
doesn’t
Blockage in the
flywheel
Remove the spark plug and make sure
the flywheel is at a complete stop. Open
the discharge chute and take out the
blockage carefully. Test spinning the
flywheel a full 360° to ensure that there
aren’t more blockages. Be careful of the
blades.
Note: Truyard has available spare parts for the machine if a replacement is necessary

19
MACHINE MAINTENANCE SCHEDULE
Bolt tightening
check
Inspect every 5 hours of use
Replacement of
the chipper
blades
Inspect blades for sharpness, burs and chips every 10 hours of use.
If the blades are damaged replace; if blunt rotate 180°
Belt adjustment
or replacement
Inspect belts every 10 hours of use looking for cracks and tightness.
If cracks appear replace the belts
Bearings
Inspect bearing every 10 hours of use for movement. If loose or has
a gravelly noise, replace
Engine oil
Consult the manufacturers manual for these specifications
NOTES
This manual suits for next models
1
Table of contents
Other TruYard Chipper manuals
