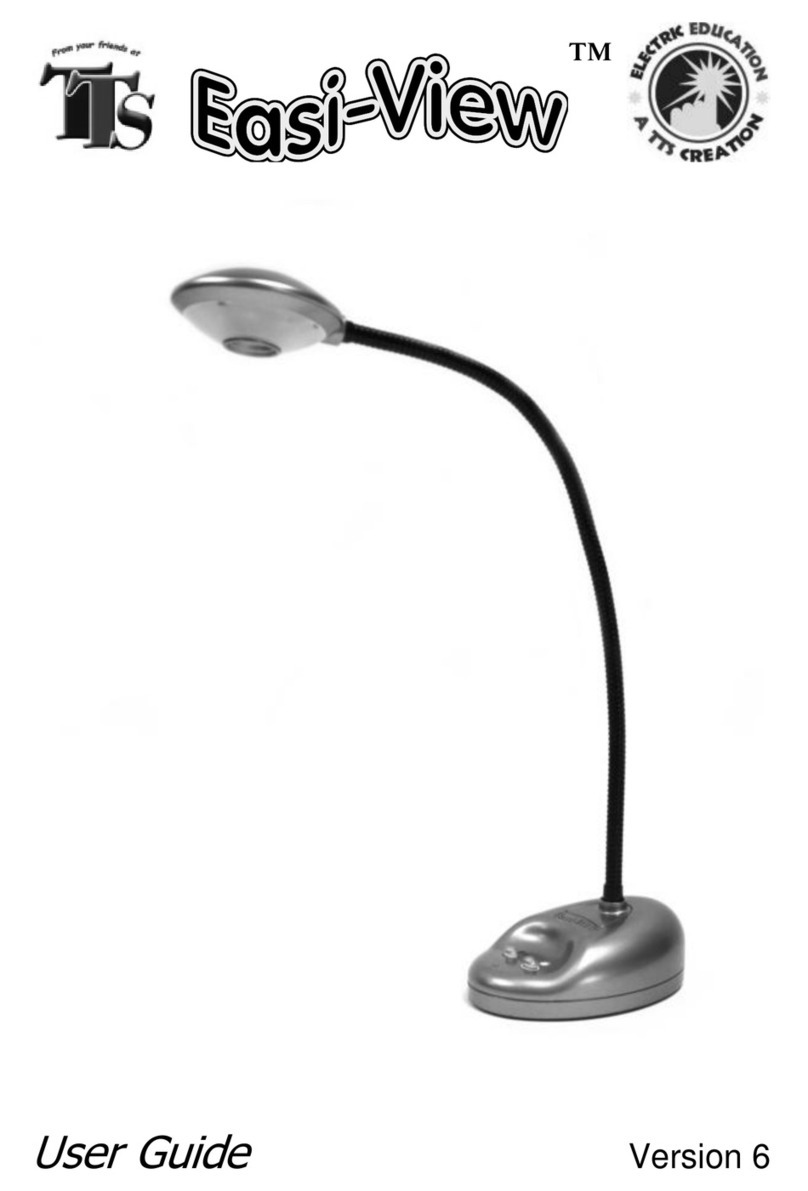
TTS Easi-View Pro User manual

USER GUIDE
Warranty & Support
This product is provided with a one year warranty for problems found during
normal usage. Mistreating the Easi-View Pro or opening the unit will invalidate
this warranty. Any data stored on the unit and any consequential loss is not
covered by this warranty. The battery is not user replaceable.
Technical Support
Please visit www.tts-group.co.uk for the latest product information.
TTS Group Ltd.
Park Lane Business Park
Kirkby-in-Ashfield
Nottinghamshire,
NG17 9GU, UK.
Freephone: 0800 318686 Freefax: 0800 137525
TTS Product Code:
EL00454
WARNING: Do not dispose of this product in
household waste. Hand it over to a collection point
for recycling electronic appliances.
WARNING! Not suitable for children under 36 months
due to small parts – choking hazard. Made in China,
on behalf of the TTS Group Ltd.
Easi-ViewTM Pro
TTS is proud to be part of plc
Nxxxxx
N448
EASI VIEW PRO MANUAL.indd 1 11/03/2015 15:33

USER GUIDE
Share work with
the whole class, view
3D objects and take
pictures and
videos
View 3D objects and take
pictures and videos
Easi-ViewTM Pro
TTS Product Code:
EL00454
TTS is proud to be part of plc
EASI VIEW PRO MANUAL.indd 2 11/03/2015 15:33

Important Information
Please retain these instructions for future reference, as they contain important
information.
Do not allow your Easi-View Pro to come into contact with water or other liquids.
In the event of an electrostatic discharge, your Easi-View Pro may malfunction. In
this case, please unplug and reconnect it to reset it.
Easi-View Pro Controls
There are various buttons on the base of the Easi-View Pro:
Press the (mute) button to mute the microphone.
Press the (On/Off) button to turn the Easi-View Pro on or off.
Press the (volume up) and (volume down) buttons to change the
volume of the speaker.
Press the (focus in) and (focus out) buttons to change the focus point
(manual focus mode only).
Press the (focus mode selector) button to toggle between the different focus
modes.
Press the (zoom in) and (zoom out) buttons to change the zoom level of
the image.
Press the (snapshot) button to take a new picture.
Press the (lamp) button to turn on the LEDs. The lamp has 4 different
brightness settings.
Press the (focus) button to focus on demand.
EASI VIEW PRO MANUAL.indd 3 11/03/2015 15:33

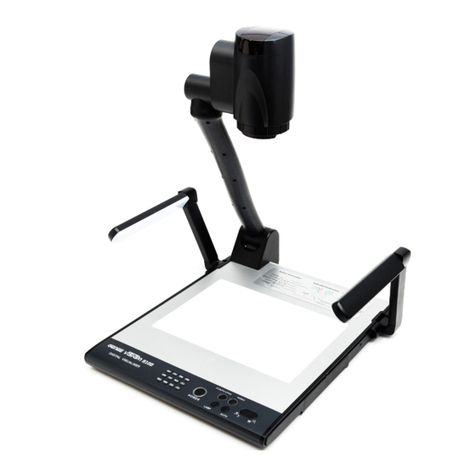
Know your Easi-View Pro
Gooseneck
Camera
Lamp
DC in
SVGA port
ON/OFF
Mute
Volume up/
down
Zoom (+/-)
Manual focus
Easi-ViewTM Pro
Focus Mode Selector
lamp
EASI VIEW PRO MANUAL.indd 4 11/03/2015 15:33

Focus Modes
The Easi-View Pro has three different focus modes:
Manual – use the buttons on the base of the Easi-View Pro to focus the image
on the screen. This is the best mode to use when the autofocus cannot focus
automatically, usually because the subject does not have sufficient contrast.
Focus on demand – use the focus button on the base of the Easi-View Pro or click
on the focus icon to automatically to bring the image into focus. This is the best
mode to use when viewing documents.
Continuous – the Easi-View Pro will continuously re-focus as required. This is the
best mode to use when you are using the Easi-View Pro as a web cam
The current focus mode is shown on the base of the Easi-View Pro. An LED will
light to show the focus mode.
Connecting to a PC
Please install the Easi-View Pro software before connecting to the PC for the first
time. Plug the Easi-View Pro into an available USB socket and power the Easi-
View Pro using the external power supply.
The first time Easi-View Pro is connected to the PC; it will automatically locate the
correct drivers.
The PC will recognise the device as a USB Video device and it will appear as a
video device in the Scanners and Cameras section in “My Computer” – Win XP
only.
EASI VIEW PRO MANUAL.indd 5 11/03/2015 15:33

Installing Easi-View
Choose your language and click on
“OK” to continue.
The software will now install on your
computer.
Click on “Install” to continue
Click on “Yes, I want to restart
my computer now”, to finish the
installation process.
Mac OS installation
To install the Mac OS X version of the software, drag the dmg file from the disk
onto the applications folder.
Windows 7 installation
Know your Easi-View Pro
Easi-ViewTM Pro
EASI VIEW PRO MANUAL.indd 6 11/03/2015 15:33

Software UI
The preview resolution of an image
can be set in the options menu.
Choose a resolution at least as good
as your computer screen.
The still resolution is set separately
using the snapshot menu.
Taking pictures
Video capture
To take a picture use the snapshot button on the Easi View or simply
click on the “photo” icon. To view your pictures, select “open my
pictures” in the “View” menu and navigate to the folder which will be
saved in date order.
If the image appears upside down, use the rotate function to flip the
image so it is viewed the right way round.
The Easi View has an autofocus feature. You can re-focus at any time
by clicking on the “focus” icon or on the focus button on the device
itself
To capture live video, just click on the “video” icon. The icon will turn
red and you will be asked for confirmation. To stop recording, just
click on the icon once more. In the “capture” menu, there is an option
to set the maximum capture time to prevent very large files being
created.
EASI VIEW PRO MANUAL.indd 7 11/03/2015 15:33

Using Easi-View Pro as a webcam
The Easi-View Pro has a built in microphone and can be used as a web cam with
popular applications such as Skype.
Plug in the Easi-View Pro via USB and ensure the two 3.5mm jacks are plugged
into their respective ports for speaker (Green) and microphone (Pink).
Use your software application to select the Easi-View Pro as the source.
Using the Easi-View Pro as a stand-alone device
Easi-View Pro can be connected directly to an external monitor or LCD projector
equipped with an SVGA input. Power the Easi-View Pro using the power adaptor.
Using a VGA lead (not supplied), connect the lead to the VGA port on the
visualiser, and the other end of the lead to the projector or monitor.
Your monitor or projector should auto-detect the Easi-View Pro and display
the image. If this does not happen consult the user guide of your monitor or
projector.
Know your Easi-View Pro
Easi-ViewTM Pro
EASI VIEW PRO MANUAL.indd 8 11/03/2015 15:33

Technical Specification
5MP sensor true resolution sensor
Autofocus (6cm minimum distance)
Flexible 40cm gooseneck
Separate lighting stalk with4 x super-bright LEDs
USB 2.0 connection
SVGA output
4X digital zoom
Internal speaker and microphone
Multi-mode focus control
Troubleshooting
Easi-View Pro is designed to work reliably and predictably in all normal
conditions. However, it is possible that problems may occur. Please check the
following before contacting technical support.
Problem Auto Focus does not function
Solution The image contrast is not sufficient. Place some
high contrast material over the subject and re-focus.
Alternatively use the Easi-View pro in manual focus mode.
Problem Image is too dark
Solution Press the light button or use an external light source.
Problem Image is blurred
Solution The camera is too close to the object being viewed. Ensure
the camera is at least 6 cm away from the object and try
again..
Problem Image is blurred.
Solution Image is out of focus press the □(focus) button to bring
the item into sharper focus.
EASI VIEW PRO MANUAL.indd 9 11/03/2015 15:33

International Charging Adaptor
The Easi-View Pro is supplied with a multi-region adaptor. The adaptor is
supplied with the UK plug fitted but you can change this easily to suit any
country. Press the release button behind the plug head and slide the UK plug
out and replace with the required plug module. Slide the plug module in until it
“clicks” in place securely.
The safety isolating transformer to be used with the product should be regularly
examined for potential hazards such as damage to the cable, cord, plug,
enclosure or other parts. In the event of any damage, the adaptor must not be
used until the damage has been properly repaired.
Know your Easi-View Pro
Easi-ViewTM Pro
EASI VIEW PRO MANUAL.indd 10 11/03/2015 15:33
Table of contents
Other TTS Document Camera manuals
