fatness a wide range of sonds from ’clean’ over
’fat’ to ’dirty’ and finally ’detuned’ can be achieved.
ADJUST FATNESS LOCALLY
1. Long press the Key Transpose button until it
starts flashing
2. Select “Fatness” by playing F#3 (F sharp 3) on
the keyboard.
3. Choose the amount with the number keys C#1
(1) - E2 (16) on the keyboard.
4. Press Key Transpose to exit programming
mode.
ADJUST FATNESS VIA MIDI CC
This is much more straightforward. Connect any
midi controller, and assign MIDI CC #27 for
fatness, and CC #26 for detune to any rotary
controller or fader you have handy, and adjust
them in real time. Make sure that your controller is
transmitting on the MIDI channel you’ve selected
for the Juno-66, otherwise this will not do
anything, and it will get confusing.
It’s easy to get discouraged with things like this
which aren’t clear, or built into the panel of our
instruments. Don’t get discouraged. Make sure
everyone is talking to eachother on the same
channel, and if it doesn’t work the first time, read
all this again, and give it another try. The cheat
sheet is also helpdul so you can double check
midi CC numbers, and find the correct keys
quickly.
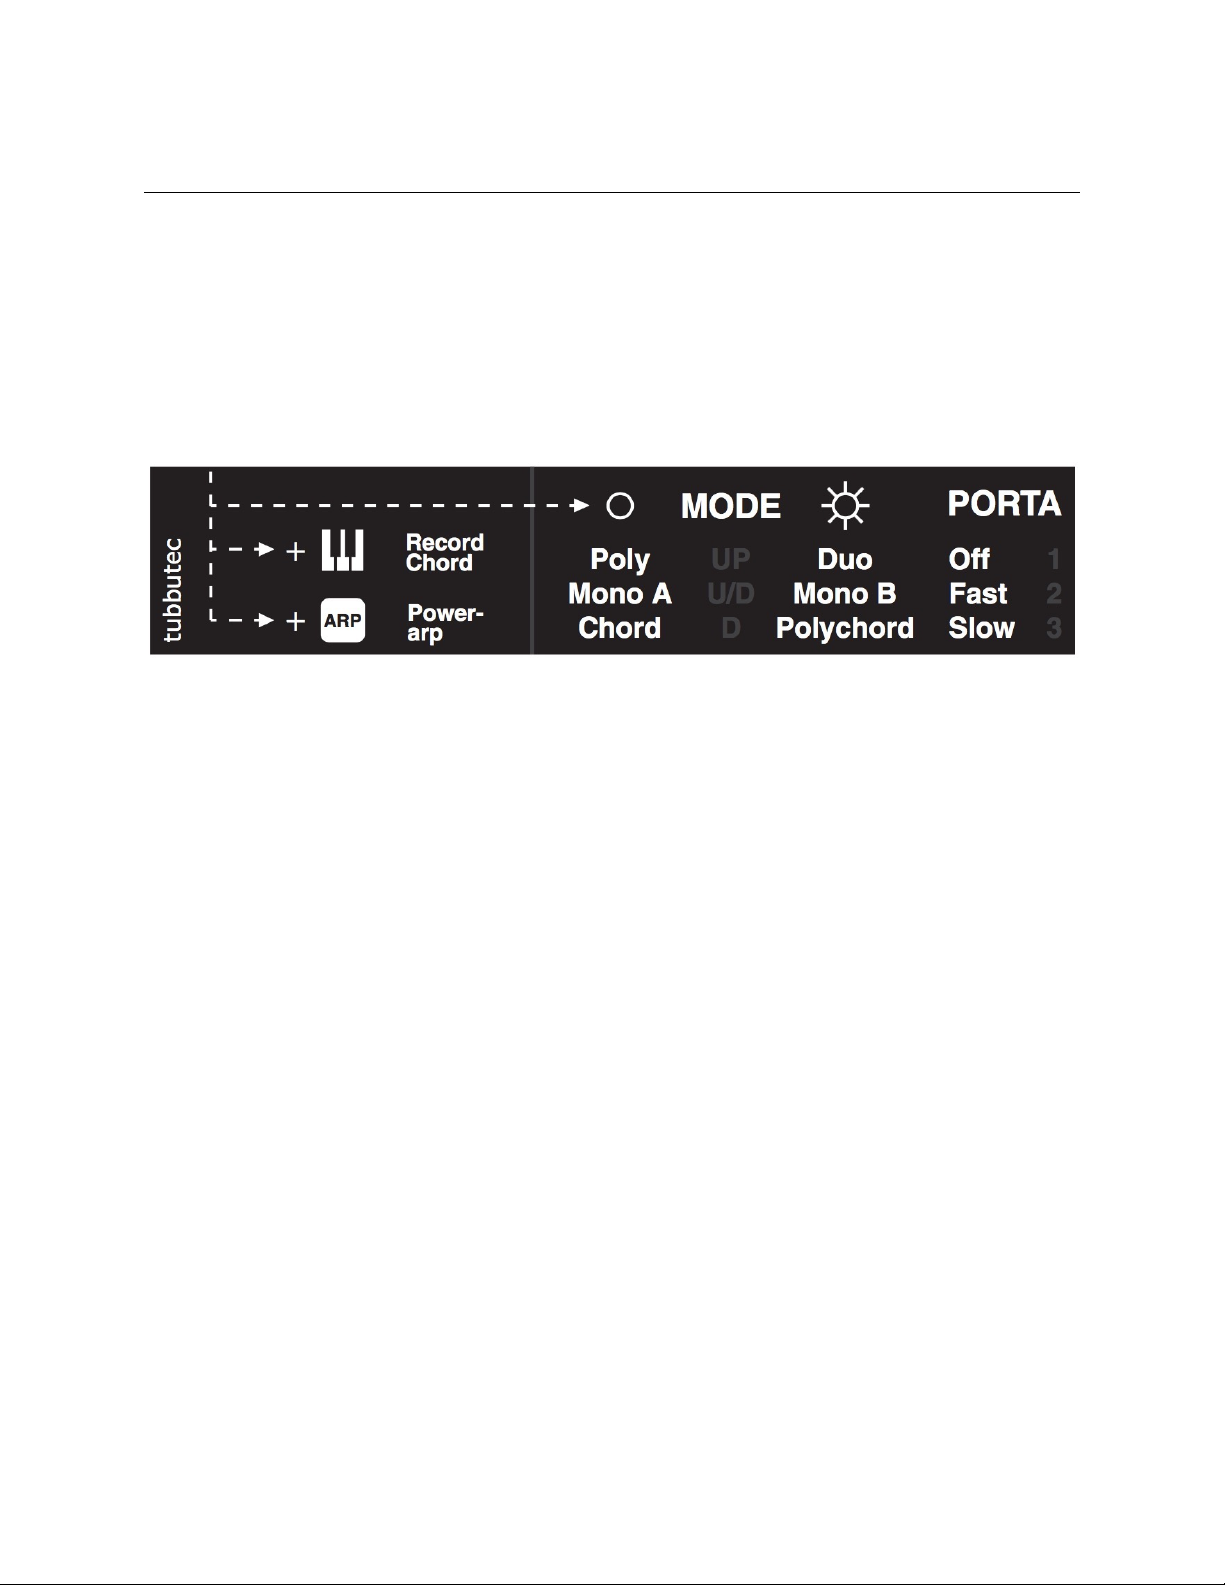
VOICE STEALING
Voice stealing is performed so that only the
second played voice is replaced, the first stays
until released.
Use the config menu to select between Duo and
Three-voice modes. "
THREE VOICE (TRI)#
The three voice mode optionally replaces the Duo mode.
Use the config menu to select which of the two are used when setting the panel switch to Duo.
SWITCH BETWEEN DUO & THREE VOICE
MODE
1. Hold the Key Transpose until it is flashing
(Programming Mode).
2. Press F#2 (F sharp 2) for TRI (three Voice
Mode) or F2 for DUO.
3. Press KEy Transpose again to exit
programming mode.#
NOTE
You can freely switch back and forth using this
technique, and whichever mode you select,
switching between POLY and DUO mode will
access whichever of these modes you have
selected.
FATNESS
Three voice mode layers two oscillators per voice
and detunes the voices to create a thicker, denser
sound similar to the ’supersaw’ or ’supersquare’
modes often found in synthesizers.
ADJUST FATNESS LOCALLY
1. Long press the Key Transpose button until it
starts flashing
2. Select “Fatness” by playing F#3 (F sharp 3) on
the keyboard.
3. Choose the amount with the number keys C#1
(1) - E2 (16) on the keyboard.
4. Press Key Transpose to exit programming
mode.
ADJUST FATNESS VIA MIDI CC
This is much more straightforward. Connect any
midi controller, and assign MIDI CC #27 for
fatness, and CC #26 for detune to any rotary
controller or fader you have handy, and adjust
them in real time.
By adjusting the fatness a wide range of sonds
from ’clean’ over ’fat’ to ’dirty’ and finally ’detuned’
can be achieved. #