2 tvONE
Get to know your hardware
In this section
Hardware recommendations 2
Extractor tool 2
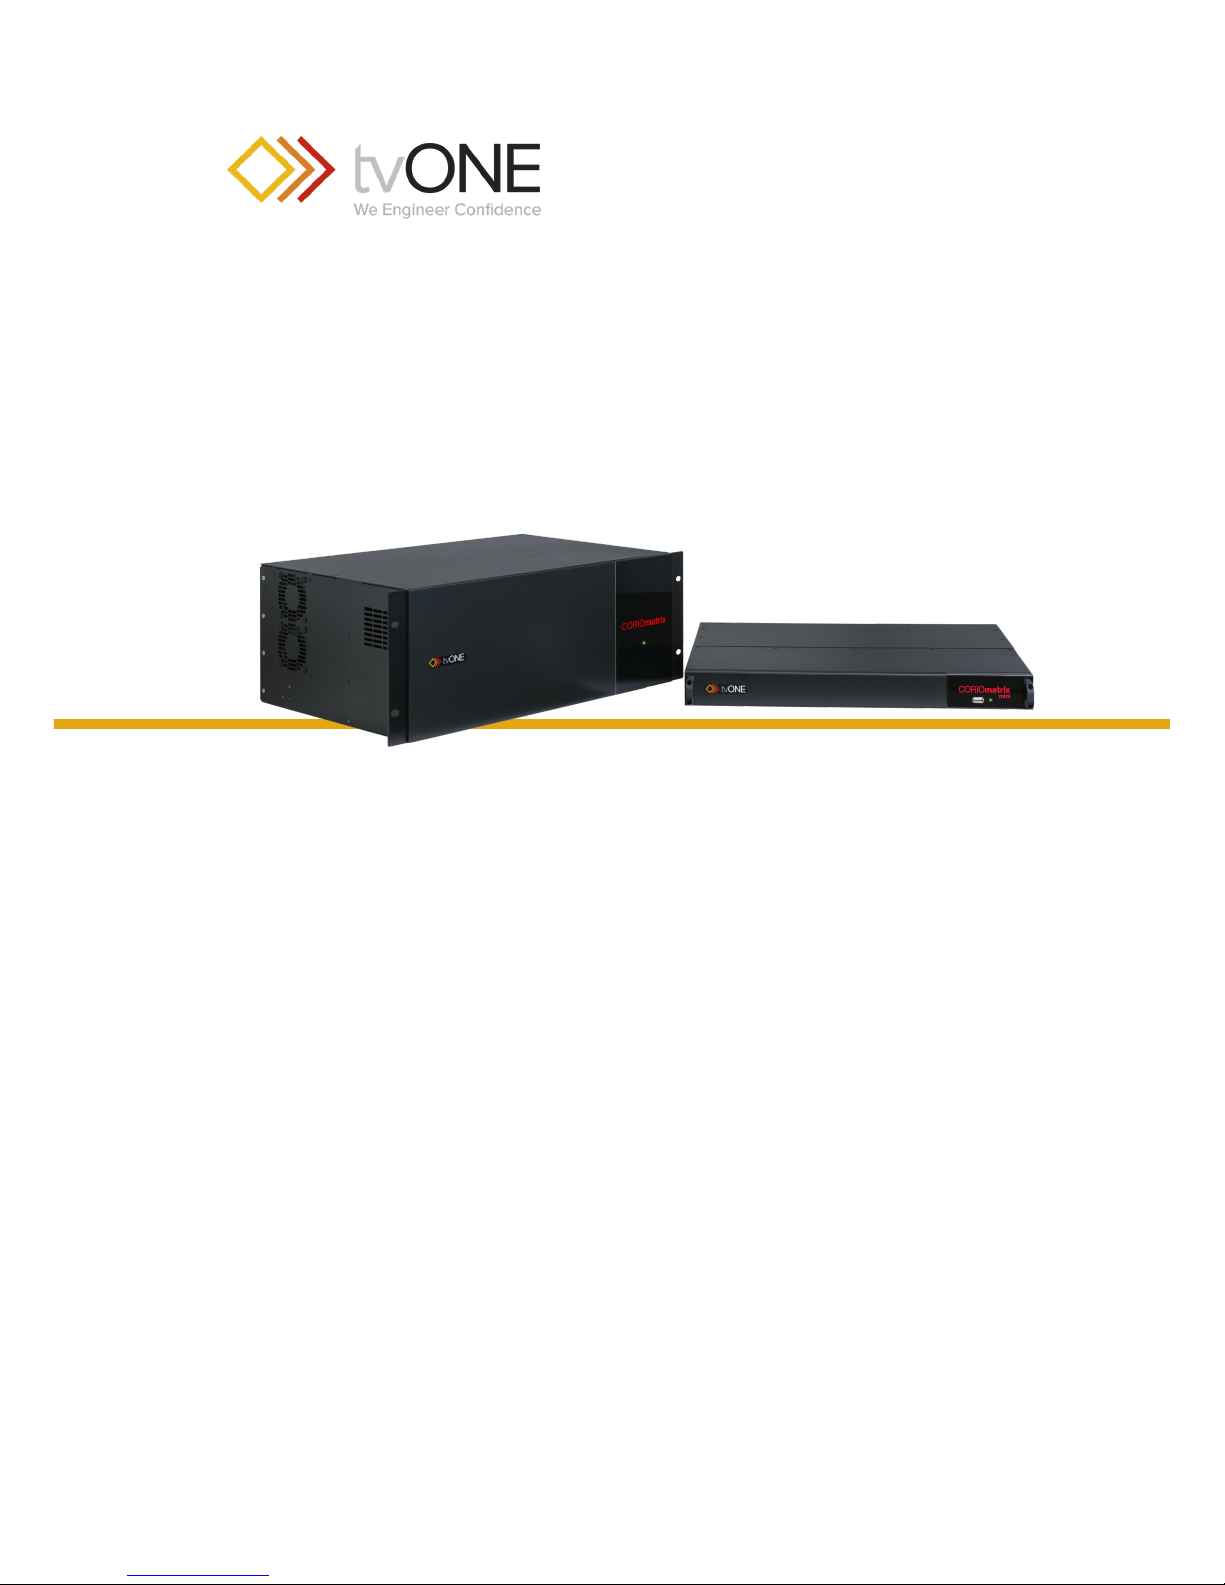
About your CORIOmatrix™ 3
About your CORIOmatrix™ mini 4
Hardware recommendations
At tvONE, we design our products to the highest quality standards. To
get the best results from our products, we recommend that you use
the best quality connectors, cables, and adapters. Consider the points
below when you choose accessories and position equipment.
nFor best results with HDMI/DVI, use cables under 15m long, or
shorter if you use connection adapters. If you need to place your
products more than 15m apart, use a signal extender.
See our range of signal extenders at tvone.com/signal-extension-
systems.
nFor best results with HDMI, use High Speed or Premium High
Speed HDMI cables.
nIn industrial environments, use shielded Ethernet cables.
Shielded Ethernet cables are often marked F/UTP or FTP. This is
relevant when using HDBaseT modules for Cat 6 and AVIPmodule
for USB.
nUse good quality USB drives compatible with USB 3.0.
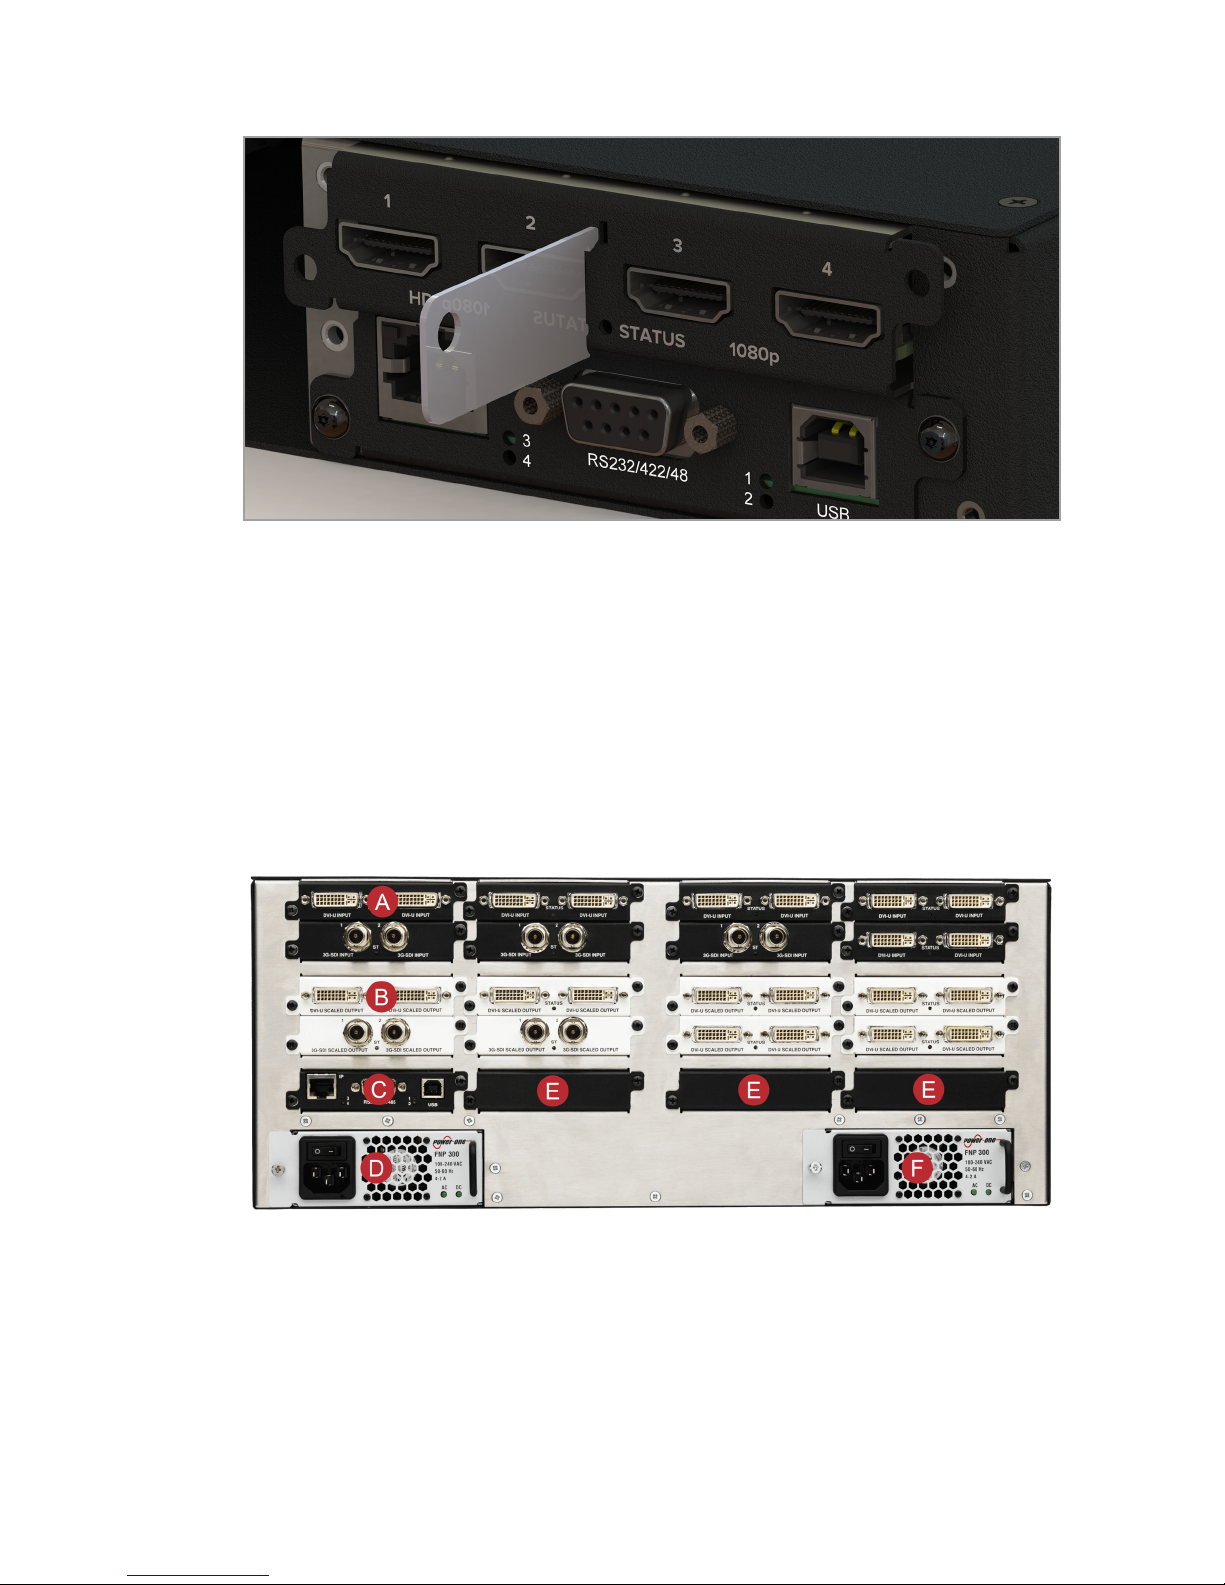
Extractor tool
Modules with four inputs or outputs can be difficult to remove. Some,
including HDMI four input, are designed with a small notch. Use the
extractor tool to hook into the notch and pull out the module, as
illustrated.