1.0 INTRODUCTION
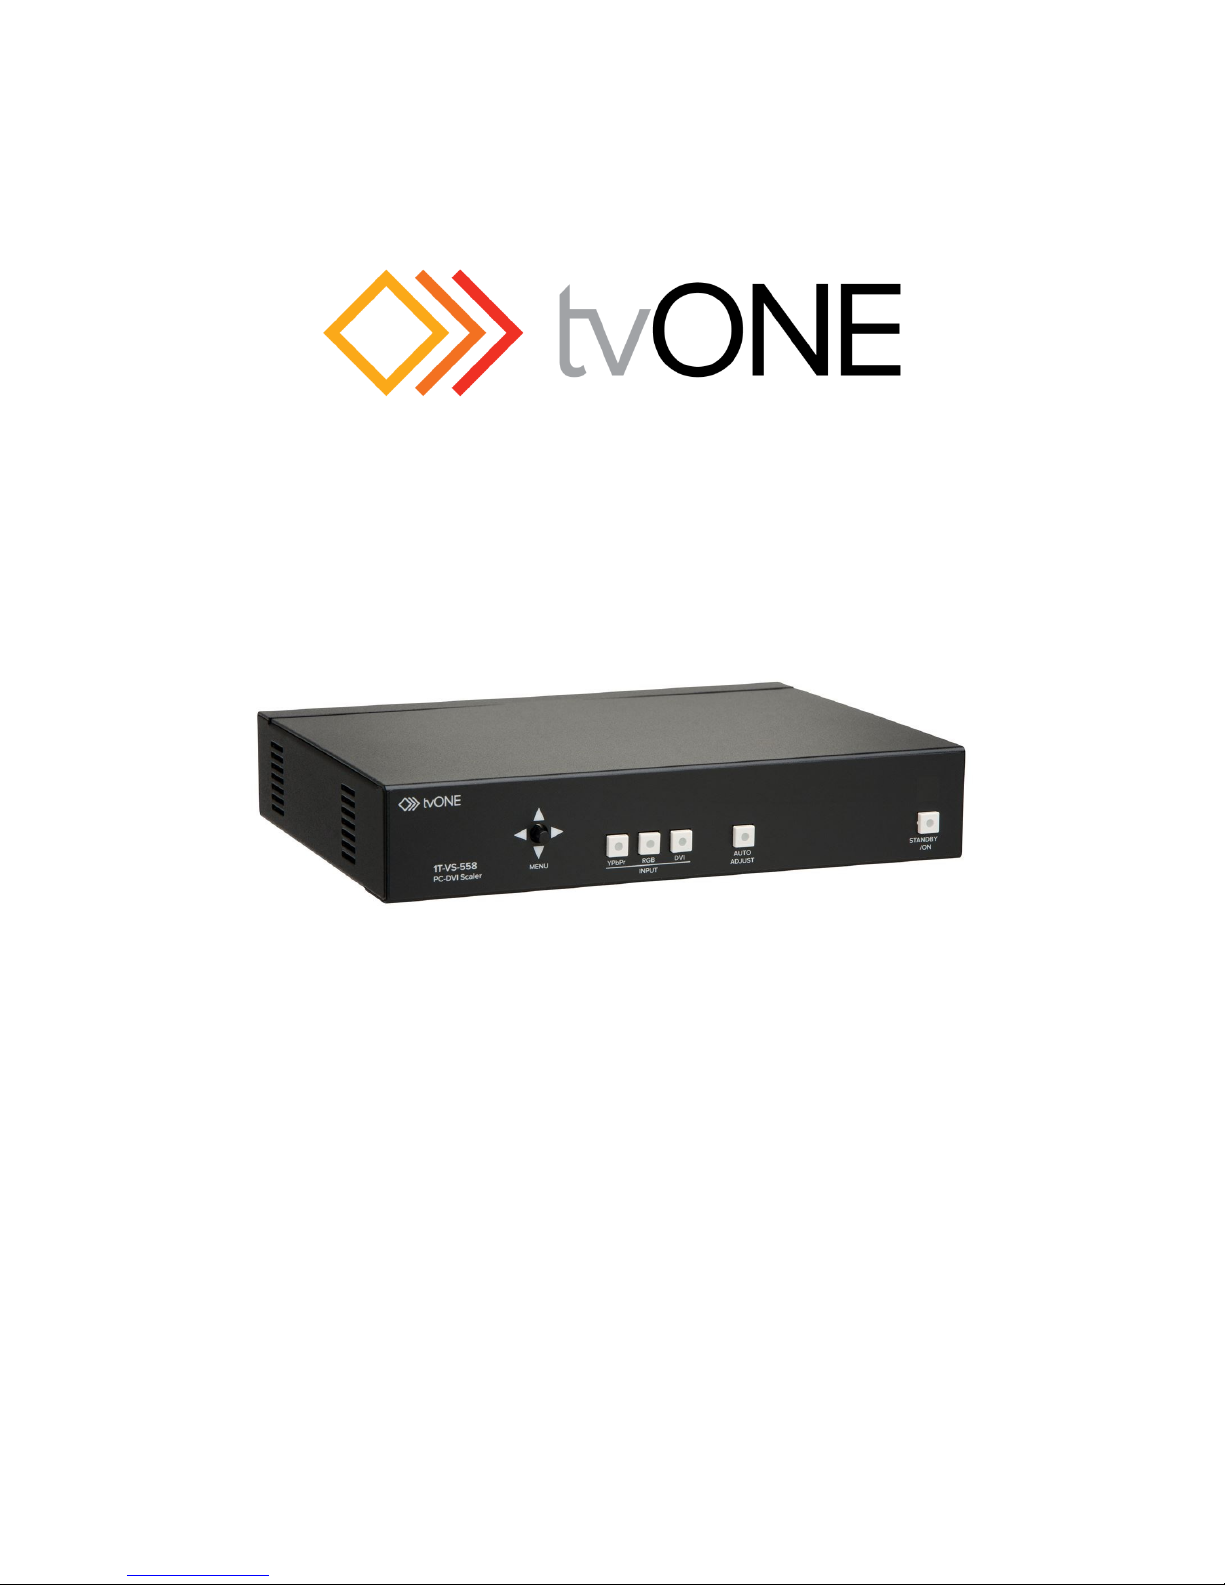
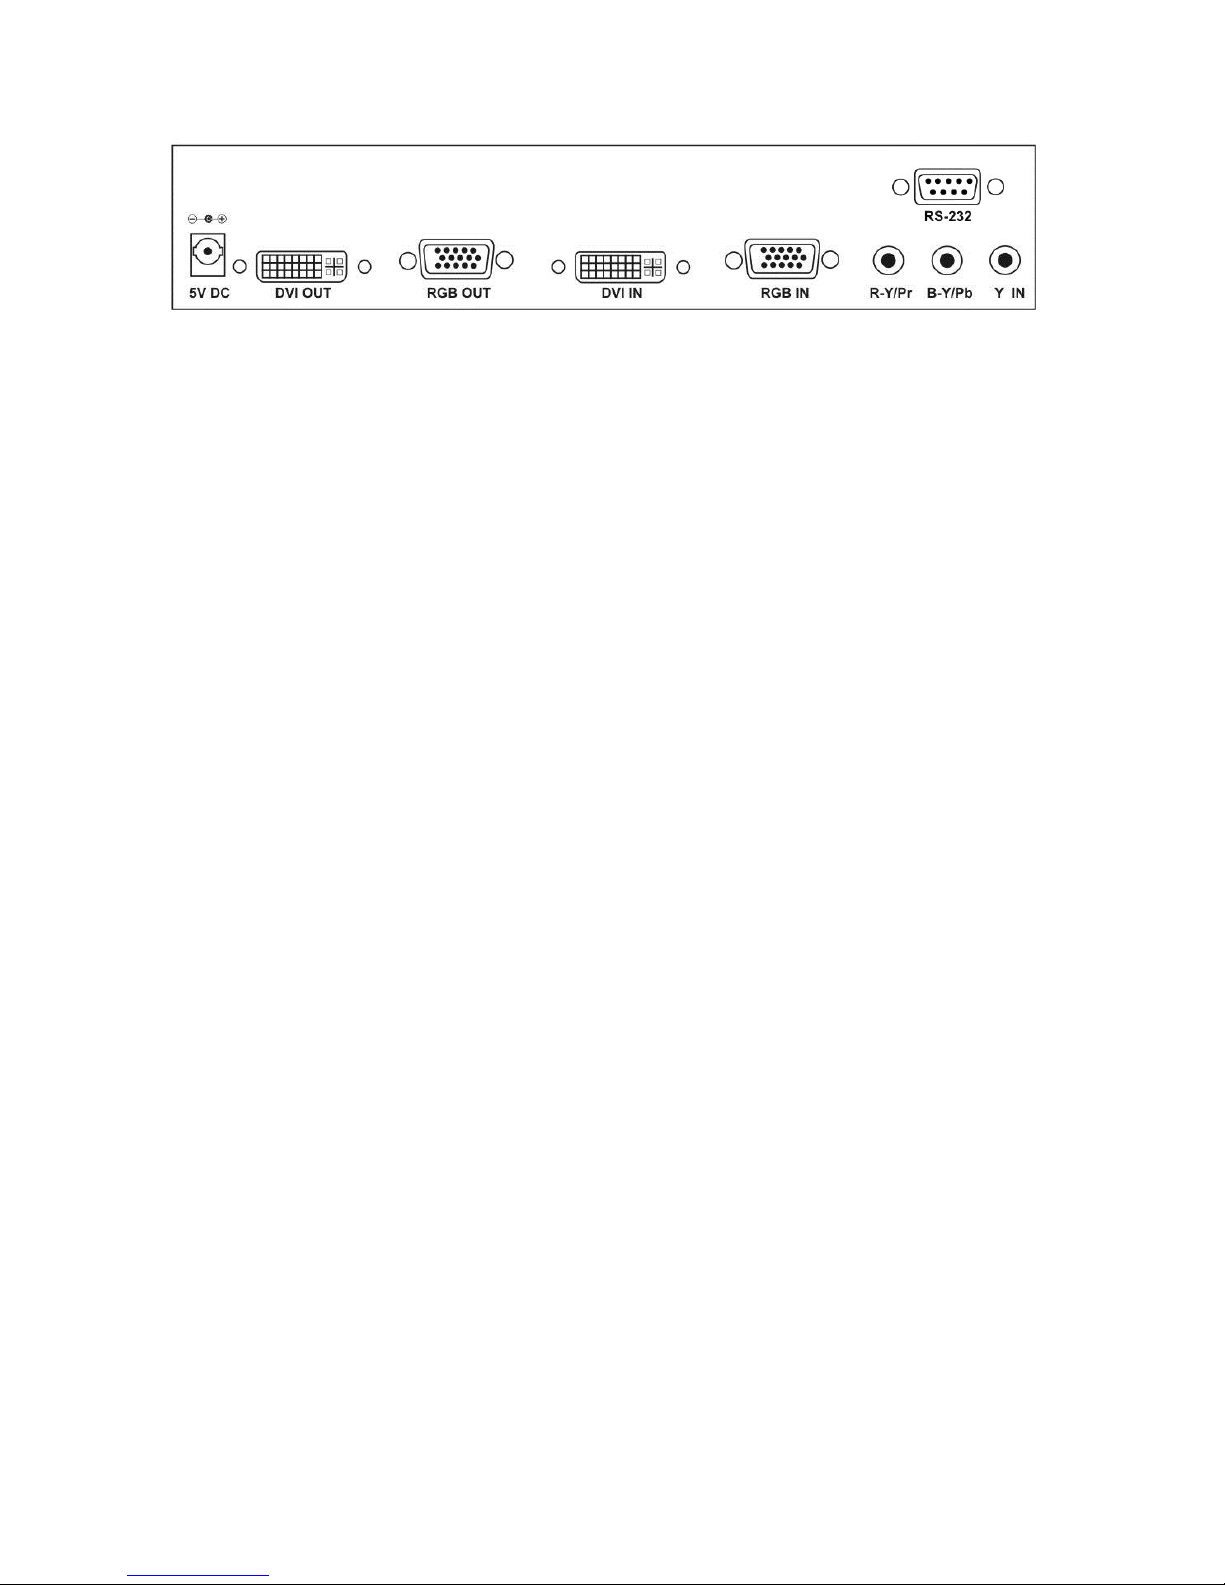
Thanks for purchasing this 1T-VS-558 PC/HD/DVI Scaler from tvONE. The 1T-VS-558 Video
Scaler is a high bandwidth, professional Cross Converter for Analog and DVI formats. The
unit has separate Analog and DVI inputs and outputs via HD-15 and DVI-I connectors
respectively. It accommodates resolutions up to WUXGA and 1080p and allows
conversion between them. The unit also accepts 480i/576i YUV interlaced analog
component video, such as from a DVD Player for up-conversion.
Our professional video conversion products have been serving the industry for over
twenty years. tvONE offers a full line of high quality Seamless Switchers, Video Scalers,
Up/Down/Cross Converters, Analog-Digital Converters (SD/HD-SDI, HDMI, DVI), Format
Converters, Standards Converters, TBC/Frame Synchronizers, Matrix Routing Switchers,
Signal Distribution Amplifiers and Cat.5/6 Transmission Systems.
1.1 Liability Statement
Every effort has been made to ensure that this product is free of errors. tvONE cannot be
held liable for the use of this hardware or any direct or indirect consequential damages
arising from its use. It is the responsibility of the user of the hardware to check that it is
suitable for his/her requirements and that it is installed correctly. All rights reserved. No
parts of this manual may be reproduced or transmitted by any form or means electronic or
mechanical, including photocopying, recording or by any information storage or retrieval
system without the written consent of the publisher.
tvONE reserves the right to revise any of its hardware and software following its policy to
modify and/or improve its products where necessary or desirable. This statement does not
affect the legal rights of the user in any way.
All third party trademarks and copyrights are recognised. The tvONE logo and CORIO
logo are the registered trademarks of tvONE. All other trademarks are the property of their
respective holders.
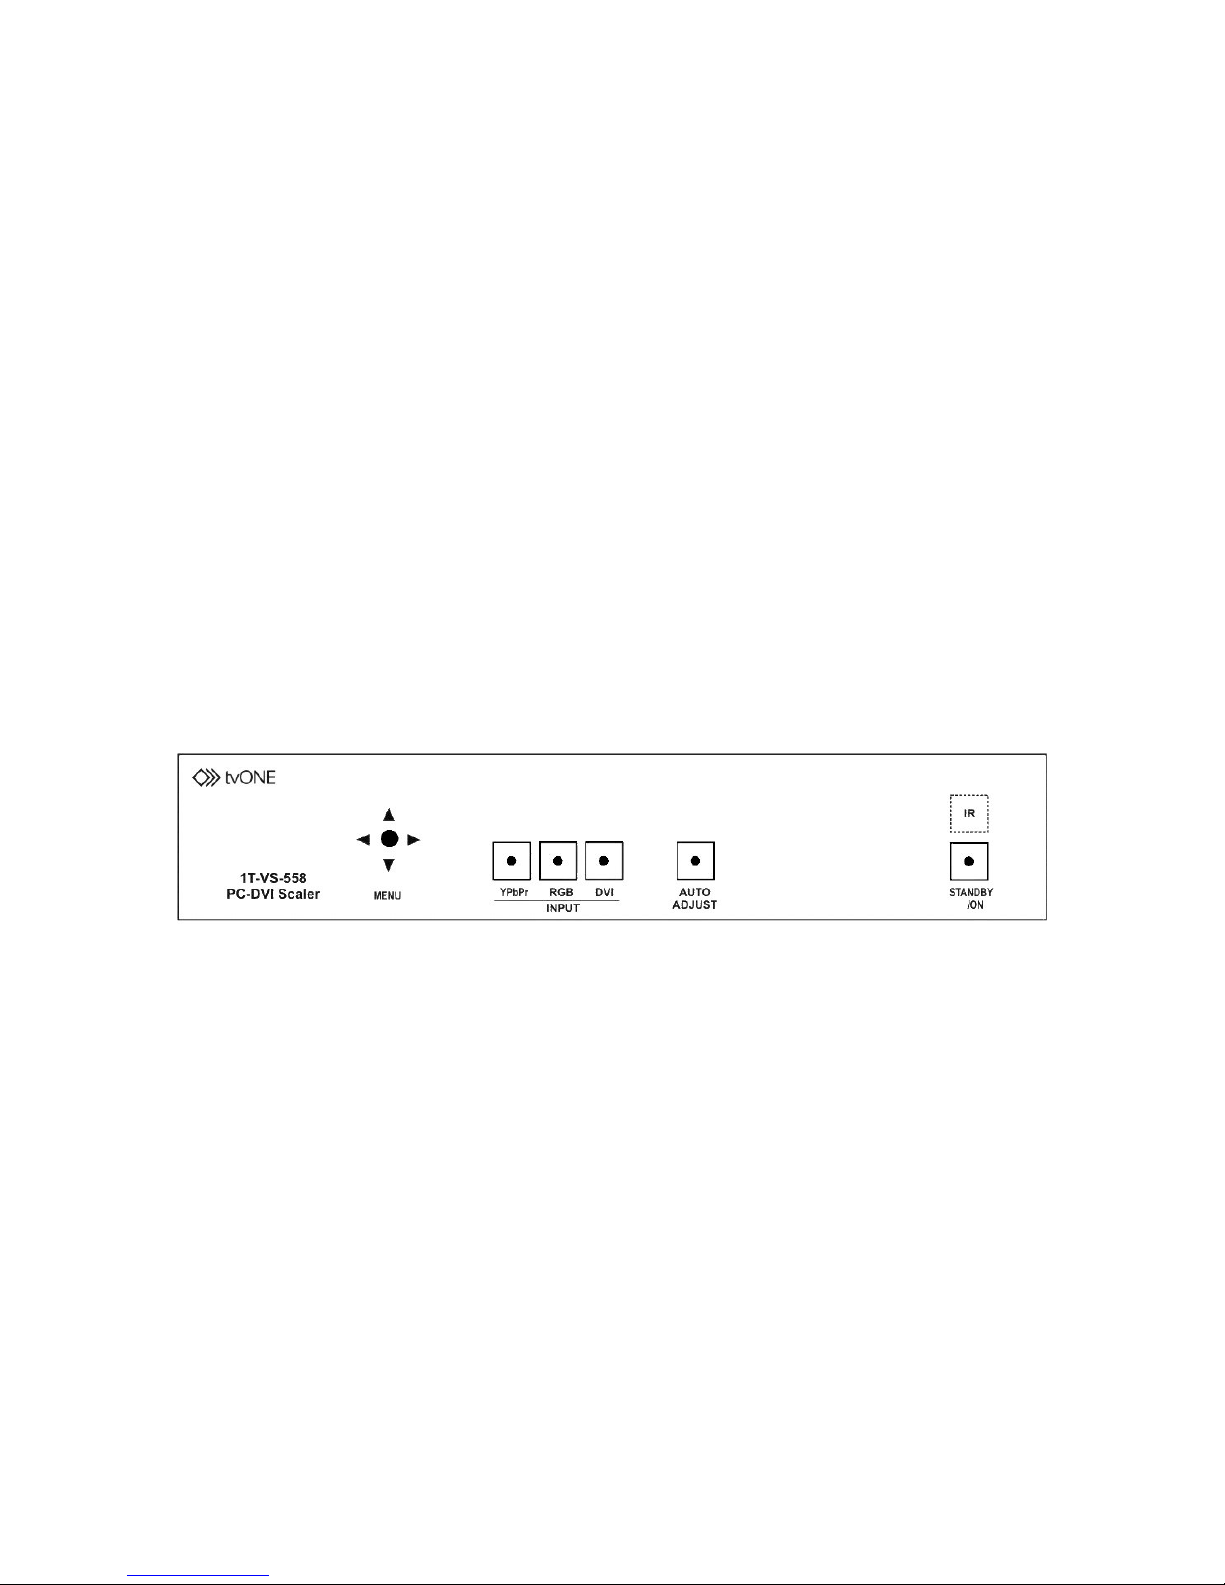
1.2 Features
The 1T-VS-558 has many features that enable it to perform in a superior manner.
Among those features you will find:
Cross Conversion
I/O Max Res: WUXGA and 1080p
Input Formats: RGBHV, YPbPr, YUV
Output Formats: RGBHV
Bi-directional Digital-Analog
Converter
DVI I/O is fully HDCP Compliant
3-D Motion Adaptive De-Interlacing
3-D Noise Reduction
3:2 Pull-Down
2:2 Pull-Down Recovery
Automatic Size/Position
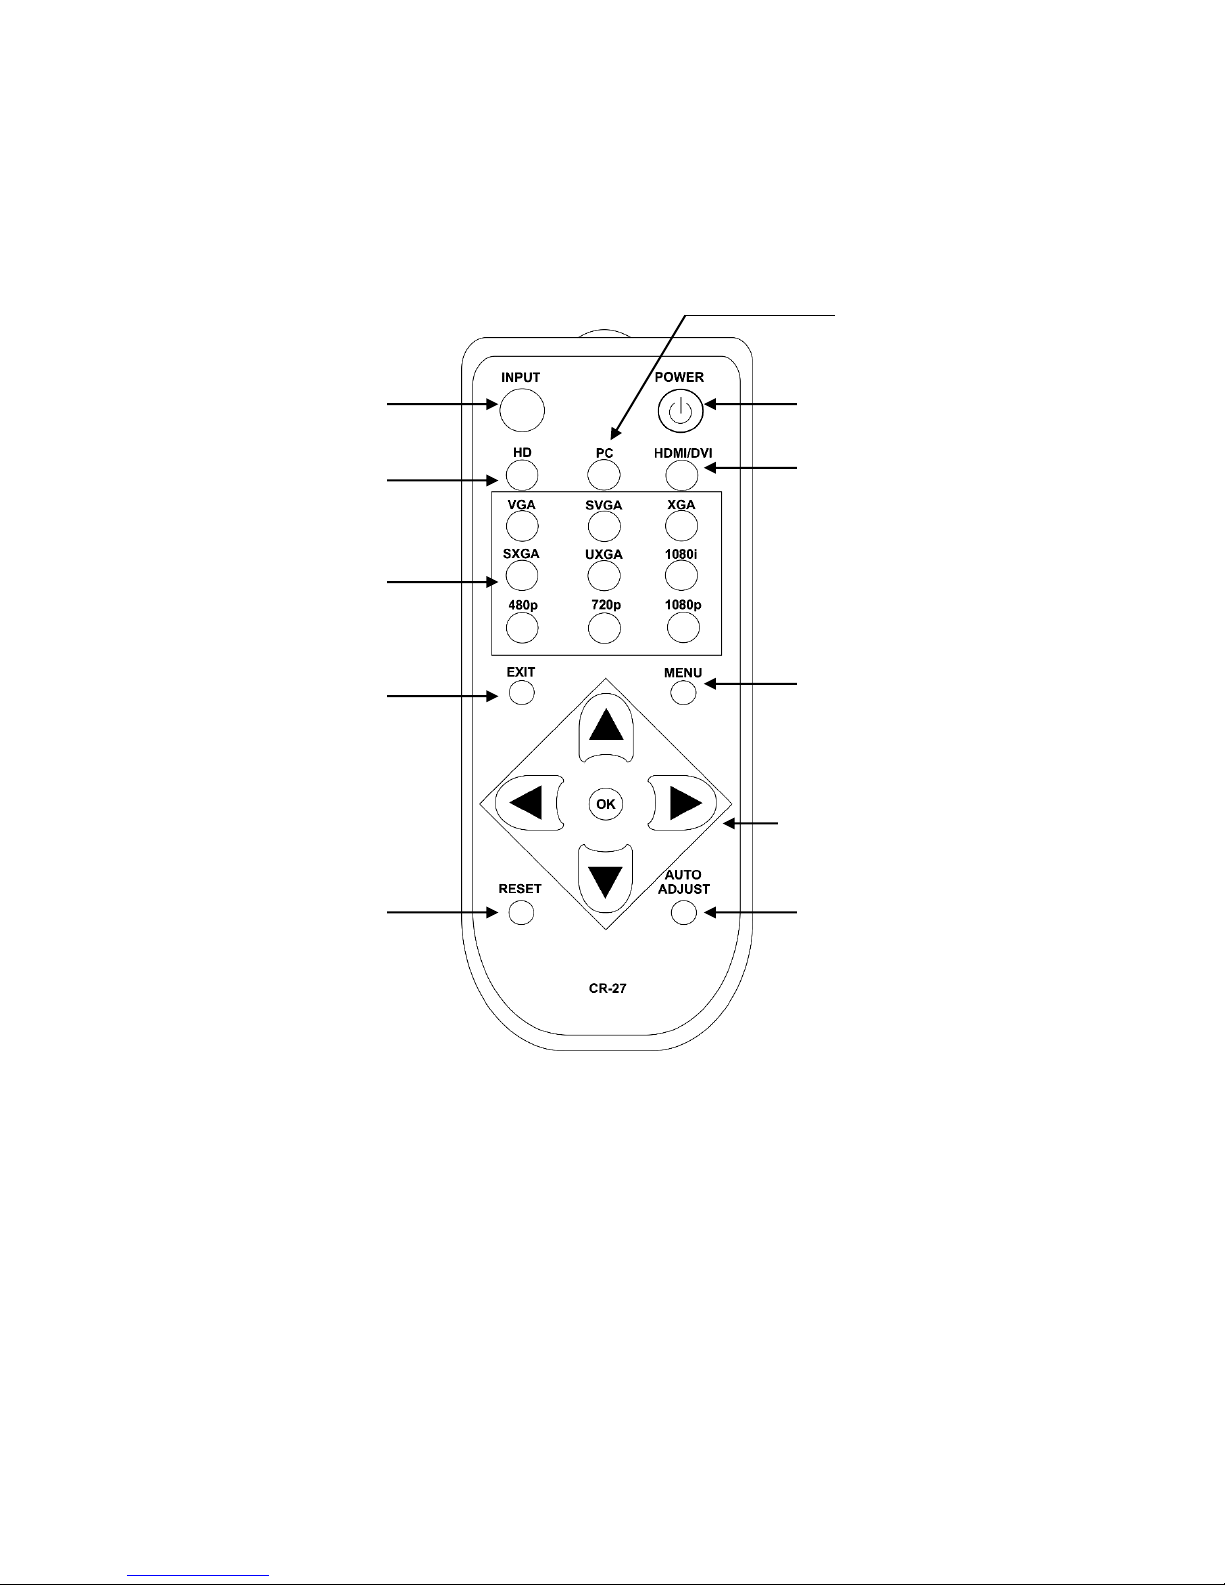
Infrared Remote Control
Locking DC Power Supply
Optional Rackmount Kit
(RM-220 Single/Dual)