TX Digicast DABTX350 User manual

DABTX350
With Integrated COFDM Modulator
and Doherty RF Ampli ier
User Manual
WARNING!
This Transmitter is capable o generating high RF potential.
Touching internal parts, or the connected antenna system, will
cause serious RF burns. Antenna systems should be installed
such that exposure by any person to RF ields cannot exceed sa e
limits. The permitted limits vary rom country to country. Expert
advice should be sought about the sa e installation o this
transmission system.
RISK OF FIRE!
RF (Radio Frequency) energy could cause ignition o combustible
sur aces during ault conditions. Installation should be le t to
quali ied personnel. RF can cause burns to skin. Ensure antenna
systems and eeder cables are not situated near, or could all
onto, any combustible sur ace.

IMPORTANT!
Always reduce the RF Output power to minimum be ore changing
the transmission requency. Once the new requency is active,
slowly increase the RF output power control to provide the
required power output level.
WARNING!
Never operate this device without a suitable 50 ohm load
connected to the RF OUTPUT socket, or without a suitably
installed and matched antenna system connected. Although the
output o this transmitter is protected against antenna load
aults, MIS-OPERATION MAY RESULT IN DAMAGE NOT COVERED
BY ANY WARRANTY.
IMPORTANT!
Correct operation o the cooling ans in this product is vital to
reliable continuous operation. Schedule bi-annual maintenance
checks. We strongly advise the use o a standby transmitter
system or use during maintenance events or ault conditions, to
prevent prolonged breaks in transmission.
IMPORTANT!
Consideration should be given to itting a suitably rated UPS i
power interruptions are likely. Similarly, telemetry reset o power
may be advisable or transmitters in remote areas, or having
restricted access arrangements.

The TXDAB350 is a power ul 350W (DAB) transmitter with integrated
COFDM modulator and Doherty RF power ampli ier.
The product is tested or compliance to UKCA and CE standards, and
meet the requirements o broadcast regulators.
TX Digicast’s reliable range o transmitters are used by broadcasters
worldwide, and bene it rom 25 years o engineers’ design experience.
At the heart o the TXDAB350 is a high quality COFDM modulator, and
the Doherty RF Power Ampli ier uses the latest MOSFET devices,
achieving new levels o e iciency and reliability.
This all-in-one complete DAB broadcast solution also has TCP/IP
connectivity, as well as TTL remote control and monitoring, which
allows easily integration into systems with automated back-up.
In
troduction

These instructions should be read in ull be ore the transmitter is
operated.
The sa ety and operating instructions should be retained or uture
re erence.
All warnings on the transmitter and in the operating instructions
should be adhered to.
All operation and user instructions should be ollowed.
Use o this device into a radiating antenna requires a valid licence rom
a Spectrum Management Authority in most countries.
Use o this device as part o a transmission system, or combined
transmission system not speci ied by the manu acturer, may require
urther testing to ensure that it remains compliant with the essential
requirements and other relevant provisions o current EU Low Voltage,
EMC and Radio Equipment Directives. Approval and clearance rom the
Spectrum Management Authority may also be required.
Installation must adhere to sa ety regulations and the requirements o
the relevant authorities. We recommend that at least two people are
present during installation. Keep a ile containing installation
instructions and plans, including details o the transmission system
(antennas, eeders, ilters, etc) and operating instructions or all
equipment at the transmission site at all times. Display posters
detailing irst aid treatment and treatment or electrical shock, along
with telephone numbers or contacting the emergency services in the
event o personal injury.
Ensure antenna system lightning strike protection is in place.
To reduce the risk o electrical shock, do not remove the cover, or any
screws. There are no user serviceable parts inside; re er servicing to
quali ied personnel.
Do not expose this appliance to rain or moisture. The transmitter
should not be used near water. Care should be taken so that objects
do not all - and liquids are not spilled - into the enclosure through
openings.
Be ore operating

To reduce the risk o ire, always replace uses with the same type and
rating.
The transmitter should be mounted into a well-ventilated standard 19
inch equipment rack, using slide supports. It should be situated so that
its location or position does not inter ere with its proper ventilation.
The transmitter should be situated away rom heat sources.
The transmitter should be connected to a power supply only o the
type described in the operating instructions or as marked on the unit.
Precautions should be taken so that the grounding or polarisation o
this appliance is not de eated.
The unit should be cleaned only as recommended by the
manu acturer.
The transmitter should be serviced by quali ied service personnel i it
does not appear to operate normally, exhibits a marked change in
per ormance, has been subjected to shock, damage, moisture, or i
oreign objects have ingressed.
The user should not attempt to service the transmitter beyond that
which is described in the Operating Instructions. All other servicing
should be re erred to quali ied service personnel.
This appliance may become warm under normal operating conditions.
Recycle according to WEEE regulations.

1. Front and Rear Panels…
1. PSU RETAINING CLIP Push to the right in order to release the PSU,
then pull orward gently, using the handle.
2. MULTI-FUNCTION KEYS Push-button controls or UP, DOWN, LEFT,
RIGHT and OK. For navigation o the LCD menu.
3. RF MON BNC RF monitoring point. Provides a sample o the output
RF at approximately -40dB. Do not use or measuring compliance.
4. PSU DC OK This LED indicates that the Power Ampli ier Supply (48V
DC) is working.
5. PSU AC OK This LED indicates that the AC mains power is connected.
6. SYSTEM. I this LED is green, all system parameters are operating
correctly. I it is red, the transmitter needs urgent attention.
7. FWD I this LED is green, the orward RF power is operating. I this
LED is red, the RF power is not present. This may be intentional, due to
user settings, or it may be due to a ault with the connected antenna
system.
Controls and Connectors

8. REF I this LED is green, the orward re lected RF power is within
acceptable levels. I this LED is red, the re lected power rom the
antenna system is too high, and must be recti ied.
9. LOCAL I this LED is green, the system is operating normally and can
be accessed remotely, via TCP/IP ethernet. I it is red, the systems
settings are being accessed locally (via the ront panel display menu),
which takes precedence.
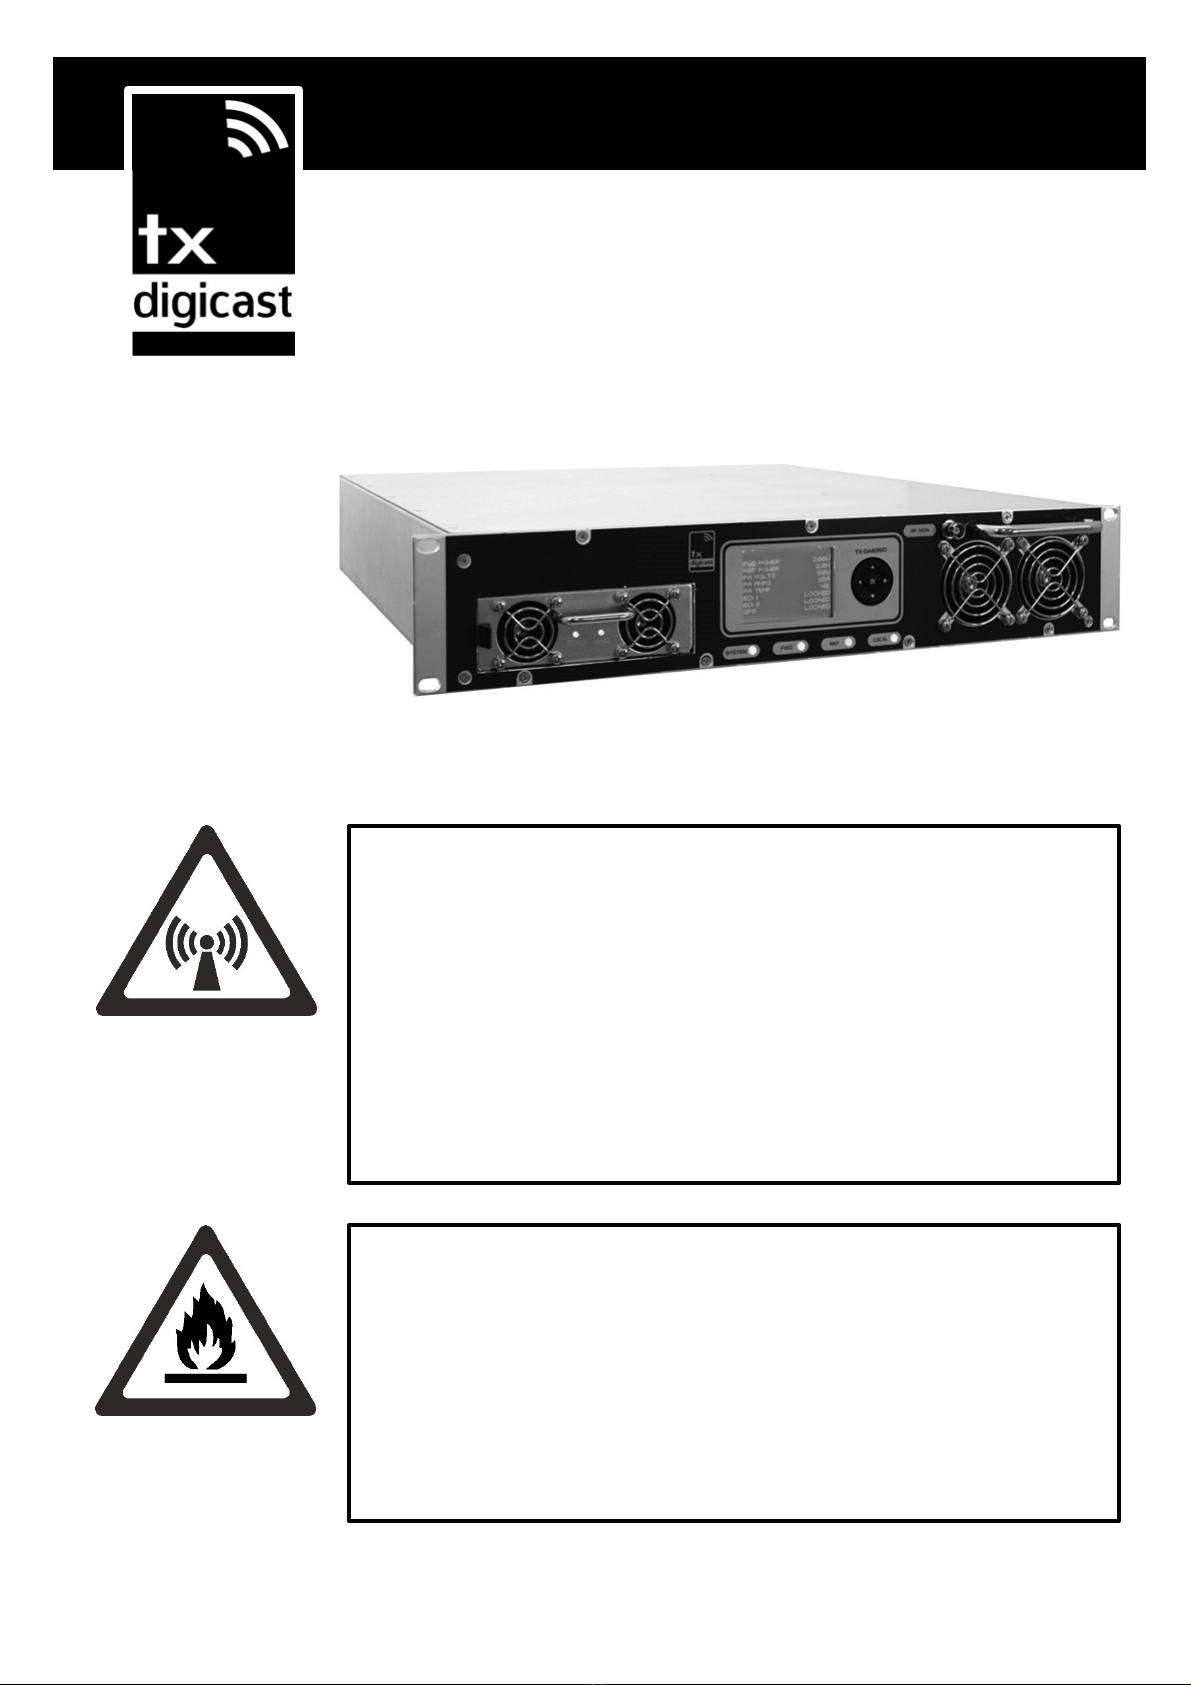
10. RF OUTPUT ‘N’-type socket. This is the RF power output or the
antenna system. Connect the mask ilter and antenna to this socket.
11. ETHERNET RJ45 ICP/IP Socket. I internet connectivity is required,
connect the LAN to this socket. Ensure that the local router has
maximum security and Firewall protection enabled.
12. EARTH STUD M4 threaded earth stud. Connect additional earthing
to this point, in accordance with local regulations.
13. REMOTE . This 9-way ‘D-sub’ socket can be used or remote control
and monitoring o the transmitter. It also enables automatic switching
o N+1 back-up system con igurations.
Pin 1. This output pulls-low when the RF orward power
condition is OK. It will loat high when an ‘alarm’ condition (no RF
output) is present.
Pin 2. This output pulls-low when the RF re lected power
condition is OK. It will loat high when an ‘alarm’ condition
(re lected power too high) is present.
The above ‘Open Collector’ outputs are capable o operation up
to 50V and sinking a current o 75mA maximum. The normally
high, (ie. ‘pull low’ upon alarm condition) provides inherent
‘power ailure’ or ‘cable connection ailure’ signalling.
Pin 3. Grounding this pin will mute the RF output o the
transmitter.
14. EDI1 IN. RJ45 ICP/IP Socket. Connect the main EDI eed rom the
multiplexer to this input.
15. EDI2 IN. RJ45 ICP/IP Socket. Connect the reserve or secondary EDI
eed rom the multiplexer to this input.

16. SYSTEM. RJ45 ICP/IP Socket. This is reserved or use by the
manu acturer or system changes and irmware updates, and should
not be used.
17. GPS. SMA connector. Connect the external GPS antenna to this
socket.
18. F SENSE. SMA Connector. The ilter output should be connected to
this socket, via a suitable coupling mechanism. This allows the
modulator to automatically optimise the COFDM signal to compensate
or the mask ilter’s characteristics.
19. POWER. Connect a power lead with an IEC C13 connector (and a 13
amp use in the plug or at the distribution panel) to this socket. Two
T12 amp (time delay) uses are itted within this connector’s Fuse
carrier.

The ront panel LCD shows the transmission parameters. Press the
down key to see the remaining items.
To enter the settings menu, press and hold the ‘OK’ key or 3 seconds.
The DABTX350 will enter LOCAL mode and the ollowing settings will be
displayed:
Display & Menu

Use the UP and DOWN buttons to choose the setting to be adjusted.
Once selected, press ENTER and the corresponding setting will now be
highlighted. Press the UP and DOWN buttons to selected the desired
setting and then press ENTER to store it.
When selecting EDI1 or EDI2 parameters, a new screen will appear,
allowing the respective input to be enabled or disabled and all o the
network parameters to be edited.

IMPORTANT! Connect a suitable rated RF test load to the RF OUPUT
socket be ore connecting the unit to mains power. FAILURE TO DO SO
MAY RESULT IN DAMAGE NOT COVERED BY WARRANTY.
Never carry the transmitter by the ront panel handle. This is provided
purely to pull the transmitter orward, to assist in removal rom an
equipment rack.
Install the TXDAB350 in a suitable 19” equipment rack with adequate
clearance and cooling air low. Use ront-to-back rack supports on both
sides o the transmitter, and slide the unit into the rack. NEVER ALLOW
THE FRONT PANEL FIXINGS TO TAKE THE WEIGHT OF THE UNIT.
First, connect a suitably rated test load to the RF OUT socket on the
transmitter’s rear panel.
Connect the EDI eed(s), GPS antenna and then the mains lead.
Switch on the mains power.
Press the ‘OK’ key or 3 seconds to enter the settings menu.
Select the RF Power Output setting and reduce the power to its
minimum level. Press OK to store the value.
Now enter the desire channel requency. Press OK to store the value.
Ensure that the RF Mute setting is disabled (OFF).
Enter the required TIST Hold value. Press OK to store the value.
Select the required mode (SFM or MFM). Press OK to store the value.
Set the required Delay amount. Press OK to store the value.
Set the TII MAIN identi ier as required. Press OK to store the value.
Set the TII Local identi ier as required. Press OK to store the value.
Select INPUT (EDI1). Enable the input, and enter the required network
settings. Press OK to store the values.
Installation

Select INPUT (EDI2). Enable the input, i required, and enter the
required network settings. Press OK to store the values.
The transmitter has a TEST MODE. I enabled, the COFDM modulator
will transmit a test signal. For normal operation ensure this mode is
disabled (OFF).

Once all settings are set as required, power down the transmitter and
connect the ilter and antenna system. Connect the RF sample rom
the coupler post ilter to the SMA F-SENSE connector on the rear
panel.
Power-up the transmitter and, via the settings menu, increase the RF
power output to the required power level.
Correct operation is con irmed by a ront panel green SYSTEM LED.
Should this turn red, the transmission system may shut down its RF
output and will, in any case, require URGENT attention.
The transmitter is designed or continuous reliable transmission,
however the ans, air vents and air tunnels must be periodically
checked or correct operation and ree air low.
The cooling ans should be replaced a ter 60,000 hours o cumulative
operation. This li e rating is or guidance only and is subject to ideal
environmental operating conditions. Replace any an that ails or
becomes slow or noisy, immediately. It is recommended that
replacement work must be carried out by the manu acturer or an
approved agent.
Operation

The DABTX350 will be supplied with a noti ication o its actory-set IP
address, username and password. KEEP THESE DETAILS SAFE. Whilst
the transmitter’s network con iguration can be changed, the username
and password are ixed. Enter the actory-set IP address in the address
bar o an internet browser.
IMPORTANT: Accessing the transmitter’s ront panel menu will enter
the TXDAB350 into ‘local mode’, where ront panel settings take
precedence over the ethernet connection. The network readings and
settings will not be available until the local menu has been exited, and
the main screen is displayed on the LCD.
Select ‘Continue’. Upon success ul log-in, the TXDAB350’s status page
will appear.
Network Connection

The IP address and associated network con igurations can be changed
by selecting the settings (‘gear’) icon:
DCHP can be set, or a new IP address entered. Include the Gateway
address o the local Router, and the desired Primary and Secondary
DNS server addresses, i di erent.
New browser sessions will prompt or a Username and Password.
When continuing within the current browser session there will be no
prompt to enter a Username or Password.
Like most ethernet enabled devices, the client web browser may lag
the internet connection as 'Not secure'. This can be ignored, because
hardware devices don't usually serve ‘https’ (secure) pages to clients.
However, general network security is VERY IMPORTANT. It is up to the
user to ensure adequate overall security or the internet connection.
Like all computers, on all networks, the transmitter's network port will
be continually subject to external hack and ‘Ping o Death’ attacks.
Connect the transmitter’s network port to the Internet via a Router
with port orwarding con igured in such a way as to ensure maximum
local network security. Schedule regular checks, on an on-going basis,
to ensure that the Router is running the very latest manu acturer’s
irmware.
TX Digicast take no liability whatsoever or damage or losses caused by
a success ul network attack.

RF:
RF Output Power: 350W (DAB)
Power stability: Better than 0.25dB
RF output: N emale 50 ohm
Load mismatch: VSWR 2:1 (all phase angles)
IP shoulder (pre- ilter): >-30dB
Spurious (post ilter): ETSI EN302077-1
RF Monitoring:
RF monitor ( ront panel) BNC 50 ohm (approx. -40dB)
Remote I/O:
I/O Control: 9-way D-sub emale
Inputs:
EDI1: RJ45 TCP/IP Ethernet
EDI2: RJ45 TCP/IP Ethernet
GPS input: SMA emale
Sense input: SMA emale
Network:
LAN: TCP/IP RJ45
Power Supply:
Voltage: 100/240Vac 50/60Hz
Consumption:
Mechanical:
Dimensions (2U): 88 x 482 x 550 HxWxD (mm)
Weight: 18kg
Environmental:
Operating Temperature: 0 to 40 degrees C
We reserve the right to alter speci ications without notice. E&OE.
Technical Speci ications

EC Declaration o Con ormity to R&TTE Directive 1999/5/EC
We, TX Digicast
Clay Pit Lane
Roecli e
York
YO51 9FS
hereby take sole responsibility to con irm that the product:
TXDAB350 v2
which this declaration re ers to, con orms to the essential requirements o
Directive 2014/53/EU and is CE marked accordingly:
Low Voltage Directive:
EN60215
Sa ety Requirements or Radio Transmitting Equipment
ERM/EMC:
ETSI EN 302 077 V2.2.0
Transmitting equipment or the
Digital Audio Broadcasting (DAB) service
The ollowing operation conditions and installation arrangements are to be
presumed:
(i) According to Operating Instruction Manual
(ii) Connected lead lengths o 2 metres or less
M. O’Rorke, Director
September 2020

WEEE - Waste Electrical and Electronic Equipment
The equipment that you bought has required the extraction and use o
natural resources or its production. It may contain hazardous
substances that could impact health and the environment.
In order to avoid the dissemination o those substances in our
environment and to diminish the pressure on the natural resources,
we encourage you to use the appropriate take-back systems. Those
systems will reuse or recycle most o the materials o your end li e
equipment in a sound way.
The crossed-out wheeled bin symbol invites you to use those systems.
I you need more in ormation on the collection, reuse and recycling
systems, please contact your local or regional waste administration.
IMPORTANT!
NO REPRESENTATIONS OR WARRANTIES, EITHER EXPRESS OR IMPLIED,
OF MERCHANTABILITY, FITNESS FOR A PARTICULAR PURPOSE OR OF
ANY OTHER NATURE ARE MADE WITH RESPECT TO THIS PRODUCT. Do
not misconstrue any in ormation as our recommendation to use any
product, process, or equipment in con lict with any regulatory authority
or patent.
Ensure compliance with all applicable sa ety requirements when
installing or using this equipment, and operate in accordance with local
laws governing the use o radio transmission equipment.
No part o this document may be reproduced or transmitted, in any
orm, by any means, without prior written consent o the TX Digicast.
TX Digicast shall not be liable or any direct, indirect, incidental,
consequential or other damage or loss alleged in connection with the
supply or use o this product.

The in ormation contained in this document is subject to change
without notice. TX Digicast makes no warranty o any kind with respect
to this in ormation. TX Digicast speci ically disclaims the implied
warranty o merchantability and itness or a particular purpose.
TX Digicast
Clay Pit Lane
Bar Lane Industrial Estate
Roecli e
York
United Kingdom
YO51 9FS
Telephone 01423 313550
Telephone (International) +44 1423 313550
Enquiries: in o@txdigicast.com
Table of contents
Other TX Digicast Amplifier manuals
Popular Amplifier manuals by other brands

Yamaha
Yamaha MX-35 owner's manual

Musical Fidelity
Musical Fidelity M6I Instructions for use

Perreaux
Perreaux E2200 manual

Bosch
Bosch Plena Easy Line PLE-1P120-EU Installation and user instructions

Peachtree Audio
Peachtree Audio Grand Pre manual

Carson
Carson SC-1002 Installation and operating instructions

McIntosh
McIntosh MC150 owner's manual

Crown
Crown Macro-Tech MA-600 Schematic diagram

Seventh Circle Audio
Seventh Circle Audio H32 manual

On-Q/Legrand
On-Q/Legrand lyriQ IS-0336 Instruction/installation sheet

Avid Technology
Avid Technology Eleven Rack user guide

Pantron
Pantron ISM-1500 operating instructions