TFP351
Page 4 of 6
Step C. With pipe thread sealant ap-
plied to the pipe threads, hand tighten
the sprinkler into the sprinkler fitting.
Step D. Tighten the sprinkler into the
sprinkler fitting using only the W-Type
6 Sprinkler Wrench (refer to Figure 3).
With reference to Figure 1 or 2, the W-
Type 6 Sprinkler Wrench is to be ap-
plied to the wrench flats.
Step E. Rotate the S2 Shield clock-
wise (looking up) so that it slightly
compresses the O-Ring between the
Shield and sprinkler fitting.
Wax Coated Sprinklers
When installing wax coated sprinklers
with the adjustable Crescent wrench,
additional care needs to be exercised
to prevent damage to the wax coating
on the sprinkler wrench flats or frame
arms and, consequently, exposure of
bare metal to the corrosive environ-
ment. The jaws of the wrench should
be opened sufficiently wide to pass
over the wrench flats without damag-
ing the wax coating. Before wrench
tightening the sprinkler, the jaws of the
wrench are to be adjusted to just con-
tact the sprinkler wrenching flanges.
After wrench tightening the sprinkler,
loosen the wrench jaws before remov-
ing the wrench.
After installation, the sprinkler wrench
flats and frame arms must be inspect-
ed and the wax coating retouched (re-
paired) whenever the coating has been
damaged and bare metal is exposed.
The wax coating on the wrench flats
can be retouched by gently applying a
heated 1/8 inch diameter steel rod to
the areas of wax that have been dam-
aged, to smooth it back over areas
where bare metal is exposed.
NOTES
Only retouching of the wax coating
applied to the wrench flats and frame
arms is permitted, and the retouching
is to be performed only at the time of
the initial sprinkler installation.
The steel rod should be heated only to
the point at which it can begin to melt
the wax, and appropriate precautions
need to be taken, when handling the
heated rod, in order to prevent the in-
staller from being burned.
If attempts to retouch the wax coat-
ing with complete coverage are un-
successful, additional wax can be or-
dered in the form of a wax stick (the
end of which is color coded). Only
Installation
The Series TY-B, Upright and Pendent
Intermediate Level Sprinklers must
be installed in accordance with this
section.
General Instructions
Do not install any bulb type sprin-
kler if the bulb is cracked or there is
a loss of liquid from the bulb. With the
sprinkler held horizontally, a small air
bubble should be present. The diam-
eter of the air bubble is approximately
1/16 inch (1,6 mm) for the 135°F (57°C)
to 3/32 inch (2,4 mm) for the 360°F
(182°C) temperature ratings.
A leak tight 1/2 inch NPT sprinkler
joint should be obtained with a torque
of 7 to 14 ft.-lbs. (9,5 to 19,0 Nm). A
leak tight 3/4 inch NPT sprinkler joint
should be obtained with a torque of 10
to 20 ft.-lbs. (13,4 to 26,8 Nm). Higher
levels of torque may distort the sprin-
kler inlet and cause leakage or impair-
ment of the sprinkler.
Upright Sprinklers
The Series TY-B Intermediate Level
Upright Sprinklers must be installed
in accordance with the following
instructions.
Step 1. With pipe thread sealant ap-
plied to the pipe threads, hand tighten
the sprinkler into the sprinkler fitting.
Step 2. Tighten the sprinkler into the
sprinkler fitting using only the W-Type
6 Sprinkler Wrench (refer to Figure 3),
except that an 8 or 10 inch adjust-
able Crescent wrench is to be used for
wax coated sprinklers. With reference
to Figure 1 or 2, the W-Type 6 Sprin-
kler Wrench or the Crescent wrench,
as applicable, is to be applied to the
wrench flats.
Pendent Sprinklers
The Series TY-B Intermediate Level
Pendent Sprinklers must be installed
in accordance with the following
instructions.
Step A. Thread the S2 Shield onto the
sprinkler threads with the stamped
markings toward the deflector and
just to the end of the threads. The fi-
nal assembly step is easier to accom-
plish if the Shield is not disengaged by
continuing to turn the Shield past the
threads.
Step B. Roll the O-Ring over the
sprinkler threads until it seats against
the Shield.
the correct color coded wax is to be
used, and retouching of wrench flats
and frame arms is only permitted at
the time of initial sprinkler installation.
With the steel rod heated as previ-
ously described, touch the rod to the
area requiring additional wax with the
rod angled downward, and then touch
the wax stick to the rod approximately
one-half inch away from the area re-
quiring retouching. The wax will melt
and run down onto the sprinkler.
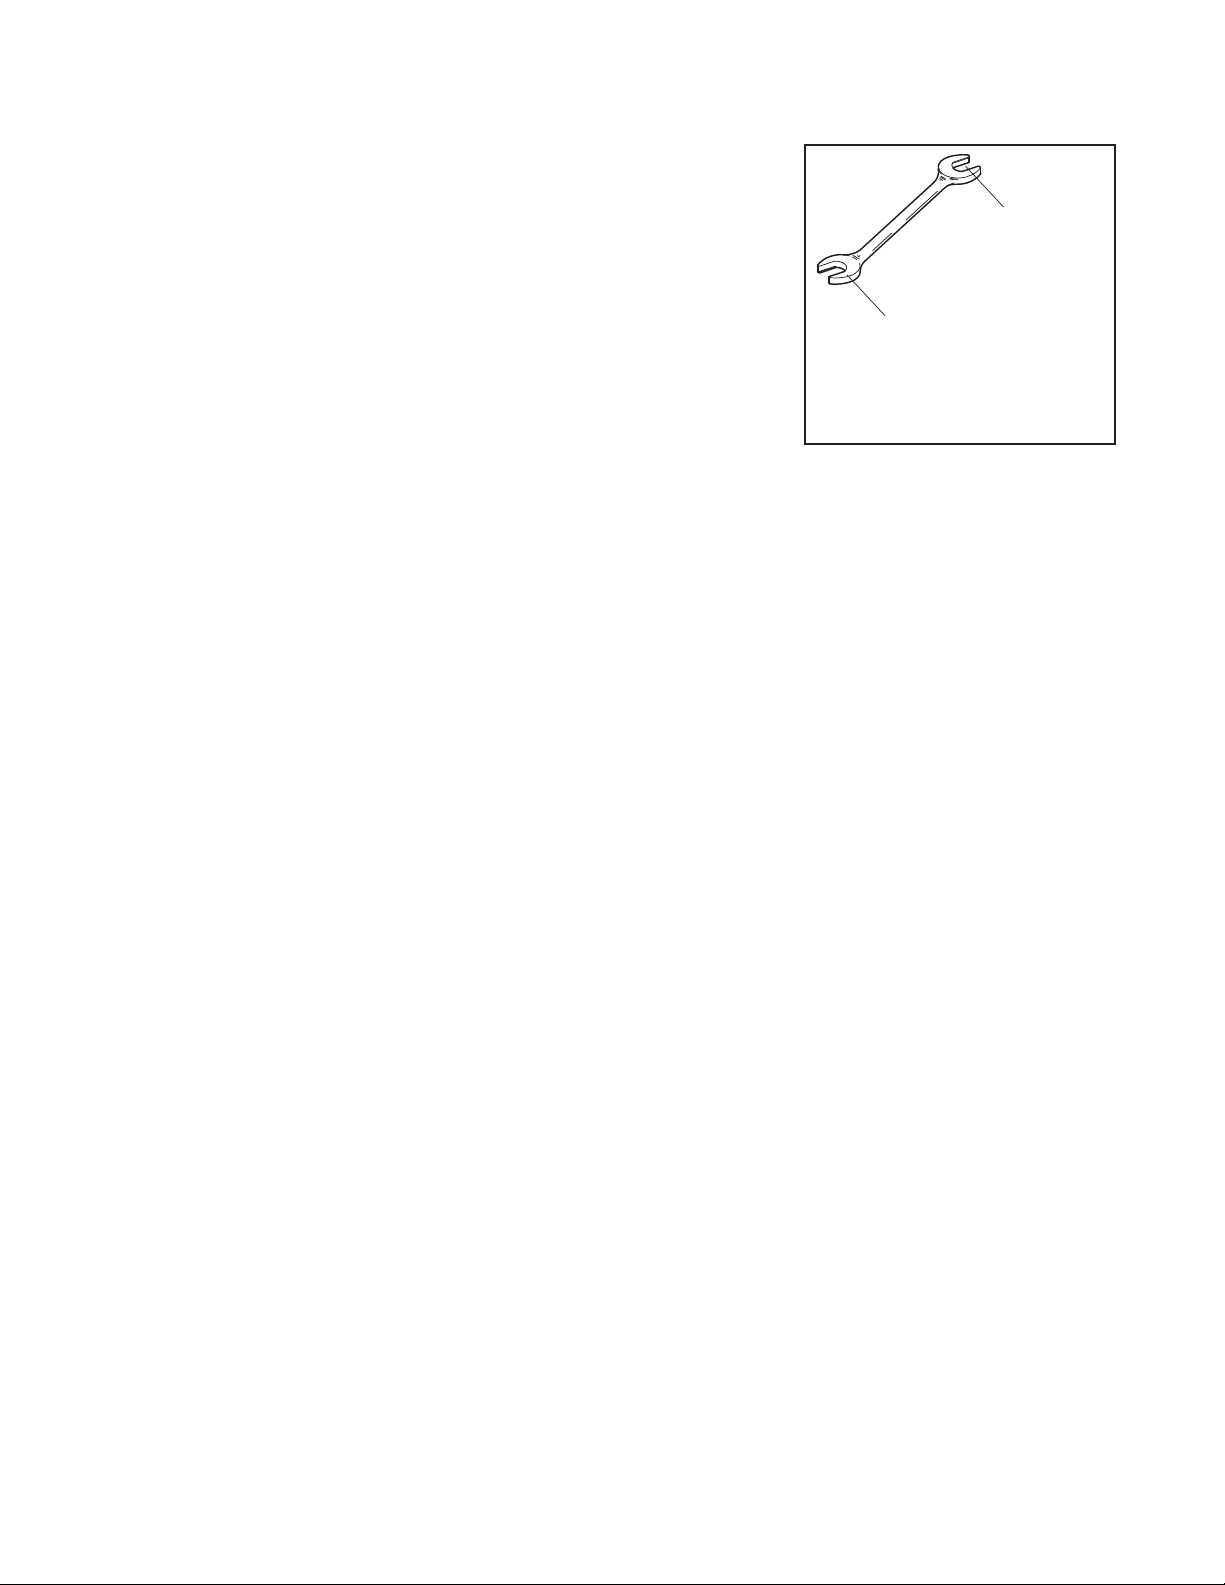
WRENCH RECESS
1/2" NPT MODELS)
WRENCH RECESS
(END "B" USED FOR
FIGURE 3
W-TYPE 6 SPRINKLER
WRENCH