manuals.online logo
Brands
  1. Home
  2. •
  3. Brands
  4. •
  5. Tyco
  6. •
  7. Measuring Instrument
  8. •
  9. Tyco Exacq C-Series Standard User manual

Tyco Exacq C-Series Standard User manual

Product overview
The exacqVision C-Series Standard is a live monitoring station that is part of the exacqVision hardware line of systems.
The exacqVision C-Series takes the guesswork out of sourcing a system for a monitoring station. The system is built to achieve the kind of
performance that the video security industry demands and guarantees to achieve specific decode and display frame rates. The new C-Series is
the best way to experience the exacqVision video management system (VMS).
The exacqVision C-Series Standard can display and decode 16 HD streams simultaneously.
2021-06-30
500-0090 Rev D
C-Series Standard Quick Start Guide
Shipping box contents
Figure 1: C-Series Standard shipping box contents
1
2
43
Table1: Box contents
1 exacqVision C-Series Standard system 2 One VESA mount bracket and six screws
3 65W Adapter and power cord 4 Quick Start Guide
Safety instructions
Read and follow all instructions in the documentation before you turn on and operate your system.
• Do not use this product near water or a heated source such as a radiator.
• Set up the system on a stable surface.
• Openings on the chassis are for ventilation. Do not block or cover these openings. Make sure you leave plenty of space around the system
for ventilation. Never insert objects of any kind into the ventilation openings.
• Use this product in environments with ambient temperatures between 0°C and 35°C.
• If you use an extension cord, make sure that the total ampere rating of the devices plugged into the extension cord does not exceed its
ampere rating.
• Do not mount the product above 2 meters.
• When you have affixed the monitor and/or television VESA mounts, you must secure the monitor and/or television to prevent instability.
• Do not walk on the power cord or allow anything to rest on it.
• Do not spill water or any other liquids on your system.
• When the system is turned OFF, a small amount of electrical current still flows. Always unplug all power, modem, and network cables from
the power outlets before cleaning the system.
• If you encounter the following technical problems with the product, unplug the power cord and contact a qualified service technician or
your retailer:
- Power cord or plug is damaged.
- Liquid has been spilled into the system.
- System does not function properly even if you follow the operating instructions.
- System was dropped or the cabinet is damaged.
- System performance changes.
Battery replacement and disposal
• Battery replacement must be performed by a skilled person.
C-Series Standard Quick Start Guide2
WARNING: Risk of explosion if a battery is replaced by an incorrect type. Dispose used batteries in accordance with the waste recovery and
recycling regulations in your area.
Product Disposal
The products electrical, electronic equipment, and mercury containing button cell battery should not be placed in municipal waste. Dispose this
product in accordance with the waste recovery and recycling regulations in your area.
Mounting the system with the VESA mount bracket
To mount the system using the VESA mount bracket, complete the following steps:
1. Attach the screws provided on the underside of the exacqVision C-Series Standard system.
2. Attach the VESA mounting plate to the rear of a compatible display using the screws provided.
3. Slide the device into place to mount the system.
Figure 2: Mounting the exacqVision C-Series Standard system
1
2
3
Initial startup
When you start the exacqVision C-Series server for the first time, create a user name and password for the operating system, then create a root
user name and password for the Enterprise Manager.
1. Turn on the exacqVision server.
2. Create a user name and password for the operating system when the logon dialog box appears.Configure operating system settings as
required.
3. If prompted, log back on to the operating system with the user name and password you just created.
Configuring the exacqVision client
To configure the exacqVision client to connect to one or more exacqVision servers, complete the following steps:
1. Start the exacqVision client application.
2. Click the Config (Setup) window icon on the toolbar.
3. From the navigation tree, select Add Systems.
4. To connect to the exacqVision server, in the Add Systems window, click New and enter the IP address or hostname of the server.
5. Enter the username and password that was previously configured on the exacqVision server. For information about how to configure the
username and password, refer to the exacqVision Software User Manual.
6. Select a connection speed.
7. Click Apply.
What to do next: To prevent unauthorized access or modifications to the system, change the default system administration and user accounts
passwords. For more information, refer to the exacqVision Software User Manual, and www.exacq.com/kb.
C-Series Standard Quick Start Guide 3
Connections
For information about exacqVision C-Series Standard front panel connections, see Figure 3, Table 2, Figure 4, and Table 3.
Figure 3: C-Series Standard front panel ports
Table2: C-Series system front panel
Item Name Description
1 Audio Port to connect microphone or headphone.
2 USB C Port to connect USB 3.0 Type C device.
3 USB 3.0 Port to connect a USB device such as a keyboard, mouse, or memory device.
Figure 4: C-Series Standard back panel ports
Table3: C-Series system back panel
Item Name
No. of
ports Description
1 USB 3.0 2 Port to connect a USB device such as a keyboard, mouse, or memory device.
2 10/100/1000 Ethernet 1 Dual on board NIC port.
3 Mini Display 1 Port to connect a monitor.
4 HDMI 2.0 1 Port to connect a monitor.
5 Anti-theft lock 1 Switch to lock or unlock unit.
6 Power supply 1 Input: AC 100 to 240 V, Output: DC 19 V, Current: 2.1 A
© 2021 Johnson Controls. All rights reserved. JOHNSON CONTROLS, TYCO and Exacq
are trademarks and/or registered trademarks. Unauthorized use is strictly prohibited.

Other Tyco Measuring Instrument manuals

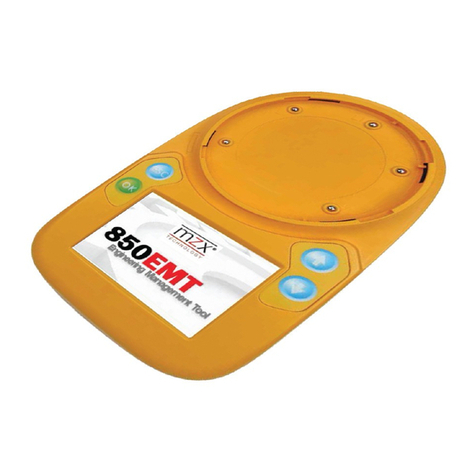
Tyco VIGILANT MX 850EMT User manual

Tyco

Tyco VIGILANT MX 850EMT User manual

Tyco TIP User manual

Tyco

Tyco TIP User manual

Tyco FireClass 801RIL User manual

Tyco

Tyco FireClass 801RIL User manual

Tyco F3200 User manual

Tyco

Tyco F3200 User manual

Tyco 801AP MX User manual

Tyco

Tyco 801AP MX User manual

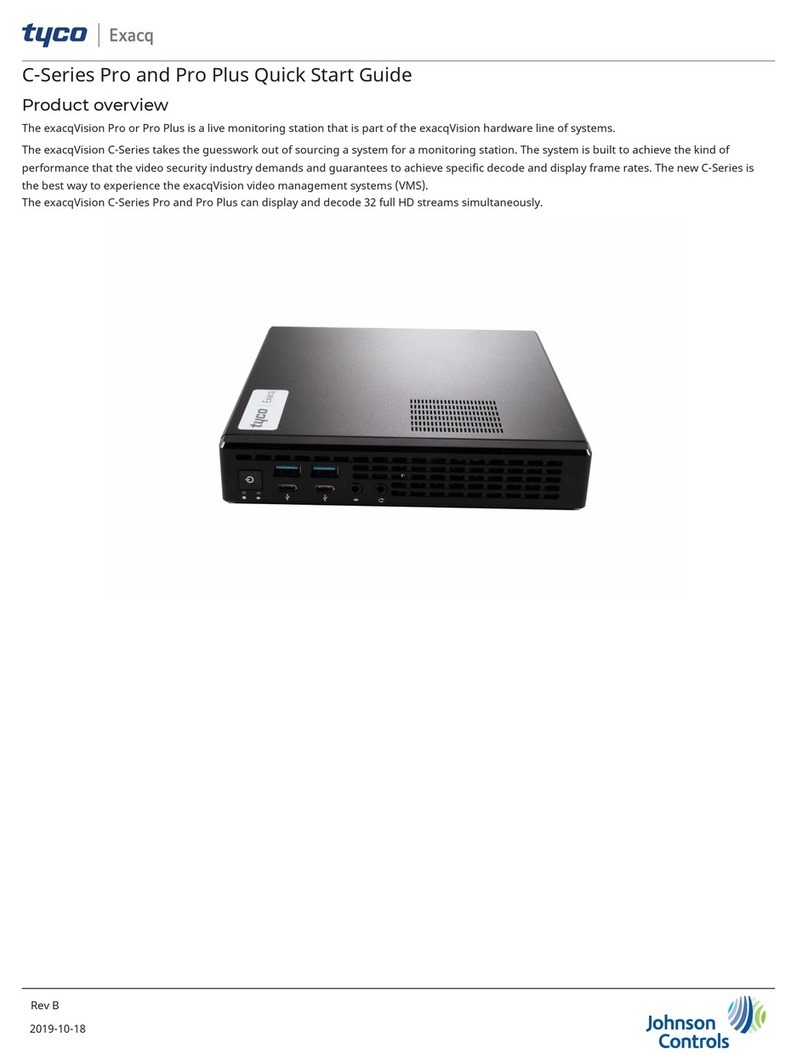
Tyco Exacq C-Series Pro User manual

Tyco

Tyco Exacq C-Series Pro User manual

Popular Measuring Instrument manuals by other brands

Wireflow WF 3169 user manual

Wireflow

Wireflow WF 3169 user manual

Milwaukee M12 3622-20 Operator's manual

Milwaukee

Milwaukee M12 3622-20 Operator's manual

TSI Instruments ALNOR AXD 530 owner's manual

TSI Instruments

TSI Instruments ALNOR AXD 530 owner's manual

Velleman DEM301 user manual

Velleman

Velleman DEM301 user manual

Fluke ScopeMeter 125 Specifications

Fluke

Fluke ScopeMeter 125 Specifications

VOLTCRAFT BS-26+IP operating instructions

VOLTCRAFT

VOLTCRAFT BS-26+IP operating instructions

Powerex MH-C9000 instructions

Powerex

Powerex MH-C9000 instructions

Endress+Hauser Liquiline System CA80PH operating instructions

Endress+Hauser

Endress+Hauser Liquiline System CA80PH operating instructions

Hilti POS 18 operating instructions

Hilti

Hilti POS 18 operating instructions

Twilight LG-DM1306D quick start guide

Twilight

Twilight LG-DM1306D quick start guide

Tektronix CSA7404B Service manual

Tektronix

Tektronix CSA7404B Service manual

BRONKHORST ES-FLOW instruction manual

BRONKHORST

BRONKHORST ES-FLOW instruction manual

Spirax Sarco R1C Installation and maintenance instructions

Spirax Sarco

Spirax Sarco R1C Installation and maintenance instructions

Eaton 5775X-42X manual

Eaton

Eaton 5775X-42X manual

Callaway LS manual

Callaway

Callaway LS manual

Spectris PARTICLE MEASURING SYSTEMS AirSentry II Operation manual

Spectris

Spectris PARTICLE MEASURING SYSTEMS AirSentry II Operation manual

Thermo Scientific Orion 720Aplus quick start guide

Thermo Scientific

Thermo Scientific Orion 720Aplus quick start guide

Lovato DMG900 instruction manual

Lovato

Lovato DMG900 instruction manual

manuals.online logo
manuals.online logoBrands
  • About & Mission
  • Contact us
  • Privacy Policy
  • Terms and Conditions

Copyright 2025 Manuals.Online. All Rights Reserved.