User’s Manual
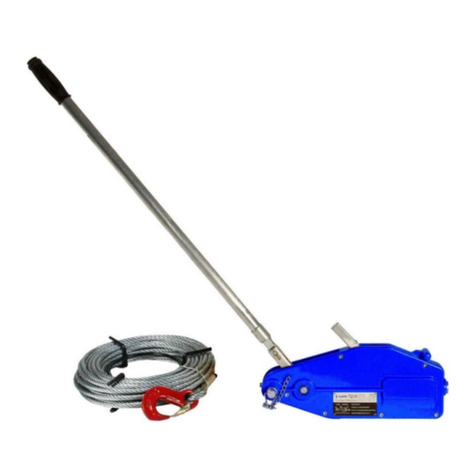
1. Ratchet switch: There are 3 positions for this ratchet switch; The higher position is for puling, the lower position is for
releasing, the middle position is for both pulling and releasing but can only be used when unloaded. When the winch is
loaded, hold the crank handle tightly if you want to change the switch position.
2. Before using, install the winch on a firm and flat surface. To install it, put the ratchet switch on the middle position and pull
the cable out until the holes on the bottom of the base are visible. Then use at least 3set of 3/8" bolts and locking nuts, in a
triangle pattern, to fix the base one the surface. Use an extra metal or hardwood board when necessary.
3. Then install the crank handle to the axis bolt with nut.
4. Put the ratchet switch on the higher position and turn the crank handle clockwise to pull. Put the ratchet switch on the
lower position and turn the crank handle counterclockwise to release.
Caution
1. Always know how much load you are pulling DO NOT OVERLOAD. This winch is designed for pulling, not for lifting.
2. Never put your hand or anything else near the gear, rim and rolling cable. Always wear gloves when using the winch
3. Never try to repair disassemble the winch when there is a problem. Ask a machinist or specialist for help.
4. When replacing the cable or strap, make sure that the end of the cable comes thought the 4 holes one the side of the rim,
and tie a knob ore weld the and tip of cable, to prevent the cable from coming out.
5.Use grease for axis and gears before depositing for a long time
6. Always keep tension on cable any time you are releasing or winding cable.
7. When using the puller, make sure that the work area is free and clear of spectators.
8. DO NOT operates puller with frayed, kinked, twinned or damaged cable.
9. Never use a chopper or other device to lengthen the handle for additional leverage, This will damage it.


