A. BEFORE OPERATING THE SAW
B. WHILE OPERATING THE SAW
C. AFTER OPERATING THE SAW
Sawtec ●800-624-7832 ●fax 800-547-5838 ●www.surfacepreparation.com
INTRODUCTION
The HS-150 pneumatic cutoff saw is designed for simple operation and has been proven to be extremely useful and versatile. A 12” to 18”
diameter diamond blade may be mounted on the saw if it is rated and approved for operation at 3,300 RPM. READ, AND CAREFULLY
FOLLOW, THE OPERATING AND SAFETY INSTRUCTIONS OF THIS OPERATING AND SAFETY INSTRUCTION MANUAL BEFORE
USING THIS PRODUCT. Since safety regulations can vary between different countries and states, you must contact proper authorities and follow
all appropriate regulations.
IMPORTANT SAFETY INSTRUCTIONS
No person should attempt to operate this saw without first being trained in the operation of industrial cutting tools. These instructions are not
intended as a substitute for training and experience. The operator must observe safeguards that include, but are not limited, to the following:
• DO NOT MODIFY ANY SAW FROM ITS ORIGINAL DESIGN WITHOUT THE WRITTEN PERMISSION OF THE
MANUFACTURER. UNAUTHORIZED MODIFICATIONS CAN LEAD TO SERIOUS INJURY OR DEATH TO YOURSELF OR
OTHERS.
• DO NOT use any blade marked for less than 3,300 RPM.
• DO NOT service the saw or change blades without first disconnecting the power.
• DO NOT install a blade before inspecting the blade for damage.
• DO NOT operate saw with a damaged blade. A damaged blade may fly apart and cause serious injury or death.
• DO NOT use a blade that wobbles when mounted on the saw.
• Verify blade is correct for application before use.
• Verify blade rotation matches the direction arrow on blade guard.
• DO NOT apply power to the blade before spinning the blade by hand to check alignment.
• DO NOT operate with any loose nuts or bolts. Check all nuts and bolts for tightness.
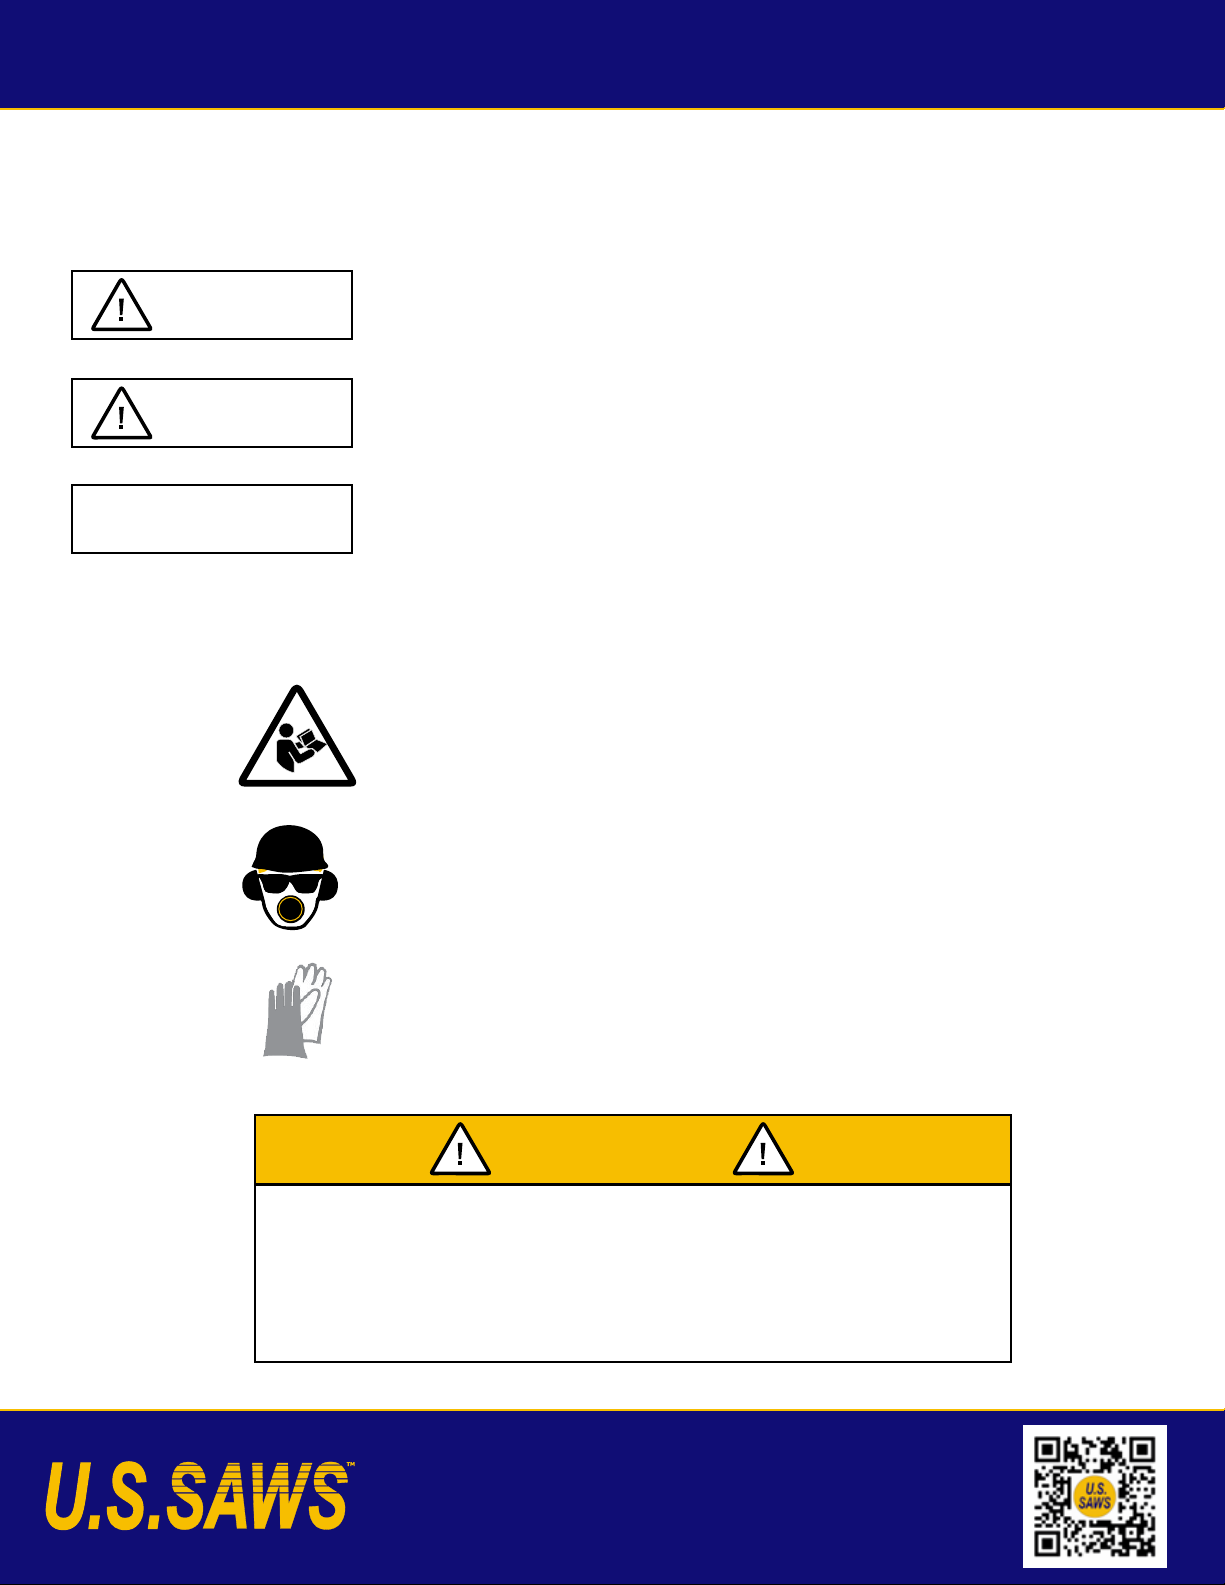
• DO NOT operate without appropriate ear, eye, foot, hand and breathing protection..
• DO NOT operate around any loose or foreign objects that may damage system.
• DO NOT operate saw if arbor shaft has excessive end play.
• DO NOT cut material that the blade is not designed for.
• DO NOT operate saw near combustible material or fumes.
• DO NOT force blade through material to be cut. Always ease blade through material.
HS-150 OPERATING INSTRUCTIONS
A. BEFORE OPERATING THE SAW
1. Be sure all nuts and bolts are tight.
2. Check the air supply for the correct pressure (90 PSI Min.) and rating (85 CFM Min.)
3. Turn on air supply and check for leaks.
4. Blow out air hose to discharge any dirt, scale or moisture.
5. Connect the air hose while pouring a small amount of general purpose air tool oil into other hose connector on the handle to
flush out any moisture and lubricate the motor.
6. Fill the in-line oiler with Sawtec ice free oil.
B. WHILE OPERATING THE SAW
1. Before contacting the material to be cut, squeeze the trigger and allow the saw to reach full speed.
2. Ease the saw blade into the material being cut.
3. At the end of the cut, lift the saw until the blade is clear of the cut, then release the trigger.
4. Allow the blade to come to a complete stop before setting it down.
5. Check the in-line oiler for oil level after 2-3 hours of operation.
C. AFTER OPERATING THE SAW
1. Shut off air supply and bleed air line to relieve pressure.
2. Remove the air line and fit a protective cover to the air inlet.
3. Clean the saw by removing all accumulated dust.
D. INSTALLING OR REPLACING BLADE
1. Disconnect air supply and remove arbor nut (left-hand threads) and outer flange from shaft.
2. Place blade on shaft and check that the directional arrow points clockwise as you turn the shaft (counter-clockwise on upcut
saws).
3. Install outer flange and hand tighten arbor nut (left-hand thread). Hold inner flange with supplied 2” wrench and tighten the
arbor nut using the 1” or 1 1/2” wrench supplied.
Sawtec ●800-624-7832 ●fax 800-547-5838 ●www.surfacepreparation.com