manuals.online logo
Brands
  1. Home
  2. •
  3. Brands
  4. •
  5. Ultra
  6. •
  7. Plumbing Product
  8. •
  9. Ultra HENA Series User manual

Ultra HENA Series User manual

Cinta selladora para rosca
Ruban pour tuyau
Pipe Tape
Destornillador cruciforme
Tournevis Phillips
Phillips ScrewdriverAdjustable Wrench Groove join pliers
Clé à molette Pince multiprise
Llaveajustable Pinzas ajustables
UF13700
UF13703
UF13705
UF13707
HENA Series
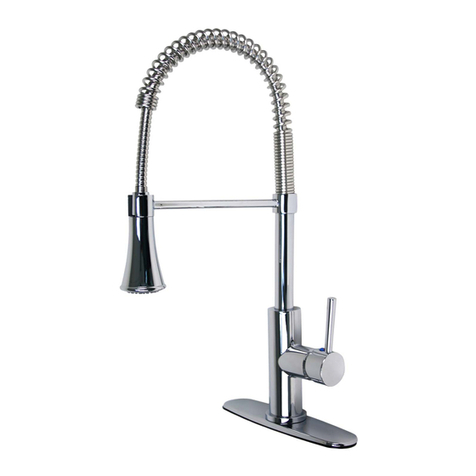
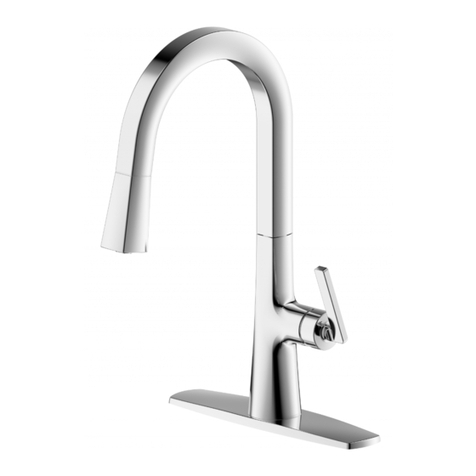
Single Handle Pull Down Kitchen Faucet
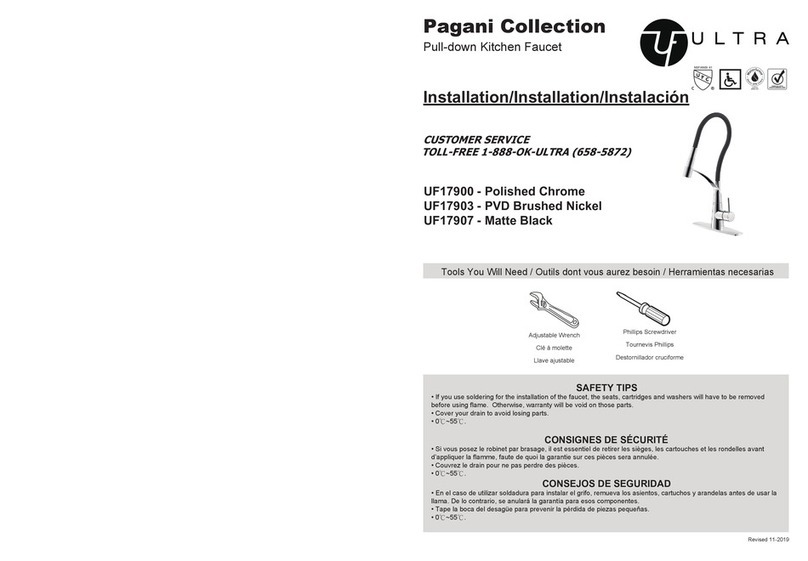
Tools You Will Need / Outils dont vous aurez besoin / Herramientas necesarias
Replacement Parts / Pièces de rechange / Repuestos
SAFETY TIPS
• If you use soldering for the installation of the faucet, the seats, cartridges and washers will have to be removed
before using flame. Otherwise, warranty will be void on those parts.
• Cover your drain to avoid losing parts.
• 0℃~55℃.
CONSIGNES DE SÉCURITÉ
• Si vous posez le robinet par brasage, il est essentiel de retirer les sièges, les cartouches et les rondelles avant
d’appliquer la flamme, faute de quoi la garantie sur ces pièces sera annulée.
• Couvrez le drain pour ne pas perdre des pièces.
• 0℃~55℃.
CONSEJOS DE SEGURIDAD
• En el caso de utilizar soldadura para instalar el grifo, remueva los asientos, cartuchos y arandelas antes de usar la
llama. De lo contrario, se anulará la garantía para esos componentes.
• Tape la boca del desagüe para prevenir la pérdida de piezas pequeñas.
• 0℃~55℃.
Limited Lifetime Warranty
Ultra Faucets warrants to the original purchaser that its products will be free from defects in workmanship and materials. All Ultra
Faucets are provided with a life time limited warranty. This warranty does not cover any other labor or service charges associated with
the removal, repair, or reinstallation of Ultra Faucets products. This express warranty does not apply to products thathave been
damaged as a result of misuse, abuse, negligence, accident, faulty installation or maintenance practices and/or used in any manner
contrary to those recommended by the manufacturer.
Need help? Please call ourtoll-free customer service line at 1-888-658-5872 for additional assistance or service.
Besoin d’aide? Veuillez communiquer avec notre service à la clientèleau numéro gratuit 1-888-658-5872 pour tous renseignements
ou services complémentaires.
¿Requiere asistencia? Llame a nuestro Servicio al Cliente, sin costo, al 1-888-658-5872 para asistencia adicional o servicio.
15
14
9
Check valve
Outlet hose
8
Weight
7
Bonnet
6
Cap
5
4
Spray head
16
17
18
Cartridge
13
Screws
12
11
Flange
10
2
Button 50803
50802
33113CP/BN/NB/MT
50714
50819
82507CP/BN/NB/MT
04823+85555
83117
03304CP/BN/NB/MT
06305
08326
85587
08327
83175
Plastic guard 82906
08316
83130
Mounting nut
3
Bushing block
Part No.DescriptionNO.
1
Rubber wahser
Spray hose
Metal washer
Screw
03303CP/BN/NB/MTHandle
Installation/Installation/Instalación
CUSTOMER SERVICE
TOLL-FREE 1-888-OK-ULTRA (658-5872)
UF13700 - Chrome
UF13703 - Brushed Nickel
UF13705 - Oil Rubbed Bronze
UF13707 - Matte Black
1
10
11
12
13
14
15
16
17
18
7
8
9
2
3
4
5
6
UF13700
UF13703
UF13705
UF13707
Installation/Installation/Instalación
Prior to Installation:
• Turn off the hot and cold water supply at the angle stops and turn on the old faucet to release any built up pressure.
Remove existing faucet. Clean sink or countertop to remove any debris, plumber’s putty, or silicone.
• Place bucket under angle stops. Turn on to flush any debris prior to installing new plumbing. Shut off angle stops.
• Pre-drilled hole size requirement: 1-3/8” (min) – 1-1/2” (max)
• Max countertop thickness without deck plate: 1-1/2”
• Max countertop thickness with deck plate: 1”
Care & Maintenance:
* To keep the product clean & shining, follow the steps below:
• 1. Rinse with clean water & dry with a soft cloth.
• 2. Do not clean with soaps, acid, polish, abrasives, or harsh cleaners.
• 3. Do not use cloth with a coarse surface.
• 4. Unscrew the aerator and clean when necessary.
This installation manual is subject to change without further notice.
Please read your care and maintenance documentation to determine the limits of proper use.
This product has been manufactured and tested to the highest quality standards .We offer our customers thoughtfully
crafted fixtures & accessories, engineered for enduring performance over years of use.
1/16”(1 mm) min.
1-1/2”(38 mm) max.
1-3/8” (35 mm) min.
1-1/2” (38 mm) max.
1/16”(1 mm) min.
1”(25.4 mm) max.
1-3/8” (35 mm) min.
1-1/2” (38 mm) max.
Without deck plate: With deck plate:
1
Place the new faucet through flange(10) on the mounting
surface.
2
Assemble rubber washer(11), metal washer(12) and thread
mounting nut(13) onto shank form underside of sink.Hand
tighten, secure locking screws(14) on mounting nut(13)
and tighten locking screw(14) using screw driver.
3
Thread hot & cold waterlines onto angle stops. Tighten with
adjustable wrench until snug. Turn on the angle stops and
check for leaks .
(DO NOT TURN FAUCET ON)
4
Install spray hose assembly(8). Connect hose to outlet hose
(18) and tighten. Do not overtighten.
WARNING: Be sure to install the Check valve(17).
10
11
12
13
14
Hot
Cold
Hose
8
18
17
Screws
15
Hot
Cold
7
5
Attach weight (15) on the designated mark on the spray
hose.
6
Important: After installation is completed. Remove spray
head (7).Hold tip of spray hose. Turn faucet on for 1 minute
to flush any debris. Reconnect spray head (7).While water
is running,check for leaks. Re-tighten if necessary,but do
not over-tighten.
Trouble-Shooting:
If you have followed the instructions carefully and your faucet still does not work properly,take the following corrective steps:
Leakage under handle
Locking nut has come loose
or cartridge needs to be
reseated
Loosen the set screw located at the base of the handle with
a hex wrench. Remove the handle and unscrew cartridge
holder by hand.Tighten locking nut with an adjustable wrench.
Water will not shut off
completely
Cartridge may need to be
adjusted or replaced
Loosen the set screw located at the base of the handle with a
hex wrench. Remove the handle and unscrew cartridge cover
by hand.Unscrew the locking nut with an adjustable wrench.
Remove ceramic disc cartridge.Check for cracks,and if O-ring
is seated correctly,Reseat cartridge.
Leaking between spray
head and hose
Spray head may be loose,or
washer may not be seated
correctly in the hose connection
Tighten the spray head by hand until snug,Make sure the
washer is seated correctly.
Hose does not retrace Weight may not be installed
correctly
Readjust the weight on the hose.

This manual suits for next models

4

Other Ultra Plumbing Product manuals

Ultra Pagani UF17900 User manual

Ultra

Ultra Pagani UF17900 User manual

Ultra UF17200 User manual

Ultra

Ultra UF17200 User manual

Ultra A3380 User manual

Ultra

Ultra A3380 User manual

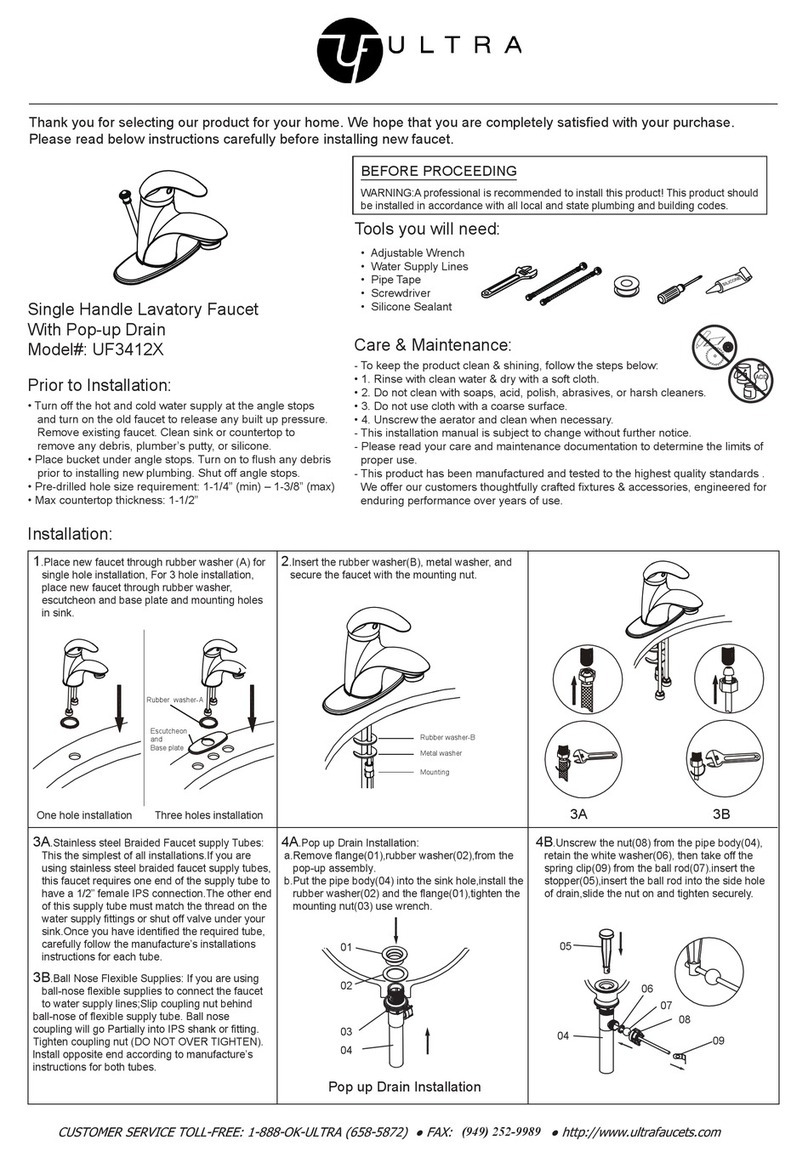
Ultra UF3412X User manual

Ultra

Ultra UF3412X User manual

Ultra Ardua UF17000 User manual

Ultra

Ultra Ardua UF17000 User manual

Popular Plumbing Product manuals by other brands

Glacier bay PAULINA Installation and care guide

Glacier bay

Glacier bay PAULINA Installation and care guide

Artika Granite Fusion F11 installation manual

Artika

Artika Granite Fusion F11 installation manual

American Standard Monterrey 6500.140 Specification sheet

American Standard

American Standard Monterrey 6500.140 Specification sheet

Inax L-345VFC manual

Inax

Inax L-345VFC manual

Hans Grohe 28307000 Instructions for use/assembly instructions

Hans Grohe

Hans Grohe 28307000 Instructions for use/assembly instructions

American Standard MONTERREY 6545 Series installation instructions

American Standard

American Standard MONTERREY 6545 Series installation instructions

Hans Grohe Croma Showerpipe 220 EcoSmart Instructions for use/assembly instructions

Hans Grohe

Hans Grohe Croma Showerpipe 220 EcoSmart Instructions for use/assembly instructions

Artweger Twinline 2 Operation and care guide

Artweger

Artweger Twinline 2 Operation and care guide

Gessi RETTANGOLO K 53084 manual

Gessi

Gessi RETTANGOLO K 53084 manual

Hans Grohe Tecturis S 110 Fine CoolStar 73320 Series instruction manual

Hans Grohe

Hans Grohe Tecturis S 110 Fine CoolStar 73320 Series instruction manual

Gessi RIFLESSI 34885 manual

Gessi

Gessi RIFLESSI 34885 manual

Spectrum Brands Pfister Orono F-529-9ON Quick installation guide

Spectrum Brands

Spectrum Brands Pfister Orono F-529-9ON Quick installation guide

Haws 8317CTFP Axion manual

Haws

Haws 8317CTFP Axion manual

MAINLINE Elite Series Installation

MAINLINE

MAINLINE Elite Series Installation

Moen LINDLEY 84915 Series Specifications

Moen

Moen LINDLEY 84915 Series Specifications

Kohler ATOM 28956X-4 installation instructions

Kohler

Kohler ATOM 28956X-4 installation instructions

Noro STUDIO instruction manual

Noro

Noro STUDIO instruction manual

Santec LIZA 5166LZ installation instructions

Santec

Santec LIZA 5166LZ installation instructions

manuals.online logo
manuals.online logoBrands
  • About & Mission
  • Contact us
  • Privacy Policy
  • Terms and Conditions

Copyright 2025 Manuals.Online. All Rights Reserved.