All rights reserved Undercover®2016
Note:
• Carefully fold out your poles, using caution to prevent
snapping the shock-cording. Make sure each pole segment
is "seated" into the next section before flexing the pole
during setup.
• Do not drop tent bag or pole bag. Do not bounce tent bag
on its end to remove tent, as these actions may damage
the shock-cord and/or pole ends.
• Always store tent in the tent bag, do not drag or push tent
across rough surfaces as it will cause extra wear and may
puncture the floor, even when folded.
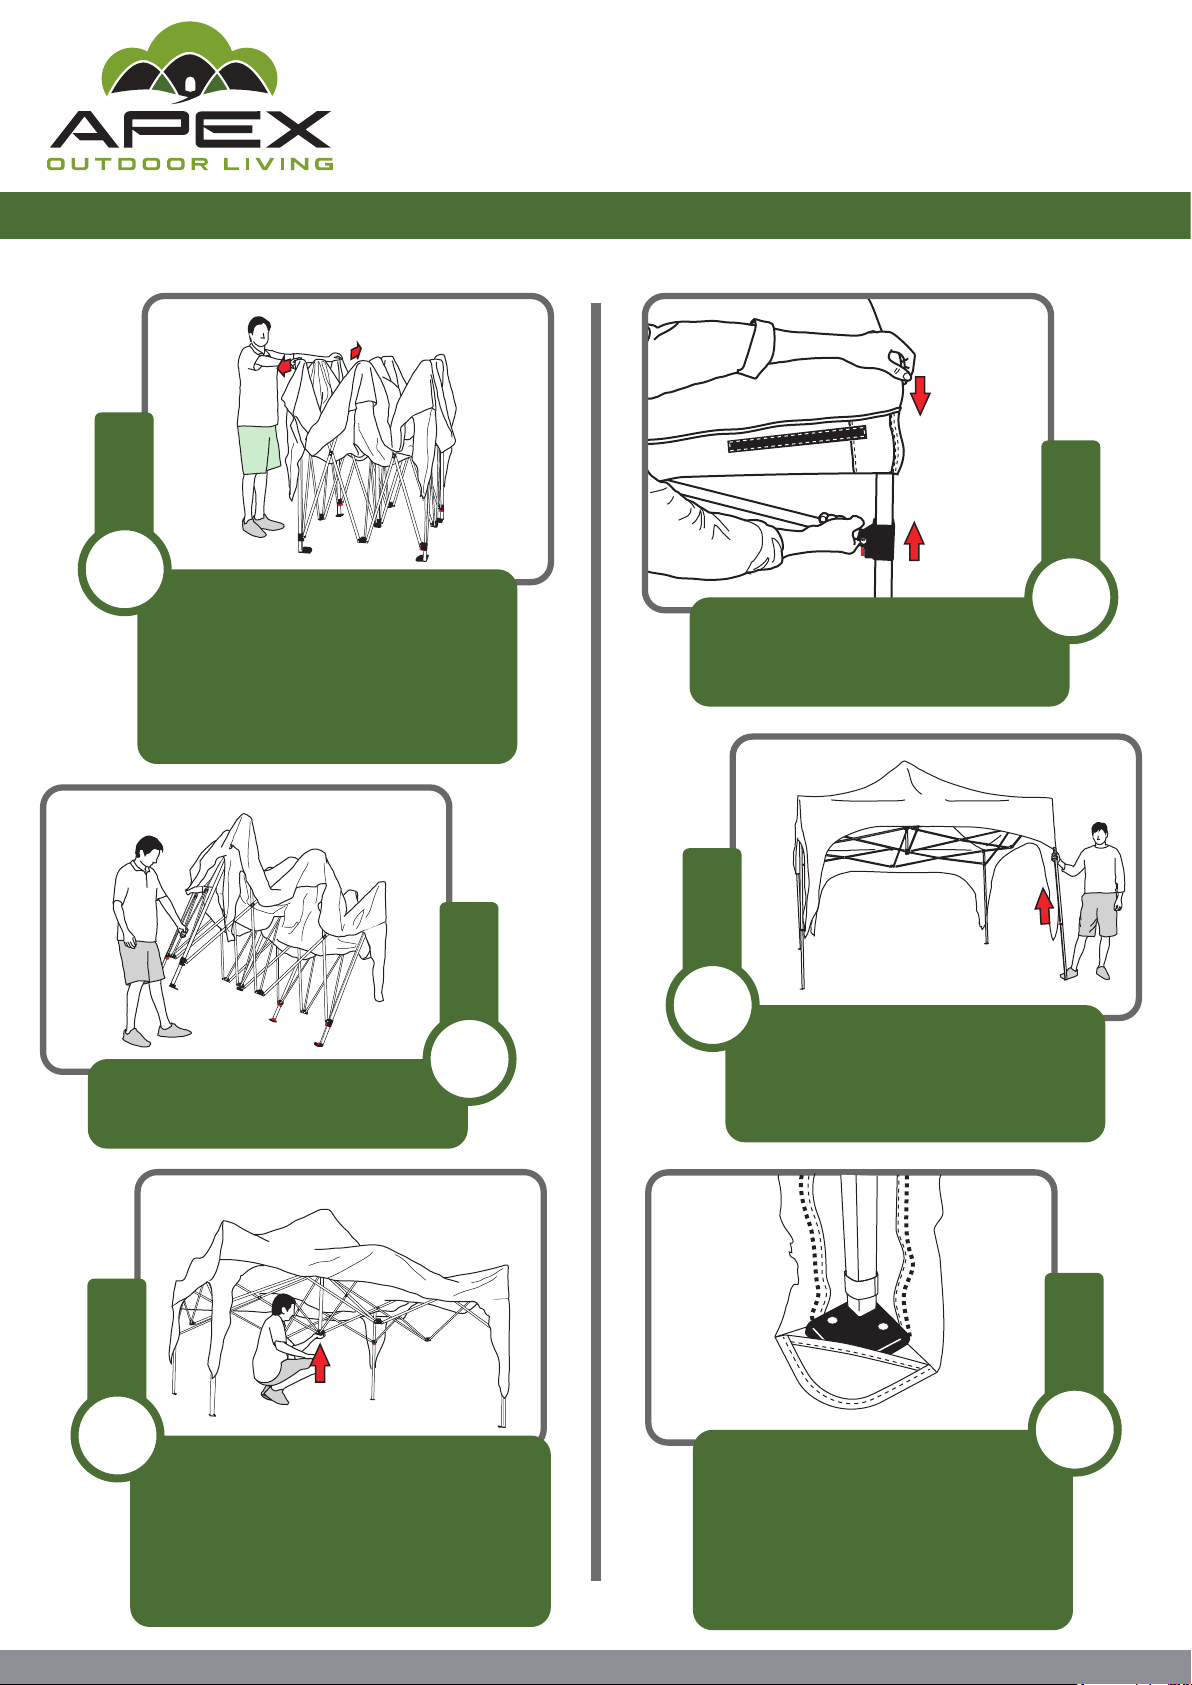
Disassembly Instructions:
Make sure all doors are zipped nearly closed, leaving space
to allow air to escape when repacking.
Store all poles and stakes in their corresponding bags to
prevent any possible tearing or damage to the fabric piece.
1. Pull out the stakes and place the stakes into stake bag.
Do not pull on the D-rings or fabric loops as this could cause
tearing.
2. Remove and fold alumnum pole of window hood.
3. Unhook the rainfly hooks and undo the Velcro warps
around the aluminum poles, remove the rainfly.
4. Remove dome-room clips from aluminum poles.
5. Remove and carefully fold the big aluminum poles.
6. Fold the tent into a rectangular shape the same width as
tent bag, lay pole bag and stake bag at one end and roll
tightly together , slowly queezing air out.
At this point dome-room should be freestanding and
ready to be attached to base-camp.
4
Small aluminum pole is for back window of
dome-room. Run small aluminum pole through
the sleeve in back window hood and tuck each
end into its pocket to create an arch.
STEP
3
STEP
Pull rainfly over dome-room and attach Velcro
wraps to the poles. Extend the fly to the corner of
dome-room and attach hook to each corner D-ring.
2
Connect top center clip so it is attached to
both poles. Then connect the rest clips to
corresponding poles.
STEP
1
STEP
Spread floor of dome-room out on the side of
base-camp you will attach it to. Unfold two big
aluminum poles. The poles will attach to the base of
dome-room by inserting it into corner eyelet. Place
and bend poles in opposite corners so they cross in
the middle.
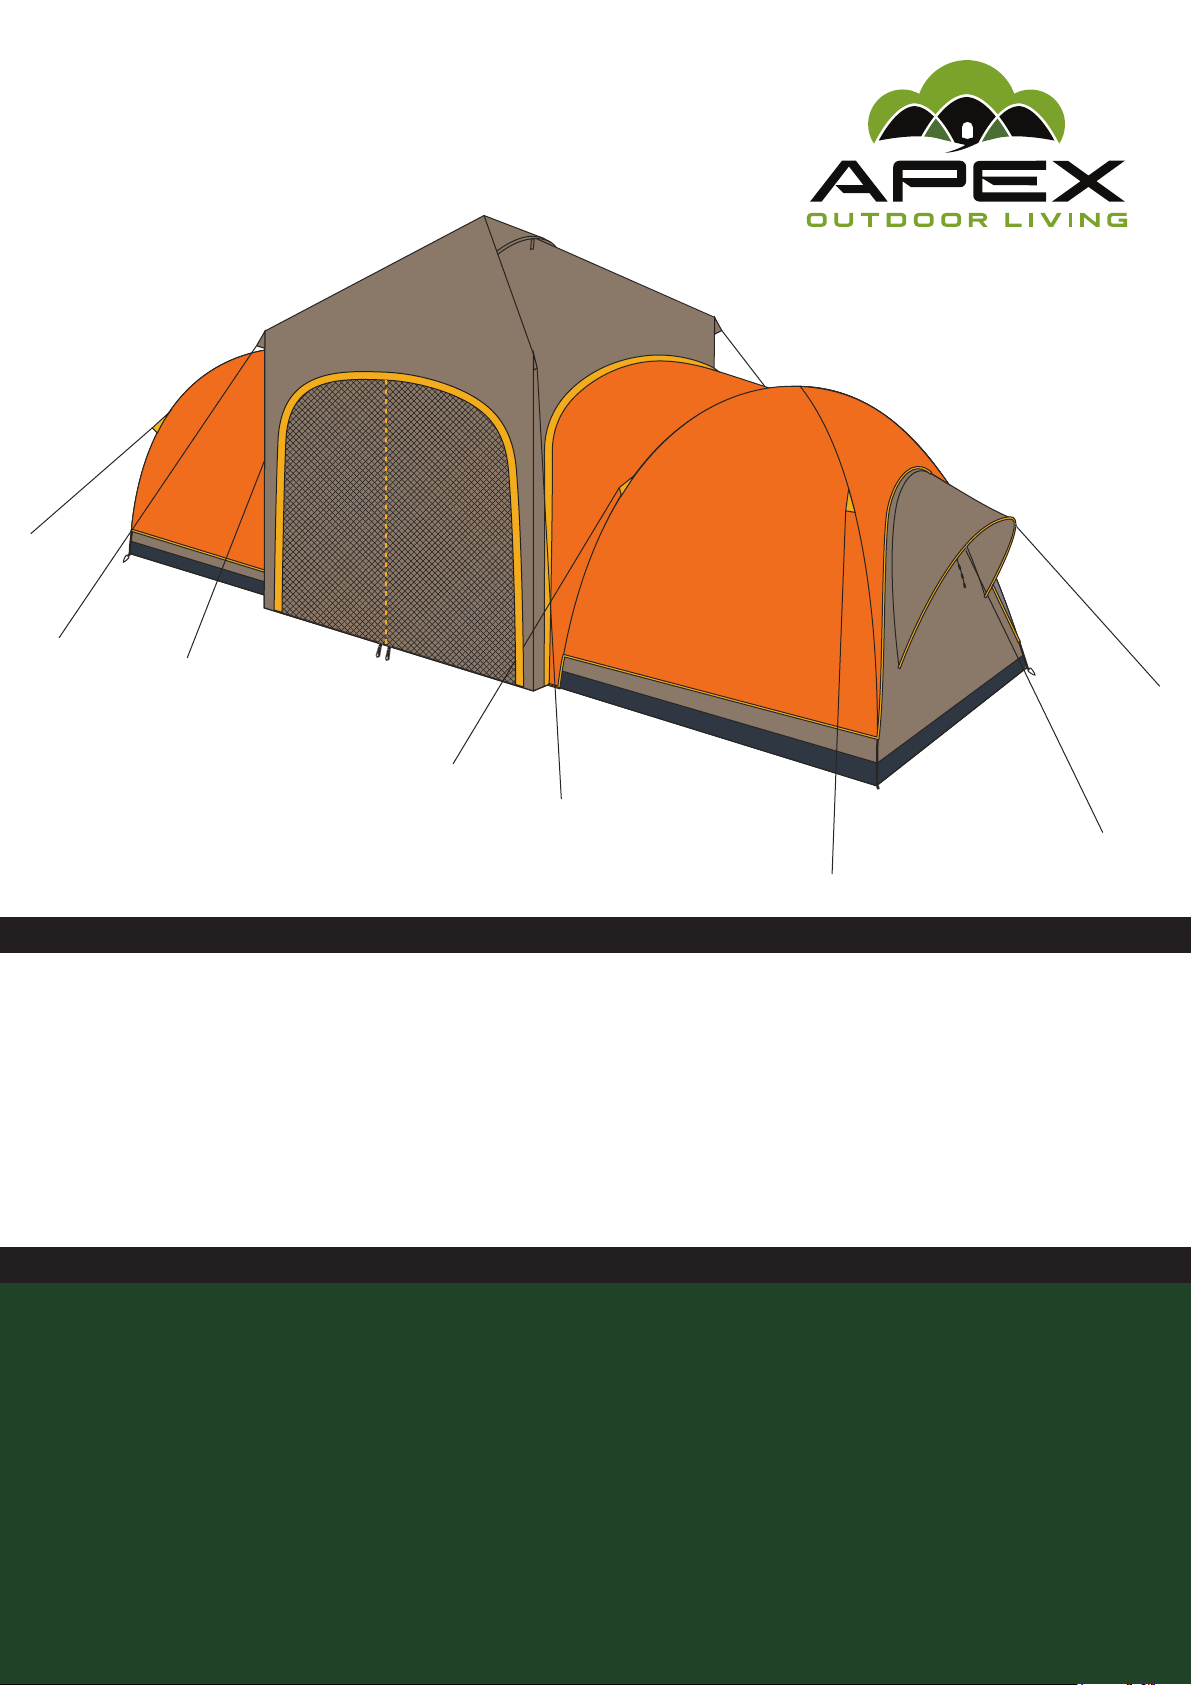
Dome-Room setup:
Each dome-room is freestanding and simply attaches to
any side of base-camp using provided zippers.
It is important that you read this carefully before attempting the Setup!
Operating Instructions
TM