United Technologies MobileView 9000 Series User manual

MobileView 9000 & 9100
Series Analog/IP Camera
User Manual
P/N 1072868 • REV A • ISS 05NOV14

Copyright
© 201
4 United Technologies Corporation.
MobileView
is part of UTC Building & Industrial Systems, a unit of United Technologies
Corporation.
All rights reserved.
Trademarks and patents
The MobileView product name
and logo are trademarks of United Technologies.
Other trade names used in this document may be trademarks or registered trademarks
of the manufacturers or vendors of the respective products.
Manufacturer
UTC Building & Industrial Systems
4001 Fairview Industrial Dr. SE
,
Salem
, OR 97302, USA
Authorized EU manufacturing representative:
UTC Climate Controls & Security B.V.,
Kelvinstraat 7, 6003 DH Weert, Netherlands
Intended use
Use this product only for the purpose it was designed for; refer to the data sheet and
user documenta
tion for details. For the latest product information, contact your local
supplier or visit us online at www.interlogix.com.
Certification
N4131
Complete additional sections according to the governing laws and standards for the
intended market plac
e.
FCC compliance
This equipment has been tested and found to comply with the limits for a Class A digital
device, pursuant to part 15 of the FCC Rules. These limits are designed to provide
reasonable protection against harmful interference when the equipment is operated in a
commercial environment. This equipment generates, uses, and can radiate radio
frequency energy and, if not installed and used in accordance with the instruction
manual, may cause harmful interference to radio communications.
You are
cautioned that any changes or modifications not expressly approved by the
party responsible for compliance could void the user's authority to operate the
equipment.
ACMA compliance
Notice!
This is a Class A product. In a domestic environment this product may cause
radio interference in which case the user may be required to take adequate measures.
European Union
directives
1999/5/EC (R&TTE directive):
Hereby, UTC Building & Industrial Systems declares that
this device is in compliance with the essential
requirements and other relevant
provisions of Directive 1999/5/EC.
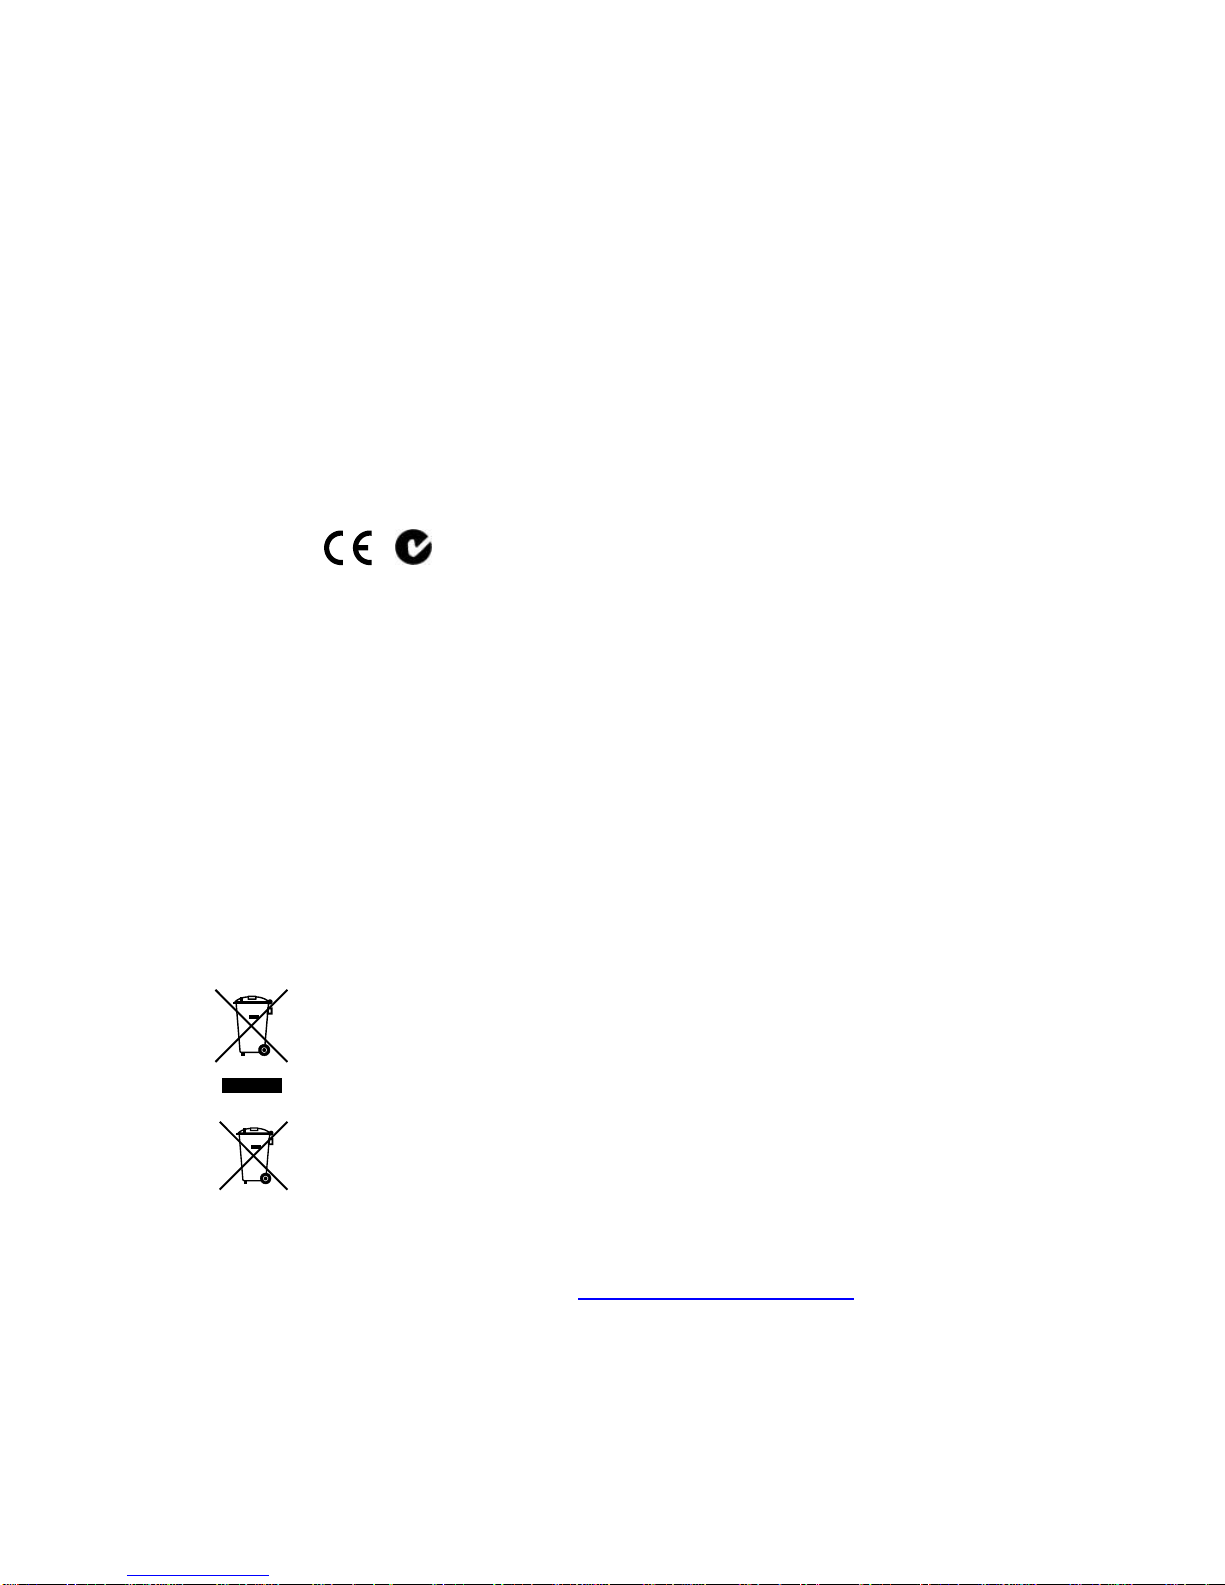
2002/96/EC (WEEE directive):
Products marked with this symbol cannot be disposed
of as unsorted municipal waste in the European Union. For proper recycling, return this
product to your
local supplier upon the purchase of equivalent new equipment, or
dispose of it at designated collection points. For more information see:
www.recyclethis.info.
2006/66/EC (battery directive):
This product contains a battery that cannot be
disposed of
as unsorted municipal waste in the European Union. See the product
documentation for specific battery information. The battery is marked with this symbol,
which may include lettering to indicate cadmium (Cd), lead (Pb), or mercury (Hg). For
proper recyclin
g, return the battery to your supplier or to a designated collection point.
For more information see: www.recyclethis.info.
Contact information
For contact information, see
www.interlogix.com/mobileview/.

Content
System Requirements 3
Camera Network Connections 4
Wiring over LAN 4
Detecting and Changing the IP Address 5
Accessing the Camera 6
Accessing by Web Browser 6
Live View 9
Live View Page 9
Starting Live View 10
Recording and Capturing Pictures Manually 10
Camera Configuration 11
Configuring Local Parameters 11
Configuring Time Settings 13
Configuring Network Settings 15
Configuring Video andAudio Settings 28
Configuring Image Parameters 31
Configuring and HandlingAlarms 37
Handling Exception 42
Others 44
Managing User Accounts 44
Configuring RTSPAuthentication 46
Anonymous Visit 47
IPAddress Filter 48
Viewing Device Information 50
Maintenance 51
RS-232 Settings 53
Defog Settings (only available on MVC-9000) 54
IR Settings 54
Telnet Settings 54
MobileView 9000 & 9100 Series Analog/IP Camera User Manual i


System Requirements
Table 1: System Requirements
Operating System
Microsoft Windows XP SP1 and above /Vista/Win 7 32bits
CPU
Intel Premium IV 3.0 GHz or higher
RAM
1 GB or higher
Display
1024 x768 resolution or higher
Web Browser
Microsoft Explorer 6.0 and above, Mozilla Firefox 3.5 and above,
Google Chrome 8 and above
MobileView 9000 & 9100 Series Analog/IP Camera User Manual 3

Camera Network Connections
Wiring over LAN
The following figures show the two ways of cable connection of a network
camera and a computer:
• To test the network camera, you can directly connect the network camera to a
computer with a network cable as shown in Figure 1 below.
• Refer to Figure 2 below for connection of the network camera by LAN via a
switch or a router.
Figure 1: Direct Connection
Figure 2: Connecting via a Switch or Router
4 MobileView 9000 & 9100 Series Analog/IP Camera User Manual

Detecting and Changing the IP Address
You need the IP address of the camera to connect to the network camera using a
computer. If you already know the IP address of the camera, skip to the next
section, Accessing the Camera. The default IP address is 192.168.1.70, subnet
is 255.255.255.0, and the port number is 8000. The default user name is admin,
and password is 1234.
1. To get the IP address, you can install the Mobileview Camera Finder to list
online devices.
2. To change the IP address and subnet mask as needed, input the new values
in the appropriate fields, input the camera password, and click Save.
MobileView 9000 & 9100 Series Analog/IP Camera User Manual 5

Accessing the Camera
Accessing by Web Browser
1. Open the web browser.
2. In the address field, input the IP address of the network camera, e.g.,
192.168.1.70 and press the enter key to access the login interface.
3. Input the user name and password, and click Login.
Note: The default user name is admin, and the password is 1234.
Figure 3: Login Interface
4. When prompted, please follow the installation prompts to install the plug-in.
MobileView 9000 & 9100 Series Analog/IP Camera User Manual 6

Figure 4: Download and Install Plug-in
Figure 5: Install Plug-in (1)
MobileView 9000 & 9100 Series Analog/IP Camera User Manual 7

Figure 6: install Plug-in (2)
Note: You must close the web browser to install the plug-in. Please reopen the
web browser and log in again after the plug-in is installed.
8 MobileView 9000 & 9100 Series Analog/IP Camera User Manual

Live View
Live View Page
The live video page allows you to view live video, capture images, and configure
video parameters.
Once you are logged in to the camera, you can click on the menu bar of
the main page to enter the live view page.
Descriptions of the live view page:
Figure 7: Live View Page
Table 2: Live View Page Options
Menu Bar
Click each tab to enter Live View and Configuration interface.
Display Control
Click each tab to adjust the layout and the stream type of the live view.
Live View Window
Display the live view.
Toolbar
Operations on the live view page, e.g., start/stop live view, capture,
record, audio on/off, and digital zoom.
Live view window
Tool Bar
Display control
Menu Bar
MobileView 9000 & 9100 Series Analog/IP Camera User Manual 9

Starting Live View
In the live view window, click on the toolbar to start the live view of the
camera.
Figure 8: Live View Toolbar
Table 3: Toolbar icon descriptions
Icon
Description
/Start/Stop live view
Manually capture the pictures displayed in live view and
then save it as a JPEG file or BMP file.
/ Manually start/stop recording.
Audio on and adjust volume /Mute.
(Only available for MVC-9100)
Note: Before using audio, please set the Stream Type to Video & Audio (Only
available for the 9100 Series Cameras).
Full-screen Mode
You can double-click on the live video to switch the current live view into full-
screen or return to normal mode from the full-screen.
Recording and Capturing Pictures Manually
In the live view interface, click on the toolbar to capture the live pictures on
your PC, or click to record the live video to your PC. The saving paths of the
captured pictures and clips can be set on the Configuration>Local
Configuration page.
Note: The captured image will be saved as JPEG or BMP file in your computer.
10 MobileView 9000 & 9100 Series Analog/IP Camera User Manual

Camera Configuration
Configuring Local Parameters
Note: Local configuration refers to the parameters for live view, recorded video
files, and captured pictures. The recorded files and captured pictures are the
ones you saved using the web browser and thus the files were saved to the
defined locations on the PC running the browser.
1. Enter the Local Configuration interface:
Configuration > Local Configuration
Figure 9: Local Configuration Interface
MobileView 9000 & 9100 Series Analog/IP Camera User Manual 11

2. Configure the following settings:
Live View Parameters
Protocol Type: TCP, UDP, MULTICAST and HTTP are selectable.
TCP:
Ensures complete delivery of streaming data and better
video quality, yet the real-time transmission will be affected.
UDP: Provides real-time audio and video streams.
HTTP:
Allows the same quality as of TCP without setting
spe
cific ports for streaming under some network
environments.
MULTICAST: It’s recommended to select MCAST type when
using the Multicast function. For detailed information about
Multicast, refer to Configuring TCP/IP Settingson page 15.
Live View Performance: Set the live view performance to Shortest
Delay, Real Time, Balanced or Fluency.
Record File Settings
Record File Size:
Select the packed size of the manually recorded
and downloade
d video files to 256M, 512M or 1G. After the selection,
the maximum record file size is the value you selected.
Save record files to:
Set the folder location for the manually recorded
video files.
Save snapshots in live view to: Set the folder location of the
pictures captured manually in live view mode.
Note: You can click to change the directory for saving the video files
and pictures.
3. Click Save to save the settings.
12 MobileView 9000 & 9100 Series Analog/IP Camera User Manual

Configuring Time Settings
You can follow the instructions in this section to configure the time
synchronization and DST settings.
1. Enter the Time Settings interface:
Configuration> Basic Configuration > System > Time Settings
Or Configuration > Advanced Configuration > System > Time Settings
Figure 10: Time Settings
• Select the Time Zone.
Select the Time Zone where the camera is located from the drop-down menu.
• Synchronizing Time by NTP Server.
Check the checkbox to enable the NTP function.
Configure the following settings:
Server Address: IP address of NTP server.
NTP Port: Port of NTP server.
Interval: The time interval between the two synchronizing actions with
NTP server.
MobileView 9000 & 9100 Series Analog/IP Camera User Manual 13

Figure 11: Time Sync by NTP Server
Note: If the camera is connected to a public network, you should use a NTP
server that has a time synchronization function, such as the server at the
National Time Center (IP Address: 210.72.145.44). If the camera is set in a
customized network, NTP software can be used to establish a NTP server for
time synchronization.
• Synchronizing Time Synchronization Manually
Enable the Manual Time Sync function and then click to set the system
time from the pop-up calendar.
Note: You can also check the Sync with computer time checkbox to
synchronize the time of the camera with that of your computer.
Figure 12: Manual Time Sync
• Click DST tab to enable the DST function and set the date of the DST period.
14 MobileView 9000 & 9100 Series Analog/IP Camera User Manual

Figure 13: DST Settings
2. Click Save to save the settings.
Configuring Network Settings
Configuring TCP/IP Settings
TCP/IP settings must be properly configured before you operate the camera over
a network. The camera supports both IPv4 and IPv6. Both versions may be
configured simultaneously without conflict. At least one IP version should be
configured.
1. Enter TCP/IP Settings interface:
Configuration > Basic Configuration > Network> TCP/IP
Or Configuration > Advanced Configuration> Network > TCP/IP
MobileView 9000 & 9100 Series Analog/IP Camera User Manual 15

Figure 14: TCP/IP Settings
2. Configure the basic network settings, including the NIC Type, IPv4 or IPv6
Address, IPv4 or IPv6 Subnet Mask, IPv4 or IPv6 Default Gateway, MTU
settings and Multicast Address.
• The valid value range of MTU is 500 ~ 1500.
• The Multicast sends a stream to the multicast group address and allows
multiple clients to acquire the stream at the same time by requesting a
copy from the multicast group address. Before utilizing this function, you
must enable the Multicast function of your router.
3. Click Save to save the above settings.
Note: A reboot is required for the settings to take effect.
Configuring Port Settings
You can set the ports of the camera, e.g. HTTP port, RTSP port and HTTPS port.
1. Enter the Port Settings interface:
16 MobileView 9000 & 9100 Series Analog/IP Camera User Manual

Configuration > Basic Configuration > Network> Port
Or Configuration > Advanced Configuration> Network > Port
Figure 15: Port Settings
2. Set theHTTP port, RTSP port and HTTPS port of the camera.
HTTP Port
The default port number is 80. If you change it, it is recommended to use a
port within the range 1024 to 65535.
RTSP Port
The default port number is 554.
HTTPS Port
The default port number is 443. If you change it, it is recommended to use a
port within the range 1024 to 65535.
Server Port
The default server port number is 8000.
3. Click Save to save the settings.
4. A reboot is required for the settings to take effect.
Configuring PPPoE Settings
1. Enter the PPPoE Settings interface:
Configuration> Advanced Configuration > Network > PPPoE
MobileView 9000 & 9100 Series Analog/IP Camera User Manual 17

Figure 16: PPPoE Settings
2. Check the Enable PPPoE checkbox to enable this feature.
3. Enter User Name, Password, and Confirm password for PPPoE access.
The User Name and Password should be assigned by your ISP.
4. Click Save to save and exit the interface.
5. A reboot is required for the settings to take effect.
Configuring DDNS Settings
If your camera is set to use PPPoE as its default network connection, you can
use the Dynamic DNS (DDNS) for network access.
Before you start:
Registration on the DDNS server is required before configuring the DDNS
settings of the camera.
1. Enter the DDNS Settings interface:
Configuration > Advanced Configuration> Network > DDNS
18 MobileView 9000 & 9100 Series Analog/IP Camera User Manual
This manual suits for next models
1
Table of contents
Popular IP Camera manuals by other brands

D-Link
D-Link DCS-5030L Quick installation guide

Active Vision
Active Vision ACC-P106N-2VSW-W user manual

FLIR
FLIR ThermoVision Micron user guide

Dedicated Micros
Dedicated Micros CamVu 720 Installation and configuration manual

Ansel
Ansel Pan/Tilt & Dome Type quick start guide

Link
Link V520 instruction manual

Syscom Video
Syscom Video Motorized Full-HD IR Bullet Network Camera Quick installation guide

Speco
Speco VIP1D1 manual

Toshiba
Toshiba IK-HR1D specification

Grandstream Networks
Grandstream Networks GXV3672_HD/FHD quick start guide

Digitus professional
Digitus professional DN-16083-1 Quick installation guide

FLIR
FLIR Voyager III Operator's manual