EN
3
3Identication
1. Main unit
Extra operating panel
[United Kingdom]
Electrical box
Deodorizer
Power cord
Lid
Caution label
Nozzle for
posterior
Nozzle for
feminine
Occupied
sensor
Splash guard
Heated seat
Deodorizing
lter unit
Warm dryer
2. Accessories
Mounting bolt (2pcs)
Water hose (120 cm)
Elbow connector (2pcs 1/2’’)
T-valve (1/2’’) T-valve (3/8’’)
Extra foot seat (2pcs)
Bolt guide (2pcs)
Remote
control
Battery (AAA 3pcs)
Screw (2pcs) Plastic anchor
(2pcs)
Mounting plate (2 types)
Deodorizing lter
(equipped with this unit)
Washer (2pcs)
Mounting nut (2pcs)
Upper cone
(2pcs)
Lower cone
(2pcs)
<Fischer Kit>
Mounting bolt (2pcs)
Washer (2pcs)
Spacers (2pcs)
Upper cone (2pcs)
Mounting nut (2pcs)
Lower cone (2pcs)
EN
EN
2
32 Cautions before installation
1. Do not install in location where water might be splashed on this appliance or in location exposed to such an
excessive moisture that condensation forms on the product surface.
2. To avoid damage to electronic components due to high levels of humidity, provide adequate ventilation by opening
awindow and/or door when bathing. You may operating an exhaust ventilating fan during these times of high
humidity
3. The new hose-set supplied with the appliance should be used and the old hose-set should not be reused.
4. Use a water supply having a water pressure 0.08 MPa ~ 0.74 MPa.
5. Connect the product to a pipe carrying potable water. Do not connect to an industrial water line or other water
supply that does not carry water of drinking quality.
6. In areas where water freezes during winter make arrangements to keep the pipes warm. The water remaining in
the unit may sometimes freeze during storage in winter. In that case, warm the unit in the room before installation.
7. The termal protector in the water tank my sometimes trip during storage or transportation in warm weather causing
non-operation. In that case, cool the unit in the room before installation.
8. The rated power voltage is 220-240 V~ / 50/60 Hz
9. Do not supply electrical power to the unit until the plumbing installation work has been completed; it could cause
malfunction.
10. Unplug the appliance during maintenance and cleaning.
NOTE THE FOLLOWING IMPORTANT POINTS
WARNING Before installing this product, always observe the
local laws and regulations regarding installation.
In countries where power outlets are not permitted in bathrooms, such as U.K. or Ireland, please consult a
electrician for advice on connecting this unit to a power supply. The European two-pin plug should be removed and
the unit should be connected to the mains by a electrician.
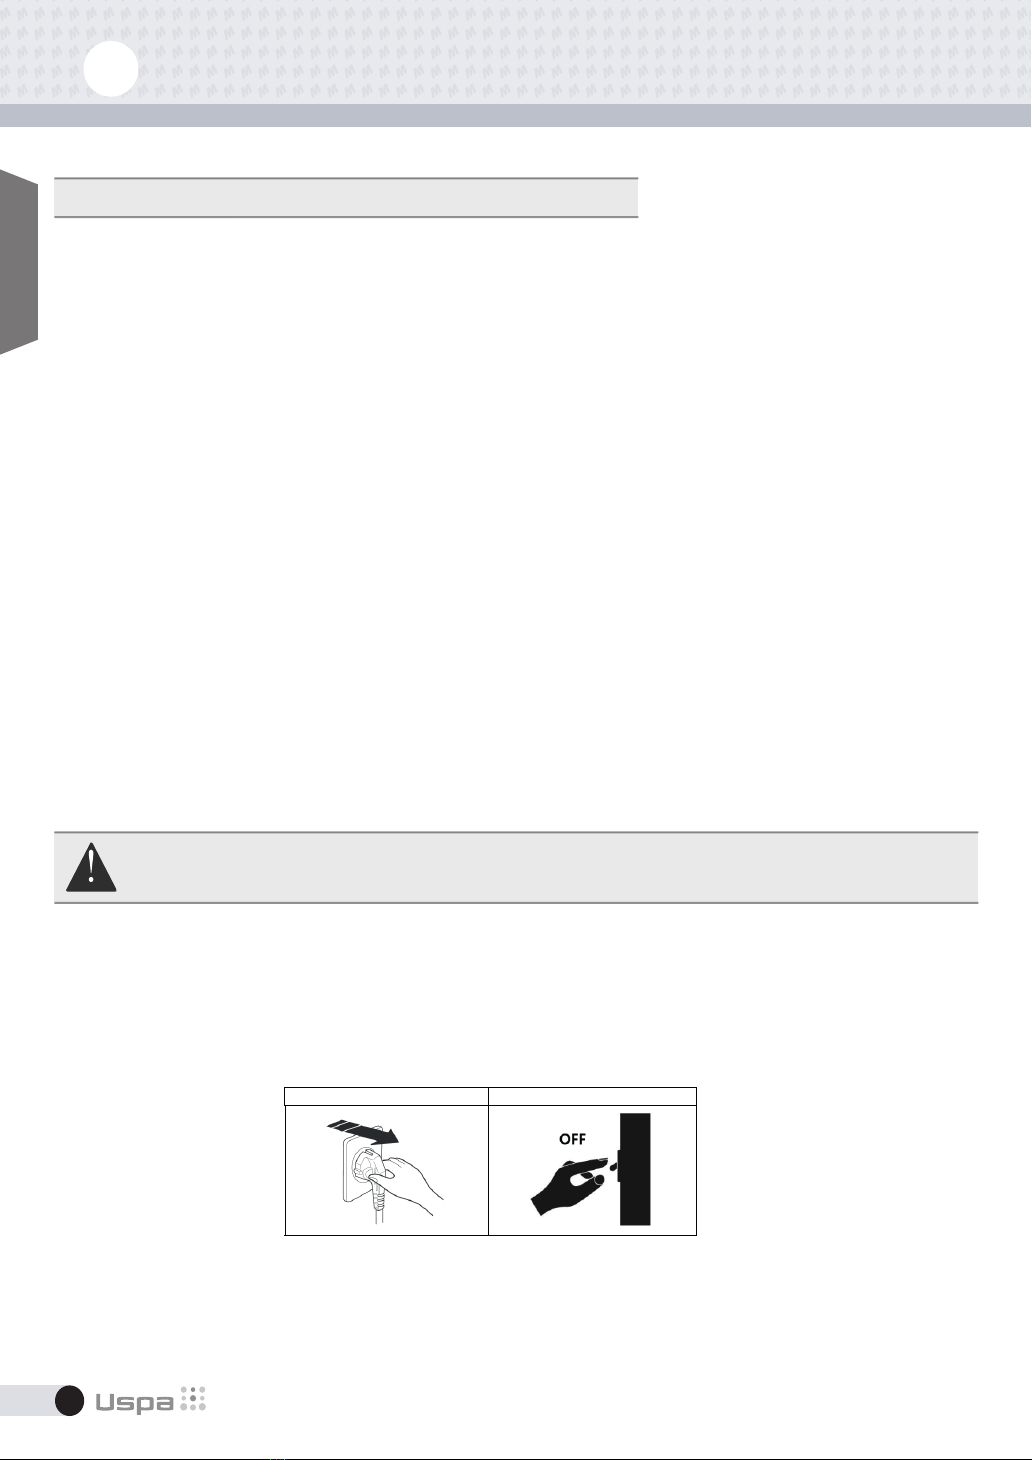
In such countries, every time the operating instruction manual refers to unplug the power cord, the user must instead
switch off the circuit.
CONTINENTAL EUROPE U.K. / IRELAND
EN
EN
2
32 Cautions before installation
1. Do not install in location where water might be splashed on this appliance or in location exposed to such an
excessive moisture that condensation forms on the product surface.
2. To avoid damage to electronic components due to high levels of humidity, provide adequate ventilation by opening
awindow and/or door when bathing. You may operating an exhaust ventilating fan during these times of high
humidity
3. The new hose-set supplied with the appliance should be used and the old hose-set should not be reused.
4. Use a water supply having a water pressure 0.08 MPa ~ 0.74 MPa.
5. Connect the product to a pipe carrying potable water. Do not connect to an industrial water line or other water
supply that does not carry water of drinking quality.
6. In areas where water freezes during winter make arrangements to keep the pipes warm. The water remaining in
the unit may sometimes freeze during storage in winter. In that case, warm the unit in the room before installation.
7. The termal protector in the water tank my sometimes trip during storage or transportation in warm weather causing
non-operation. In that case, cool the unit in the room before installation.
8. The rated power voltage is 220-240 V~ / 50/60 Hz
9. Do not supply electrical power to the unit until the plumbing installation work has been completed; it could cause
malfunction.
10. Unplug the appliance during maintenance and cleaning.
NOTE THE FOLLOWING IMPORTANT POINTS
WARNING Before installing this product, always observe the
local laws and regulations regarding installation.
In countries where power outlets are not permitted in bathrooms, such as U.K. or Ireland, please consult a
electrician for advice on connecting this unit to a power supply. The European two-pin plug should be removed and
the unit should be connected to the mains by a electrician.
In such countries, every time the operating instruction manual refers to unplug the power cord, the user must instead
switch off the circuit.
CONTINENTAL EUROPE U.K. / IRELAND
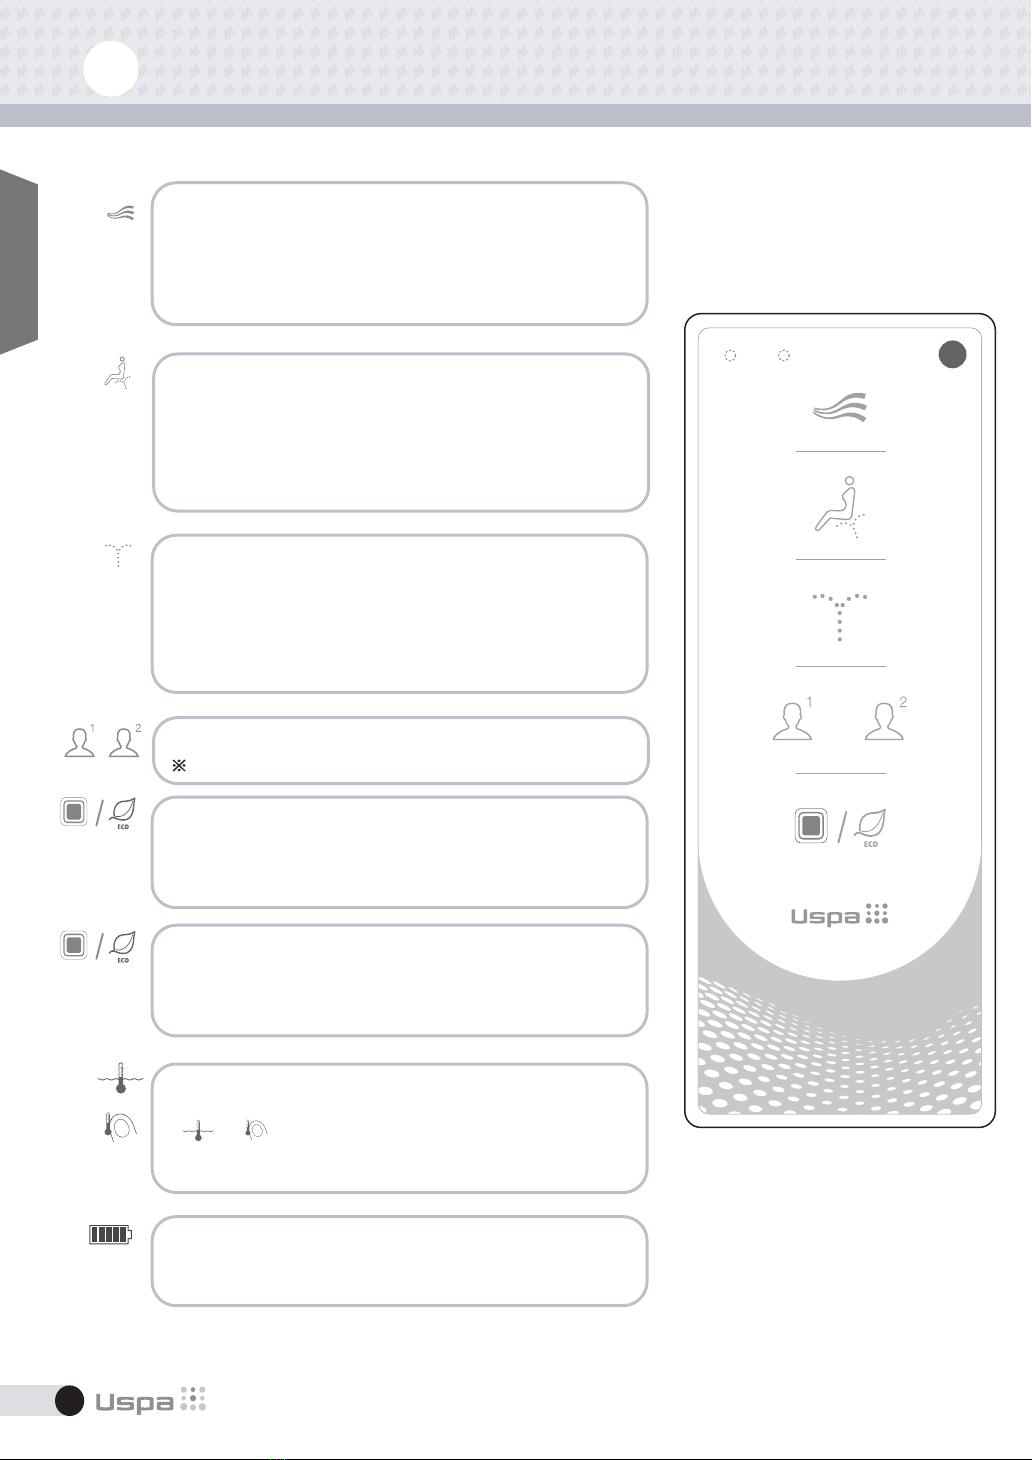
Remote control
Bracket