UVeritech Fraud Fighter CT600-AD User manual

TABLE OF CONTENTS
1. Safety Instructions / 2
2. Introduction / 3
2.1 Package Contents / 3
2.2 Unit Design / 3
3. Operation / 4
3.1 How to Turn the Unit ON & OFF / 4
3.2 How to Change the Bill Exit Direction / 4
3.3 How to Change the Currency Type / 4
3.4 How to Correctly Feed Bills / 4
3.5 ADD vs. DEN & Real vs. Counterfeit / 5
3.6 Report Mode / 5
3.7 Sleep Mode / 6
3.8 Battery Information Indicator / 6
4. Update Function / 6
5. Maintenance & Troubleshooting / 7
5.1 Maintenance & General Use Info / 7
5.2 Troubleshooting: Error Messages / 7
5.2.1 Self-test Error Code Display / 7
5.2.2 Detective Error Code Display / 8
6. Technical Specifications / 8
1

1. SAFETY PRECAUTIONS
Please read all of the following safety precautions before
using the unit to avoid personal injury and damage to the
machine.
• Do not use another type of power adapter. Only use
the power adapter provided.
• Do not disconnect the power adapter when hands are
wet.
• Unplug the unit first when moving the unit to another
position.
• Hold and pull the plug - not the cord - when
disconnecting the power adapter from a power
supply.
• Do not place heavy objects on the power adapter
cord.
• Store the battery in a clean, dry, and well-ventilated
room between -5°C — 35°C (23°F —95°F).
• Do not expose the battery to fire, heat, or corrosive
elements.
• Take the battery out of the unit if the battery will be
unused for a long period.
• Recharge the battery at least once every 6 months.
• Do not spray the unit with flammable liquids/gases
when cleaning the unit.
• If the unit is exposed to cold temperatures for a long
time, leave the unit at room temperature for at least
2 hours before use.
• Do not allow metal objects or flammable liquids to
fall inside the unit.
POWER
ADAPTER
!
BATTERY
GENERAL
!
2

2. INTRODUCTION
The CT-660 AD will allow you to quickly and easily identify
counterfeit money.
Please read this user manual in full before using the unit. Please
contact us if you need support on using this unit.
2.1 Package Contents
2.2 Unit Design
CT-660 AD User Manual AC/DC Power Adapter
USB Download Cable Rechargable Battery
1) Removable USD guide
2) REPORT/DIRECTION button
3) Currency Type Indicator
4) Front Exit Direction Indicator
5) Rear Exit Direction Indicator
6) Value/Grand Total Indicator
7) Battery Information Indicator
8) Bill Quantity Indicator
9) Report, Denomination, Add Mode
10) ON/OFF (& Add/Denomination) Button
11) Clear + Change Currency Type Button
12) Bill Feed Port
13) Power Adapter Connector
14) Mini SD Slot
15) USB Cord Connector
16) Rear Exit Direction Slot
3

3. OPERATION
3.1 How to Turn the Unit On & Off
Turn on the unit by holding down the ON/OFF button for about 2
seconds - the ON/OFF button should light up and the display window
should show the software version (see Figure 1). When the Value
Indicator and Quantity Indicator both display a “0” (see Figure 2),
your unit is ready to use.
Turn off the unit by holding down the ON/OFF button for about 2
seconds.
3.2 How to Change the Bill Exit Direction
Change the bill exit direction by holding down the REP/DIR button for
about 2 seconds. When the Exit Direction Indicator shows a down
arrow (), the bill will exit out the front. When the Exit Direction
Indicator shows an up arrow (), the bill will exit out the back.
Note: Counterfeit bills will always exit out the front, regardless of the
Exit Direction Indicator setting.
3.3 How to Change the Currency Type
Change the currency type by pressing the CLR button. EUR and USD
are the default currency types - other currencies are optional.
3.4 How to Correctly Feed Bills
USD bills:
• Use the Removable USD Guide to reduce bill feeding errors
• Insert bills front-side up
EUR & GBP (British Pound) bills:
• Insert bills front-side up or back-side up
All bills:
• Feed bill into unit along the right edge of the feeder
• Retest rejected bills at least 3 times
Software
Version
Figure 1
Value
Indicator
Quantity
Indicator
Figure 2
4

3.5 ADD vs. DEN Modes & Real vs. Counterfeit Bills
If a bill is real, the screen will show either:
• The value of the bill, if DEN (denomination) mode is selected (see
Figure 3)
• The quantity of all bills scanned and the grand total, if ADD
(addition) mode is selected (see Figure 4)
To switch between ADD and DEN modes, press the ON/OFF button.
Note: Switching modes will reset the grand total count.
If more than 999 bills are scanned or if the grand total amounts to
more than 999999 (for any currency type), the counters will
automatically reset to 0.
If a counterfeit bill is detected, the bill
will eject out the front, the ON/OFF
button will flash red, and an error code
will appear on the screen (see Figure 5).
To see the specific parameter flagged as
suspicious, check the corresponding
error code description in Section 5.2.2.
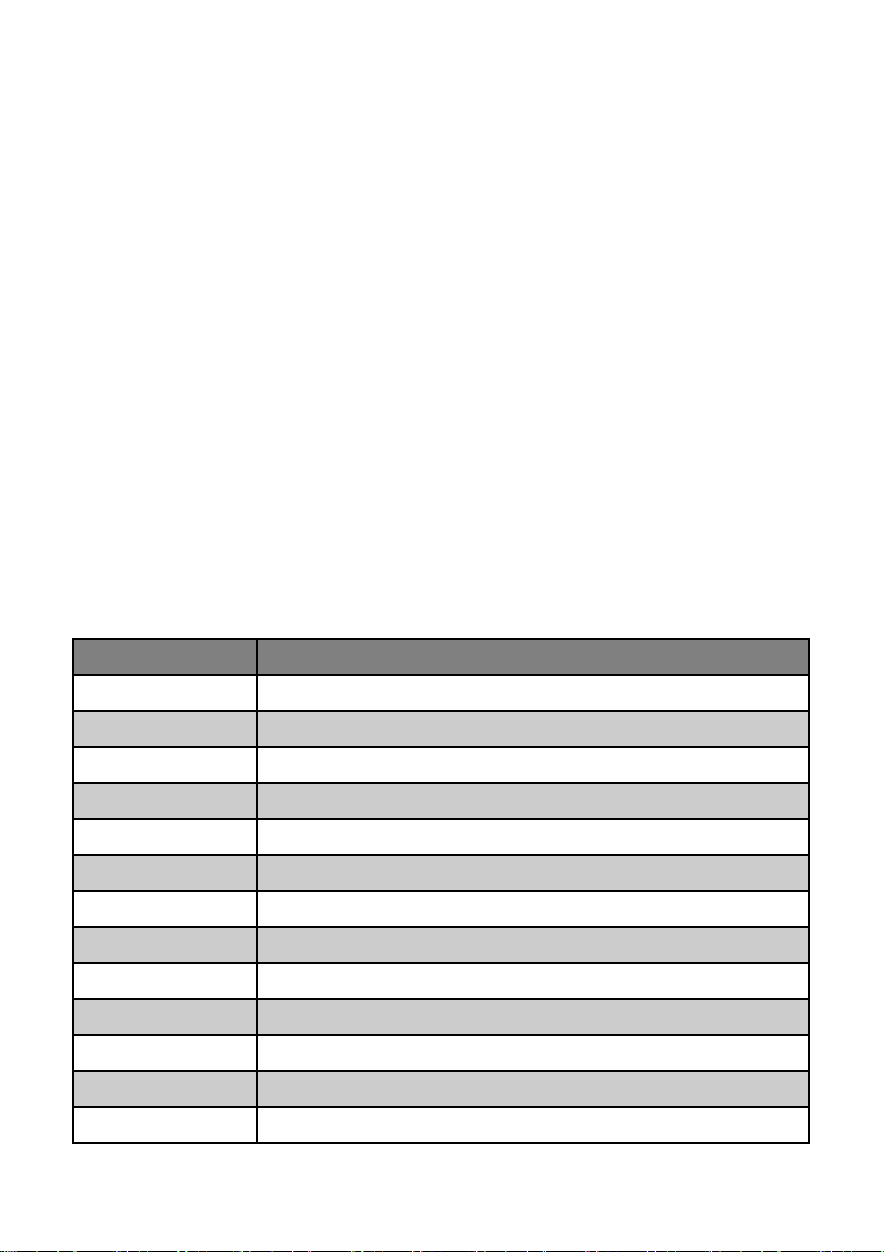
3.6 Report Mode
Report mode allows you to see:
• The quantity of each denomination scanned (see Figure 6)
• The quantity of all bills and the grand total (see Figure 7)
To enter Report mode, press the REP/DIR button. To cycle through
the denominations (ascending in value) and the grand total, press
the REP/DIR button in succession.
Data on all the bills scanned is stored until the data is cleared - i.e.,
a new count is started.
If you’d like to continue adding to the total, simply insert another
bill. If you’d like to start a new count, hold the CLR button for about
2 seconds or turn off the unit.
Grand
Total
Addition
Mode
Figure 4
Quantity of
Bills
Error
Code
Figure 5
Red ON/OFF
Button
Figure 3
Bill Value
(Denomination)
Denomination
Mode
5

3.7 Sleep Mode
After 5 minutes of inactivity, sleep mode is activated: the screen will
turn off, but the ON/OFF button will remain blue. To deactivate sleep
mode, touch any key or insert a bill.
If sleep mode is activated while the unit is running on its
rechargeable battery, the unit will automatically turn off after 15
minutes of inactivity.
3.8 Battery Information Indicator
• Solid Battery Symbol: Full battery
• Empty Battery Symbol: Battery is almost empty
• Flashing + Solid ↔ Empty Symbol: Battery is charging
• “Low Battery” text: Battery is not powerful enough to scan bills
• Unit Won’t Turn On: Battery is empty
4. Update Function
Software updates are periodically released as an online downloads.
To correctly update your unit, follow the steps below.
Note: The software update must be performed using the power
adapter. The battery is not powerful enough to perform the update.
1) Turn off the unit and disconnect the power adapter.
2) Use the USB download cable to connect the unit to your computer.
3) Reconnect the power adapter to the unit.
4) Simultaneously press the ON/OFF button and
the CLR button. The display should show 12
dashes (see Figure 8). Repeat this step if the
display does not show 12 dashes.
5) Run the software download/update software on your computer.
6) Click the “Load File” button. Find and select the downloaded update file.
7) Click the “Update Soft” button to install the software update.
8) Once the update is finished, turn the unit off. If the update is successful,
the software version that appears when the unit it powered on should be
updated (see Figure 1).
Grand
Total
Figure 7
Denomination
Quantity
Figure 6
Denomination
Report Mode
Quantity of
All Bills
Report Mode
Figure 8
6

5. MAINTENANCE &
TROUBLESHOOTING
5.1 Maintenance & General Use Information
1) Use the unit in ambient temperatures and well-ventilated
environments.
2) Avoid placing the unit near any strong magnets.
3) Clean the sensors and rubber belts at least once a month using
non-flammable liquids and/or gases.
4) Keep sharp objects away from the unit.
5) Do not disassemble the unit.
5.2 Troubleshooting: Error Messages
5.2.1 Self-Test Error Code Display
The unit automatically performs a self-test when it is powered on. If
an error code is displayed, check the corresponding error code
description below to troubleshoot your unit. If a sensor is blocked,
use a soft cloth or brush to unblock the sensor and restart the unit.
Error Code
P01
Error Description
P02
P03
P04
P05
P06
Left pass-through sensor not working properly
Middle pass-through sensor not working properly
Right pass-through sensor not working properly
Upper-left IR sensor not working properly
Upper-right IR sensor not working properly
Lower-left IR sensor not working properly
P07
P12
P13
P14
P15
P16
Lower-right IR sensor not working properly
Feeding sensor not working properly
Magnetic sensor A not working properly
Magnetic sensor B not working properly
Magnetic sensor C not working properly
Magnetic sensor D not working properly
P18 Rotate speed sensor not working properly
7

5.2.2. Defective Error Code Display
Defective error codes are displayed a scanned bill has a parameter
that was flagged as suspicious. Check the corresponding error code
message below to see which parameter was flagged.
To make sure that the error did not occur from a feeding error (i.e.,
the bill was inserted into the unit correctly), run a flagged bill
through the unit at least 3 times before marking it as counterfeit.
6. TECHNICAL SPECIFICATIONS
Error Code
E01
Parameter Error Description
E02 & E03
E04 & E05
E06
E07
E08
Length Error
Magnetic Feature Error
IR Feature Error
Paper Thickness Error
Slanted Bill Error
Hologram Feature Error
E09-E12
E20
E22
E24
Paper Quality Error
Passing Quality Error
Denomination Judgement Error
UV Feature Error
Test Features Magnetism, Infrared (IR), Paper Quality, UV
Dimensions 155 mm x 137 mm x 82 mm
Power Supply AC 100V~240V 50/60HZ | DC 12V/1.0A
Operating Temp. 0 - 40°C (32°F - 104°F)
Storage Temp. -5°C - 35°C (23°F - 95°F)
Battery Rechargable Lithium | 10.8V/600mAH
Power Consumption <10W
Scan Speed <0.5 seconds/sheet
8
Table of contents