Exercising Information
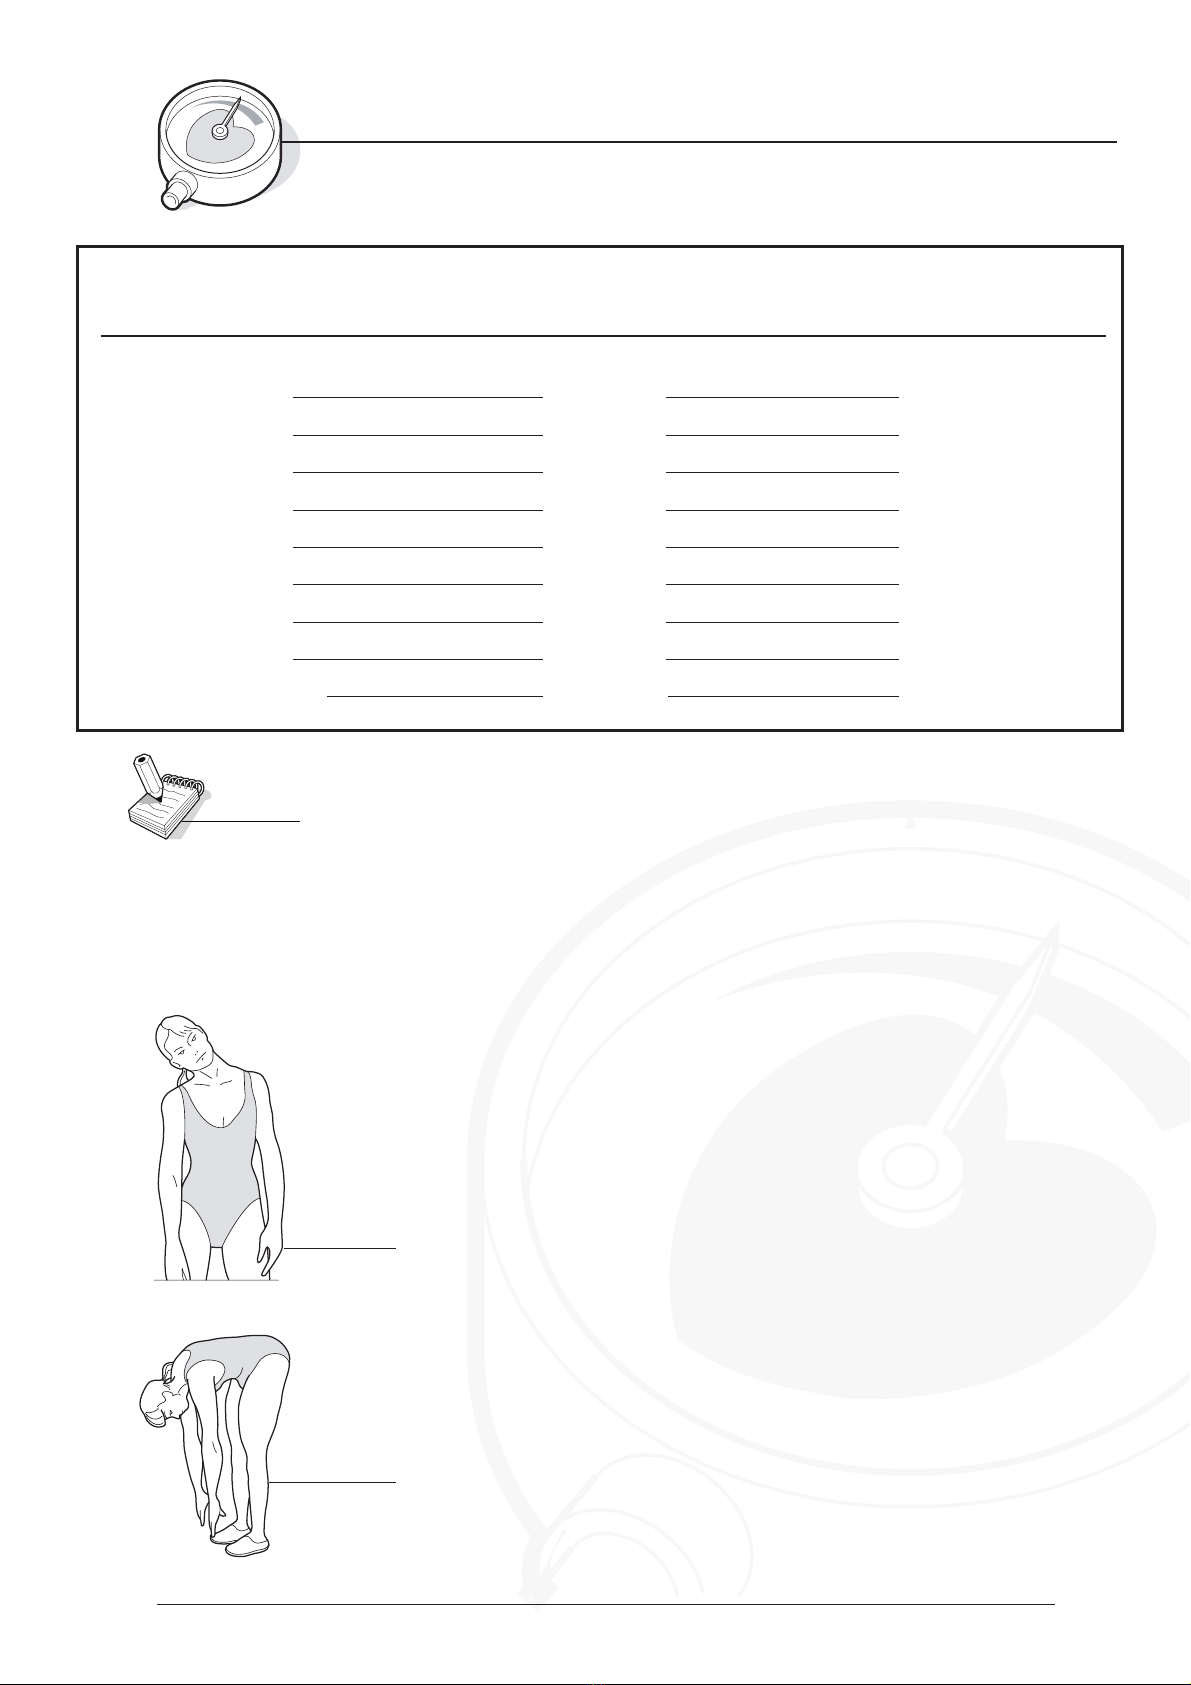
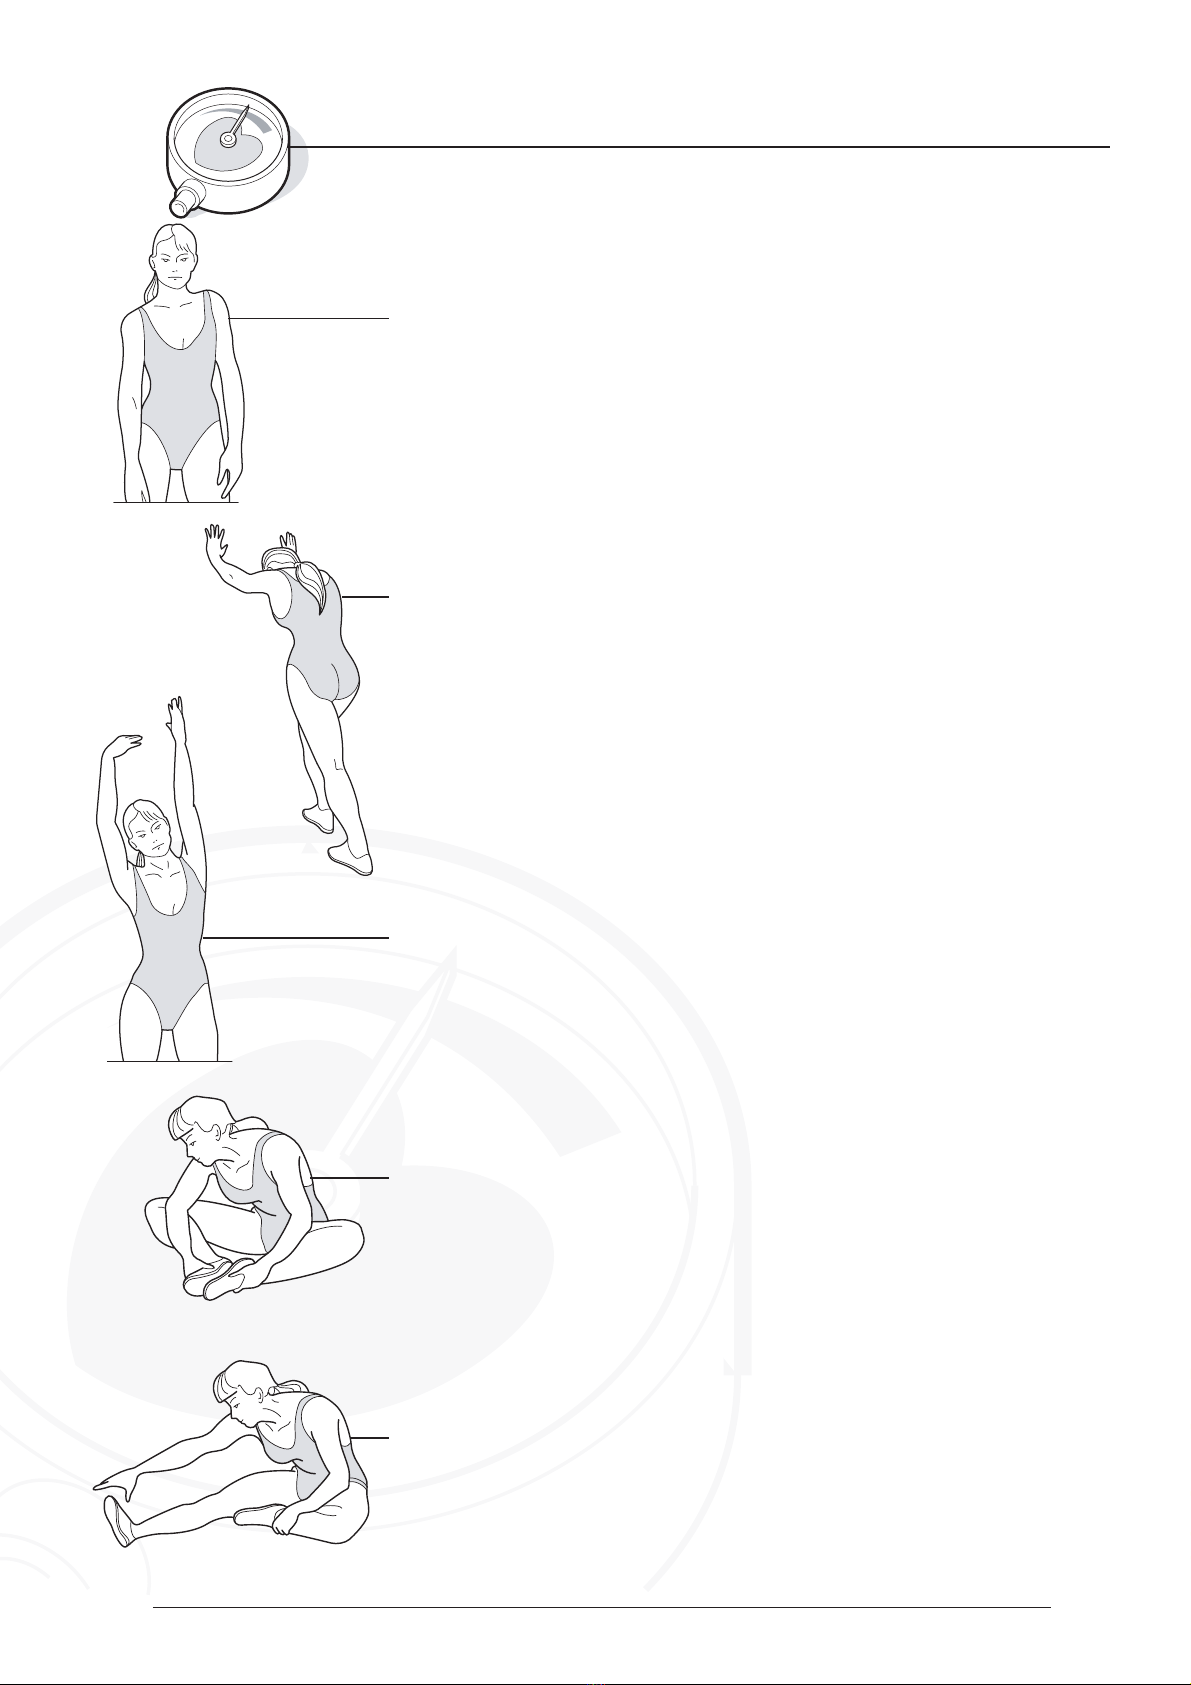
Warm Up
A successful exercise programme consists
of three parts, Warm Up, Aerobic Exercise
Perform between five and ten minutes of
Aerobic Exercise Session
Those new to exercise should exercise no
more than every other day to start with.
As your fitness level increases, increase
When you are comfortable with your
Exercising in your Target
To ensure that your heart is working in its
unit) you will need to locate the pulse in
your carotid artery. This is situated in the
seconds and then multiply by six to get
your pulse rate. This should be taken
before you start to exercise for easy
reference.
People who have a greater aerobic
and will also be able to exercise with a
higher pulse level.
Target Zone
To determine your target zone, see the
column. If you exercise regularly and have
good aerobic fitness, refer to the right
column.
Beginning
How you begin to exercise will vary
from person to person. If you have
not exercised for a long period of time,
have been inactive for a while, or are
severely over weight you MUST start slowly,
increasing your exercise time gradually,
by perhaps only a few minutes for each
session per week.
Combine a carefully structured nutritious
diet with a simple but effective exercise
routine and this can help make you feel
better, look better and will almost certainly
enable you to enjoy life more.
Aerobic Fitness
Aerobic exercise is simply defined as
any sustained activity that increases
the supply of oxygen to your muscles
via the blood pumped by your heart.
With regular exercise, your cardiovascular
system will become stronger and more
efficient. Your recovery rate i.e. the time
taken for your heart to reach its normal
resting level, will also decrease.
Initially you may only be able to exercise
for a few minutes each day. Do not
hesitate to breathe through your mouth
should you need more oxygen. Use the
"talk test". If you cannot carry on a
conversation while exercising, you are
working too hard! However, aerobic fitness
will be gradually built up with regular
exercise, over the next six to eight weeks.
Do not be discouraged if it takes longer
than this to begin to feel less lethargic,
everyone is different and some will achieve
their targets quicker than others.
Work at your own, comfor table pace and
the results will come. The better your
aerobic fitness the harder you will
have to work to stay in your target zone.
and Cool Down. Never start a training
session without warming up. Never finish
one without cooling down correctly.
stretching before starting your workout to
prevent muscle strains, pulls and cramps.
this to 2 in every 3 days.
routine, exercise for 6 days per week.
Always take at least one day off per week.
Zone
exercise target zone, you need to be able
to take your pulse. If you do not have a
pulse monitor (either from the product
you are using or a proprietary independent
side of the neck and can be felt by using
the index and middle fingers. Simply
count the number of beats you feel in 10
fitness, have a lower resting pulse level
chart opposite. If you are new to exercise
and by definition unfit, refer to the left
Page 7