V-ZUG SL User manual

Combi-Steam Cooker
Combi-Steam SL
Operating instructions
V-ZUG Ltd

2
Thank you for choosing to buy one of our products. Your appliance is made
to high standards and is easy to use. Nevertheless, please take the time to
read these operating instructions in order to familiarize yourself with the
appliance and get the best use out of it.
Please follow the safety precautions.
Modifications
Text, diagrams and data correspond to the technical standard of the appli-
ance at the time these operating instructions went to press. The right to make
technical modifications for the purpose of the further development of the
appliance is reserved.
Symbols used
AIndicates step-by-step instructions.
– Describes how the appliance reacts to the steps taken.
䡲Indicates a list.
Validity
The model number corresponds to the first three digits on the identification
plate. These operating instructions apply to the following models:
Variations depending on the model are noted in the text.
© V-ZUG Ltd, CH-6301 Zug, 2009
Denotes important safety precautions. Failure to observe said pre-
cautions can result in injury or damage to the appliance or fittings!
Denotes useful tips for the user.
Type Model no. Size system
CST-SL 767 55-381
CST-SL 770 60-381

3
Contents
Safety precautions 6
Before using for the first time . . . . . . . . . . . . . . . . . . . . . . . 6
Correct use . . . . . . . . . . . . . . . . . . . . . . . . . . . . . . . . . . . . . . 7
Children in the home . . . . . . . . . . . . . . . . . . . . . . . . . . . . . . 8
Note on use . . . . . . . . . . . . . . . . . . . . . . . . . . . . . . . . . . . . . 8
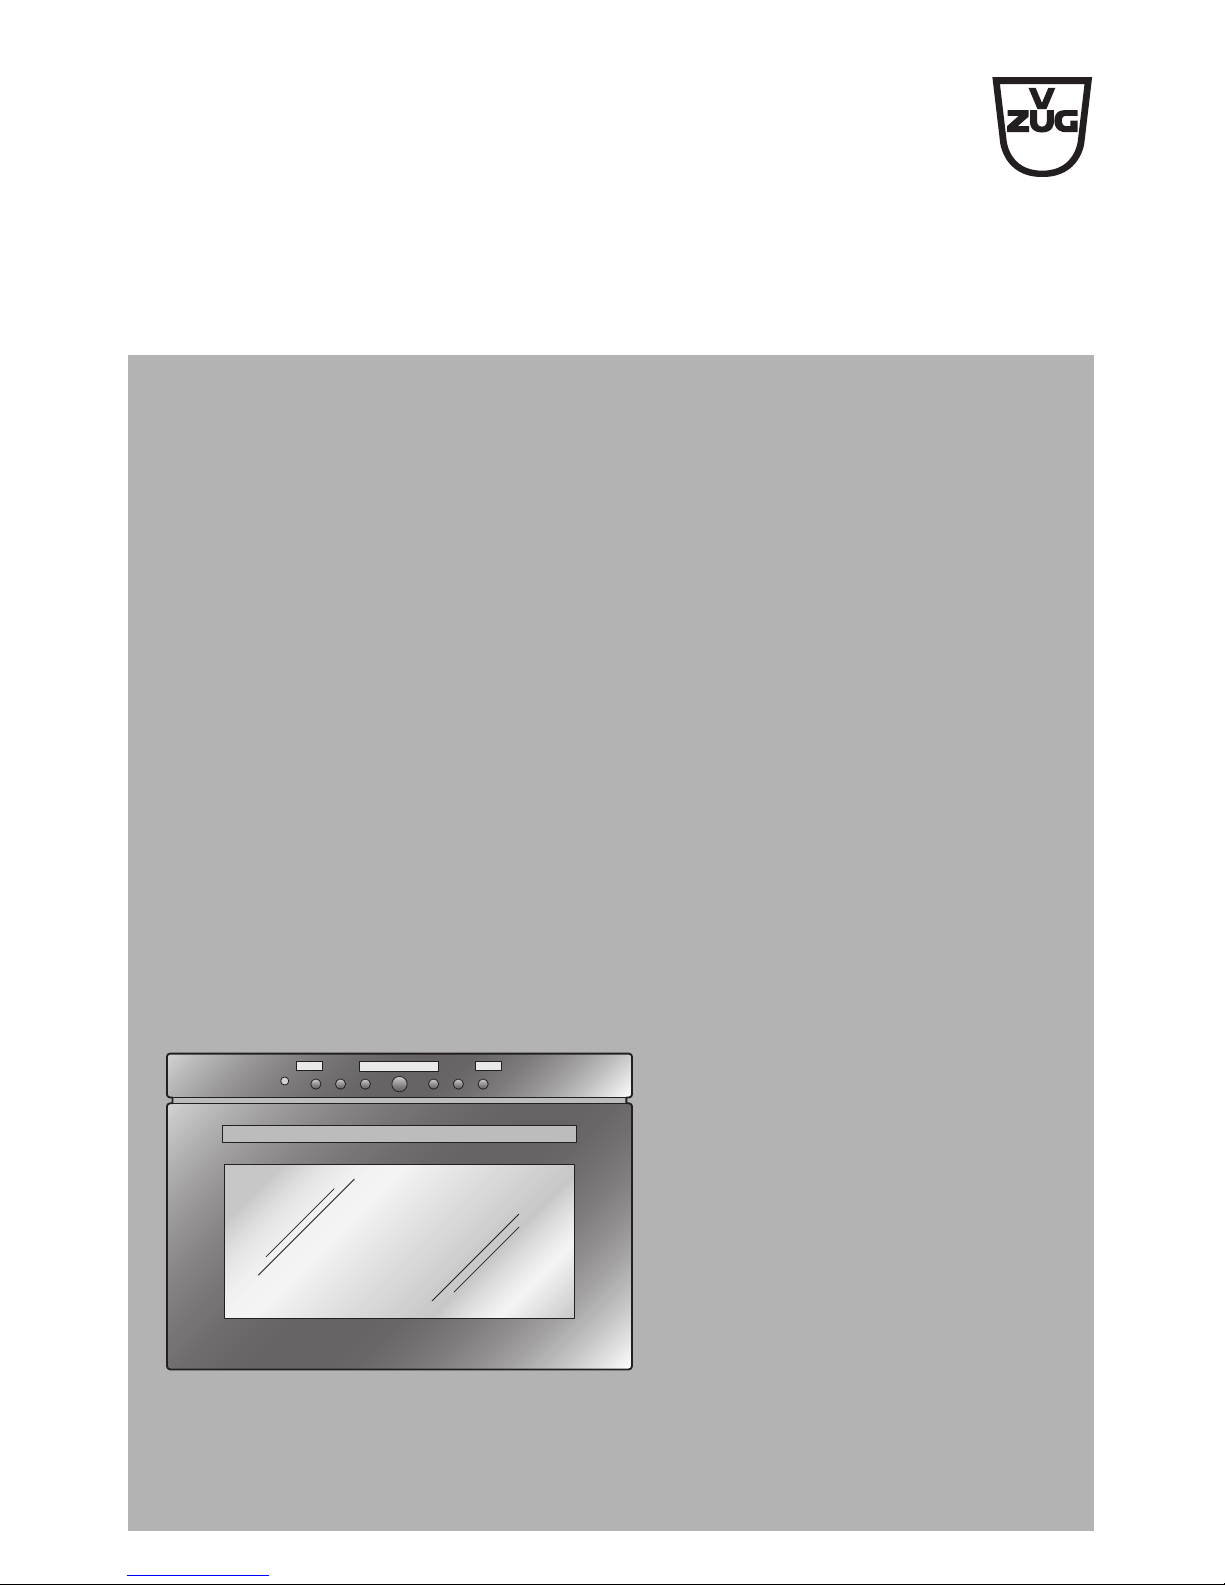
Appliance description 11
Construction . . . . . . . . . . . . . . . . . . . . . . . . . . . . . . . . . . . . 11
Operating and display elements . . . . . . . . . . . . . . . . . . . . . 12
Cooking space . . . . . . . . . . . . . . . . . . . . . . . . . . . . . . . . . . 13
Accessories . . . . . . . . . . . . . . . . . . . . . . . . . . . . . . . . . . . . 14
Operating the appliance 18
Using for the first time . . . . . . . . . . . . . . . . . . . . . . . . . . . . 20
Example . . . . . . . . . . . . . . . . . . . . . . . . . . . . . . . . . . . . . . . 21
Filling the water tank . . . . . . . . . . . . . . . . . . . . . . . . . . . . . . 21
Selecting the operating mode . . . . . . . . . . . . . . . . . . . . . . . 22
Changing the operating mode . . . . . . . . . . . . . . . . . . . . . . 22
Selecting the cooking space temperature . . . . . . . . . . . . . 23
Checking / Changing the cooking space temperature . . . . 23
Switching off . . . . . . . . . . . . . . . . . . . . . . . . . . . . . . . . . . . . 24
Emptying the water tank . . . . . . . . . . . . . . . . . . . . . . . . . . . 24
User settings 25
Language . . . . . . . . . . . . . . . . . . . . . . . . . . . . . . . . . . . . . . 27
Childproof lock . . . . . . . . . . . . . . . . . . . . . . . . . . . . . . . . . . 27
Time display . . . . . . . . . . . . . . . . . . . . . . . . . . . . . . . . . . . . 28
Acoustic signal . . . . . . . . . . . . . . . . . . . . . . . . . . . . . . . . . . 28
Illumination . . . . . . . . . . . . . . . . . . . . . . . . . . . . . . . . . . . . . 28
Water hardness . . . . . . . . . . . . . . . . . . . . . . . . . . . . . . . . . 29
Temperature unit . . . . . . . . . . . . . . . . . . . . . . . . . . . . . . . . . 29
Contrast . . . . . . . . . . . . . . . . . . . . . . . . . . . . . . . . . . . . . . . 29
Time format . . . . . . . . . . . . . . . . . . . . . . . . . . . . . . . . . . . . 29
Factory settings . . . . . . . . . . . . . . . . . . . . . . . . . . . . . . . . . 29

… Contents
4
Time functions 30
Setting / Changing the time . . . . . . . . . . . . . . . . . . . . . . . . . 30
Timer . . . . . . . . . . . . . . . . . . . . . . . . . . . . . . . . . . . . . . . . . . 31
Operating time . . . . . . . . . . . . . . . . . . . . . . . . . . . . . . . . . . . 33
Delayed start . . . . . . . . . . . . . . . . . . . . . . . . . . . . . . . . . . . . 35
Operating modes 38
Food probe 42
Positioning the food probe . . . . . . . . . . . . . . . . . . . . . . . . . 42
Food probe temperature . . . . . . . . . . . . . . . . . . . . . . . . . . . 43
Soft roasting 45
BakeOmatic 48
Degree of browning . . . . . . . . . . . . . . . . . . . . . . . . . . . . . . . 48
Cooking / Baking times . . . . . . . . . . . . . . . . . . . . . . . . . . . . 48
Selecting and starting BakeOmatic . . . . . . . . . . . . . . . . . . . 50
GourmetSteam 52
Selecting and starting GourmetSteam . . . . . . . . . . . . . . . . . 53
Recipes 55
Selecting and starting a recipe . . . . . . . . . . . . . . . . . . . . . . 56
Own recipes 58
Creating own recipes . . . . . . . . . . . . . . . . . . . . . . . . . . . . . . 58
Keeping cooked food warm 61
Tips and tricks 62
Hygiene . . . . . . . . . . . . . . . . . . . . . . . . . . . . . . . . . . . . . . . . 66
Saving energy . . . . . . . . . . . . . . . . . . . . . . . . . . . . . . . . . . . 66
Descaling 67
Operating time remaining to descaling . . . . . . . . . . . . . . . . 67

… Contents
5
Care and maintenance 71
Cleaning the exterior . . . . . . . . . . . . . . . . . . . . . . . . . . . . . . 71
Cleaning the appliance door . . . . . . . . . . . . . . . . . . . . . . . 72
Removing the shelf guides . . . . . . . . . . . . . . . . . . . . . . . . . 73
Replacing the door seal . . . . . . . . . . . . . . . . . . . . . . . . . . . 73
Cleaning the accessories . . . . . . . . . . . . . . . . . . . . . . . . . . 73
Cleaning the cooking space . . . . . . . . . . . . . . . . . . . . . . . 74
Replacing a defective light bulb . . . . . . . . . . . . . . . . . . . . . 74
Trouble-shooting 75
What to do if … . . . . . . . . . . . . . . . . . . . . . . . . . . . . . . . . . . 75
After a power failure . . . . . . . . . . . . . . . . . . . . . . . . . . . . . . 78
Accessories and spare parts 79
Technical data 82
Disposal 83
Index 84
Repair service 87
Quick instructions 88

6
Safety precautions
In accordance with the requirements of IEC 60335-1:
䡲This appliance is not intended for use by persons (including children) with
reduced physical, sensory or mental capabilities, or lack of experience and
knowledge, unless supervised or unless they have been given instruction
concerning the use of the appliance by a person responsible for their
safety.
Before using for the first time
䡲The appliance must be installed and connected up to the power supply in
accordance with the separate installation instructions. The necessary work
should be done by a qualified fitter or electrician.
䡲Dispose of the packaging material in accordance with local regulations.
䡲Before using the newly installed appliance for the first time, please follow
the advice in the 'Using for the first time' section.
䡲Make the desired user settings.
The appliance corresponds to recognised technology standards
and the relevant safety regulations. Proper use of the appliance is
however essential to avoid damage and accidents. Please there-
fore follow the precautions given in these operating instructions.

… Safety precautions
7
Correct use
䡲The appliance is designed for use in the home for preparing food. Under
no circumstances flambé or cook food using a lot of fat in the cooking
space! No liability is assumed for any damage caused by improper or in-
correct use.
䡲Never use the appliance to dry animals, textiles or paper!
䡲Not to be used as a room heater or humidifier.
䡲The appliance should only be installed and operated in a room with an am-
bient temperature of between 5 °C and 35 °C. In the event of frost, there
is a danger that residual water left in the pumps can freeze, causing
damage.
䡲Only use the food probe supplied with this appliance.
䡲Any repairs, modifications or manipulations to the appliance, especially
any electrically live parts, should only be carried out by the manufacturer,
its Customer Services or similarly qualified persons. Repairs if carried out
incorrectly may cause serious injury, damage to the appliance and fittings,
as well as affect the functioning of the appliance. If the appliance is not
working properly or in case of a repair order, follow the instructions given
in the 'Repair service' section. Please contact Customer Services if
necessary.
䡲Only original spare parts may be used.
䡲Retain these operating instructions for future reference. If you sell the ap-
pliance or pass it on to a third party, please ensure these operating instruc-
tions accompany the appliance, together with the instructions on
installation. In this way, the new owner can inform themselves about how
to use the appliance correctly and read the pertinent safety precautions.

… Safety precautions
8
Children in the home
䡲Packaging material, e.g. plastic and polystyrene, can be dangerous for chil-
dren. Danger of suffocation! Please keep packaging material away from
children.
䡲The appliance is designed for use by adults who are familiar with these
operating instructions. Children are often unable to recognise the danger
of electrical appliances. Ensure proper supervision and do not allow chil-
dren to play with the appliance – there is a danger that children can hurt
themselves.
䡲Use the childproof locking facility.
Note on use
䡲If the appliance is visibly damaged, do not use it. Contact our Customer
Services.
䡲If the appliance is not operating property, disconnect it from the power sup-
ply immediately.
䡲Ensure the mains cables of other electrical appliances do not get caught
in the door of the appliance, as the electrical cable insulation could get
damaged.
䡲If the mains cable of the appliance is damaged, it must be replaced by Cus-
tomer Services in order to avoid hazard.
䡲Ensure there are no foreign bodies or pets in the cooking space before
closing the appliance door.
䡲Objects that could pose a danger if the appliance were accidentally
switched on should not be stored in the cooking space. Do not store food
nor any temperature-sensitive or inflammable materials, e.g. cleaning
agents, oven sprays, etc., in the cooking space.

… Safety precautions
9
Caution: Burns hazard!
䡲The appliance gets very hot when in use.
䡲Heat is produced during cooking and baking. The appliance door, espe-
cially the glass, can get hot. Burns hazard – do not touch. Keep children
away!
䡲The appliance will remain hot for some time after it is switched off and will
cool down only slowly to room temperature. Please allow sufficient time for
the appliance to cool down before, for instance, cleaning it.
䡲Steam and water droplets may escape from the cooking space when the
appliance door is opened. Do not put your hands into the cooking space
if there is steam in it!
䡲Hot steam may escape from the steam vent during operation.
䡲Overheated fat and oil can easily catch fire. Heating oil in the cooking
space to sear meat is dangerous and should not be done. Never try to ex-
tinguish burning oil or fat with water – danger of explosion!
Smother the flames with a fire blanket and keep all doors and windows
closed.
䡲Do not pour spirits (e.g. brandy, whisky, schnapps, etc.) over hot food –
danger of explosion!
䡲Do not leave the appliance unsupervised when drying herbs, bread, mush-
rooms, etc. If the foodstuff dries out too much, this can pose a fire hazard.
䡲If you notice smoke possibly coming from the appliance itself or from in-
side the cooking space, keep the appliance door closed. Disconnect the
appliance from the power supply.
䡲Accessories such as wire shelves and trays, etc. get hot in the cooking
space. Always wear protective gloves or use oven cloths.

… Safety precautions
10
Caution: Danger of injury!
䡲Be careful not to put fingers in the door hinges, otherwise there is a risk of
injury if the appliance door is moved. Particular care should be taken when
children are around.
䡲Only leave the appliance door open in the at-rest position. An open appli-
ance door poses danger of tripping or injury! Do not sit or rest on the ap-
pliance door or use it as a storage surface.
How to avoid damaging the appliance
䡲Close the appliance door carefully.
䡲Do not place any protective insert or aluminium foil on the bottom of the
cooking space as this can result in an optical change in the cooking space
floor.
䡲Using knives or cutting wheels on the stainless steel tray, the enamelled
baking tray or the perforated cooking tray will cause visible damage.
䡲Do not use objects that can rust in the cooking space.
䡲Do not use silver cutlery in the cooking space.
䡲To prevent corrosion, allow the cooking space to dry and leave the appli-
ance door open in the at-rest position until the cooking space has cooled
down.
䡲When cleaning the appliance make sure no water gets inside the appli-
ance. Use a moderately damp cloth. Do not spray the inside or outside of
the appliance with water. Do not use a steam cleaner. If water gets inside
the appliance, it can cause damage.

11
Appliance description
Construction
1Operating and display elements
2Door handle
3Appliance door
1
2
3

… Appliance description
12
Operating and display elements
Buttons
Displays
Symbols
Operatingmodes
Illumination Timer
Cooking space / food
probe temperature
Time, operating time,
switch-off time
Operating mode Off
Adjusting knob
Temperature Plain text display
Time, operating time,
switch-off time, timer, etc.
Cooking space temperature Time
Food probe temperature Operating time
Timer Switch-off time
Hot air
Hot air

… Appliance description
13
Cooking space
Do not place any protective insert or aluminium foil on the bottom
of the cooking space.
1Appliance door 8Cooking space temperature sensor
2Door seal 9Water tank compartment
3Socket for food probe 10 Levels
4Illumination 11 Knurled nut
5Climate sensor 12 Steam inlet
6Cooking space ventilation 13 Hot air fan
7Ventilation outlet
7
10
12
6
5
4
3
2
1
8
13
9
11
3
4
1
2

… Appliance description
14
Accessories
Stainless steel tray
䡲Serves as a baking tin for flans and biscuits.
䡲Use together with the wire shelf or perforated cook-
ing tray as a drip tray.
䡲Using knives or cutting wheels on the stainless steel
tray will visibly damage the surface.
䡲If not fully covered by the baking, the shape of the
stainless steel tray can become distorted during
baking. This is normal. As it cools down, the stain-
less steel tray will go back to its original form.
䡲The stainless steel tray is to be used the normal way
round – not upside down.
Wire shelf
䡲For standing roasting and baking tins on.
䡲For standing meat, frozen pizza, etc. on.
䡲Serves as a cooling rack.
For preparing frozen bread rolls and quiche.
ACover the wire shelf with baking paper or use a round baking tray.

… Appliance description
15
Perforated cooking tray
䡲For cooking fresh or frozen vegetables, meat and
fish.
䡲For standing ramekins, preserving jars, etc. on.
䡲For extracting juice from berries, fruit, etc.
䡲Using knives or cutting wheels on the perforated
cooking tray will visibly damage the surface.
For steaming, place the stainless steel tray underneath the perforated
cooking tray to catch any food spills or condensate.
Food probe with straight handle
The food probe is suitable for measuring the core tem-
perature of food between the range of 30 °C to 99 °C.
䡲As soon as the set food probe temperature is
reached, the appliance switches off automatically. A
guide to appropriate food probe temperatures can
be found in 'Tips on settings'.
The food probe can also be simply used to measure
the core temperature. In this case, the operating
mode must be switched off manually.
䡲The food probe can be used with all operating
modes.
Water tank with lid
䡲Only fill with fresh, cold drinking water.
䡲Do not use demineralised (filtered) or distilled water.

… Appliance description
16
The following accessories are not included in the scope of delivery.
Enamelled baking tray
䡲Serves as a baking tin for flans and biscuits.
䡲Using knives or cutting wheels on the enamelled
baking tray will visibly damage the surface.
䡲If not fully covered by the baking, the shape of the
enamelled baking tray can become distorted during
baking. This is normal. As it cools down, the enam-
elled baking tray will go back to its original form.
䡲Not suitable for use with the , , and
+ operating modes.
䡲The enamelled baking tray is to be used the normal
way round – not upside down!
Round TopClean baking tray
䡲Baking tin for flans and quiches.
䡲Not suitable for use with the , , and
+ operating modes.
Available in three different sizes.
Terrine mould with lid
䡲For preparing vegetable, fish and meat terrines.
䡲For preparing ice cream, parfait and other sweets.
Available in two different designs.

… Appliance description
17
Porcelain dish
䡲For preparing various dishes such as lasagne,
potato gratin, etc.
䡲For steaming and keeping food warm.
Available in three different sizes.
Unperforated cooking tray
䡲For cooking meat, fish, sauerkraut, rice, millet, cereal
products, soaked pulses, chickpeas, etc.
䡲Using knives or cutting wheels in the unperforated
cooking tray will visibly damage the surface.
Available in different sizes and depths.
Perforated cooking tray
䡲For cooking fresh or frozen vegetables, meat and
fish.
Available in two different depths.
Unperforated cooking tray with lip
䡲For extracting juice from berries, fruit, etc.
䡲Serves as a drip tray for collecting condensate from
food.
Roller runner
䡲For safely pulling out one or more trays / wire
shelves in order, for instance, to baste a joint of meat
or to take out a baking tin.

18
Operating the appliance
Using the buttons
The operating mode, the cooking space temperature, the food probe temper-
ature, the operating time, the switch-off time and various other functions can
be selected by pressing the appropriate button once or more.
䡲The symbol for the function selected illuminates or flashes.
䡲A recommendation flashes in the corresponding digital display.
䡲Turn the adjusting knob to change the setting.
䡲Press the adjusting knob to confirm the setting or it will be automat-
ically accepted after 10 seconds.
䡲Other settings or changes can be made at any time.
䡲Press the button to switch off the appliance.
Using the plain text display
When the appliance is switched off, the adjusting knob is used to dis-
play text, to view the different selection options and to confirm.
䡲Press the adjusting knob to activate the plain text display.
䡲Turn the adjusting knob to view the selection options.
䡲Press the adjusting knob again to confirm the selection.
䡲Press the button to turn off the plain text display.

… Operating the appliance
19
To return to the previous operating level, select «back» and press the
adjusting knob. The symbol indicates additional
information.
Select and press OK
BakeOmatic
Select and press OK
GourmetSteam
Select and press OK
Soft roasting
Select and press OK
Recipes
Select and press OK
Own recipes
Select and press OK
Keep warm
Select and press OK
User settings
Select and press OK
Descale
Select and press OK
Hygiene
Select and press OK
back
i

… Operating the appliance
20
Using for the first time
Before using the newly installed appliance for the first time the following
measures should be taken:
ARemove all packaging and transport materials from the cooking space.
AWhen flashes in the right digital display, turn the adjusting
knob to set the time.
AClean the cooking space and the accessories.
AHeat the empty cooking space (i.e. without the wire shelves, baking trays,
etc.) using the operating mode for about 30 minutes at 210 °C.
APress the adjusting knob to switch between hours and
minutes.
ATurn it to set the hours and the minutes.
APress the adjusting knob to confirm the setting or it will be
automatically accepted after 10 seconds.
If necessary, adjust the water hardness in the user settings.
This manual suits for next models
3
Table of contents
Other V-ZUG Cooker manuals
Popular Cooker manuals by other brands

Lacanche
Lacanche CLUNY INDUCTION manual

Hotpoint
Hotpoint EW36 Instructions for installation and use

Hotpoint Ariston
Hotpoint Ariston C 34S M5 R operating instructions

Parkinson Cowan
Parkinson Cowan Lyric 55V Operating and installation instructions

Smeg
Smeg C9MAMBSSA2 manual

ESPERANSA
ESPERANSA ES 1445 I instruction manual