V7 L28TN4K User manual

USER MANUAL
L28TN4K
28" 4K Ultra HD Monitor

TABLE OF CONTENTS
1 Getting Started
2 Control Panel/ Back Panel
3 On Screen Display
4 Technical Specs
5 Care & Maintenance
6 Troubleshooting
7 Safety Info & FCC warning

1
GETTING STARTED
Package includes
• AC Power cord
• HDMI cable
• DisplayPort cable
• Quick start guide
AC Power Cord HDMI Cable DisplayPort Cable

GETTING STARTED
Installation
1. Slide on Cable Holder and rotate arm 2. Screw on base
3. Connect Video Cable, Connect Power Cord
4. Power on Computer and Monitor

GETTING STARTED
Height Adjustment
Swivel
Tilt
Pivot

CONTROL PANEL/ BACK PANEL
Control Panel/Back Panel
2
Audio Out
Audio In
USB (Charge Only)
Scroll Up/Increase
Select
Power On/O
Scroll Down/Decrease
OSD Menu/Exit
Power Cable
VGA
DisplayPort
HDMI
1
2

ON SCREEN DISPLAY
3Using On Screen Display (OSD) Functions
Main Menu
Button Function
Input Source When Input Select is pressed, change Input signal to VGA, HDMI 1, HDMI 2-MHL, HDMI 3
and DisplayPort
Picture
To manually adjust the Picture Format, Brightness, Contrast, Sharpness,
Over Drive, and ECO Mode of screen image
Picture Format: To select the video mode from Wide Screen or 4:3
Brightness: To adjust the luminance of the video.
increase brightness, decrease brightness.
Contrast: To adjust the foreground white level of screen image.
increase contrast, decrease contrast.
Sharpness: To adjust the clarity of a non-UHD Resolution (3840x2160) signal with or button
Over Drive: Allows the user to change the Over Drive strength. Improve the quality of the motion pictures.
Press or key to adjust the Over Drive strength in three levels

ON SCREEN DISPLAY
Button Function
PPiP/PbP
PiP/PbP button allows you to watch two screens from dierent sources at the same time.
(PiP is picture in picture; PbP is picture by picture)
PiP/PbP Mode: Toggle to enable/disable PiP/PbP function
Sub Win1 Input: To select input source for sub-screen
PiP Size: To adjust sub-screen window size
Small (720 x 480) Middle (1280 x 720) Large (1920 x 1080)
PiP Position: To adjust sub-screen window position
Top-Right Top-Left Bottom-Right Bottom-Left
Swap: Switch between main screen and sub-screen (only for PiP and 2PbP)

ON SCREEN DISPLAY
Button Function
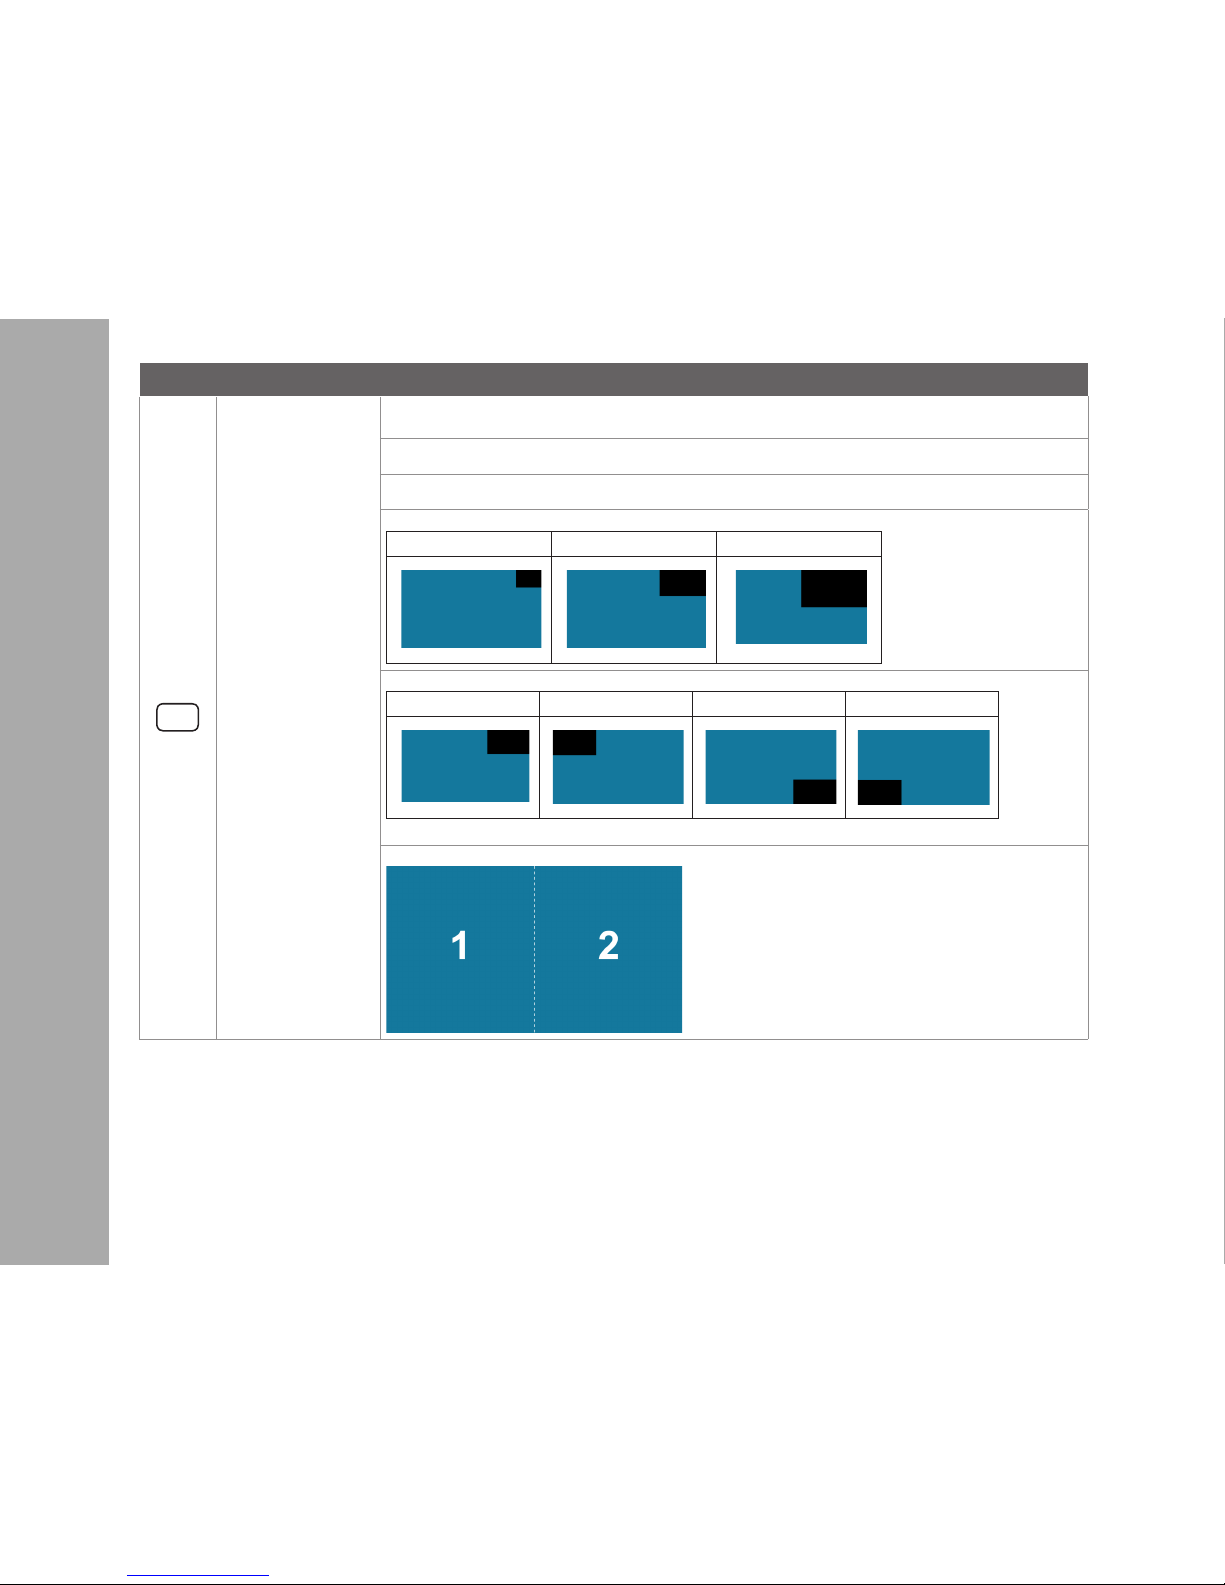
In PbP Mode: Splits the screen left and right equally. In order to achieve full
screen on each side, recommended resolution is 1920 x 2160; however, this is a
custom resolution. Check your video card to see if custom resolution is supported.
If not supported, black bars on top and bottom will result
Audio
To adjust the audio functions.
Volume: To adjust the volume of speaker output.
Mute: To turn the Mute ON/OFF.
Audio Source: Default is main source, but can be manually switched in PiP and PbP mode
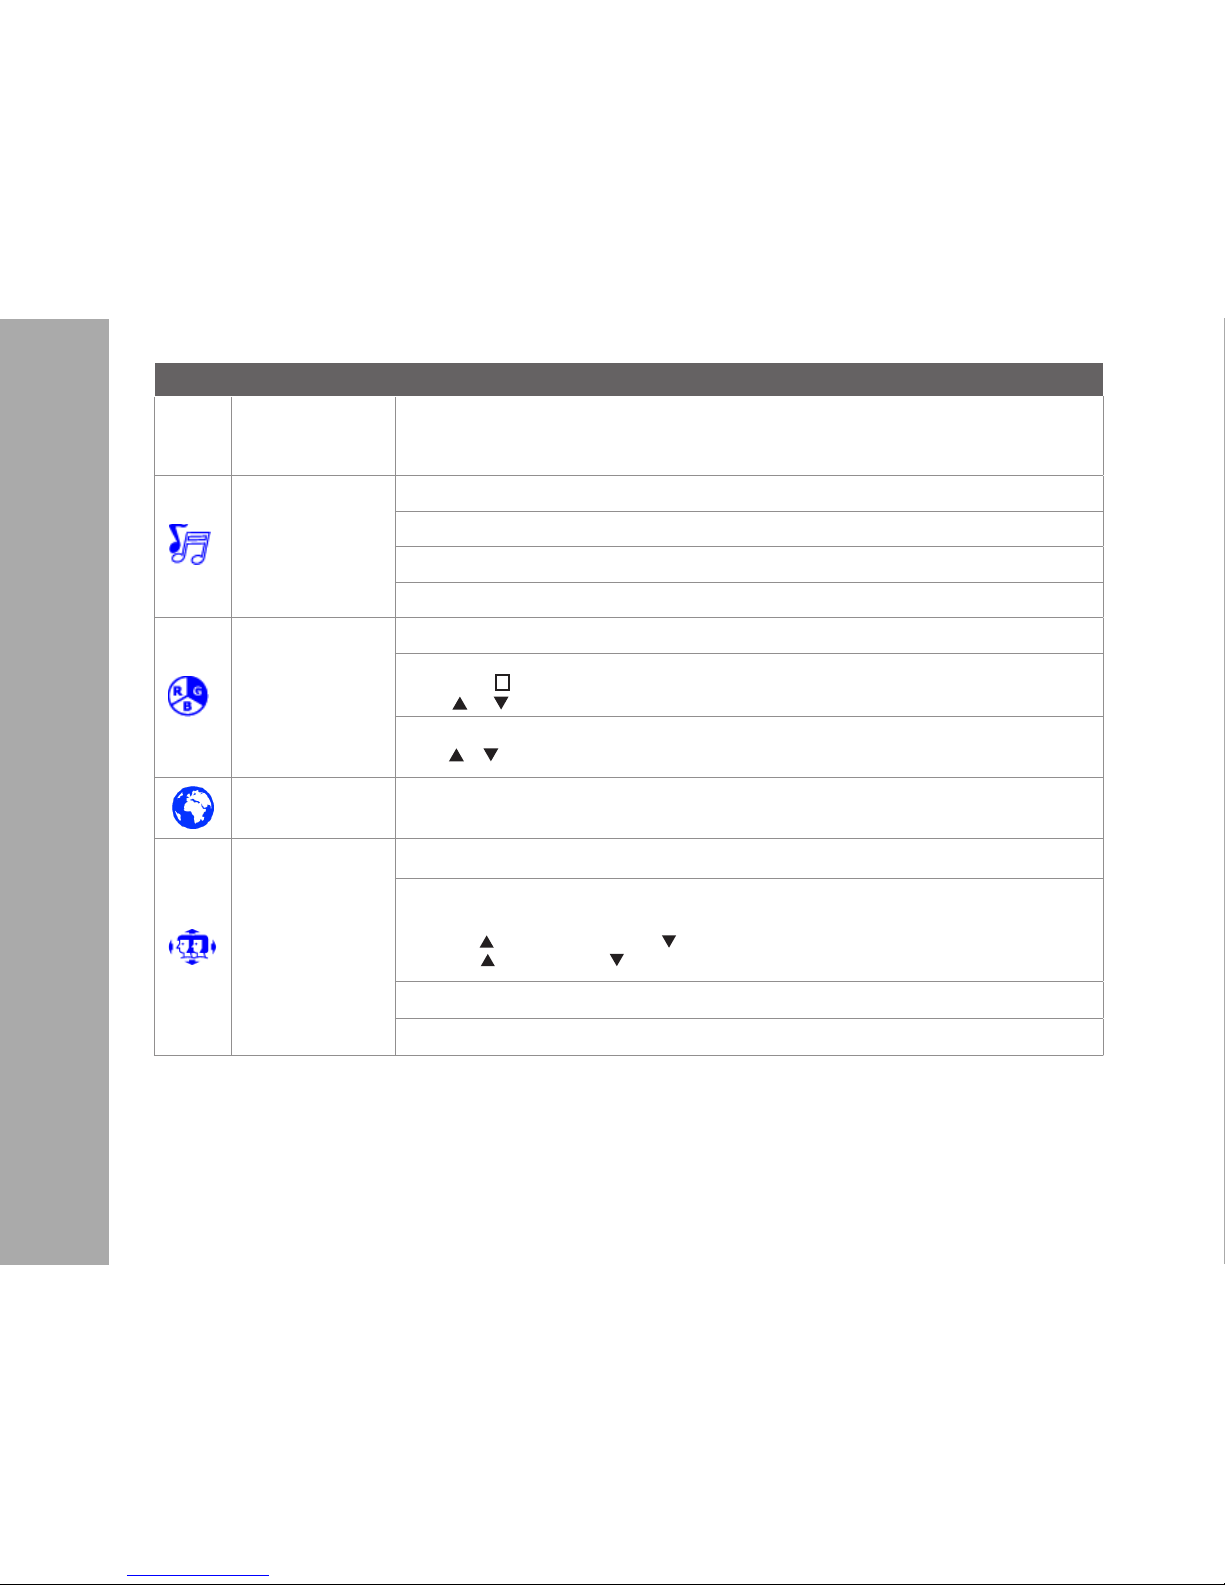
Color
Color modes: cool, normal, warm and user color
User color: Individual adjustments for red (R), green (G), blue (B).
1. Press button 2to select the desired color.
2. Press or button to adjust selected color.
Blue Light Reducer: Turn on/o BLR mode. If BLR mode is ON, Blue Light will be restricted
Press or key to adjust the BLR mode strength in three levels
Language Allows user to choose from available languages
OSD Settings
To manually adjust the Horizontal and Vertical OSD Position, Transparency and OSD Time Out
Horizontal:to horizontally adjust the OSD position
Vertical:to vertically adjust the OSD position
H. Position: : move screen to the right, : move screen to the left.
V. Position: : move screen up, : move screen down.
Transparency:to change the transparency of OSD window
OSD Time Out: to automatically turn o On Screen Display (OSD) after a preset period of time.

ON SCREEN DISPLAY
Button Function
Setup
To set up Auto, H./V. Position, Phase, Clock, DisplayPort, Reset and Information
Auto Adjust: To auto adjust Horizontal Position, Vertical Position, Phase (Fine Tune) and Clock (H. Size) of the
screen.
H. Position: To adjust the horizontal position of the screen.
V. Position: To adjust the vertical position of the screen.
Phase: To adjust delay time of phase in order to reduce the noise of picture.
Clock: To adjust clock frequency in order to get optimized horizontal size.
DisplayPort: To adjust the DisplayPort version.
HDMI1 EDID: To adjust the HDMI EDID version.
Reset: To recall factory settings for Video & Audio controls.
Information: To display the information, regarding the current input signal coming from the graphic card in
your computer.

TECHNICAL SPECS
4Technical Specication
LCD Panel 71.12 cm (28”) TFT (with LED back light)
Power
Management
VESA DPMS compatible
O Mode, < 0.5 W
Displayable
Resolution
UHD 3840 x 2160 60Hz
Vertical Frequency 60Hz max
Pixel Dimension 0.16 x 0.16 mm
LCD Display Color 1.073 G
Tilt -5°~23° (±2°)
Active Display
Area 620.93 mm x 341.28 mm
Temperature Operating: 0°C ~ + 40°C
Storage: -20°C ~ + 60°C
Compliance FCC, CE, Energy Star
Power Input Voltage AC100-240 V
Speaker 3W x 2

CARE & MAINTENANCE
5Care
• Avoid exposing your monitor directly to sunlight or other heat source. Place your monitor away from the sun to reduce glare.
• Put your monitor in a well ventilated, clean, dry area.
• Do not place any heavy things on top of your monitor.
• Keep your monitor away from magnets, motors, transformers, speakers, and TV sets.
Safety Tips
• If smoke, abnormal noise or odor came out from your monitor, caution you should remove the power cord immediately and
call your service center.
• Never remove the rear cover of your monitor cabinet. The display unit inside contains high-voltage parts and may cause
electric shock to human bodies.
• Never try to repair your monitor yourself. Always call your service center or a qualied technician to x it.

TROUBLESHOOTING
6No power
• Make sure AC power cord is securely connected to the power adapter and the power supply is rmly connected to the monitor.
• Plug another electrical device into the power outlet to verify that the outlet is supplying proper voltage.
• Make sure all signal cables are installed.
Power on but no screen image
• Make sure the video cable supplied with the monitor is tightly secured to the video output port on back of the computer. If not,
tightly secure it.
• Adjust brightness.
Wrong or abnormal colors
• If any colors (red, green, blue) are missing, check the video cable to make sure it is securely connected. Loose or broken pins in the
cable connector could cause an improper connection.
• Connect the monitor to another computer.

SAFETY & FCC WARNING
7Safety Precautions
FCC RADIO FREQUENCY INTERFERENCE STATEMENT
WARNING: (FOR FCC CERTIFIED MODELS)
This monitor is manufactured and tested on a ground principle that a user’s safety comes rst. However, improper use or installation may result danger to the monitor as
well as to the user. Carefully go over the following WARNINGS before installation and keep this guide handy.
This monitor has been tested and found compliant with the limits for a Class B digital device, pursuant to part 15 of the FCC Rules. These limits are designed to provide
proper protection against harmful interference to a residential installation. This monitor generates, uses, and can radiate radio frequency energy. Harmful interference to
radio communication may be led as a result if it‘s not properly installed and used. However, there is no guarantee that interference will not occur in a particular installation. If
this monitor does cause serious interference to radio or television reception, resetting the monitor may determine it. Moreover, users are encouraged to correct interference
by doing one or more of the following:
FCC Warning:
To assure a continued FCC compliance, a user must use a grounded power supply cord and the provided shielded video interface cable with bonded ferrite
cores. Also, any unauthorized changes or modications to this monitor would void the user‘s authority to operate this device.
Each country in the European Union should have its collection centers for electrical and electronic equipment recycling. For information about your recycling
drop o area, please contact your related electrical and electronic equipment waste management authority or the retailer where you bought the product.
Note: If necessary, shielded interface cables and AC power cord must be used to meet the emission level limits.
According to WEEE regulation, this monitor can’t be handled as normal trash in Europe when it is out of usage. Please refer to the recycle information from our
website to handle it.
CAN ICES-3(B)/NMB-3(B)
This device complies with Part 15 of the FCC Rules.
Operation is subject to the following two conditions:
(1) this device may not cause harmful interference, and
(2) this device must accept any interference received, including interference that may cause undesired operation.
WARNINGS
• This monitor should be operated only at the correct power sources indicated on the label on the rear end of the monitor. If you’re unsure of the power supply in your
residence, consult your local dealer or power company.
• Do not try to repair the monitor yourself as it contains no user-serviceable parts. The monitor should only be repaired by a qualied technician.
• Do not remove the monitor cabinet. There is high-voltage parts inside that may cause electric shock to human bodies, even when the power cord is disconnected.
• Stop using the monitor if the cabinet is damaged. Have it checked by a service technician.
• Put your monitor only in a clean, dry environment. Unplug the monitor immediately if gets wet and consult your service technician.
• Always unplug the monitor before cleaning it. Clean the cabinet with a clean, dry cloth. Apply non-ammonia based cleaner onto the cloth, not directly onto the glass
screen.
• Keep the monitor away from magnetic objects, motors, TV sets, and transformer.
• Do not place heavy objects on the cable or power cord.
• Due to safety concerns, if the VESA mounting kit is purchased separately, please make sure the mounting kit is UL-Listed, and replaceable only by service personnel.
• Reorient or relocate the receiving antenna.
• Move the monitor and the receiver further away from each other.
• Connect the monitor into an outlet on a circuit dierent from that to which the receiver is connected.
• Consult your local dealer or an qualied technician.
V1-20170630
Table of contents
Other V7 Monitor manuals