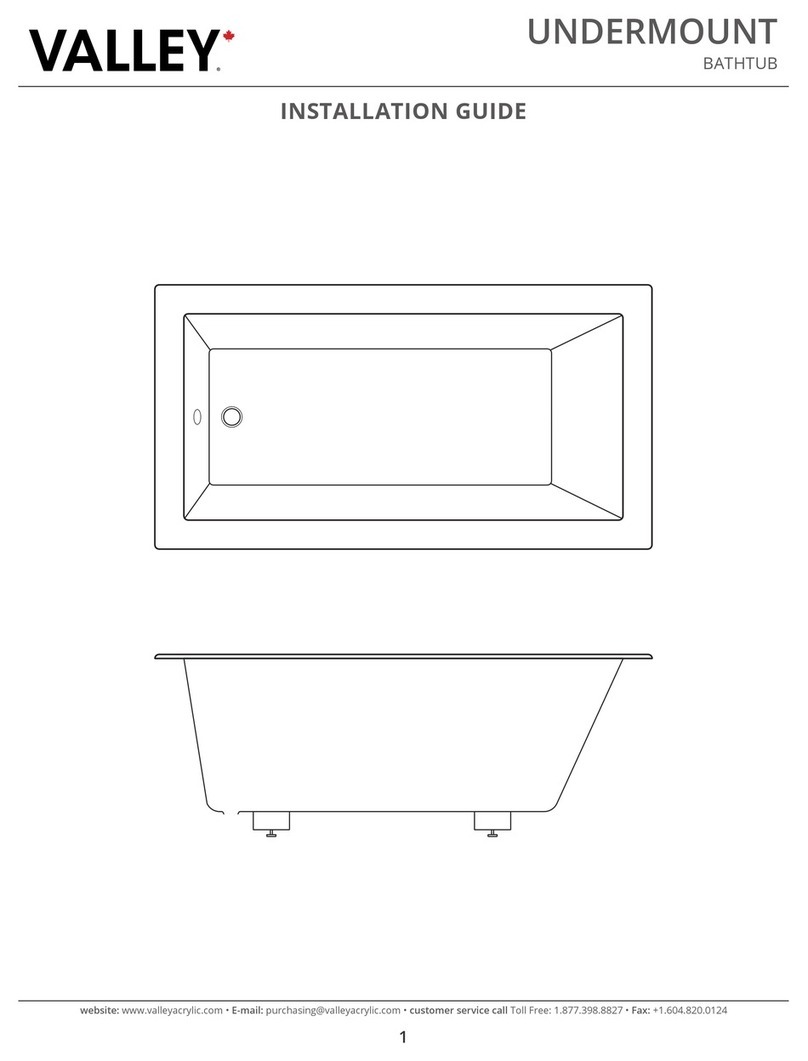
Valley LIFE 3 User manual

website: www.valleyacrylic.com • E-mail: [email protected] • customer service call Toll Free: 1.877.398.8827 • Fax: +1.604.820.0124
LIFE 3 WALK-IN BATHTUB
INSTALLATION GUIDE
ss
LIFE 3
INSTALLATION GUIDE

website: www.valleyacrylic.com • E-mail: [email protected] • customer service call Toll Free: 1.877.398.8827 • Fax: +1.604.820.0124
LIFE 3 WALK-IN BATHTUB
INSTALLATION GUIDE
ss
Thank you for choosing Valley Acrylic Bath. This installation manual provides general information on the
installation of our products.
All the information in this guide is based upon the most recent product information available at the time of
this publication. Valley Acrylic reserves the right to make changes to product characteristics, packaging, or availability
at any time without notice.
Thank you for your purchase!
• Please read these instructions carefully before beginning your installation.
• Consult your local building codes to ensure that your installation complies with local standards.
• Remove the unit from its packaging. Before disposing, packaging and taking unit from your sales person, inspect the
unit to make sure it is in good shape.
• Should inspection reveal any damage or defect in the nish, Contact Us. The warranty does not cover damages
or defects in the nish once the unit has been installed. Valley’s responsibility for shipping damages ceases upon
delivery of the product in good order to the carrier. All complaints regarding damage due to transport must be made
directly to the carrier.
• To protect the unit during installation, we suggest that you lay a piece of at cardboard on the bottom and a moving
blanket until you are ready to install it to prevent damage.
• Do not remove the protective polyethylene lm from your product until installation is completed to ensure maximum
protection from inadvertent damage, except in areas where two surfaces will be in permanent contact.
• Ensure that the oor is level and strong enough to support the weight of the unit.
• If your bathtub is equipped with both a whirlpool and an air system, space must be made for the air system’s blower
either inside or outside the alcove or island. If the blower cannot be installed under the bathtub, it can be located up
to 9 feet away.
• Make sure an access panel - 30” x 15” (750 mm x 400 mm) must be located near the whirlpool pump and/or the air
system blower to allow easy servicing.
• Access must be provided for each product component (water heater, light, nozzle, electronic and air control, faucet).
•Whirpool and/or air systems must be connected before nal installation (see the installation and user’s guide for
whirpool and air systems).• Please refer to your product’s specication sheet and ensure that both your unit and build
plan measure match the stated sizes.
BEFORE YOU BEGIN

website: www.valleyacrylic.com • E-mail: [email protected] • customer service call Toll Free: 1.877.398.8827 • Fax: +1.604.820.0124
LIFE 3 WALK-IN BATHTUB
INSTALLATION GUIDE
ss
• Measuring Tape
• Pencil
• 3/16” (5mm) and 1/8” (3mm) drill bits
• Hole saw
• Electric drill
• Screwdriver
• Pliers
• Cutting Saw
• Level
• Safety glasses
• Water-resistant glue
• Silicone sealant
• No 8 x 1 1/4” screws (4.2mm x 32mm) Flat or Phillips head
• Mortar
REQUIRED TOOLS
DO NOT build the surrounding structure before receiving your unit. Structure measurements should be veried
against the unit to ensure a proper t.
Make sure you install all plumbing and drainage before securing the unit. It is always recommended to have
a Red Seal certied plumber do the plumbing installations.
Before drilling a hole in the oor for the drainpipe, make sure there are no hidden elements underneath
(pipes, oor joists, heating ducts, electrical wires, etc).
You should check the leveling of this unit repeatedly during installation to see the best results.
STRUCTURE INSTALLATION
PLUMBING
LEVELING AND SUPPORT
IMPORTANT INFORMATION

website: www.valleyacrylic.com • E-mail: [email protected] • customer service call Toll Free: 1.877.398.8827 • Fax: +1.604.820.0124
LIFE 3 WALK-IN BATHTUB
INSTALLATION GUIDE
ss
1. LIFE 3 walk-in bathtubs are 100% water tested at the factory and have passed inspection.
Transportation and mishandling may loosen ttings and cause leaks. It is therefore necessary to test the bathtub
while there is access to all sides of the bath.
2. The LIFE 3 needs to be lled with water and inspected for leaks along the door as well as the Pedicure System. The
inspection needs to be performed with and without the Pedicure System operating. It is best to test the unit outside
by lling with a garden hose.
a. Place the tub on a completely at surface in an area where it may be drained after testing.
b. Using a clean rag and warm water wipe down seal to insure it is free of debris.
c. Seal the drain hole (this can be done with tape) and ll the tub to at least three inches above the highest
jet, or to the bottom of the safety bar if no jets are present.
d. Allow the water to stand in tub for 30 minutes and then inspect all plumbing and seals for leaks.
e. Using appropriately rated three-prong extension cords, all plugged in to separate outlets, operate all
electrical components (air blower, water pump, and heater if applicable) for another 30 minutes and
inspect for leaks again. Inspect the unions around the pump and heater.
f. If a leak persists at a union after tightening, it may have been over-tightened or might have a displaced
O-ring. Disassemble it and make sure the O-ring was seated properly. Do the same if a leak persists at the
heater. Verify that the heater threads match the pipe threads.
g. Ensure that all jets are open and working, some jets are adjustable for both ow rate and direction
of ow. The jet water ow rate is adjusted by turning either the outside ring or the inside nozzle clockwise
or counterclockwise.
3. If the pump/blower/lights/heater does not operate:
a. Check the breaker to ensure that power is on and make sure that any cables and / or air lines connecting
the control boxes to the switches and pumps are rmly attached. Verify the correct electrical circuit and
amps of the electrical cord.
b. Do not run any pumps unless the tub is lled with water to the proper level. Damage due to dry operation
of pumps is not covered under the warranty period.
Failure to perform these tests before installation will make the installer liable for future repair costs.
TESTING YOUR LIFE 3 WALK-IN TUB BEFORE INSTALLATION
TWO (2) PEOPLE REQUIRED

website: www.valleyacrylic.com • E-mail: [email protected] • customer service call Toll Free: 1.877.398.8827 • Fax: +1.604.820.0124
LIFE 3 WALK-IN BATHTUB
INSTALLATION GUIDE
ss
TWO (2) PEOPLE REQUIRED
01
02
Place the tiling ange to the LIFE3 tub as shown.
Check Installation area
After placing the tiling ange ,
seal it with a thin line of silicone
- Clean area of any debris or
trash.
- Use a level and determine if
the oor is level. If the oor
is not level, adjust all leveling
feet to perfectly level the
tub. (STEP 4)
TILING FLANGE
TILING FLANGE
LIFE 3 TUB
LIFE 3 TUB
SILICONE
SUB-FLOOR
LEVEL
LEVEL
03 Installation Preparation
Place the tub in the alcove with
the front skirt rmly on the oor.
Note: All plumbing
hardware (drain/waste
overow, water supply)
must be installed prior to
setting the bathtub in place.
04 Leveling feet adjustment
- The bathtub must be set level.
To check, use a level on top of the
ledges on both ends of tub and on
top of dam
Note: It is important that all leveling feet are completely
touching the oor and level for the unit to work properly.
Note: It is important
that the tub is properly
level. Not following this
instruction can cause
the door to not close
properly.
Note: There must be NO gap
between the oor and leveling legs
DOUBLE
STICK TAPE

website: www.valleyacrylic.com • E-mail: [email protected] • customer service call Toll Free: 1.877.398.8827 • Fax: +1.604.820.0124
LIFE 3 WALK-IN BATHTUB
INSTALLATION GUIDE
ss
TWO (2) PEOPLE REQUIRED
09 PLYWOOD & TILE INSTALLATION DIAGRAM
06 Pre-Drill small pilot holes
through the ange at the studs
05 Using a pencil, mark the shower base ange
where the wall studs are.
07 08
Place the tub back onto the
alcove with the front skirt rmly
on the oor.
Note: All plumbing
hardware (drain/waste
overow, water supply)
must be installed prior to
setting the bathtub in place.
Securely screw tub into frame.
Countersink the hole to allow a
athead screw to seat ush
Countersink the hole to allow a
athead screw to seat ush
• Install the plywood ush with the tiling ange
• Place the desire tile on top of the tub
• Apply silicone to seal gaps
FRAMING STUD TILE
DRYWALL
TILING
FLANGE
SILICONE
LIFE 3 TUB

website: www.valleyacrylic.com • E-mail: [email protected] • customer service call Toll Free: 1.877.398.8827 • Fax: +1.604.820.0124
LIFE 3 WALK-IN BATHTUB
INSTALLATION GUIDE
ss
TWO (2) PEOPLE REQUIRED
WHEN NOT IN USE, LEAVE THE DOOR OPEN. NOT FOLLOWING THIS INSTRUCTIONS CAN COMPROMISE THE DOOR SEAL, AND
CAN CAUSE LEAKS OVERTIME
10.2
LIFE 3 TUB
DRYWALL
GLUE
TILING
FLANGE
FRAMING
10
DRYWALL INSTALLATION
Install the drywall on top of
the tiling ange as shown
10.1
LIFE 3 TUB
DRYWALL
TILING
FLANGE
FRAMING
11 11.1
LIFE 3 TUB
DRYWALL
TILE
TILING
FLANGE
FRAMING
11.2
LIFE 3 TUB
DRYWALL
TILE
FRAMING
TILING FLANGE
SILICONE
TILE INSTALLATION
11.1 Install the desire tile by
placing it on top of the tub
11.2 Apply silicone to seal gaps
12 13
The gaps should then be sealed ensuring that the
silicone is forced into the void.
Wipe any excess of silicone with a warm soapy
cloth.
PLEASE ALLOW 24 HOURS FOR THE
SILICONE TO FULLY CURE.
TEST FOR LEAKS AFTER 24 HOURS OF
BEING INSTALLED
24
HRS

website: www.valleyacrylic.com • E-mail: [email protected] • customer service call Toll Free: 1.877.398.8827 • Fax: +1.604.820.0124
LIFE 3 WALK-IN BATHTUB
INSTALLATION GUIDE
ss
Congratulations! You are now a part of the Valley Acrylic family!
CARE AND MAINTENANCE
• When not in use, keep the LIFE3 tub door open.
• Please clean your bath or shower on a regular basis using a soft cloth and a smooth, mild household dish soap
and water. Rinse well with water and dry with a soft clean cloth.
• Never use abrasive cleaners, powders, pads, or liquids that contain abrasives. Avoid products such as Magic
Erasers and scouring pads as these are abrasive and will damage the acrylic.
• Do not use aromatic solvents (essential oils), strong liquid cleansers, bleach, isopropyl alcohols, nail polish, nail
polish remover, Wintergreen oil, dry cleaning solution, lacquer thinners, gasoline, pine oil or cleaners that contain
bleach.
• If a bathmat is used, remove immediately after each use to allow the surface to dry.
• It is recommended that once a month the tub is ushed. As well, with every month of normal use, clean out
the pumps inlet cover by unscrewing the cover and removing any hair and debris from the cover and housing.
Remount the cover in place. Never operate the system with the cover o, as the pump creates a strong suction
and damage to the pump or injury may occur.
Table of contents
Other Valley Bathtub manuals
Popular Bathtub manuals by other brands

American Standard
American Standard Savona 2901.028WC Specifications

Clou
Clou InBe IB/05.40102 installation instructions

American Standard
American Standard ACRYLUX 6030Y.BW installation instructions

Legato
Legato ADAGIO BAD6831 Installation and user guide

Duscholux
Duscholux FREE Caprivi 614.580000 installation instructions

RAVAK
RAVAK ROSA 95 quick start guide