vanEssen Diver-Link User manual

©October2021VanEssenInstruments.Allrightsreserved. www.vanessen.com
Diver-Link Preparation and Setup
Introduction
This guide outlines howto setupyour remotemonitoring project usingDiver-HUB, Diver-Office, Diver-
LinkandDivers.
Thefollowing iconsareused:
Warning
Tip/suggestion
Reference to amanual
The setupconsists of11 steps:
Step1 CreateanAccount......................................................................................................................2
Step2 Login...........................................................................................................................................2
Step3 CreateaProject..........................................................................................................................2
Step4 SetuptheProject .......................................................................................................................2
Step5 Configurethe Diver-LinkHardware...........................................................................................3
Step6 Configurethe Diver-LinkinDiver-HUB......................................................................................3
Step7 ImportDiver-HUBProject in Diver-Office .................................................................................3
Step8 ProgramtheDivers....................................................................................................................3
Step9 Connectthe Equipment.............................................................................................................4
Step10 Activate the Diver-Link.............................................................................................................4
Step11 ChecktheHardwareInformation inDiver-HUB......................................................................4

©October2021VanEssenInstruments.Allrightsreserved. www.vanessen.com
SetupDiver-HUB
Step1 CreateanAccount
Create an account foryour company onthe Diver-HUB web portal:www.diver-hub.com.
Diver-HUBGetting StartedGuide, section 2.1 RequestAccess.
Step2 Login
Afterreceiving a confirmatione-mailfromVan Essen Instruments, login to Diver-HUB withthe
username and thetemporary password.
Ifyouhave not receivedane-mailwithinoneworking day,pleasecheck your spamorcontact
VanEssenInstruments.
Diver-HUBGetting StartedGuide, section 2.2 First Login
Step3 CreateaProject
Createaproject in Diver-HUB.
Diver-HUBGetting StartedGuide, section 3.2 Create a Project.
Step4 SetuptheProject
Import theproject metadata in Diver-HUB using the Diver-HUB templates. Download templatesfrom
the Diver-HUB (.xlsx files). Fill out the templates and save as Exceland as CSV files. Import the CSV files
inDiver-HUB.
For Diver-HUB to show hardware information import at least template number 1, 2, 3. For
Diver-HUB toautomatically generatewater levels(TOC)import at leasttemplatenumber 1, 2,
3,4,5,6.
Use thesamenamefor monitoring_point_name and diver_location_code unlessyouhave a
goodreasonnot to,forexample whenyoumadea mistakewithprogramming theDiver.
Use the samenamefor location_name and monitoring_point_name unlessyouhave a good
reasonnotto, for examplewithnested wells.
When using theDiver-Link baro logger datafor barometric compensation fillin
monitoring_point_name-B inthebaro_for_compensation column.
Alwaysselect (UTC)CoordinatedUniversalTime inSettings > My Profile asthetimezone
during import unless a timeoffset needs tobe added.
Diver-HUBGetting StartedGuide, section 3.3Import Project Data.

©October2021VanEssenInstruments.Allrightsreserved. www.vanessen.com
Diver-LinkPreparation
Step5 ConfiguretheDiver-LinkHardware
Insert the SIM card, 1or 2 batteries and desiccant in the Diver-Link and connect the external antenna
(ifapplicable).
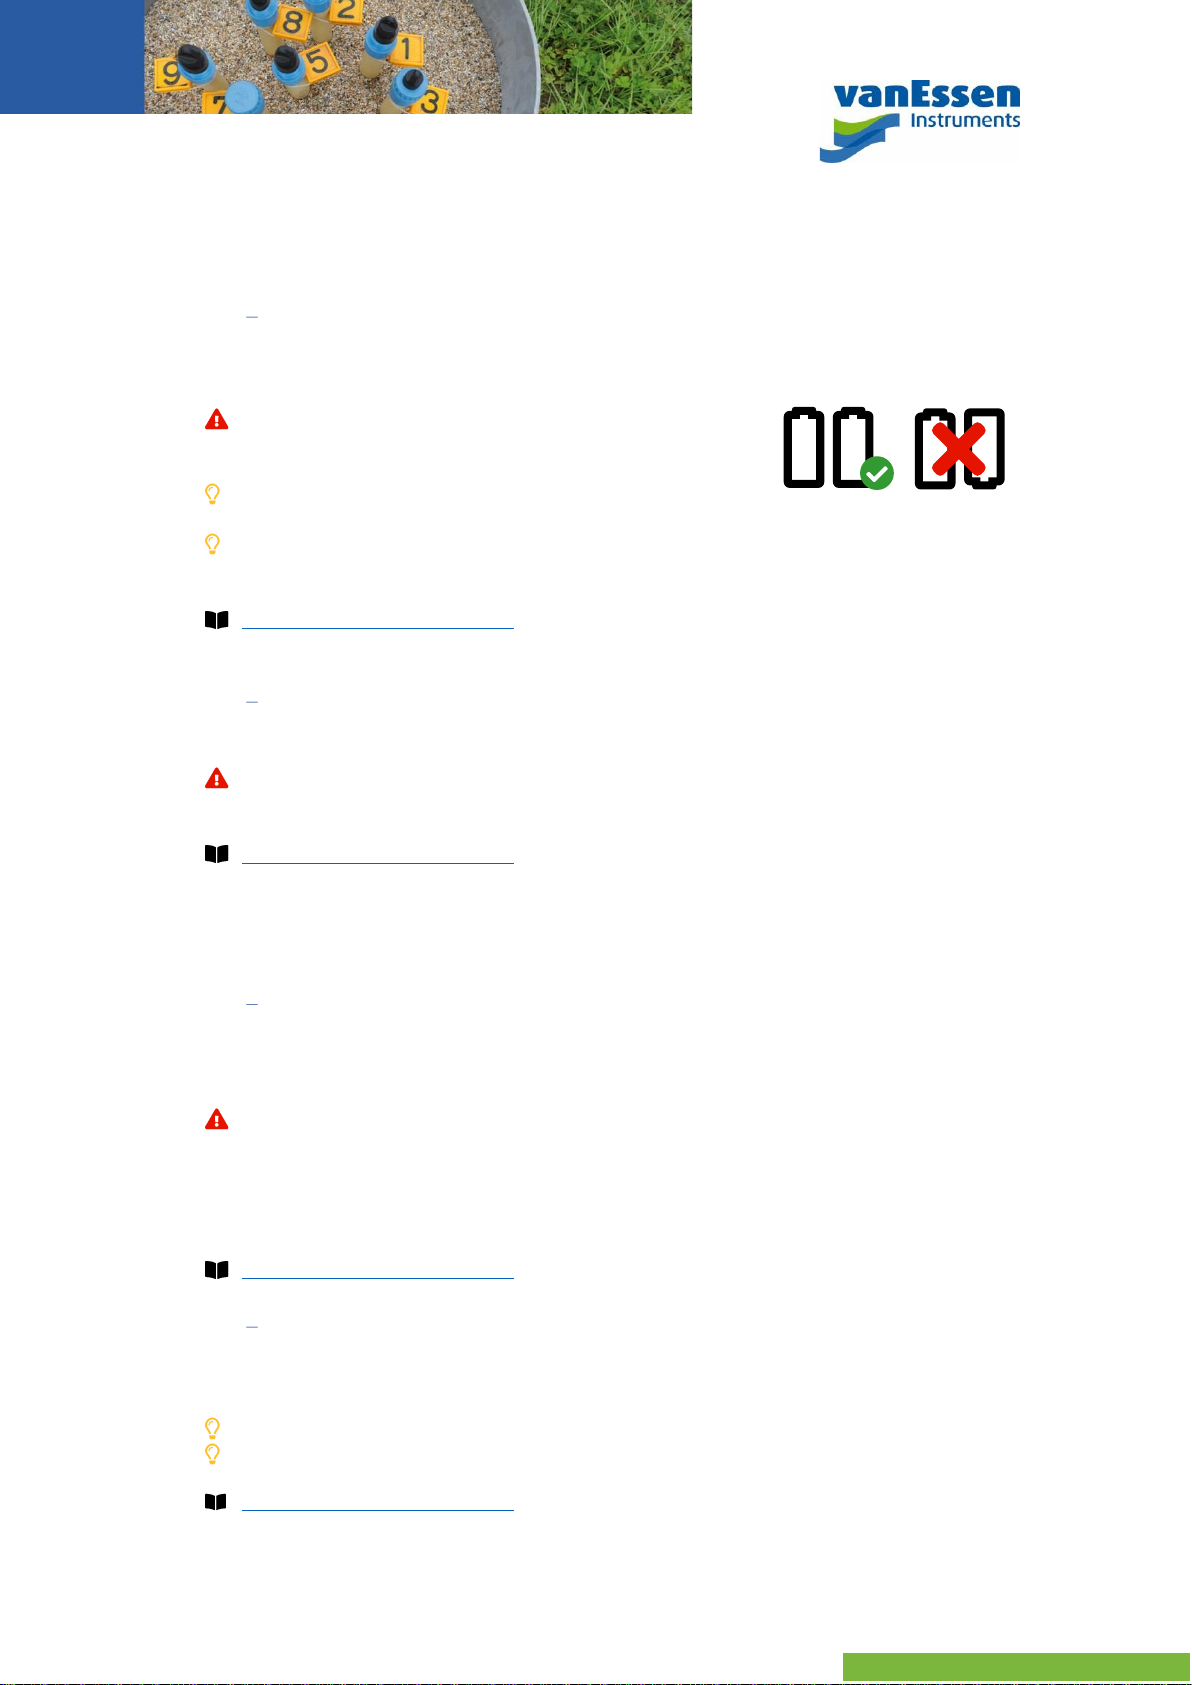
Carefully note the polarity of thebatteries: thesemust be
inserted in parallel, facingthe same direction. Polarity is
indicated onthe bottomof the batteryholders.
Ensure nowires are pinched between the lid andthe base
when closing thebox.
A Diver-Link withan external antenna (DN402, DN422,DN402-3, DN422-3) will not transmit
data ifthe external antenna is not connected totheDiver-Link.
Diver-HUBGetting StartedGuide, sections2.2.1Opening theDiver-Link, 2.2.2 InsertingaSIM
Card,2.2.3Inserting the Battery,2.2.4 Inserting the Desiccantand2.2.5 Closing theDiver-Link.
Step6 ConfiguretheDiver-LinkinDiver-HUB
Configure the Diver-Link in Diver-HUB. Go to Equipment Management > Diver-Link Configuration.
Thiswillconfigure all Diver-Links (transmissioninterval, time oftransmission)for a given
project inDiver-HUB.
Diver-HUBGetting StartedGuide, section 4.2.2 Diver-Link Configuration.
SetupDivers
Step7 ImportDiver-HUBProjectinDiver-Office
Import Diver-HUB project inDiver-Office program by using yourDiver-HUB credentials.
GotoProject > Diver-HUB > Import Project Data
OncetheDiver-HUBprojecthas been imported intoaDiver-Officeproject, the sameDiver-
Office project must always be used toprogramany Diver for thatproject,also after
installation.For example,whenreprogramming or replacingaDiver.Anew import from
Diver-HUB isrequired whenchanges havebeenmade to the Diver-HUBproject.Forexample,
when new locations/monitoring points were added.
Diver-HUBGetting StartedGuide, section4.2.3Diver Configuration.
Step8 ProgramtheDivers
Program the Divers usingDiver-Office.ADivercan be programmedwith a USB ReadingUnitorwitha
SmartInterface Cable connectedto a DXTCable andDiver
SelecttheMonitoring PointnamefromtheMonitoring Pointdropdownlist toavoidmistakes.
Make sureto also start the Diver orprogram afuture start date.
Diver-HUBGetting StartedGuide,section4.2.3Diver Configuration.

©October2021VanEssenInstruments.Allrightsreserved. www.vanessen.com
Deployment
Step9 ConnecttheEquipment
Connectthe DXTCableandDiver tothe Diver-Link andmounttheWell TopFixation.
It is recommendedto mount theWell Top Fixation to thecable inthe office. Underthese
circumstances you can make surethat your Diver will beinstalled at thecorrect depth.
Pleaseconsiderdepth ofwater-table fluctuationandpressurerangeofDiver:
www.vanessen.com/calculator-tools/cable-length.
Make sureall connectors are tightened properly, donot over-tighten.
Keepgoodrecord ofwhichhardware set goesto whichmonitoringpoint.
Diver-Link Product Manual, section2.6Deployment.
Step10 ActivatetheDiver-Link
Activatethe Diver-Link withthe magnetickey.
Holdthemagneton the ACTIVATEposition for more than1second; untilthetop LED
indicatorturns green.
If theactivation process does notreturn 4green LED indicators, then retry the activation up
to 2times beforefurther troubleshooting.
Diver-Link Product Manual,section 2.6.1 Activating the Diver-Link.
Step11 ChecktheHardwareInformationinDiver-HUB
Check Diver-HUB to see ifthe hardware information is displayed correctly.
ChecktheEquipment informationonthe MonitoringPointswidgetdetails page.
Moreinformation
Diver-Link Product Manual:
https://www.vanessen.com/wp-content/uploads/2019/09/Diver-Link-DN4xx-ProductManual-
en-1.pdf
Diver-HUBGetting StartedGuide:
https://www.vanessen.com/wp-content/uploads/2019/09/Diver-HUB-Getting-Started-Guide-
en.pdf
Table of contents