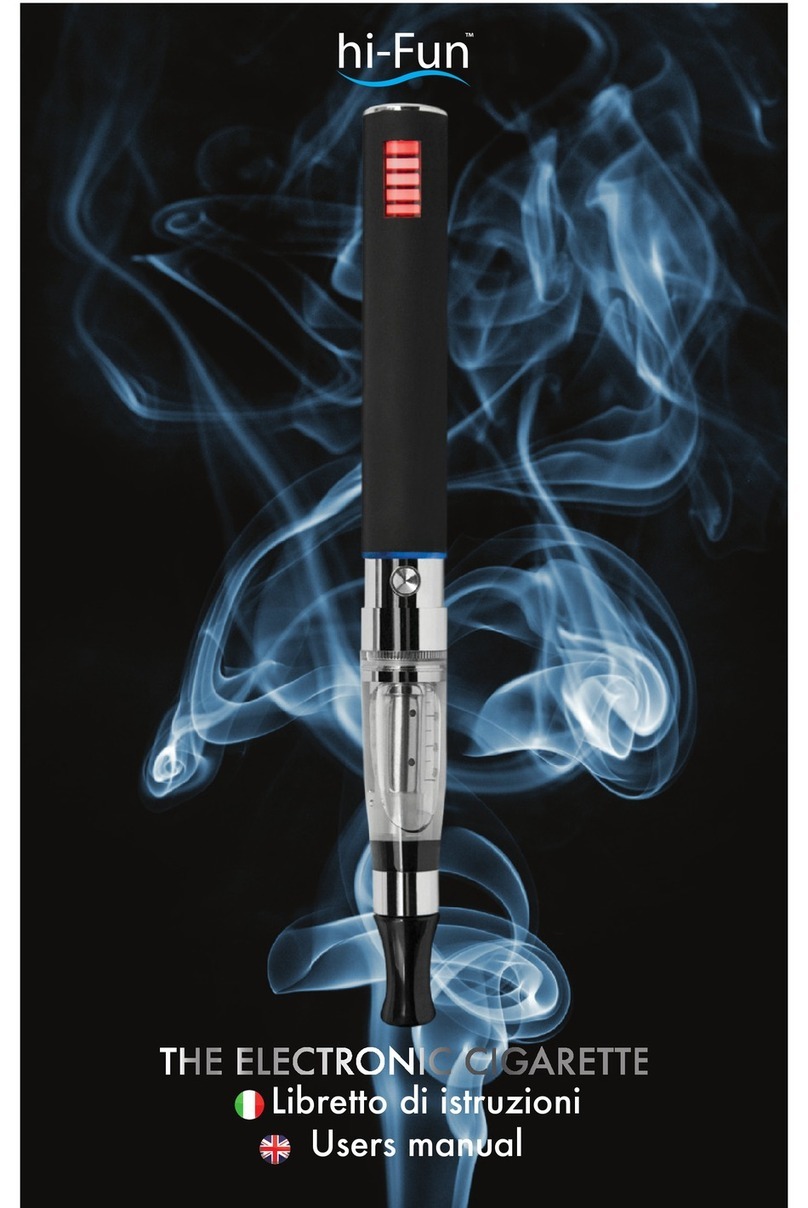
Vapify.us Fogbank User manual

v1.3

2
Copyright
© 2013 Vapify LLC. All rights reserved.
Disclaimer
Information in this manual is protected y copyright laws and is the property of Vapify.us™ and Vapify
LLC. Changes to the specifications and features in this manual may e made y Vapify LLC without prior
notice. No part of this manual may e reproduced, copied, translated, transmitted, or pu lished in any
form or y any means without Vapify.us™ or Vapify LLC’s prior written permission.
This product is intended for use y persons 18 or older, and not y children, women who are pregnant or
reast feeding, or persons with, or at risk of heart disease, high lood pressure, dia etes, or taking
medicine for depression or asthma. If you have a demonstrated allergy or sensitivity to nicotine or any
com ination of inhalants, consult your physician efore using this product. This product is sold purely for
recreational purposes - it is not a smoking cessation product and has not een tested as such. You must
e over the legal age in your state to uy or use this product.
Nicotine products are addictive.
Keep out of reach of children and pets.
If a person, pet or child drinks e-liquid, call a poison control center immediately.
• In order to assist in use of this product and prevent accidental damage or injury, carefully read the
entire User Guide efore use.
• For product related information, check our we site at http://www.vapify.us
3
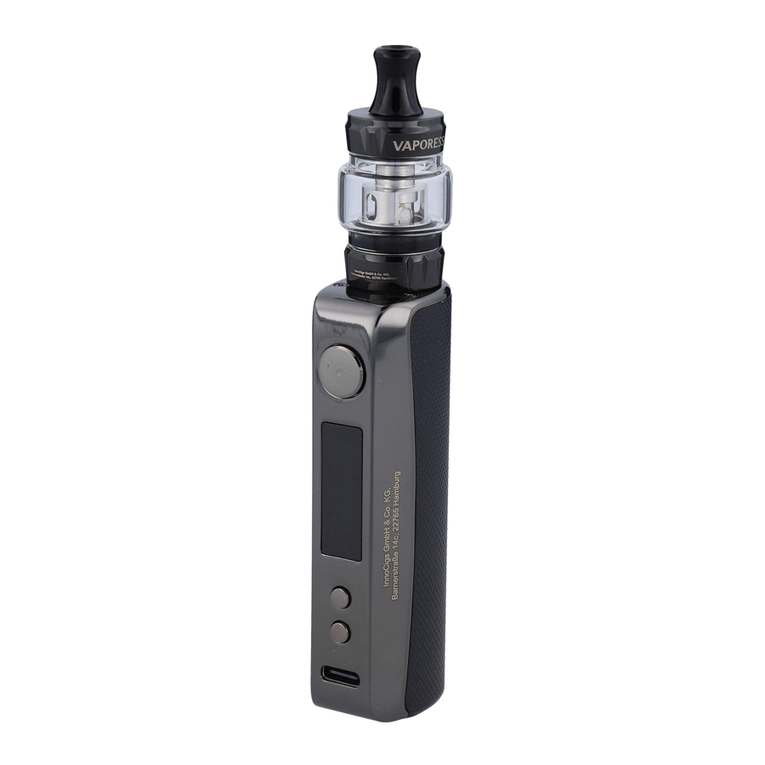
FOGBANK™ Vapor Tank Kit
Bo Contents
Fog ank™ advanced attery
Vapor Tank Head and Tip
USB Charge Ca le
Support Collar
Spare tip
3 replacement cartomizers
2 E-Liquid
Polymer Carrying Case
* The ox contents a ove are for reference only and the actual items shall depend on the product
package you o tain.

4
FOGBANK™ CE5 Kit
Bo Contents
Fog ank™ advanced attery
CE5 Head and Tip
USB Charge Ca le
3 replacement coils
2 E-Liquid
Polymer Carrying Case
* The ox contents a ove are for reference only and the actual items shall depend on the product
package you o tain.

5
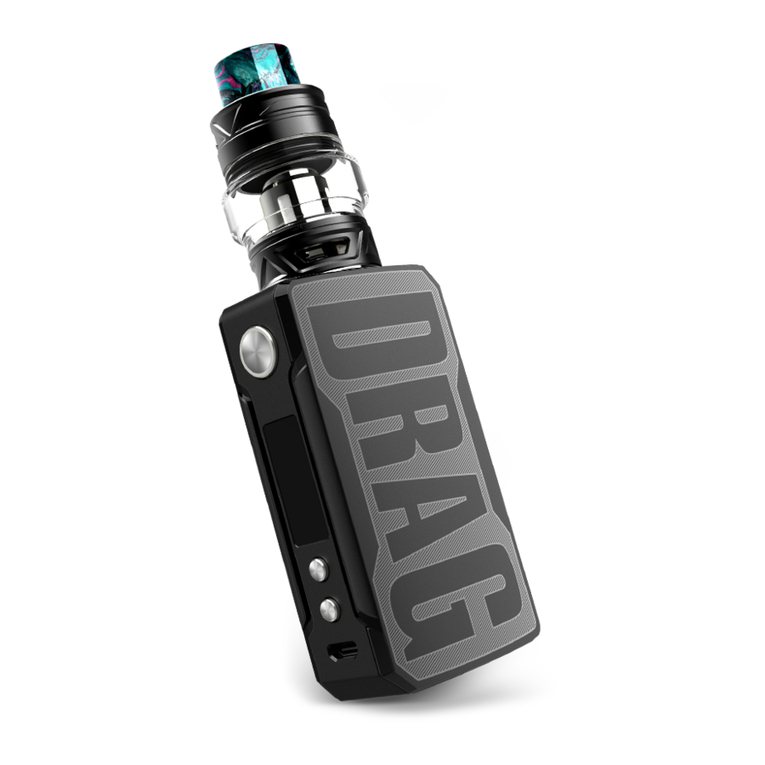
FOGBANK™ Advanced Battery
The FOGBANK™ is constructed of a polished stainless steel ody and features:
650 mAh protected attery
soft activation utton
Information display window
pass-through charging port ( ottom)
Battery safety circuits
Orange, green and lue LEDs to indicate the current mode or function
Charging
When you first open your FOGBANK™, you should charge the attery. Unscrew the ezel from the
ottom of the attery, then screw the attery into the included USB charger. You can plug the USB ca le
into any standard USB port or charge adapter. The transparent indicator ring and utton will glow red
while charging. When the utton and indicator ring glow green, the attery is charged!
To turn off or on the attery, or to prevent accidental activation, simply click the utton three times. The
display window will show “off”, and the utton will link orange several times. To turn on, simply click the
utton three more times.
The display window indicates attery level and current puff count. To reset the puff count, ensure the
attery is not connected to a CE5 or tank reservoir, then while the attery is on, hold the activate utton
for 25 seconds. The puff indicator will reset to zero. The puff counter will not increment until the activate
utton is held for more than 3 seconds.

6
The FOGBANK™ is protected y a attery safety circuit. If the activate utton is pushed for longer than
10 seconds while the attery is connected to the CE5 or Vapor Tank, or the attery detects a inconsistent
resistance, it will shut down and the transparent ring will link lue 8 times. This is often an indication of a
failing cartomizer, coil, or that it is time for a cleaning.
Occasionally a cartomizer or CE5 tank will leak liquid into the top of the attery contact. This can occur
due to large changes in air pressure, like when riding on an airplane or when a cartomizer or coil is
eginning to fail. The liquid should e promptly wiped out with a dry paper towel or q-tip to prevent
damage to your FOGBANK™ device.
Though the FOGBANK™ devices are constructed with the utmost quality and care, they are precision
devices so they can e stressed or damaged. Store the unit in the included carrying case when placing it
in a purse, ag or pocket to prevent lateral stress and possi le damage to the unit.
Always keep the battery dry. Never submerge or get any part of the battery wet. Damage or injury
may occur. When cleaning the vapor tank or CE5 unit, always disconnect the battery first, then
thoroughly dry the head and follow filling instruction before use.

7
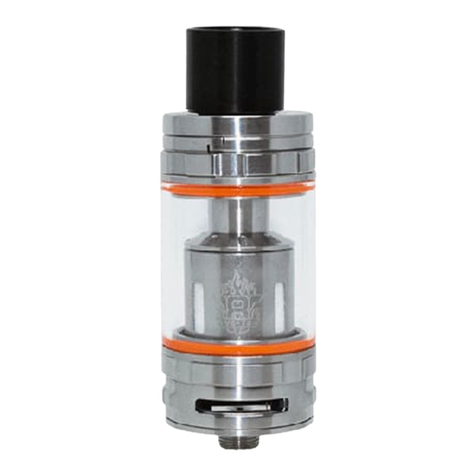
FOGBANK™ CE5
The CE5 reservoir is made up of 4 components:
The tip
The reservoir ody
The lower ody
And the coil assem ly
To egin using your CE5, simply unscrew the tip from the ody, hold the unit at a 45 degree angle and fill
with e-liquid to the fill-line (1.6ml), while eing careful not to put liquid down the center air hole. Now
you’re ready to go!

8
The coil assem ly must e replaced after a period of extended use. A coil assem ly typically lasts from
a out a week to a month, depending on the frequency of use and the type of e liquid used. The CE5 will
need to e disassem led in order to replace the coil assem ly.
Before proceeding, remove the CE5 from the attery.
All of the components are threaded together. Disassem le the unit y unscrewing the tip and clear tank
from the knurled ase. Rinse out the tank with tap water then pat dry.
The coil can now e removed and replaced y unscrewing it from the lower ody.
While assem ling and disassem ling the CE5 unit, e sure to inspect the components and o-rings for any
damage. A damaged unit can result in leakage or premature failure. Replace the CE5 unit if any ody
components are damaged or worn.
To re-assem le, gently screw the components together. When attaching the clear ody to the ase, give
the reservoir ody a spin while inserting the ase to ensure the wicking material does not get caught in
the ottom threads.
For additional trou leshooting information and FAQ please refer to the trou leshooting section in this
manual or visit our we site at http://www.vapify.us.

9
FOGBANK™ Vapor Tank
[NOTE: Never activate a dry cartomizer. It will burn out in seconds.]
The Vapor Tank is made up of 4 components:
The tip
Vapor Tank Body
The cartomizer
Sta ilizing collar
The vapor tank design provides maximum vapor and airflow and is the go-to choice for advanced e-cig
users. For users that wish to use a more convenient design, please check out the FOGBANK™ CE5.

10
To egin using your vapor tank, first remove the tip y gently pulling and twisting, then pull the cartomizer
from the ottom of the tank to fully remove it. You can thread the cartomizer into the attery to aid in
removal. Use caution not to activate the unit.
Attempting to use a cartomizer when it is dry will result in damage or failure of the cartomizer coil. Make
sure to keep it wet with e-liquid!
A vapor tank cartomizer is made up of a stainless steel arrel with a ring of wicking material inside. At the
center of the wicking material is a coil. At the very center of the cartomizer is an air path. It is important
to keep the air-path clear.
The cartomizer must e pre-loaded to prevent damage, or urning of the wicking material. Take the
cartomizer in one hand and a ottle of e-liquid in the other with a clean paper towel near y. Hold the
cartomizer at a 45 degree angle and carefully drip e-liquid down the inside lip of the arrel to reach the
wicking material. A out 4 drops is good to start. We are attempting to wet the wicking material without
getting liquid in the air-path.

11
Do not drip the e-liquid straight down the cartomizer arrel. This will result in wasted liquid dripping out
the ottom of the carto, and a mess.
Next, wipe the outside of the cartomizer with a paper towel, and low on the top of the cartomizer. This
action will force the e-liquid down the wicking material into the cartomizer. Putting your finger over the
ottom hole of the air-path, while making sure not to lock the side vents of the cartomizer arrel, helps
speed this process.

12
Repeat dripping 4 or so drops down the inside edge of the cartomizer. Then low again from the top of
the carto. Repeat these steps several times until liquid egins to come out the small holes on the side of
the arrel. Once liquid egins to appear, wipe off the ottom of the cartomizer with a paper towel, and
while holding the paper towel on the ottom of the carto, give one more gentle low, this time from the
threaded side to clear out any liquid in the air-path. You should e a le to point the cartomizer at a light
and see light clearly all the way through the center of the cartomizer.
Now you’re ready to assem le. Take the vapor tank in one hand and find the end with the recessed lip.
That’s the ottom.
The cartomizer must only e inserted into the end with the recessed lip.

13
Gently insert the cartomizer into the vapor tank a out ¾ of the way. Next, hold the cartomizer and tank at
a 45 degree angle and pour e-liquid down the outer edge of the tank until it’s a out ¾ full. Then slide the
cartomizer the rest of the way into the vapor tank until the ottom flange slides home, and the carto is
sticking out the top of the vapor tank. Insert the tip into the cartomizer and give it a dry-hit (while not
pressing the activate utton). Now you’re ready to go!
Periodically giving the device dry-hits pulls additional e-liquid into the cartomizer and will extend it’s life.
You’ll notice little air u les coming out of the carto holes. Give the device dry-hits until they no longer
appear.
Keep it wet!
The amount of visi le vapor produced on exhale may vary depending on how you draw, condition of the
cartomizer, and the type of e-liquid used.
A cartomizer should last from a out a week to three weeks depending on frequency of usage and care of
the cartomizer. Replace a cartomizer when airflow ecomes o structed, or there is any indication of a
urnt taste.
To replace a failing cartomizer: remove the vapor tank from the attery and remove the tip. If the vapor
tank still has remaining e-liquid inside, rinse it out with tap water. Then follow the pre-loading steps
previously with a new cartomizer.

14
FOGBANK™ CE5 Troubleshooting Steps
The device does not produce vapor, or produces little vapor.
Verify that the device is turned on, filled at least half-way, and fully charged. If these conditions are met,
take off the CE5 head and inspect the attery connector on the CE5 head and attery contacts. Wipe
thoroughly clean the attery connector, and the ottom side of the CE5 with a twisted paper towel.
After assem ling ack together, gently roll the device on it’s side to ensure the wicks are completely wet.
It is helpful to occasionally roll the device in your hand or on a ta le to keep the wicks wet.
Sometimes after extended use, the contacts within the CE5 may lose connection. The CE5 attery
connector is spring loaded; use a pencil eraser or twisted paper towel to depress and release the ottom
attery connector several times. It also helps to sometimes unthread the tip slightly while still maintaining
a seal etween the tip and coil head.
If these steps are unsuccessful, clean the CE5 head with tap water and install a new coil.
I have installed a new coil head, but it still does not produce vapor.
It is sometimes necessary to remove the silicone cap from the coil and gently tighten with a flat-head
screw driver to ensure it’s properly seated. Be careful not to over-tighten.
The CE5 makes a gurgling sound during use.
Though a small amount of crackle is normal during usage, if the device makes a gurgling sound, it is likely
flooded or has e-liquid in the air path. Disconnect the CE5 head. Take a twisted up paper towel and
place it against the ottom contact and air path of the CE5. Gently low from the tip. Repeat until liquid
no longer appears on the paper towel. Make sure to check and wipe clean the attery-side connector
with a clean paper towel until dry. This will clear the air-path and ensure good connection.
The CE5 tip tastes bitter (like e-liquid).
The tip may have e-liquid in it. Remove the tip and rinse it off under the tap.
The CE5 unit leaks.
Verify that the tank, coil and tip are tightened to the point of creating a seal. Do not over-fill the device, or
dispense e-liquid into the air path. If liquid is leaking onto the attery connector, follow the clearing
instructions in the previous trou leshooting step. Do not over-tighten. Check to ensure the o-rings on
each component are intact and undamaged ( tip, tank ody, and coil ase. Inspect the tank and
components for cracks or damage. Also check to ensure the wicks are not interfering with the tank
threads. When assem ling the tank to the ase, give the tank a it of a spin in order to keep the threads
out of the ottom threads. If damage has occurred to any o-rings, or components, replace the CE5 head.

15
FOGBANK™ Vapor Tank Troubleshooting Steps
I have installed a new cartomizer and followed the loading instructions, but the unit produces little
or no vapor.
Check that the cartomizer wicking holes are visi le and clear for e-liquid flow into the tank. If the
cartomizer is installed ackwards, these holes may e locked, which will prevent normal operation. The
ase of the cartomizer has a flange that mates up with a recessed edge in the ottom of the tank. Ensure
the cartomizer is installed properly.
The Vapor Tank draws e-liquid from the outer tank into the cartomizer through the holes. It is critical to
keep the inner coil and wicking material wet. In low temperatures, or with thicker e-liquid additional steps
may e necessary to ensure proper e-liquid flow to the cartomizer. To aid in this process periodically do
the following:
Give the unit dry hits – Without pressing the activate utton, draw sharply on the tip as you would when
using the unit, ut with more force. Little u les may appear in the tank. This is pulling e-liquid into the
cartomizer. Repeat as necessary until air u les are no longer produced.
Fill the unit half-full – With thicker e-liquid, or in low temperatures, it helps to aid in e-liquid flow to fill the
unit only half-full to create more air space in the tank.
Periodically vent the tank – A vacuum may e created in the tank from usage in low temperature
conditions, or with thicker e-liquid preventing e-liquid flow to the cartomizer. Remove the tip from the
vapor tank, and slide up the tank on the cartomizer as you would to fill it. Slide the tank ack into it’s
normal position, replace the tip and give dry hits, as descri ed a ove, until u les no longer appear.
The unit produces a burned, off-flavor.
The cartomizer is not sufficiently wet. Ensure you follow the steps in the previous trou leshooting step. If
the cartomizer still produces a urned flavor, replace the cartomizer.
The Vapor Tank makes a gurgling sound during use.
The vapor tank produces more of a crackle sound than the CE5, and this is normal during usage. If the
device makes a sputtering or gurgling sound, it is likely flooded or has e-liquid in the air path. Disconnect
the Vapor Tank from the attery. Take a twisted up paper towel and place it against the ottom contact
and air path of the Vapor Tank. Very lightly low from the threaded end. Pat any remaining e-liquid dry
from the ottom of the unit. Make sure to check and wipe clean the attery-side connector with a clean
paper towel until dry. This will clear the air-path and ensure good connection.
By lowing through the Vapor Tank air pressure may e introduced. Be sure to vent the tank (descri ed
in previous steps) efore using again. Then dry hit the vapor tank.
The Vapor Tank tip tastes bitter (like e-liquid).
The tip may have e-liquid in it. Remove the tip and rinse it off under the tap.
Table of contents