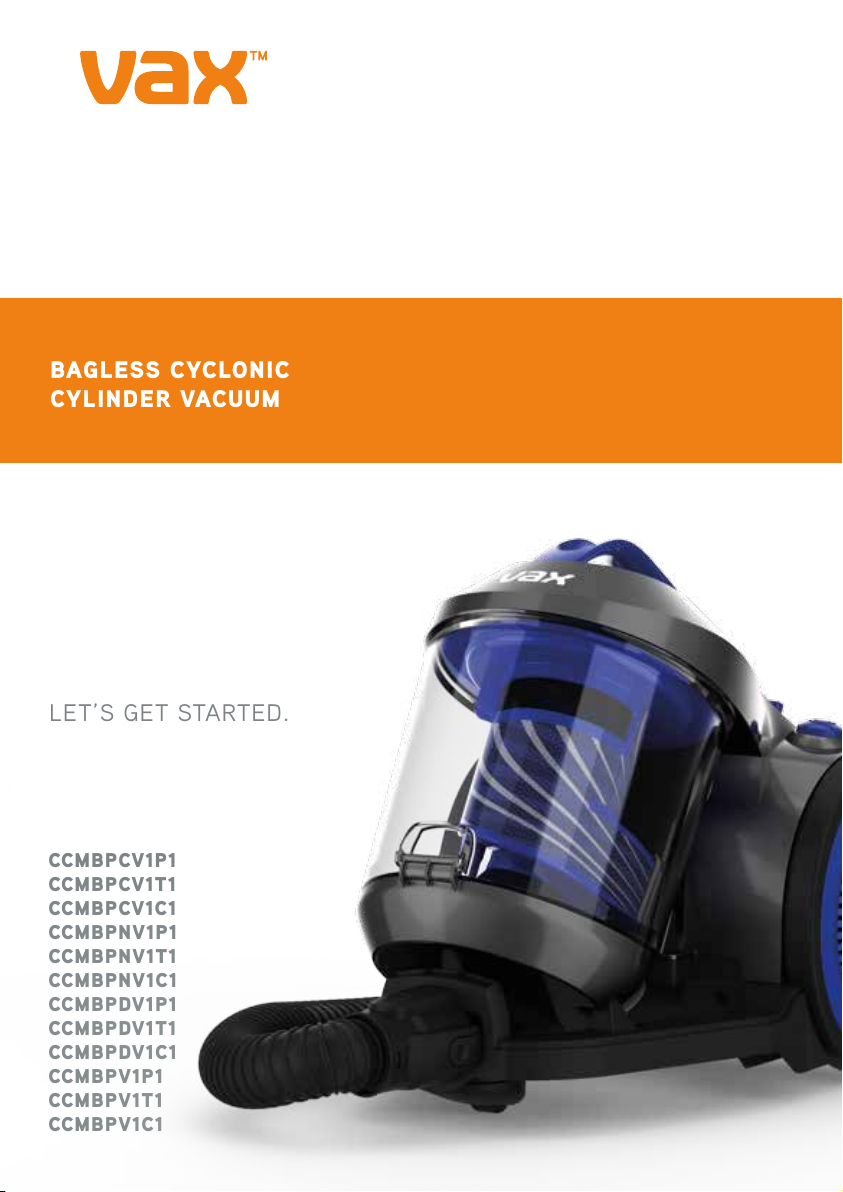
Vax CCMBPNV1C1 Installation instructions
Other Vax Vacuum Cleaner manuals

Vax
Vax V-028 User manual

Vax
Vax Rapide Supreme V-023 User manual

Vax
Vax V-2300U User manual

Vax
Vax C91-P2 SERIES User manual

Vax
Vax Rapide User manual

Vax
Vax S10 Series User manual

Vax
Vax SpinScrub VSS7151 User manual

Vax
Vax VX78 Installation instructions

Vax
Vax DynamoPower U84-DY-Pe User manual

Vax
Vax U90-P4 SERIES User manual

Vax
Vax VaxAIR VCAB1500 User manual

Vax
Vax Floormate Edge HF86-FM-E Installation instructions

Vax
Vax Essentials VEC-104 User manual

Vax
Vax Air cordless VX7 Installation instructions

Vax
Vax MACH 7 VZL-6017 Series User manual

Vax
Vax VX60 User manual

Vax
Vax U88-AMMe Series Air3 MAX User manual

Vax
Vax V-135 SERIES User manual

Vax
Vax VX48 User manual

Vax
Vax Air Steerable Ultra Lite U86-AC-Be User manual