1 YEAR LIMITED WARRANTY PROGRAM
This limited warranty program is the only one that applies to this product, and it sets forth all the responsibilities of Vector
Manufacturing, Ltd., regarding this product. There is no other warranty, other than described herein.
This Vector Manufacturing, Ltd. product is warranted, to the original purchaser only, to be free of defects in materials
and workmanship for one year from the date of purchase without additional charge. The warranty does not extend to
subsequent purchasers or users. Vector Manufacturing, Ltd. will not be responsible for any amount of damage in excess of
the retail purchase price of the product under any circumstances. Incidental and consequential damages are specifically
excluded from coverage under this warranty.
This product is not intended for commercial use. This warranty does not apply to accessories or damage to units from
misuse or incorrect installation. Misuse includes wiring or connecting to improper polarity power sources.
RETURN/REPAIR POLICY: Defective products, other than accessories, may be returned postage prepaid to Vector
Manufacturing. Any defective product, other than accessories, that is returned to Vector Manufacturing within
30 days of the date of purchase will be replaced free of charge. If such a product is returned more than 30 days but less
than one year from the purchase date, Vector Manufacturing will repair the unit or, at its option, replace it free of charge.
If the unit is repaired, new or reconditioned replacement parts may be used, at Vector Manufacturing’s option.
A unit may be replaced with a new or reconditioned unit of the same or comparable design. The repaired or replaced
unit will then be warranted under the terms of the remainder of the warranty period. The customer is responsible for the
shipping charges on all returned items after 30 days. During the warranty period, Vector Manufacturing, Ltd. will be
responsible for the return shipping charges.
LIMITATIONS: This warranty does not cover accessories, bulbs, fuses and batteries, defects resulting from normal wear and
tear (including chips, scratches, abrasions, discoloration or fading due to usage or exposure to sunlight),
accidents, damage during shipping to our service facility, alterations, unauthorized use or repair, neglect, misuse, abuse,
failure to follow instructions for care and maintenance, fire, flood and Acts of God.
If your problem is not covered by this warranty, call our Technical Support Department 954-584-4446 or toll free
866-584-5504 for general repair information and charges if applicable. You may also contact us through our website
www.vectormfg.com.
STATE LAW RIGHTS: This warranty gives you specific legal rights. Some states do not allow limitations on how long
an implied warranty lasts or the exclusion or limitation of incidental or consequential damages, so the exclusions or
limitations stated herein may not apply. This warranty gives the purchaser specific legal rights; other rights, which vary from state
to state, may apply.
TO REQUEST WARRANTY SERVICE FOR THIS PRODUCT: Contact Vector Manufacturing Technical Support by telephone,
fax or mail. We suggest that you keep the original packaging in case you need to ship the unit. When returning a product,
include your name, address, phone number, dated sales receipt (or copy) and a description of the reason for return and
product serial number. After repairing or replacing the unit, we will make every effort to return it to you within four weeks.
WARRANTY ACTIVATION: Please complete Warranty Activation Card and mail to Vector Manufacturing. Enter
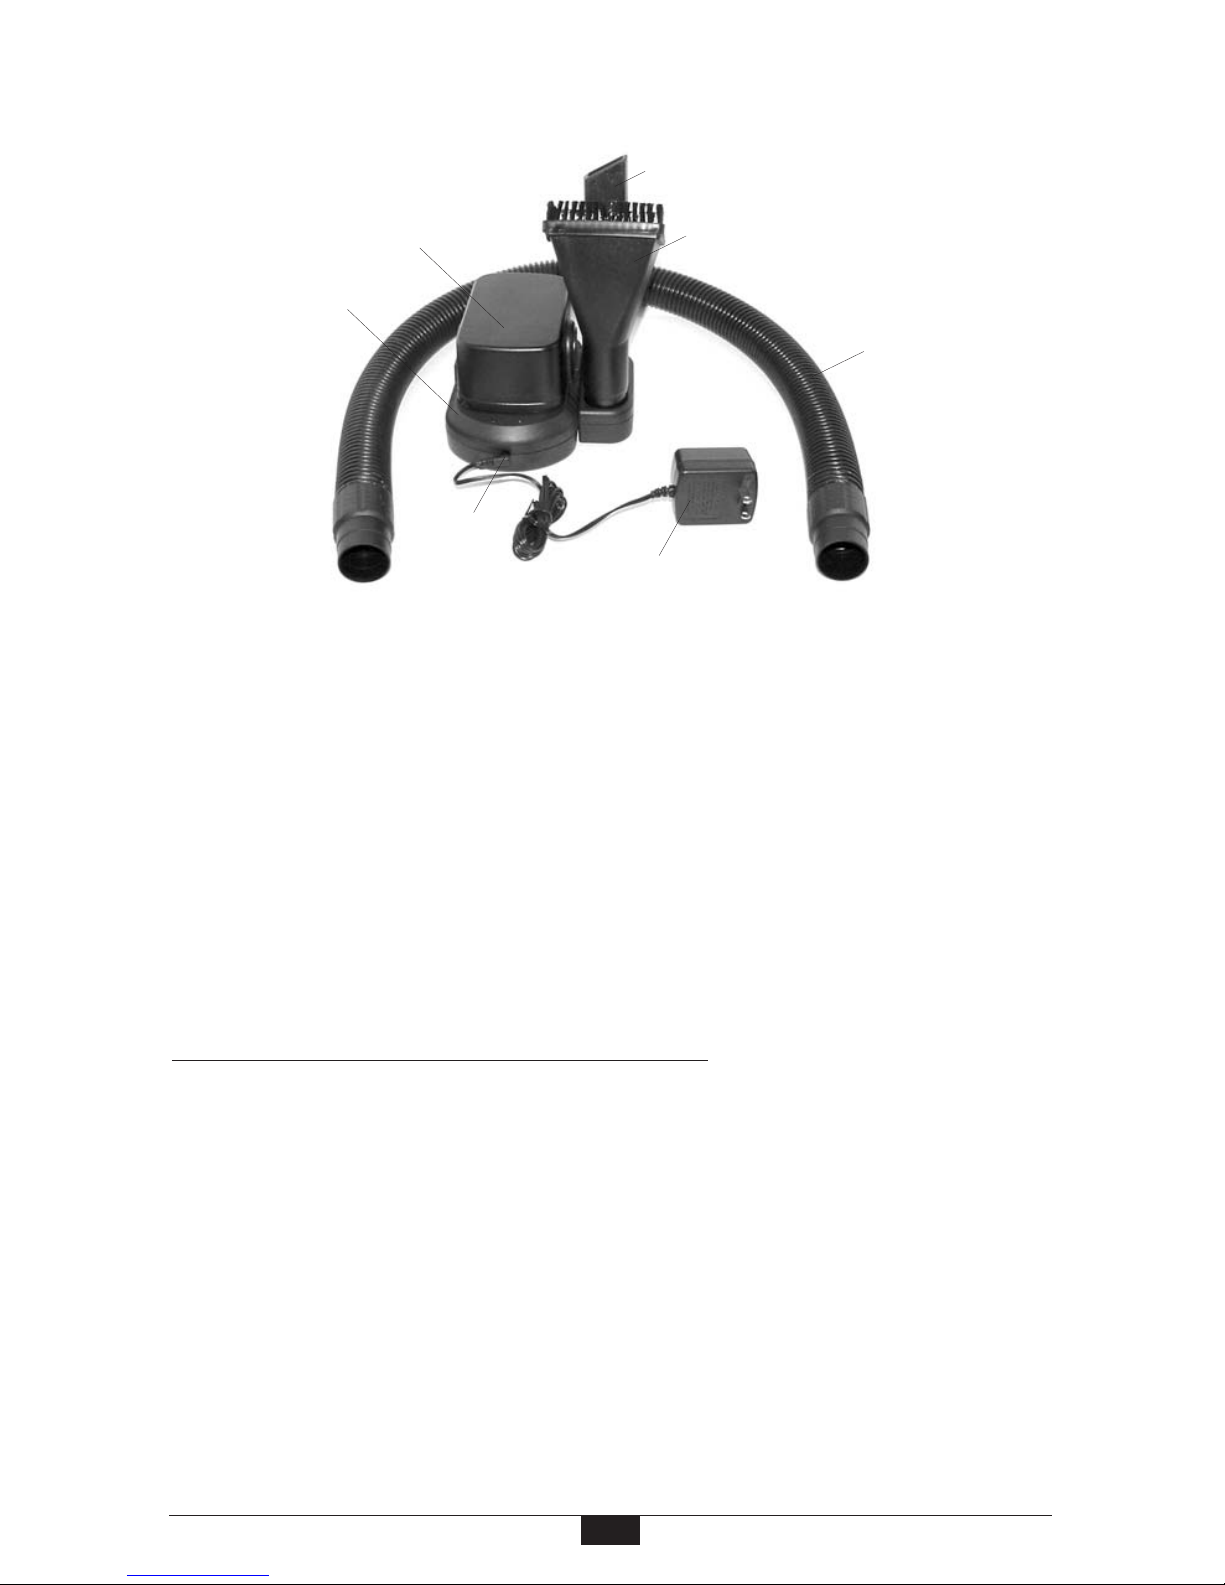
“VEC248” as Model and “
Wet/Dry canister vacuum-1 gallon capacity”
as Product Type. All Vector Manufacturing, Ltd.
products must be registered within 10 days of purchase to activate this warranty. Mail the completed registration card,
along with a copy of the original sales receipt to:
ATTN.: CUSTOMER SERVICE / VECTOR MANUFACTURING, Ltd.
4140 SW 28th Way, Ft. Lauderdale, FL 33312
PH: 954-584-4446 • TOLL FREE: 866-584-5504 • Fax: 954-584-5556.
You may also contact us at our web site www.vectormfg.com.
WARRANTY IS NON-TRANSFERABLE AND NON-REFUNDABLE.
7