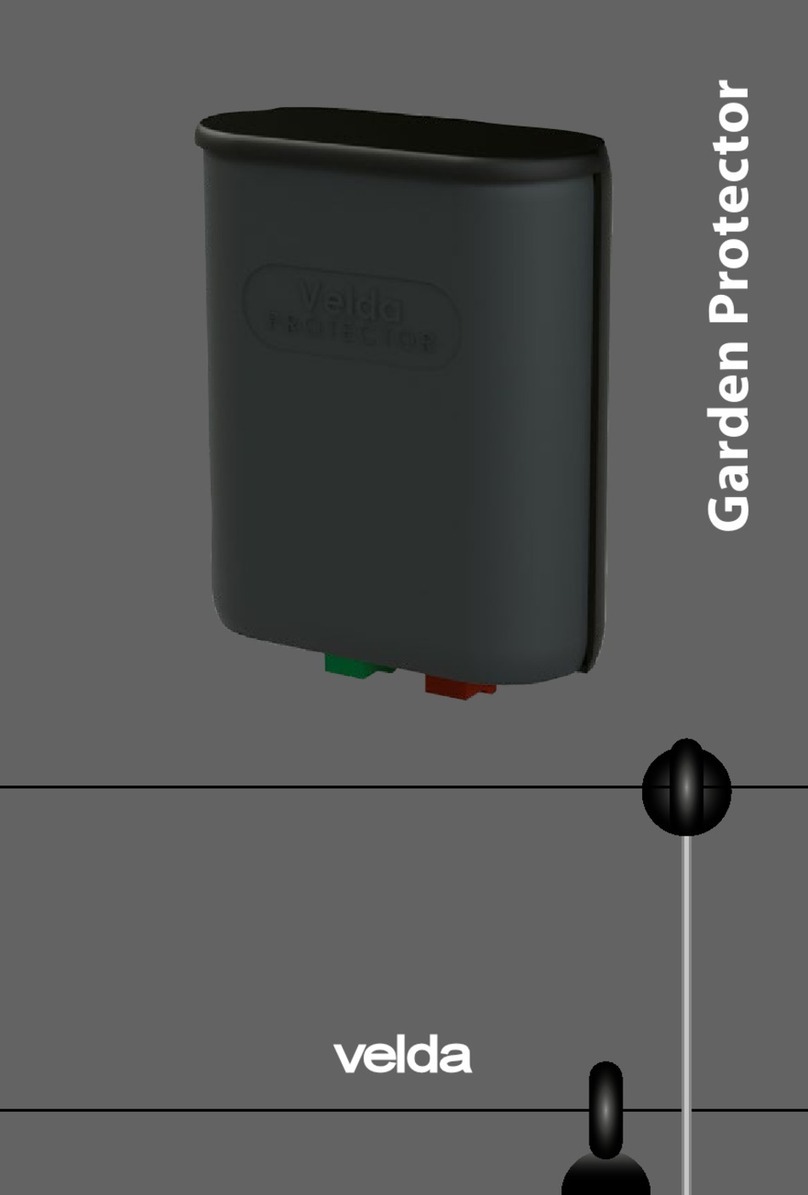
velda 1320502 User manual

GEBRUIKSAANWIJZING POND PROTECTER
GEBRAUCHSANWEISUNG POND PROTECTOR
MODE D'EMPLOI DU POND PROTECTOR
USER INSTRUCTIONS POND PROTECTOR
The experts in pond biology
Downloaded from www.watergardeningdirect.com

A
C
Downloaded from www.watergardeningdirect.com

lRaccorder le fil vert de terre au bouton vert de l'électrificateur. L'aide de la vis et de la rondelle
frein d'écrou fixer son autre extrémité, qui est enroulée (avec un úil), à l'úillet du piquet de prise
de terre. S'il y a lieu, sectionner le fil à la longueur voulue. (A)
lPlacer la clôture à l'aide des piquets isolants fournis. Espacer les piquets isolants de 4 mètres
au maximum les uns des autres, l'úillet supérieur pointant en direction du bassin. Enfoncer les
piquets isolants de manière à ce que l'úillet inférieur dépasse de 10 cm le niveau du sol. Faire
passer le fil de clôture noir travers les úillets du bas. En fin de parcours, faire un núud et repren-
dre le même fil pour continuer à travers les úillets du haut. En fin de parcours, faire à nouveau
un núud. De cette manière, une connexion sera établie entre le fil du bas et le fil du haut. Tendre
convenablement les fils de manière à empêcher toute déformation du fil au niveau des piquets
isolants et de manière à éviter tout contact avec la végétation (herbe et autres plantations). Le
fil du bas sert de répulsif aux chats, celui du haut tient les hérons à distance du bassin. (B)
lRaccorder le fil rouge conducteur des impulsions électriques au bouton rouge de l'électrifica-
teur et l'autre extrémité de ce cordon rouge au fil de clôture à l'aide d'un connecteur fourni. (C)
lEn mettant l'électrificateur sous tension, la clôture devient électrifiée et est en état de marche.
La lampe témoin (LED) de l'électrificateur transformateur s'allume, confirmant la marche de
l'installation. Pour tester le bon fonctionnement de l'installation mettre en contact un brin d'herbe
avec le fil de clôture. A chaque contact, une impulsion sera déclenchée, comme le confirment
les scintillements de la lampe témoin (LED) montée dans la partie supérieure de l'électrificateur.
Avertir les gens et les enfants de l'existence et du fonctionnement du dispositif Pond Protector.
En cas de travaux à proximité ou à l'intérieur du bassin, mettre l'installation hors tension.
À RETENIR
lCet appareil n'est pas prévu pour être utilisé par des personnes (y compris les enfants) dont les
capacités physiques, sensorielles ou mentales sont réduites, ou des personnes ne possédant
pas les connaissances et/ou l'expérience pertinente, sauf si elles demeurent sous la supervision
immédiate d'une personne responsable de leur sécurité. Il convient de surveiller les enfants pour
s'assurer qu'ils ne jouent pas avec l'appareil.
lNe pas jeter pas les appareils électriques avec les déchets ménagers non triés. Utiliser les faci-
lités ou les systèmes de collecte sélective. S'informer auprès des services de sa commune des
dépôts accueillant ces appareils. Les déchets issus des appareils électriques mis au rebut peu-
vent libérer des substances et matières dangereuses qui s'infiltrent ensuite dans les nappes
d'eau souterraines, pénètrent dans la chaîne alimentaire et causent des problèmes de santé.
Lors de tout achat d'un nouvel appareil, le revendeur est tenu de reprendre gratuitement l'ancien
et de le diriger vers la filière de recyclage ou d'élimination.
GARANTIE
Velda garantit pendant 24 mois le parfait fonctionnement du dispositif. Pour plus de détails, voir le
certificat de garantie.
GB INSTRUCTIONS FOR POND PROTECTOR
GENERAL
With this Pond Protector you protect your pond fish against herons and cats. By placing this
harmless electric wire you prevent herons and cats from approaching the pond and therefore
prevent your valuable fish from being eaten. The working is simple: the transformer gives off a low
and harmless electric pulse to the wire around your fenced in pond. Touching the fences scares off
herons and also cats, causing them to avoid your pond in the future.
l
G
Downloaded from www.watergardeningdirect.com

CONTENTS
Transformer
Synthetic stakes 10 pieces of 60 cm
Electric wire 80 m
Wire (red and green) 2 x 5 m
Metal ground pin 55 cm
Connectors and screws
INSTALLATION
lInstall the transformer in a dry place, for example, in the garage, a barn, or under a shed.
Fasten the transformer with the screws provided.
lPress the metal pin in the ground in close proximity of the transformer. Make sure that the pin is
not more than 2 cm visible above the ground.
lFasten the green grounded wire to the green knob of the transformer and the eye of the wire to
the eye of the pin, with the help of the bolt and washers provided. If necessary, the length of the
wire can be shortened. (A)
lWith the help of the synthetic stakes provided the pond fence can be placed. Place the stakes a
maximum of 4 metres from each other with the uppermost eye pointing towards the pond. Push
the stakes in the ground, so that the lowest eye of the stake sticks out of the ground by 10 cm.
Thread the black electric wire through the eyes of the stakes. Begin with the lowest eyes. Make
a knot at the end and thread the same wire through the upper eyes. Make a knot at the end here
also. In this way, a connection is made between the lowest and highest wire. Stretch the wires
so that the stakes do not move and there is no contact with the grass or other plants. The lowest
wire keeps cats away from the pond; the highest wire keeps herons away. (B)
lConnect the red pulse wire to the red knob of the transformer and the other end of this wire to
the lowest enclosure wire with the help of a connector provided. (C)
lBy plugging the transformer into the socket, the installation is complete. When the LED lamp
on the transformer is illuminated, the Pond Protector is working. You can test the installation by
feeling the electric pulses with a blade of grass, for example. These electric pulses can also be
seen on the LED lamp on top of the transformer. The LED lamp blinks with every pulse.
Draw peoples attention, especially children, to the installed Pond Protector. When working in
or around the pond, it is advisable to unplug the device.
ITEMS FOR SPECIAL ATTENTION
lThis appliance is not intended for use by persons (including children) with reduced physical,
sensory or mental capabilities, or lack of experience and knowledge, unless they have been
given supervision or instruction concerning use of the appliance by a person responsible for
their safety. Children should be supervised to ensure that they do not play with the appliance.
lDo not dispose of electrical appliances as unsorted municipal waste, use separate collection
facilities. Contact you local government for information regarding the collection systems avail-
able. If electrical appliances are disposed of in landfills or dumps, hazardous substances can
leak into the groundwater and get into the food chain, damaging your health and well-being.
When replacing old appliances with new ones, the retailer is legally obligated to take back your
old appliance for disposals at least free of charge.
GUARANTEE
Velda guarantees the correct functioning of this apparatus for a period of 24 months after pur-
chase. See the enclosed guarantee card for further details.
l
G
Downloaded from www.watergardeningdirect.com

B
NL Voor grotere vijvers is
er een uitbreidingset met
80 m schrikdraad en 10 ex-
tra staanders beschikbaar.
D Für größere Teiche gibt
es ein Erweiterungsset mit
80 m Abschreckdraht und
10 extra Ständer.
F Pour grands bassins : kit
d'extension en option avec
80 m de fil de clôture et 10
piquets supplémentaires.
GB For larger ponds there
is an extension set with 80
m electric wire and 10 extra
stakes available.
Design, Research & Development
®
Velda The Netherlands
www.velda.com info@velda.com
The experts in pond biology
GEB128020078
Downloaded from www.watergardeningdirect.com
Table of contents
Languages:
Other velda Lawn And Garden Equipment manuals
Popular Lawn And Garden Equipment manuals by other brands

Mosquito Magnet
Mosquito Magnet PATRIOT PLUS Operation manual

Terra
Terra TerraCity TRI SET Assembly instructions

Ryobi
Ryobi P29013 Operator's manual

juwel
juwel Profiline 20341 quick start guide

Schiller Grounds Care
Schiller Grounds Care Ryan 544953C Operations & parts manual

Stiga
Stiga MP 24 Li Operator's manual