Velscope VX User manual

VELscope Vx Step-By-Step
Examination Guide
Note: This is an abbreviated clinical guide. Please see the
VELscope Vx Training DVD for more detailed information.
Review the patient’s relevant medical and1
dental history.
Conduct a thorough extra-oral and intra-oral2
examination both visually and manually, palpating
all the structures of the head and neck.
Repeat the intra-oral examination using the3
VELscope Vx by viewing the oral cavity through
the VELscope Handpiece (Figure 1). Maintain a
distance of approximately 2 inches (5 cm) from
the oral cavity to optimize the visualization of the
natural tissue fluorescence.
Abnormal tissue typically appears as an irregular,4
dark area that stands out against the otherwise
normal, green fluorescence pattern of surrounding
healthy tissue.
If a suspicious area is discovered, reevaluate under5
white light and VELscope trying to identify what
might have caused the region to appear abnormal.
Take into consideration its appearance under
both VELscope and white light, its response to
palpation, and salient patient history information.
Photo-document any areas of concern both under6
white light and through the VELscope Vx.
Record all relevant findings. Documentation forms7
are available at www.velscope.com.
Inform the patient of all relevant findings and the8
appropriate course of action.
Follow up or refer as appropriate.9

Fluorescence Visualization in
the “Normal” Mouth
Understand what a normal oral cavity looks like
•
under VELscope to best appreciate what may be
abnormal.
The attached gingiva and anterior tonsillar
•
pillars, for example, often have a naturally
darker appearance.
Pigmented tissue appearing dark under white
•
light usually also looks dark under VELscope Vx.
Inflammation typically appears darker under
•
VELscope due to the excess blood content.
The oral cavity is naturally exposed to varying
•
degrees of chronic irritation and mild inflammation.
Due to inflammation, the buccal mucosa,
•
lateral surfaces of the tongue and hard palate
may sometimes show darker areas typically
characterized by poorly-defined borders.
Hyperkeratosis may often appear bright under
•
VELscope because of strong keratin fluorescence.
Blanching
Observe the suspicious, typically darker, area
•
through the VELscope Handpiece while applying a
light amount of pressure with the back side of an
explorer or similar instrument in a sweeping motion
to diffuse any blood from the area.
If the normal green fluorescence returns with this
•
pressure, then the lesion may have an inflammatory
component.
For some important considerations when
•
interpreting the effects of blanching, see the
VELscope Vx Training DVD.
Follow-up
If a suspicious area cannot be ruled out as benign,
•
it is usually appropriate to perform a follow-up
examination (typically in 2 weeks).
At this time, evaluate whether the suspicious area
•
has changed, especially if the presumed causative
agent has been removed.
If the suspicious area has not cleared up after
•
this follow-up time, use your clinical judgement
and proceed with further investigation according
to the regular standard of care (e.g. referral to a
specialist, etc.)
Surgical Biopsy – The Gold Standard
Remember: the gold standard for diagnosing
•
precancerous and cancerous lesions in the soft
tissues of the oral cavity is surgical biopsy.
A biopsy showing dysplasia is NOT a “false
•
positive”; discovering lesions early in the disease
development process allows for the highest
probability of a favourable treatment outcome.
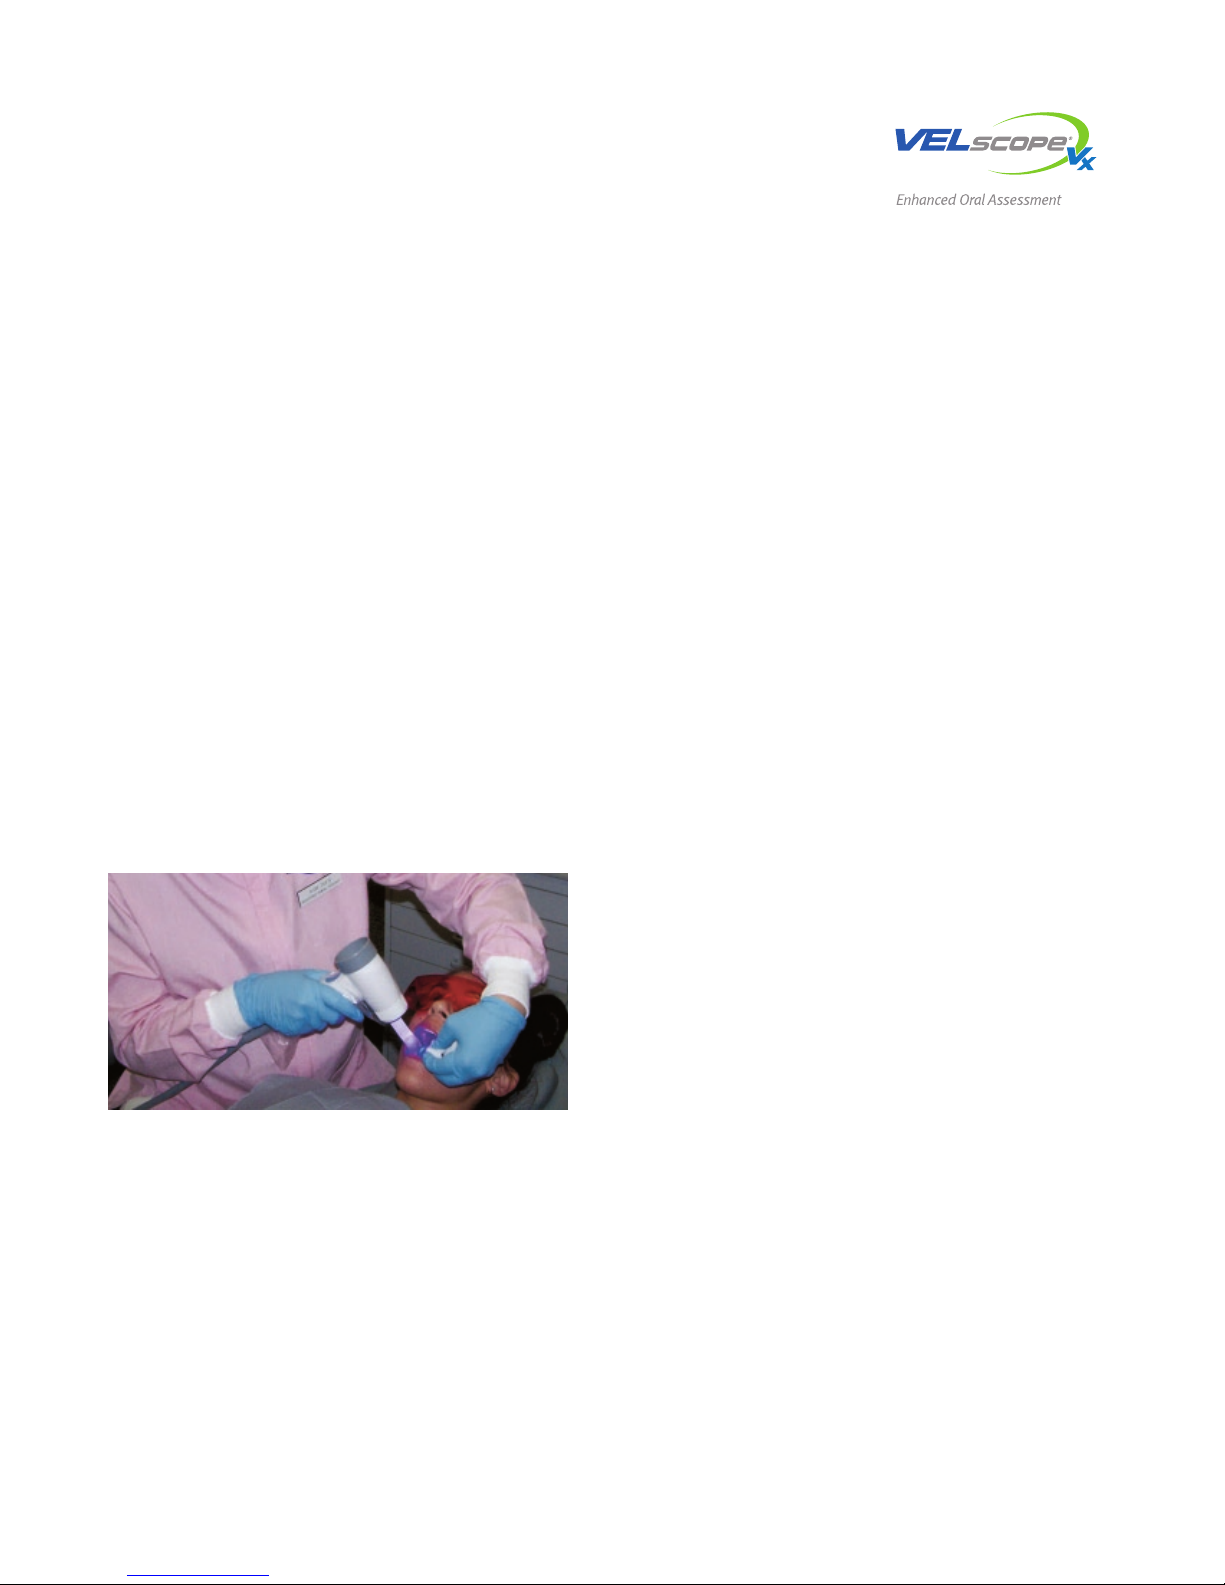
Figure 1. VELscope Vx examination: The clinician shines the
blue excitation light into the patient’s oral cavity and looks
through the VELscope Handpiece
VELscope Vx Step-By-Step
Examination Guide
Characteristics that Increase Suspicion
of Dysplasia and/or Oral Cancer
Highly darkened appearance—strong loss of
•
fluorescence
High-risk location (e.g., lateral/ventral tongue)
•
Unilateral presentation
•
Asymmetry and/or irregular shape
•
Extension over more than one kind of oral structure
•

Normal Floor of the Mouth
Sometimes the area around the sub-lingual gland can be well vascularized, and can lead to a variable
degree of loss of fluorescence.
Normal Variation - Oropharynx with Numerous Lymphoid Aggregates
Sometimes the oropharynx can host varying numbers of lymphoid aggregates, which, due to tissue structure,
display a pronounced loss of fluorescence.
Irritation and Inflammation
The buccal mucosa is a common site for irritation and consequent inflammation; inflammation always shows a distinct loss of
fluorescence because of increased blood content.
Figure 2. Representative examples of the appearance of healthy vs. suspicious oral tissue under both incandescent light and
VELscope examination.

Pigmented Lesions: Amalgam Tattoo
Pigmented lesions show a loss of fluorescence for the same reason that they appear pigmented under white light: absorption of light by the pigment.
One should expect the size and shape of the loss of fluorescence to be the same as the size and shape of the pigmented area under white light.
Erosive Lichen Planus
The intense inflammation associated with erosive lichen planus results in a pronounced loss of fluorescence.
Dysplasia
The hyperkeratotic area on the ridge is in fact dysplasia, and shows a strong loss of fluorescence.

For more information, contact your dealer or visit www.velscope.com
Images courtesy of the British Columbia Oral Cancer Prevention Program
LED 0183 Rev D
LED Dental Inc. 235-5589 Byrne Rd.
Burnaby, BC, Canada V5J 3J1
North American Toll Free: +1 888 541 4614
Tel: +1 604 434 4614 Fax: +1 604 434 4612 VELscope.com
Table of contents