manuals.online logo
Brands
  1. Home
  2. •
  3. Brands
  4. •
  5. Ventamatic
  6. •
  7. Fan
  8. •
  9. Ventamatic MAXX AIR HVPF 22 OSC User manual

Ventamatic MAXX AIR HVPF 22 OSC User manual

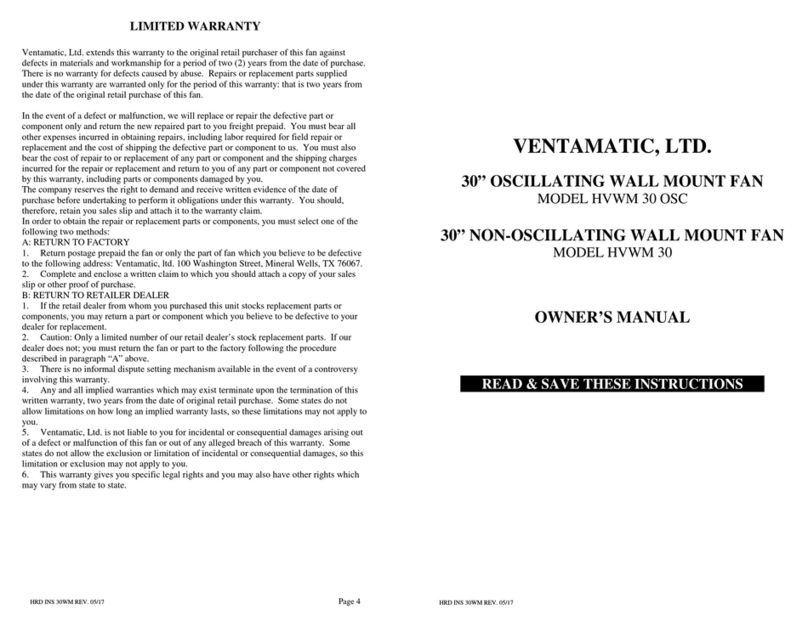
LIMITED WARRANTY
Ventamatic, Ltd. extends this warranty to the original retail purchaser of this fan against defects in
materials and workmanship for a period of two (2) years from the date of purchase. There is no
warranty for defects caused by abuse. Repairs or replacement parts supplied under this warranty are
warranted only for the period of this warranty: that is two years from the date of the original retail
purchase of this fan.
In the event of a defect or malfunction, we will replace the defective part or component only and
return the new repaired part to you freight prepaid. You must bear all other expenses incurred,
including labor required for field repair or replacement and the cost of shipping the defective part or
component to us. You must also bear the cost of replacement of any part or component and the
shipping charges incurred for the replacement and return to you of any part or component not
covered by this warranty, including parts or components damaged by you.
The company reserves the right to demand and receive written evidence of the date of purchase
before undertaking to perform its obligations under this warranty. You should, therefore, retain your
sales slip and attach it to the warranty claim.
In order to obtain the replacement of parts or components, you must select one of the following two
methods:
A: RETURN TO FACTORY
Return postage prepaid the fan or only the part of the fan which you believe to be defective
to the following address: Ventamatic, Ltd. 100 Washington Street Mineral Wells, TX 76067.
Complete and enclose a written claim to which you should attach a copy of your sales clip
or other proof of purchase.
B. RETURN TO RETAILER DEALER
If the retail dealer from whom you purchased this unit stocks replacement parts or
components, you may return a part or component which you believe to be defective to your
dealer for replacement.
Caution: Only a limited number of our retail dealer’s stock replacement parts. If our dealer
does not; you must return the fan or part to the factory following the procedure described in
paragraph “A” above.
There is no informal dispute settling mechanism available in the event of a controversy involving this
warranty.
Any and all implied warranties which may exist terminate upon the expiration of this written warranty,
two years from the date of original retail purchase. Some states do not allow limitations on how long
an implied warranty lasts, so these limitations may not apply to you.
Ventamatic, Ltd. Is not liable to you for incidental or consequential damages arising out of a defect or
malfunction of this fan or out of any alleged breach of this warranty. Some states do not allow the
exclusion or limitation of incidental or consequential damages, so this limitation or exclusion may not
apply to you.
This warranty gives you specific legal rights and you may also have other rights which may vary from
state to stare.
Page 4
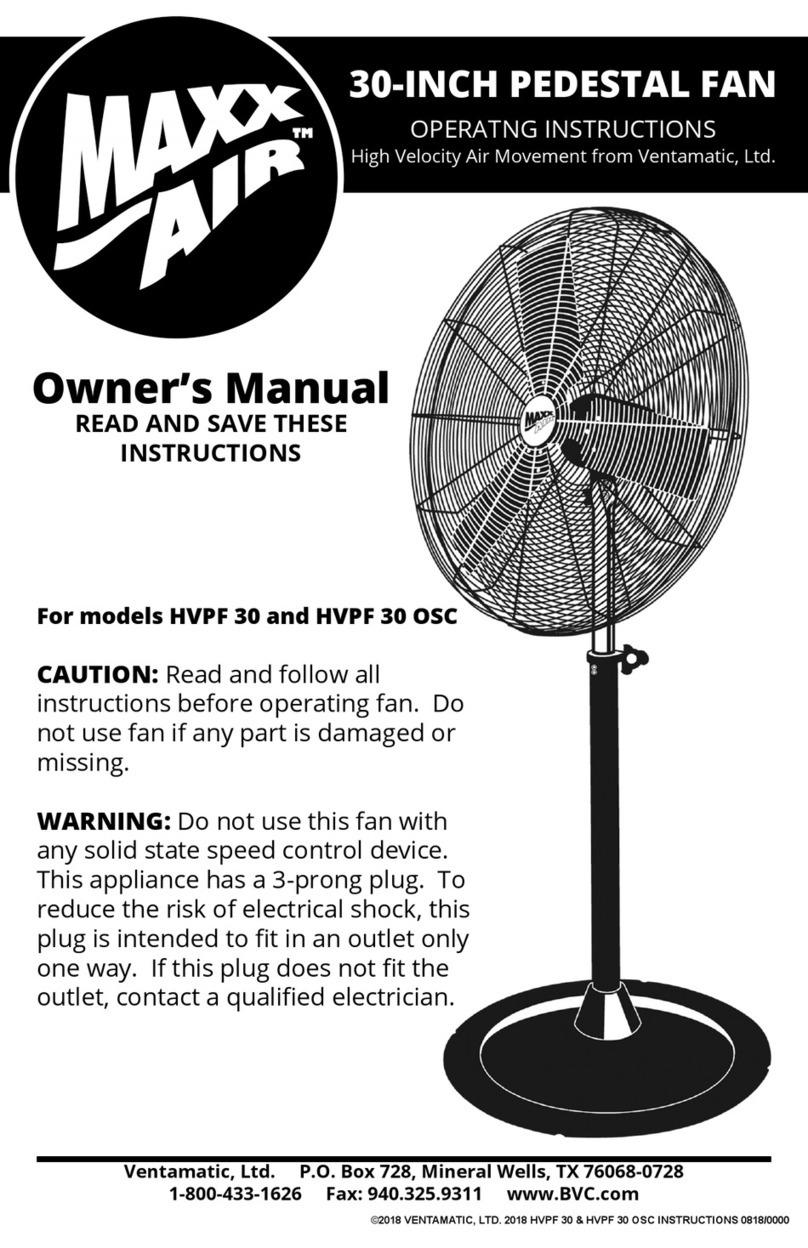
High Velocity Air Movement
from Ventamatic, Ltd.
OPERATING
INSTRUCTIONS
22” OSCILLATING
PEDESTAL FAN
Model: HVPF 22 OSC
Revised 7-11-16
22” OSCILLATING PEDESTAL FAN
Congratulations on your purchase of the MaxxAir 22” Oscillating Pedestal
Fan. Your new fan will be easy to assemble by referring to the Assembly
Instructions and Diagram below.
ASSEMBLY INSTRUCTIONS
1. Attach the OUTER TUBE to the BASE
with the SCREWS (diagram, #1). Place
COVER over OUTER TUBE.
2. Pull INNER TUBE out of OUTER TUBE
and set with COLLAR (diagram, #2).
3. Loosen two screws on tube. Slide
MOTOR onto TUBE and secure with the
SCREW (diagram, #3). Tighten screws
on tube.
4. Remove screws from motor and position
the BACK GRILLE over the MOTOR shaft
and attach with SCREWS (diagram, #4).
5. Insert the BLADE ASSEMBLY on the
MOTOR shaft until it reaches a stopping
point and the set screw is in line with the
flat groove on the MOTOR shaft
(diagram, #5).
6. Attach FRONT GRILLE to the BACK
GRILLE with ring provided and tighten
with screw provided (diagram, #6).
CAUTION: Do not alter the fan’s assembly in any way.
WARNING: BE SURE BLADE SCREW IS FULLY TIGHTENED!
BE SURE FRONT GRILLE AND BACK GRILLE SCREWS ARE TIGHTENED!
Page 2
SCREW x4
BLADE
SET
SCREW
ROTATE SWITCH
MOTOR
SCREW
INNER TUBE
OUT
ER TUBE
COVER
SCREW x4
BASE
FRONT
GRILLE
COLLAR
OSCILLATING PULLER
BACK
GRILLE
SCREW
GRILLE RING
ADJUST KNOB
OPERATING INSTRUCTIONS
READ AND SAVE THESE INSTRUCTIONS
CAUTION: Read and follow all instructions before operating fan. Do not use fan
if any parts are damaged or missing.
WARNING: To reduce the risk of electric shock, do not expose to water or rain.
To reduce the risk of fire or electric shock, do not use this fan with any solid state
speed control device. This appliance has a grounded plug. To reduce the risk of
fire or electric shock, this plug is intended to fit in an outlet only one way. If plug
does not fit outlet, contact a qualified electrician. Do not attempt to bypass this
procedure.
RULES FOR SAFE OPERATION:
1. Never insert fingers or other objects through the grille guard when fan is in
operation.
2. Disconnect the fan when moving from one location to another.
3. Disconnect the fan when removing guards for cleaning.
4. DO NOT use fan in windows. Rain and moisture may create electrical hazard.
HOW TO ADJUST TILT
1. Loosen the ADJUST KNOB.
2. Adjust fan head to the desired tilt.
3. Tighten the ADJUST KNOB.
SPEED CONTROL
ROTATE SWITCH markings 0, 1, 2, 3 designate OFF, LOW, MEDIUM, and
HIGH, respectively. It is normal for the fan to feel hot to the touch after
continuous operation. This fan features a thermal overload that will automatically
shut off fan should it overheat for any reason. If this happens, immediately
unplug the fan from the outlet.
TO MAKE THE FAN OSCILLATE
Depress the OSCILLATING PULLER at the top of the fan head.
TO STOP THE FAN FROM OSCILLATING
Pull up on the OSCILLATING PULLER at the top of the fan head.
CLEANING
WARNING:
Unplug fan from electrical supply source before cleaning.
•Use a soft damp cloth to clean fan. Wipe dry.
•Do not use a cleaning solution that is harmful to paint or plastics.
•Do not bend the fan blades.
•The motor bearings are permanently sealed and do not require additional lubrication.
IMPORTANT: SURGES IN ELECTRICAL POWER OR EXCESSIVE HEAT MAY
CAUSE THE FAN TO TURN OFF. WAIT APPROXIMATELY 15 MINUTES FOR
THE FAN TO RESUME OPERATION.
Page 3

Other Ventamatic Fan manuals

Ventamatic Maxx Air HVPF 30 User manual

Ventamatic

Ventamatic Maxx Air HVPF 30 User manual

Ventamatic CX242DDWT User manual

Ventamatic

Ventamatic CX242DDWT User manual

Ventamatic HVPF 30 WM User manual

Ventamatic

Ventamatic HVPF 30 WM User manual

Ventamatic QuFresh Contractor Series User manual

Ventamatic

Ventamatic QuFresh Contractor Series User manual

Ventamatic MaxxAir HVFF 20 Quick start guide

Ventamatic

Ventamatic MaxxAir HVFF 20 Quick start guide

Ventamatic VX1000SOLDOM Series User manual

Ventamatic

Ventamatic VX1000SOLDOM Series User manual

Ventamatic HVWM 30 User manual

Ventamatic

Ventamatic HVWM 30 User manual

Ventamatic VXNRG User manual

Ventamatic

Ventamatic VXNRG User manual

Ventamatic CXSOLGB User manual

Ventamatic

Ventamatic CXSOLGB User manual

Ventamatic BIG AIR HVFF20BA Quick start guide

Ventamatic

Ventamatic BIG AIR HVFF20BA Quick start guide

Ventamatic Cool Attic CXSOLGB User manual

Ventamatic

Ventamatic Cool Attic CXSOLGB User manual

Ventamatic VX2500 User manual

Ventamatic

Ventamatic VX2500 User manual

Ventamatic HVPF 30 User manual

Ventamatic

Ventamatic HVPF 30 User manual

Ventamatic VX25 series User manual

Ventamatic

Ventamatic VX25 series User manual

Popular Fan manuals by other brands

colt AXS 140 Installation, operation and maintenance manual

colt

colt AXS 140 Installation, operation and maintenance manual

Monte Carlo Fan Company 5AB52XX Series Owner's guide and installation manual

Monte Carlo Fan Company

Monte Carlo Fan Company 5AB52XX Series Owner's guide and installation manual

Helios AIR1-CO DX Installation and operating instructions

Helios

Helios AIR1-CO DX Installation and operating instructions

Craftmade WC42BNK5C3 installation guide

Craftmade

Craftmade WC42BNK5C3 installation guide

Commercial Electric HVFF16CE Use and care guide

Commercial Electric

Commercial Electric HVFF16CE Use and care guide

HPM EF100SQWE instruction manual

HPM

HPM EF100SQWE instruction manual

HOFFEN FJ-15A instruction manual

HOFFEN

HOFFEN FJ-15A instruction manual

Guangzhou Liwei X50 manual

Guangzhou Liwei

Guangzhou Liwei X50 manual

Modern Forms ELF installation instructions

Modern Forms

Modern Forms ELF installation instructions

Mietzsch VRR Series operating instructions

Mietzsch

Mietzsch VRR Series operating instructions

emerio FN-114204.9 manual

emerio

emerio FN-114204.9 manual

Casablanca Riello 59119 installation manual

Casablanca

Casablanca Riello 59119 installation manual

NuTone ULTRA SILENT QTRN050F instructions

NuTone

NuTone ULTRA SILENT QTRN050F instructions

Unold Nebula Instructions for use

Unold

Unold Nebula Instructions for use

Venmar 1.3 HE installation manual

Venmar

Venmar 1.3 HE installation manual

EDM 33953 instruction manual

EDM

EDM 33953 instruction manual

Supra SERENA Instructions for use

Supra

Supra SERENA Instructions for use

STIEBEL ELTRON LWZ 504 Operation

STIEBEL ELTRON

STIEBEL ELTRON LWZ 504 Operation

manuals.online logo
manuals.online logoBrands
  • About & Mission
  • Contact us
  • Privacy Policy
  • Terms and Conditions

Copyright 2025 Manuals.Online. All Rights Reserved.