3
Using the Blood Pressure Sensor with a Computer
When performing blood pressure measurements, it is best to work
with a partner. Currently, Logger Lite only supports blood pressure
measurements in mm Hg. Follow these general procedures to use
the Blood Pressure Sensor with a computer:
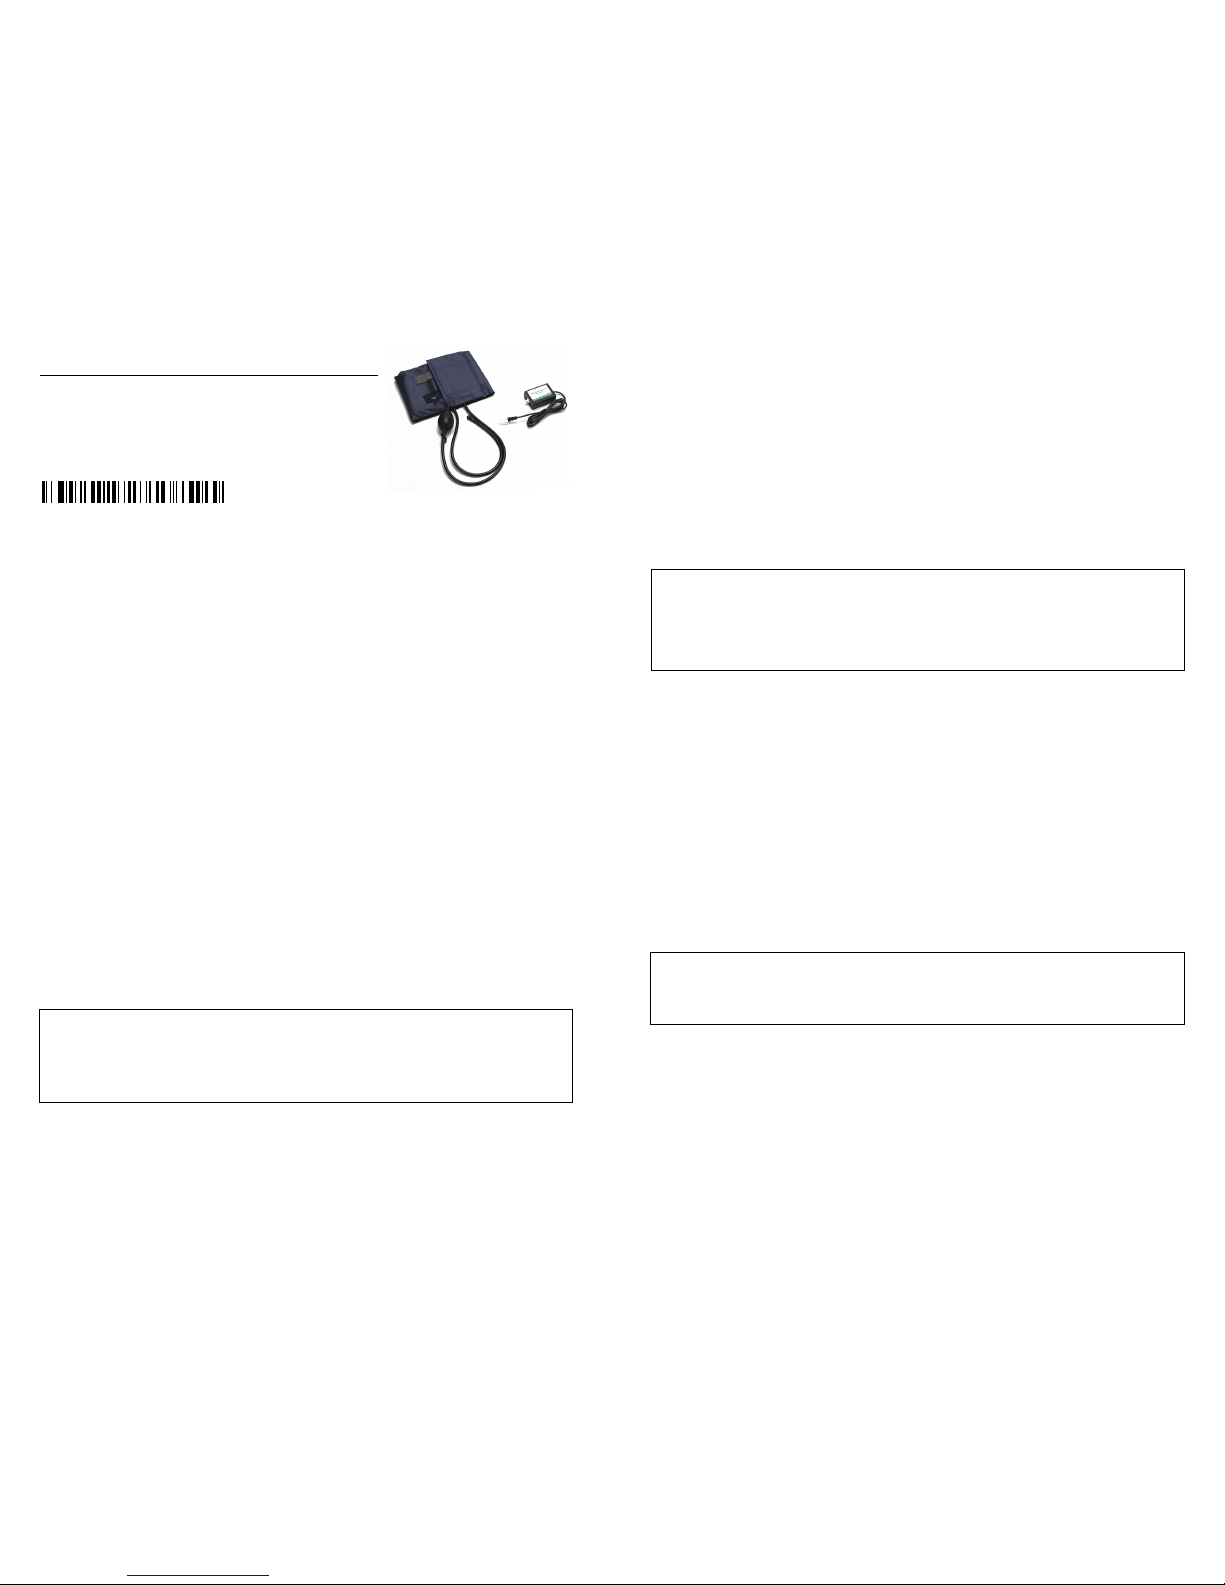
1. Connect the Blood Pressure Sensor to Channel 1 on the LabPro,
LabQuest 2, LabQuest, LabQuest Mini, or, to a Go! Link
connected to a computer. Attach the rubber hose from the cuff
to the connector on the sensor.
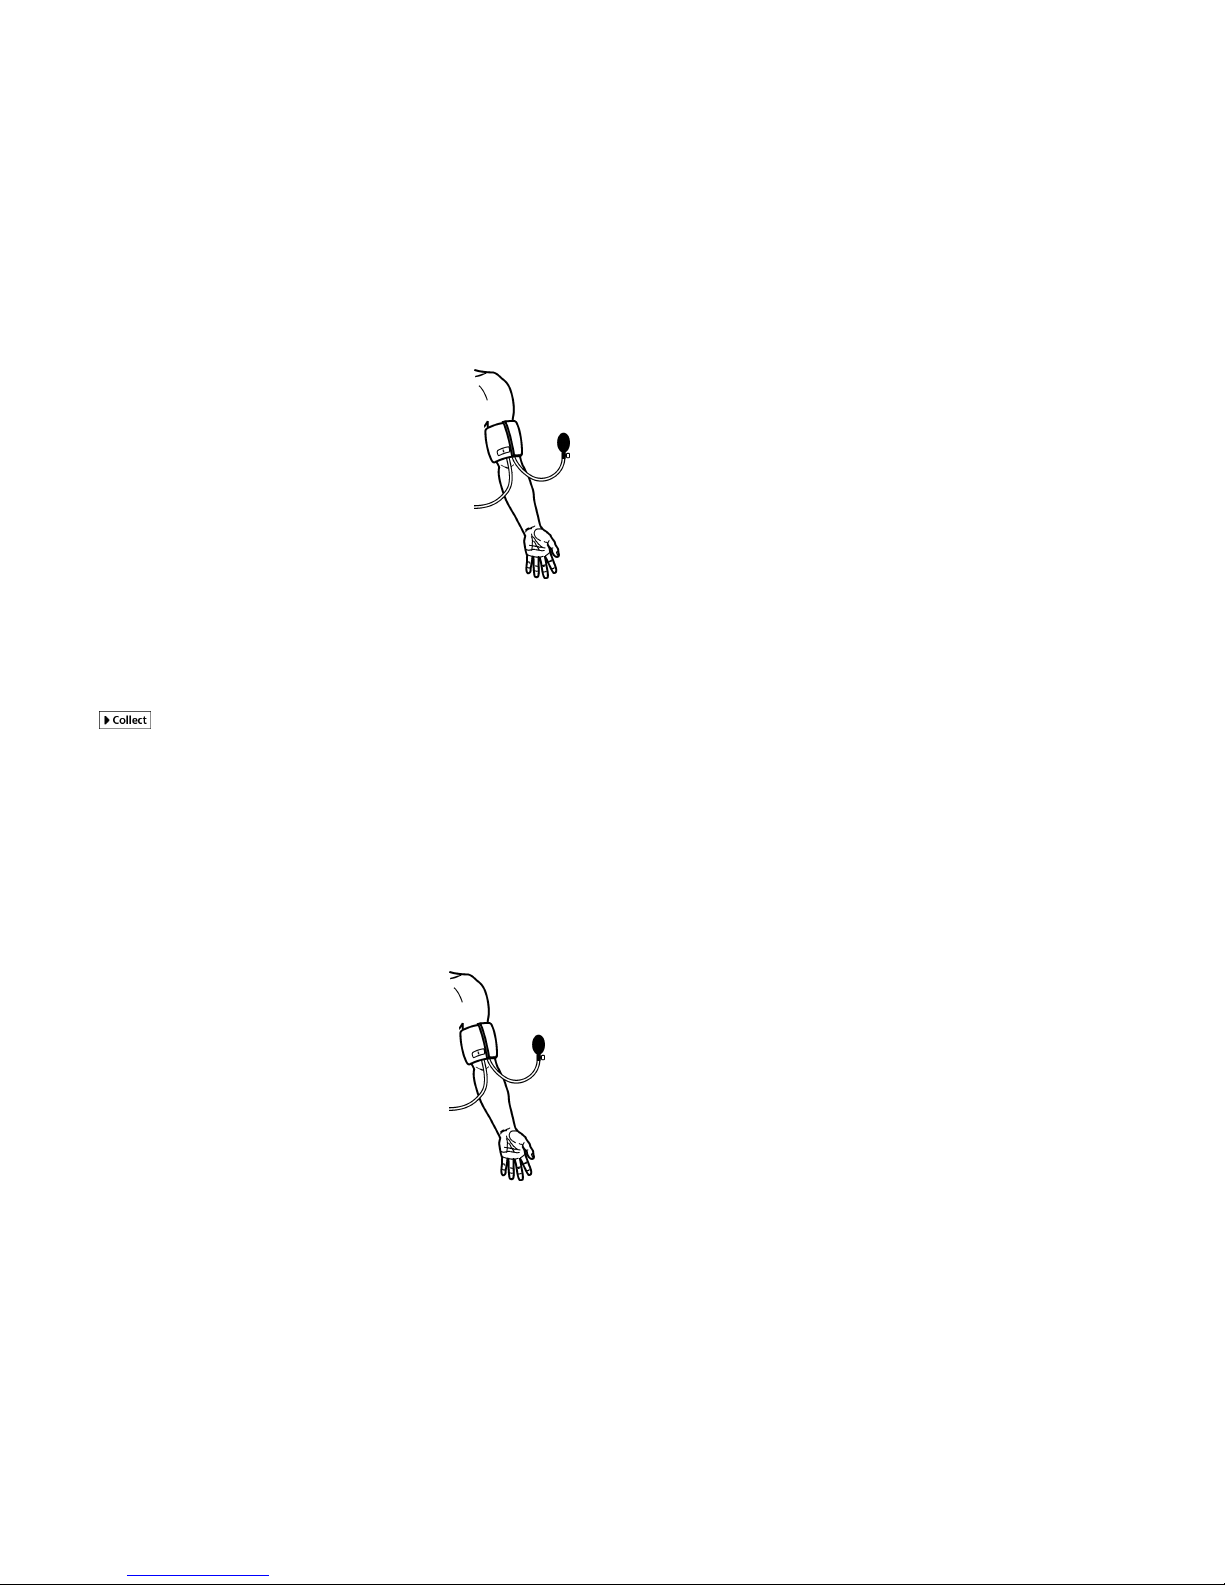
2. Wrap the cuff firmly around your partner’s arm, approximately
2 cm above the elbow. The two rubber hoses from the cuff
should be positioned over the bicep muscle (brachial artery) and
not under the arm. Important: The person having his or her
blood pressure measured must remain still during data collection—no movement
of the arm or hand during measurements.
3. Start Logger Pro (version 3.4 or newer) or Logger Lite (version 1.3 or newer) on
the computer.
4. Logger Pro or Logger Lite will identify the Blood Pressure Sensor and load the
proper calibration. You are now ready to collect data.
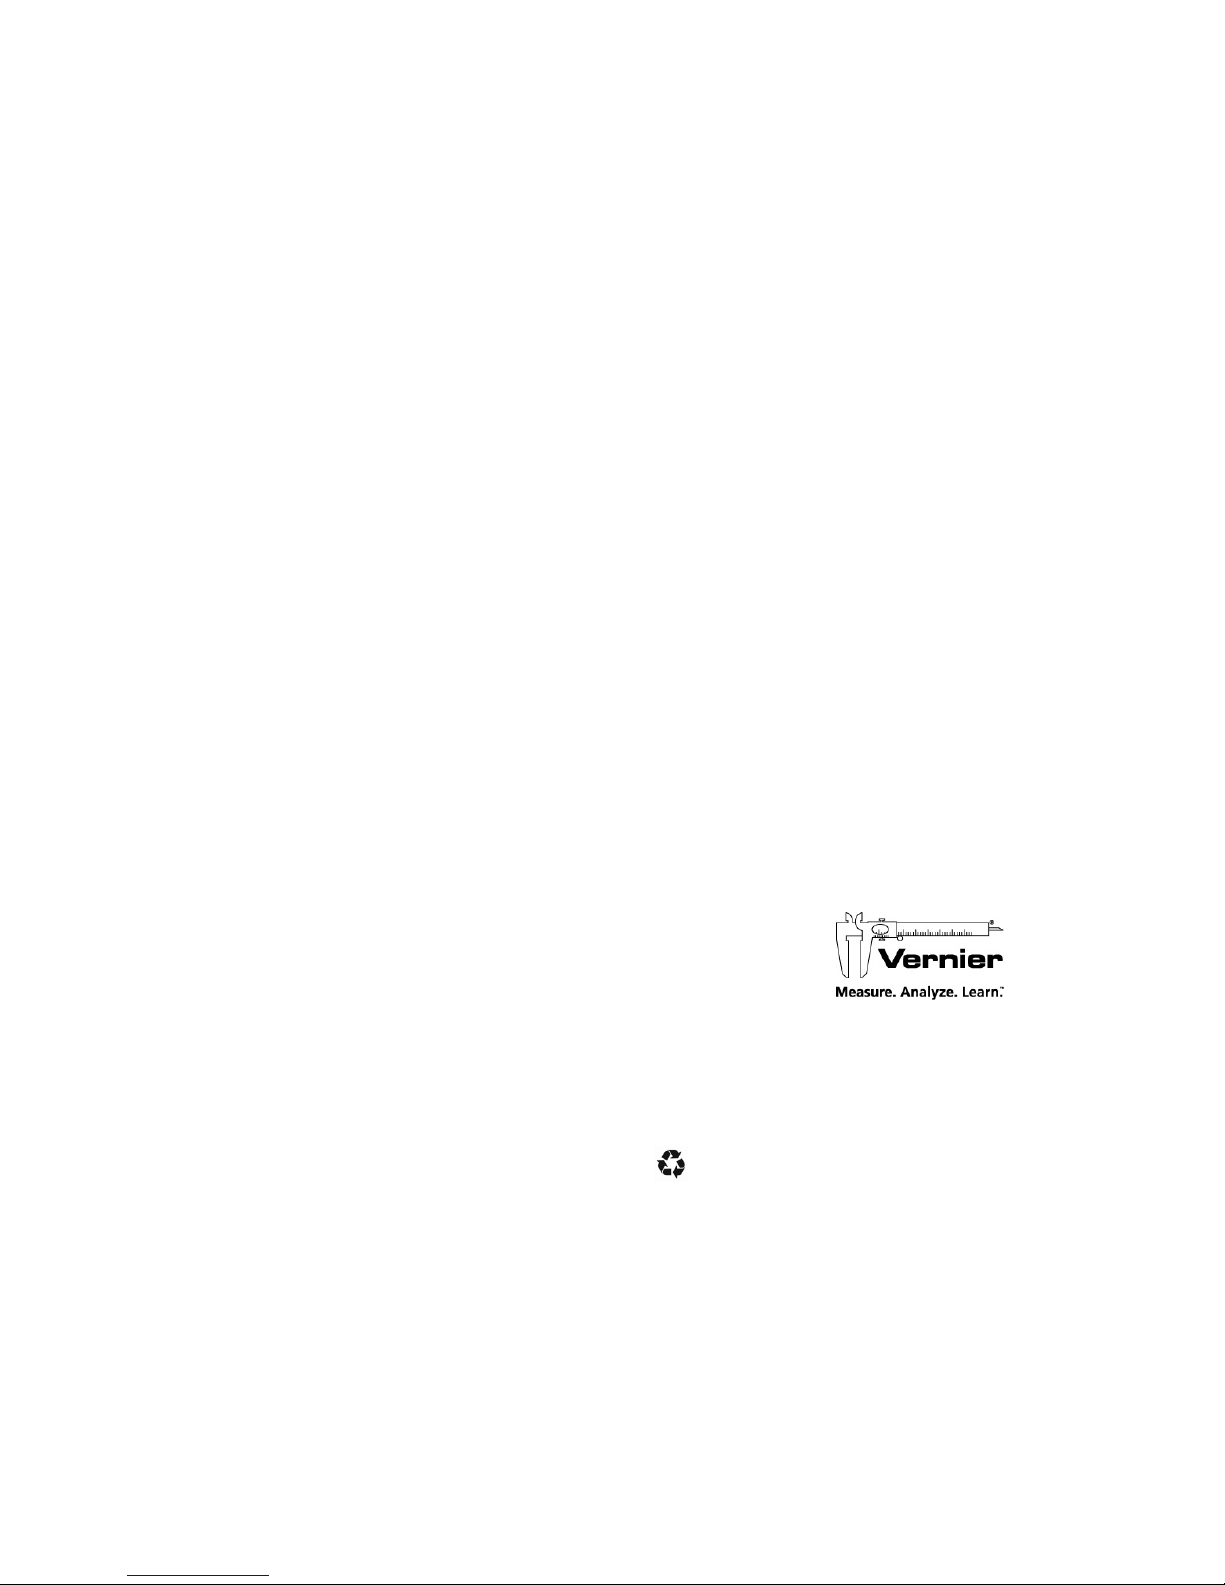
5. Click to begin collecting data.
6. Quickly and repeatedly squeeze the bulb to inflate the cuff on your partner’s arm.
Continue inflating the cuff to a pressure between 150 and 170 mm Hg. A meter in
the data-collection software will display the live pressure readings from the
sensor. When the maximum pressure is reached, set the bulb pump down onto the
table. The built-in pressure release valve will slowly deflate the cuff.
7. After the pressure drops to 50 mm Hg, you may press down on the pressure
release valve to release any air left in the cuff. If the pressure does not reach 50
mm Hg by the time data collection ends, adjust the exhaust rate of the pressure
release valve according to the directions listed under “Adjusting the Pressure
Release Valve.”
Using the Blood Pressure Sensor with LabQuest 2 or LabQuest
(standalone)
When performing blood pressure measurements, it is best to
work with a partner. Follow these general procedures to use the
Blood Pressure Sensor with LabQuest 2 or LabQuest as a
standalone device.
1. Connect the Blood Pressure Sensor to LabQuest 2 or
LabQuest. Attach the rubber hose from the cuff to the
connector on the sensor.
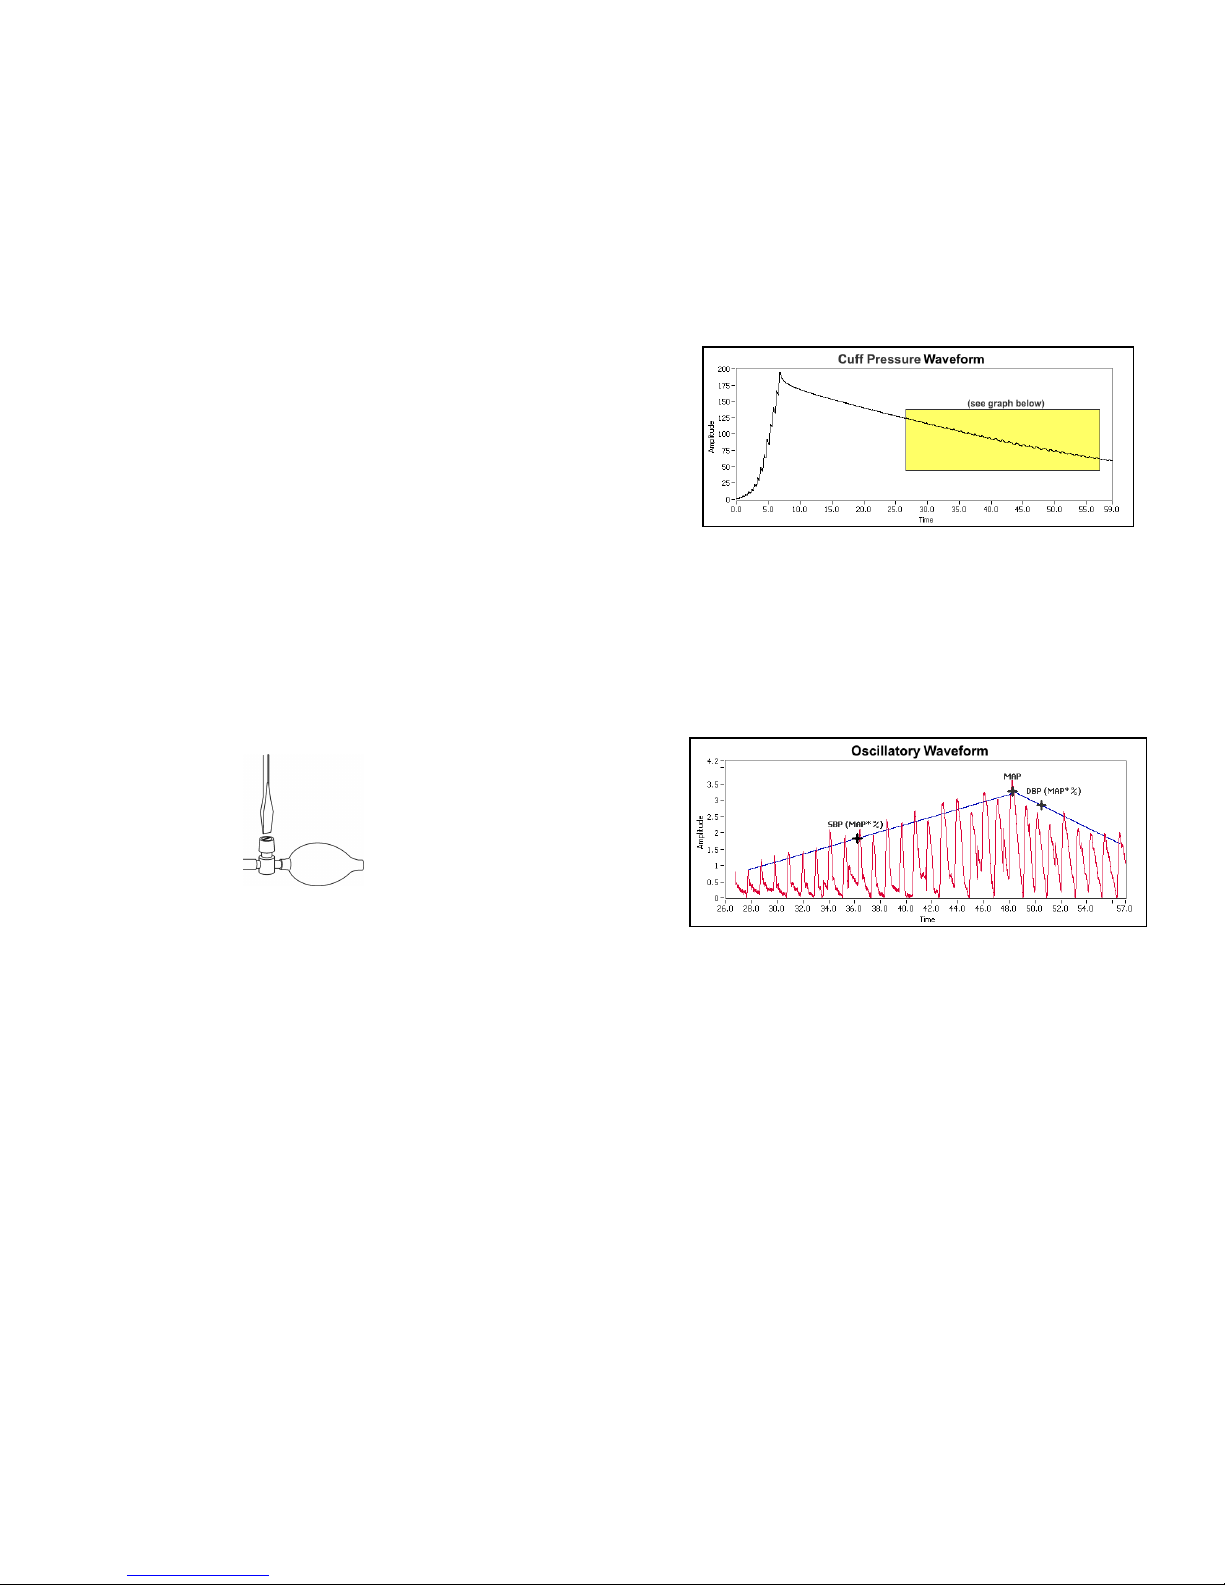
2. Wrap the cuff firmly around your partner’s arm,
approximately 2 cm above the elbow. The two rubber hoses
from the cuff should be positioned over the bicep muscle
(brachial artery) and not under the arm. Important: The
person having his or her blood pressure measured must
4
remain still during data collection—no movement of the arm or hand during
measurements.
3. LabQuest App will identify the Blood Pressure Sensor and load the proper
calibration. You are now ready to collect data.
4. Start data collection.
5. Quickly and repeatedly squeeze the bulb to inflate the cuff on your partner’s arm.
Continue inflating the cuff to a pressure between 150 and 170 mm Hg. The data-
collection software will display the live pressure readings from the sensor. When
the maximum pressure is reached, set the bulb pump down onto the table. The
built-in pressure release valve will slowly deflate the cuff.
6. After the pressure drops to 50 mm Hg, you may press down on the pressure
release valve to release any air left in the cuff. If the pressure does not reach 50
mm Hg by the time data collection ends, adjust the exhaust rate of the pressure
release valve according to the directions listed under “Adjusting the Pressure
Release Valve.”
Helpful Tips
Blood pressure readings will differ from person to person and even between
measurements on the same individual. Do not expect to receive the same
measurements each trial since there are many factors that cause a person’s blood
pressure to increase or decrease. Use the following tips to take accurate
measurements.
The subject’s arm and hand must remain still during measurements.
Proper placement of the pressure cuff will increase the accuracy of your blood
pressure measurements. The rubber hoses from the cuff should exit over the
brachial artery and 2 cm above the crease in the elbow.
Accurate blood pressure readings depend on the use of a cuff of appropriate size
for the arm. For younger students, a smaller cuff is available (18 cm to 27 cm).
Our small blood pressure cuff can be ordered separately: order code CUFF-SM.
A large cuff is also available for students with arm circumferences greater than
39 cm: order code CUFF-LG.
Do not to touch or move the exhaust valve during measurements.
Remove any clothing that may cover or constrict the portion of the arm being
measured.
For most individuals it is not necessary to inflate the pressure cuff higher than
170 mm Hg. Over inflation of the cuff may cause pain and/or injury.
If the pressure release valve is exhausting slower or faster than
2.0–4.0 mmHg /s, then adjust the exhaust rate of the pressure valve.