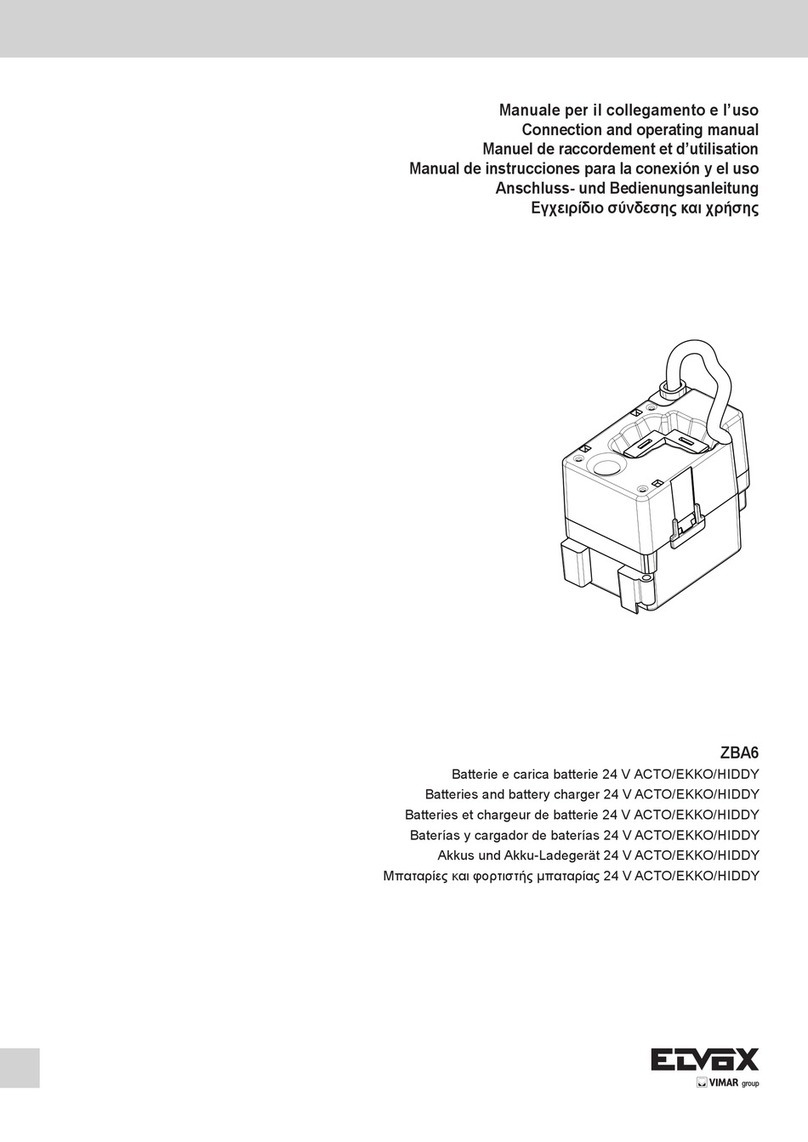
Vimar ECB3 User manual

ECB3
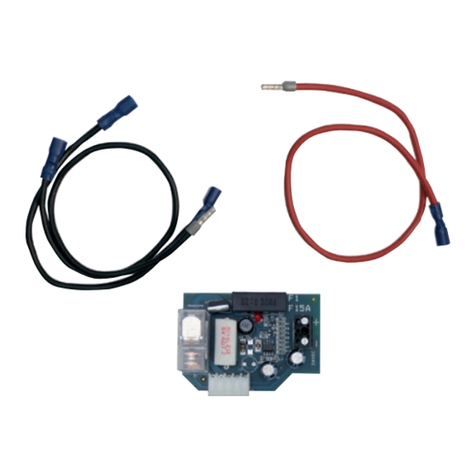
Scheda carica batterie 24 V per attuatore basculante KLYS 9CD
24 V battery charger card for KLYS 9CD
Carte chargeur de batteries 24V pour KLYS 9CD
1
Manuale per il collegamento e l’uso
Installation and operation manual
Manuel pour le raccordement et l’emploi
KLYS 9CD

- Togliere tensione al quadro elettronico RS13
prima di eseguire i collegamenti.
- Togliere il Jumper dal connettore J7 dalla
scheda RS13 (Fig. 2) e quindi inserire la scheda
carica batterie nello stesso connettore (Fig. 3).
- Le batterie ed il loro contenitore cod. EBB1
devono essere posizionati a cura dell’installatore
a parete a lato della basculante (Fig. 4).
- Eseguire il collegamento dalla scheda di carica
alle batterie rispettando le polarità. Utilizzare filo
di diametro 2,5 mm2con lunghezza massima di
10 m (Fig. 5).
- Verificare che il led rosso sulla scheda di ricarica
si accenda collegando i terminali dei cavi alle
batterie collegate in serie tra loro (rispettando le
polarità) (Fig. 5).
Per caricare completamente la batteria servono
circa 24 ore pertanto SI SCONSIGLIA di usare
l’automazione con le sole batterie prima che
queste siano completamente cariche.
SEGNALAZIONE FUNZIONAMENTO CON
BATTERIE (BLACK-OUT)
Sul carter del motoriduttore KLYS 9CD (Fig.
1), all’interno dell’illuminatore, è presente e già
collegato un led rosso che segnala il funzionamento
con le sole batterie (condizione di black-out di rete).
Questo led rosso rimane acceso fisso durante
il funzionamento con le batterie ed inizia a
lampeggiare quando le batterie sono scariche.
Con batterie scariche ogni operazione viene
interrotta (per salvaguardare le batterie).
Al ritorno della tensione di rete è sufficiente
dare un comando perché KLYS 9CD riprenda
ad operare. Contemporaneamente le batterie si
ricaricano.
RIMOZIONE DELLE BATTERIE
N.B.: Scollegarel’apparecchiodall’alimentazione
prima di rimuovere le batterie.
Le batterie devono essere rimosse dall’apparecchio
prima dell’eliminazione dell’apparecchio stesso
e lo smaltimento deve essere fatto in maniera
sicura secondo le norme vigenti.
Rimuovere i cablaggi d’alimentazione dalle
batterie e dal carica batteria.
Rimuovere la scheda carica batteria (vedi Fig.
3) riposizionando il connettore con schedina
evidenziato nella Fig. 2.
- Disconnect the RS13 control unit from the power
supply before making any connections.
- Remove the jumper from the connector J7 on
the RS13 circuit boards (Fig. 2), then insert the
batteries charge board into the connector of the
same board (Fig. 3).
- The batteries and their box code EBB1 must be
fixed to wall, by the installer, next to the door
(Fig. 4).
- Execute the connection from the charge board
to the batteries being respected the polarity.
Use wire of diameter 2,5 mm2with the maximum
length 10 m (Fig. 5).
- Check that the red led lights up on the board
when the terminals of the wires are connected
to the batteries which must be connected in
series between them (maintaining the correct
polarities) (Fig. 5).
As the batteries need about 24 hours to reach full
charge, the automatic system SHOULD NOT be
used with the batteries alone until charging has
been completed.
BATTERIES OPERATION SIGNAL (BLACK-
OUT)
On the KLYS 9CD operator cover (Fig. 1), inside of
the illuminator, a red led is present and already
connected. The led signals when the system is
operated only by the batteries (main power supply
in black-out).
This red led remains alighted fixed during
operation with the batteries and will start blinking
when the batteries charge is low.
When the batteries charge is low, any operation
of the system will be interrupted (to safeguard the
batteries).
When power supply is restored, it will be enough
to select any control command for KLYS 9CD
to start functioning again. The batteries will also
begin recharging.
REMOVAL OF THE BATTERIES
N.B.: Disconnect the power supply from the
operator before removing the batteries.
The batteries must be removed from the operator
before discarding it. The disposal of the battery
must be done in an appropriate and safe way in
the respect of the standards and laws in force.
Remove the supply wirings from the batteries and
the battery charge.
Remove the battery charger card (see Figure 3)
and relocate the connector with card as shown
in Figure 2.
2
- Oter le cavalier du connecteur J7 de la platine
RS13 (Fig. 2), puis monter la carte chargeur de
batteries sur le même connecteur (Fig. 3).
- Les batteries et leur containeur code EBB1 ne
doivent pas être positionnées par l’installateur à
mur à côté du basculant (Fig. 4).
- Exécuter la liaison de la carte chargeur aux
batteries en respectant la polarité. Utiliser fil de
diamètre 2,5 mm2avec longueur max. 10 m (Fig.
5).
- Vérifier que la led rouge, située sur la carte
chargeur, s’allume lorsqu’on relie l’extrémité
des fils aux batteries connectées en série (en
respectant les polarités) (Fig. 5).
Pour charger complètement les batteries, il
faudra environ 24 heures; il est donc vivement
DÉCONSEILLÉ d’utiliser la barrière uniquement
avec le secours des batteries avant que celles-ci
ne soient complètement chargées.
SIGNALISATION DU FONCTIONNEMENT
AVEC LES BATTERIES (COUPURE DE
COURANT)
Sur le couvercle du motoréducteur KLYS
9CD (Fig. 1), à l’intérieur de l’allumeur, il est
présent et déjà relié un led rouge qui signale le
fonctionnement avec les seules batteries (en cas
de coupure de courant).
Celui led rouge reste allumé fixe durant le
fonctionnement secouru et commencera à
clignoter lorsque les batteries seront presque
déchargées.
Lorsque celles-ci seront déchargées, toute
opération sera interrompue (pour sauvegarder
les batteries).
Au retour du courant, les batteries se rechargent
automatiquement, et il suffit de donner un ordre
de commande pour que KLYS 9CD reprenne
son fonctionnement.
RECYCLAGE DE LES BATTERIES
N.B.: Couper l’alimentation de l’appareil avant
d’enlever les batteries.
Les batteries doivent être ôtées de l’appareil
avant même l’élimintation de celui-ci et doit être
éliminée de façon sûre en conformité aux normes
et aux lois en vigueur.
Ôter les câblages d’alimentation des batteries et
de la chargée batterie.
Retirer la fiche de charge batterie (voir Fig. 3) en
repositionnant le connecteur avec la petite fiche,
qui est mis en évidence sur la Fig. 2.
LED ROSSO - FUNZIONAMENTO CON BATTERIE SCARICHE
RED LED - OPERATION WITH LOW BATTERIES
LED ROUGE - FONCTIONNEMENT AVEC BATTERIES DÉCHARGÉES
FRENI

2 3
4
CONTENITORE CON BATTERIE
BOX WITH BATTERIES
CONTAINEUR AVEC BATTERIES
CODE EBB1
Non posizionare mai il contenitore
batterie EBB1 sulla basculante, ma
sempre a parete.
Don’t never fixed the batteries box
EBB1 on the door, fixed always on
the wall.
Ne pas positionner le containeur des
batteries EBB1 sur la basculant, mais
toujours sur le mur.
BATTERY
V 1,2 Ah 12
BATTERY
V 1,2 Ah 12
5
LED ROSSO/ROUGE/RED
3
FRENI

S6I.ECB.300 00 14 04
VIMAR - Marostica - Italy
Vimar SpA: Viale Vicenza, 14
36063 Marostica VI - Italy
Tel. +39 0424 488 600 - Fax (Italia) 0424 488 188
Fax (Export) 0424 488 709
www.vimar.com
Other Vimar Batteries Charger manuals
