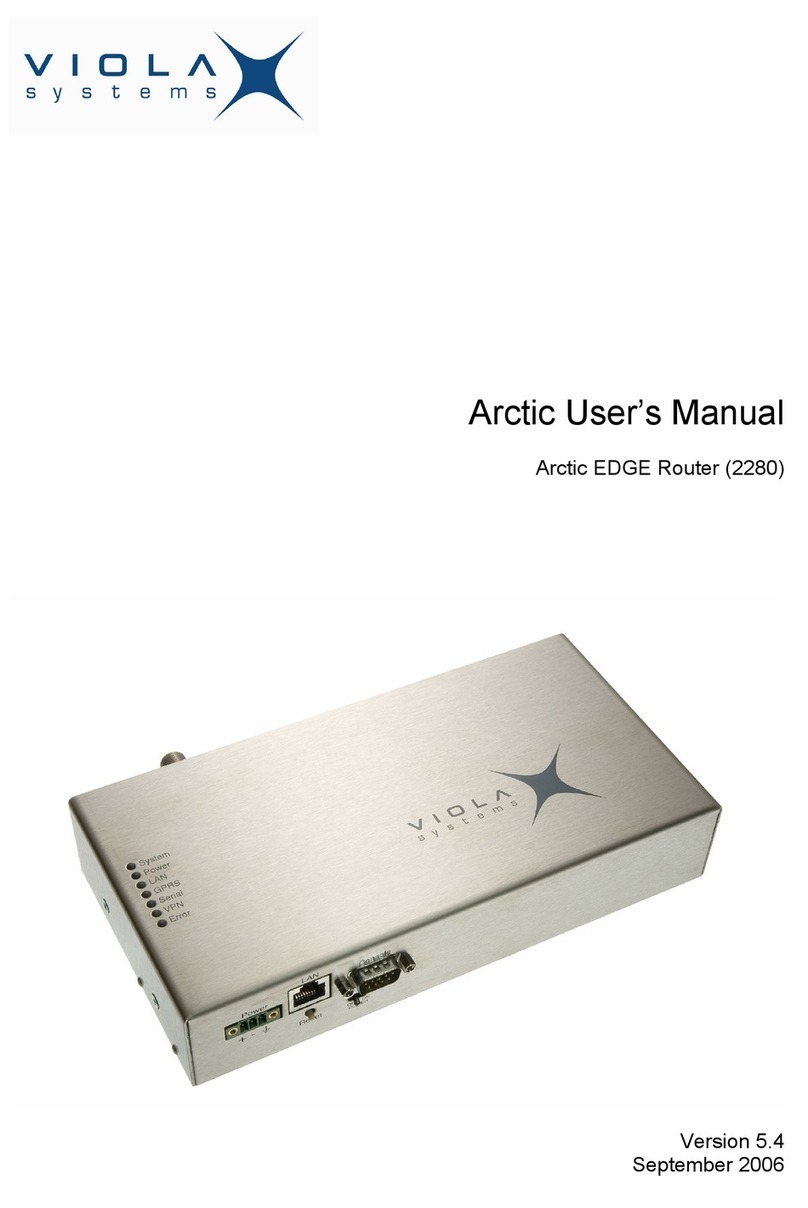
Viola Systems Arctic User manual

Arctic EDGE Router 1(4)
Quick Start Guide
User Manuals
User manual for Arctic EDGE Router (228 ) are available at:
http://www.violasystems.com/docs/edgerouter/
Overview
This document is a short description how to power up Arctic series (firmware 4.x.x and 5.x.x)
product and how to get it operational. For further documentation consult product User Manuals.
Physical connections and switches
Antenna side:
1. Antenna connector (FME)
2. SIM card slot
Front panel:
3. Power supply connector (12-32V)
4. Power switch
5. Console Serial port (RS-232)
6. Ethernet (LAN)
7. Reset switch
Installing SIM card
NOTE: If you have PIN code querying enabled on your SIM card, do not install the card before
setting the code. The SIM card could lock up if done otherwise. SIM card is not included.
1. Power off the Arctic. It is recommended to turn power off while installing/removing the SIM card.
2. Push the yellow button in the SIM card slot to eject the SIM card tray.
3. Insert the SIM card to the tray and push the SIM card tray firmly and carefully back to its holder.
Viola Systems Ltd. Phone: +358 ( )2 1 226 226 Fax: +358 ( )2 1 226 22 www.violasystems.com support@violasystems.com

Arctic EDGE Router 2(4)
Quick Start Guide
Connecting Arctic to Ethernet network
There are two different ways to configure the network settings, serial port or web access. The
recommended method is using web access.
Method 1: Setting IP Address Using Web Browser (Recommended)
1. Connect the cross-over Ethernet cable between the Arctic and your computer.
2. Configure your computer to use the same IP address space than Arctic (laptop IP for example
1 .1 .1 .11 with netmask 255. . . ). Check the connection to Arctic with ping utility.
3. Connect to the Arctic using your web browser. The default IP address of Arctic is 1 .1 .1 .1
(netmask 255. . . ).
4. From the initial page click Start configurator and enter login information in the following
page. Username is root and by default no password is set (just leave the field empty).
5. Navigate to Network page and from there to Ethernet subpage.
6. Enter the IP address and other network settings of your choice and click Apply and
then Commit to store the settings.
7. Reboot the Arctic for the settings to take effect.
NOTE: You could check the current network status from the Network-->Summary subpage.
Viola Systems Ltd. Phone: +358 ( )2 1 226 226 Fax: +358 ( )2 1 226 22 www.violasystems.com support@violasystems.com
Figure 1: ArcticTM Configurator screen, Ethernet settings
3
2
1
12
3
4
4

Arctic EDGE Router 3(4)
Quick Start Guide
Method 2: Using serial console
1. Switch off the Arctic if necessary
2. Connect a null modem serial cable to console serial connector
3. Open a terminal connection to Arctic using the following serial communication settings:
19200-8-N-1, no flow control.
4. Switch on the Arctic by turning the power switch to ON position
5. Wait for the text “Hit any key to stop autoboot” and press enter before the counter goes
to zero. If you missed it, just reboot and try again.
6. You are now supposed to be on the PPCBoot console. Figure 2 shows how it looks like.
7. Now enter the following commands to the console, parameter fields substituted with your
parameters (see figure 2 for example):
setenv ipaddr your_IP_address
setenv netmask your_netmask
setenv gatewayip 0 (By default, GPRS or SSH-VPN is defined as default Gateway)
8. Check that the configuration was entered properly by issuing command printenv.
9. If everything is correct, save the setting with command savenv.
1 .Reboot the Arctic for the settings to take effect.
PPCBoot 1.1.6 (Apr 14 2005 - 18:44:18)
Viola Systems Arctic Board
CPU: MOTOROLA Coldfire MCF5272
Board: Viola Systems Oy Arctic Board
http://www.violasystems.com/
DRAM: 32 MB
FLASH: 8 MB
In: serial
Out: serial
Err: serial
Net: 00:06:70:01:02:23
Hit any key to stop autoboot: 0
arctic> setenv ipaddr 192.168.0.50
arctic> setenv netmask 255.255.0.0
arctic> setenv gatewayip 0
arctic> printenv
baudrate=19200
loadaddr=0x20000
...
ipaddr=192.168.0.50
netmask=255.255.0.0
gatewayip=0
Environment size: 407/4092 bytes
Disabling watchdog
arctic> savenv
Saving Enviroment to EEPROM...
arctic>
Figure 2. Network parameter configuration using serial console
Viola Systems Ltd. Phone: +358 ( )2 1 226 226 Fax: +358 ( )2 1 226 22 www.violasystems.com support@violasystems.com

Arctic EDGE Router 4(4)
Quick Start Guide
GPRS Network Settings
1. Login to the Arctic Configurator (for instructions, see page 2).
2. Navigate to Network page and from there navigate to GPRS subpage.
3. Set access point name appropriately (usually INTERNET).
4. Set GPRS network username and password appropriately if your GPRS service requires
authentication. Enable “Default Route” setting.
5. Optionally set the PIN code, PPP idle timeout and ICMP Echo settings (Network-->Monitor
menu) to meet your requirements. Setting up the Monitor is heavily recommended.
•If your SIM card has PIN code set, type the code to the PIN code field.
•PPP idle timeout defines the time in seconds how ofter Arctic resets the GPRS connection
if the connection is idle.
6. Finally click Apply and then Commit to store the settings.
7. Reboot the Arctic for the settings to take effect.
Using Arctic GPRS Router as Wireless Access Point
1. Set your Ethernet device to use the IP address of the Arctic as its default gateway.
2. Check that the IP address of your Ethernet device belongs to the same network as the Arctic.
3. Check GPRS Settings. Note that “Default Route” needs to be enabled in GPRS settings.
Final words
In order to get better understanding about the Arctic product, it is recommended to read the
User Manual, as it will help you during the installation process. Building more complex
networking schemes with Arctic requires more knowledge about networking, especially routing.
Viola Systems Ltd. Phone: +358 ( )2 1 226 226 Fax: +358 ( )2 1 226 22 www.violasystems.com support@violasystems.com
Figure 3: GPRS Network Settings
1
2
3
4
12
3
4
5
5
Other manuals for Arctic
2
Table of contents
Other Viola Systems Network Router manuals
Popular Network Router manuals by other brands

ZyXEL Communications
ZyXEL Communications P-660R Specifications

SolarEdge
SolarEdge CDMA 1900 installation guide

Asoka
Asoka PlugLink PL9920-BBR user manual

NETGEAR
NETGEAR Orbi RBR20 quick reference

D-Link
D-Link DWR-M960 Quick installation guide

ZyXEL Communications
ZyXEL Communications ZyXEL Prestige 100WH user manual

Patton electronics
Patton electronics SmartNode 4960 Series Getting started guide

Patton electronics
Patton electronics 2121 user manual

Cisco
Cisco NCS 5700 Series Hardware installation guide

Enterasys
Enterasys X-Pedition XSR-3150 Getting started guide

D-Link
D-Link COVR-2202 user manual

TP-Link
TP-Link TL-WR841N Quick installation guide