manuals.online logo
Brands
  1. Home
  2. •
  3. Brands
  4. •
  5. Viqua
  6. •
  7. Water Filtration System
  8. •
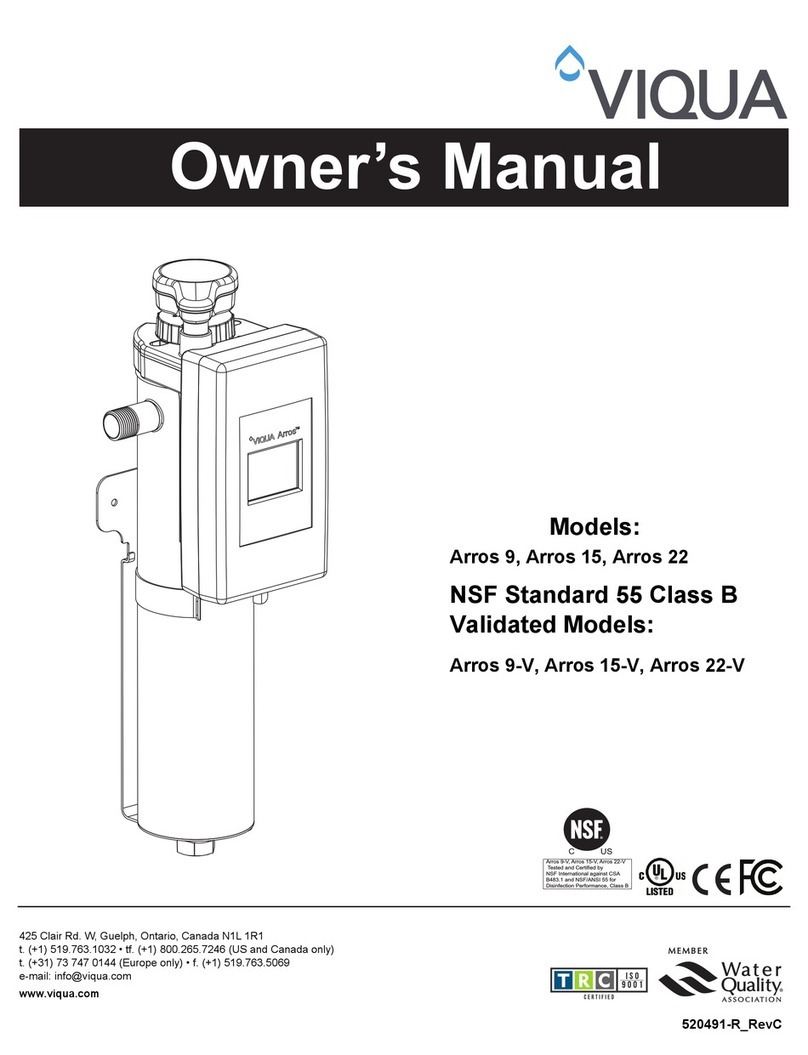
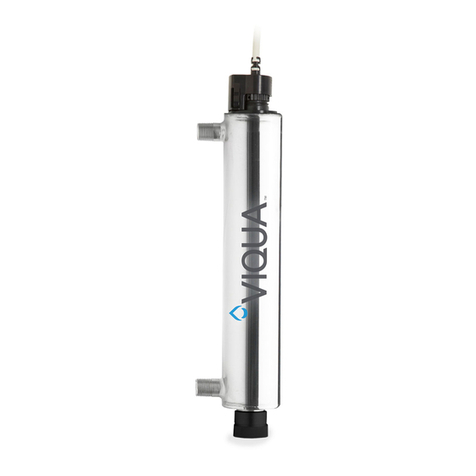
  9. Viqua UVMax DWS11-A User manual

Viqua UVMax DWS11-A User manual

Date of installation:
Installed by:
Installer phone#:
Serial #:
(Found on label on back of TrojanUVMax A DWS)
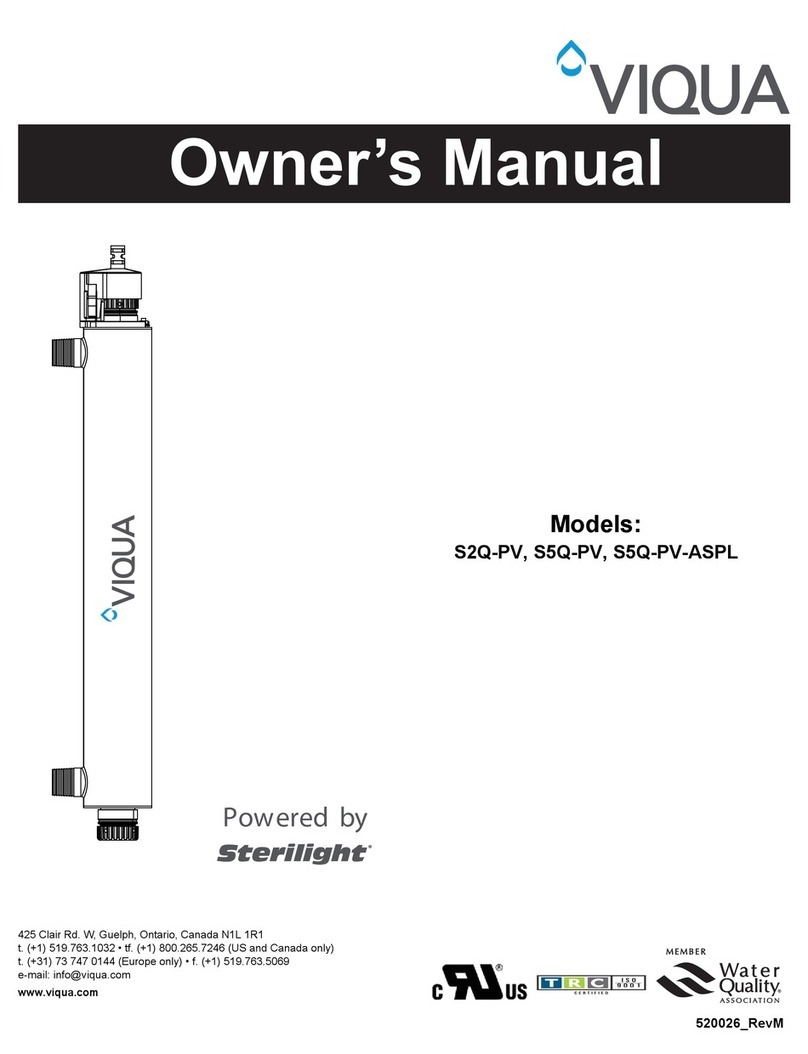
Owner’s Manual
Congratulations. By purchasing this system, you have taken the first step
in ensuring safe drinking water. Designed using the most advanced UV
technology available today, your UV system is designed to provide you
with years of trouble-free operation with minimal maintenance required.
425 Clair Rd. W, Guelph, Ontario, Canada N1L 1R1
t. (+1) 519.763.1032 • tf. 1.800.265.7246 (US and Canada only)
f. (+1) 519.763.5069 • t. +31 73 623 8116 (Europe only)
e-mail: [email protected] www.viqua.com 520173-R-RevD
425 Clair Rd. W, Guelph, Ontario, Canada N1L 1R1
t. (+1) 519.763.1032 • tf. 1.800.265.7246 (US and Canada only)
f. (+1) 519.763.5069 • t. +31 73 623 8116 (Europe only)
e-mail: [email protected] www.viqua.com
Potential
Hazard
Safety Measures
UV Exposure Never illuminate UV Lamp outside of the UV Chamber.
Never look directly at illuminated UV Lamp, even when using
protective gear.
Always use protective gear, including gloves and UV safety
glasses.
If accidental exposure occurs, immediately cool affected area
and consult physician.
Electrical
Shock
Disconnect power to system before performing any
maintenance or repair.
There may be more than one source of power.
Impalement Never perform any physical inspection, repair or maintenance
on UV Chamber unless UV chamber has been isolated and
depressurized.
Never service UV Lamps, Sleeves or associated hardware
until depressurization of UV chamber has been confirmed.
Hot chamber Allow UV Lamps, UV Chamber to cool for a minimum of 10
minutes before handling.
Cut or
ingestion
Ensure the quartz sleeve or lamp is not broken, cracked or
damaged in any way when handling equipment.
Scald from
water
When there is no water flow, the water in the chamber will
become hot.To prevent scalding, allow the system to cool
before draining the system.
Fire Do not store any combustible or flammable material close to
the system.
Hg Exposure The UV lamp contains mercury. If the lamp breaks, then
avoid inhalation or ingestion of the debris and avoid
exposure to eyes and skin. Never use a vacuum cleaner
to clean up a broken lamp as this may scatter the spilled
mercury. Obey local regulations and guidelines for the
removal and disposal of mercury waste.
Water leak Use proper plumbing materials to avoid potential material
degradation from UV exposure.
Components....................................1
Safety Instructions............................. 2-3
Water Chemistry ................................4
Installing Your UV Disinfection System ........... 4-5
Operating & Maintenance Instructions ............ 6-7
Manufacturer’s Warranty ....................... 8-9
Specifications..................................10
Caution Protective
Ground
Electrical
Warning Fragile
Eye Protection
SYMBOLS:
TABLE OF CONTENTS
1
COMPONENTS
Power supply
(includes Safety cap,
Lamp cord)
650414 (120 V)
650415 (230 V)
Safety cap 603000
Lamp cord --
Power cord 602636 (120V)
602637 (230V)
Lamp
(includes O-rings) 602803
O-ring --
Sleeve bolt 602665
Sleeve
(includes O-rings) 602730
Sediment Filter AWP110
Carbon Filter C-01
1
2
3
Part Part Number
Components
4
5
6
7
8
For replacement components please contact your installer or contact VIQUA directly
for a referral: 1 800 265 7246 (North America), 519 763 1032, or [email protected].
2
1
3
4
5
6
7
8
6
SPECIFICATIONS
Operating Parameters
Maximum operating pressure 125 PSI (862 kPa)
Minimum operating pressure 4 PSI (27.5 kPa)
Maximum ambient air temperature 122 0F (500C)
Minimum ambient air temperature 320F (00C)
Maximum humidity 100%
Maximum hardness 120 ppm
(7 grains per gallon)
Maximum iron 0.3 ppm
Minimum UVT 75%
Flow Rates*
Maximum rated flow at dose of 16 mJ/cm23 GPM (11 LPM)
Maximum rated flow at dose of 30 mJ/cm21.5 GPM (4 LPM)
Maximum rated flow at dose of 40 mJ/cm21 GPM (4 LPM)
Electrical
Voltage 120-230V AC
Frequency 50-60 Hz
Max. current 0.5 Amp
Max. power consumption 22 Watts
Lamp power 14 Watts
Other
UV Chamber Material 304 SST
Inlet/Outlet 3/8" NPT (female)
Other
Rated service life of lamp 1 year
Installation Kit Yes
Visual “Power On” Yes
Audible Lamp Failure Yes
Specifications
*Flow rates shown are at 85% UVT.
10
2
WARNING - To guard against injury, basic safety precautions
should be observed, including the following:
1. READ AND FOLLOW ALL SAFETY INSTRUCTIONS.
2. DANGER - o avoid possible electric shock, special care should
be taken since water is employed in the use of this system.
Unless a situation is encountered that is explicitly addressed by
the provided maintenance and troubleshooting sections, do not
attempt repairs yourself; refer to an authorized service facility.
3. CAUTION - Do not operate with broken or faulty parts as this
may result in exposure to ultraviolet radiation. Contact supplier
for replacement parts.
4. Do not operate the system if it has a damaged cord or plug, or
if it is malfunctioning or if it has been dropped or damaged in
any manner.
5. Always unplug the system, release water pressure before
servicing or cleaning. Never yank cord to remove from outlet;
grasp the wall plug and pull to disconnect.
6. Do not use the system for other than intended use. The use
of attachments not recommended or sold by the manufacturer
may cause an unsafe condition.
7. To prevent risk of electrical shock, connect this system only to
a properly grounded, grounding-type power supply receptacle
that is protected by a Ground Fault Circuit Interrupter (GFCI).
Inspect performance of GFCI as per manufacturer’s suggested
maintenance schedule. If an extension cord is used, ensure it
is of a sufficient rating and accepts the plug from this system;
never use an adapter.
8. Visually inspect this system prior to installation. If the quartz
sleeve or lamp is broken, cracked or damaged in any way, do
not use. Contact the supplier for replacement parts.
9. Keep all connections dry and off the ground. Do not touch plug
with wet hands.
10. The light emitted by the lamp will cause serious eye damage
and burn unprotected skin. Do not plug system into an
electrical outlet without first properly securing the lamp into the
chamber. Unplug the system prior to removing the lamp from
the chamber.
11. If the UV system malfunctions or fails, water must be boiled
prior to consumption until the UV system is operational and the
water lines have been shocked. System failure is indicated by
the system’s audible and visual alarms or the absence of any
indicator light.
SAFETY INSTRUCTIONS
The warranty period for lamps and sleeves may be verified using date codes in addition to purchase
receipts and VIQUA’s database of registered owners. VIQUA will advise you whether the defective
item needs to be returned to a VIQUA dealer for failure analysis. Replacement lamps and sleeves
provided under warranty will be sent to your TrojanUVMax™ dealer.
This warranty on lamps and sleeves does not include shipping and handling charges which will be
collected from you by the dealer. Parts replaced under this one (1) year warranty will be covered
under warranty to the end of the original one (1) year warranty period. This warranty is also subject
to the conditions and limitations outlined under the heading “General Conditions and Limitations”
below.
Warranty for Replacement Lamps and Parts
VIQUA warrants replacement lamps, purchased for annual routine maintenance, and other parts
purchased to repair product components that are no longer covered by the original warranty, to be
free from defects in material and workmanship for a period of three (3) months from the date of
purchase. During this time, we will repair or replace, at its option, a defective replacement lamp or
part free of charge except for shipping and handling charges.
The warranty period on replacement lamps and parts will be verified using date codes and/or
purchase receipts. VIQUA will advise you whether the defective item needs to be returned to your
dealer for failure analysis. Replacement lamps and parts provided under warranty will be sent to your
dealer.
General Conditions and Limitations
None of the above warranties cover damage caused by improper use or maintenance, accidents,
acts of God or minor scratches or imperfections that do not materially impair the operation of the
product. The warranties also do not cover products that are not installed as outlined in the applicable
Owner’s Manual.
The limited warranties described above are the only warranties applicable to the TrojanUVMax™
products listed. These limited warranties outline the exclusive remedy for all claims based on a
failure of or defect in any of these products, whether the claim is based on contract, tort (including
negligence), strict liability or otherwise. These warranties are in lieu of all other warranties whether
written, oral, implied or statutory. Without limitation, no warranty of merchantability or of fitness for
a particular purpose shall apply to any of these products.
VIQUA - a Trojan Technologies Company does not assume any liability for personal injury or property
damage caused by the use or misuse of any of the above products. VIQUA shall not in any event be
liable for special, incidental, indirect or consequential damages. VIQUA’s liability shall, in all instances,
be limited to repair or replacement of the defective product or part and this liability will terminate
upon expiration of the applicable warranty period.
9
WARNING - Always shut-off water flow and release water pressure
before servicing.
12. Intended for indoor use only. System must not be exposed to
weather elements. In seasonal applications, chamber must be
drained to prevent freezing.
13. Installation of this system must be in accordance with local plumbing
and electrical codes as well as any and all applicable regulations
and laws.
14. The UV system is not to be used or played with by children. Persons
with reduced physical, sensory or mental capabilities, or lack of
experience and knowledge, are also not to handle the UV system
unless they have been given supervision or instruction.
15. SAVE THESE INSTRUCTIONS.
Warning: The UV light given off by this unit can cause serious burns to
unprotected eyes and skin. Never look directly at an illuminated UV lamp.
When performing any work on the UV disinfection system always unplug
the unit first. Never operate the UV system while the UV lamp is outside
of the UV chamber.
Note: The UV lamp inside of the disinfection system is rated at an effective life of
approximately 9000 hours. To ensure continuous protection, replace the UV
lamp annually.
3 8
MANUFACTURER’S WARRANTY
Our Commitment
To maximize the superior quality of disinfection, each TrojanUVMax™ product must be properly
installed, and maintained. If you experience difficulty with your product, our Technical Support Centre
is available to help you.
During the applicable warranty period noted below, we will provide warranty coverage, described
below, for your product.
How to Get Help
To obtain help under this warranty, contact the VIQUA Technical Support Center at 1 800 265 7246
or by email at [email protected]. Please have available the model number, the date of purchase, the
name of the dealer from whom you purchased your VIQUA product (“the source dealer”),
as well as a description of the problem you are experiencing. A VIQUA technician will help you

troubleshoot the problem and isolate the issue.
In order to establish proof of purchase when making a warranty claim, you will need your original
invoice or complete and returned your warranty card through the mail or online.
Specific Warranty Coverage
Warranty coverage is specific to the following TrojanUVMax™ products:
Ten-Year Limited Warranty for TrojanUVMax™ UV Chamber
VIQUA warrants the UV chamber on the TrojanUVMax™ products to be free from defects in material
and workmanship for a period of ten (10) years from the date of purchase. During this time, VIQUA
will repair or replace, at its option, any defective TrojanUVMax™ UV chamber.
Please return the defective part to your dealer, who will return it to VIQUA - a Trojan Technologies
Company. We will either make the necessary repairs or, if it is determines that a replacement is
required, will provide a replacement part. We will then return the part to the dealer. This warranty
does not include shipping and handling charges which will be collected from you by the dealer.
Parts repaired or replaced under this ten (10) year warranty will be covered under warranty to the
end of the original ten (10) year warranty period. This warranty is also subject to the conditions and
limitations outlined under the heading “General Conditions and Limitations” below.
Three-Year Limited Warranty for Structural, Hardware and Electrical Components
VIQUA warrants the structural, hardware, and electrical components to be free from defects in
material and workmanship for a period of three (3) years from the date of purchase. During this time,
VIQUA will repair or replace, at its option, any defective parts covered by the warranty.
Please return the defective part to your dealer, who will return it to VIQUA - a Trojan Technologies
Company. We will either make the necessary repairs or, if VIQUA determines that a replacement is
required, will provide a replacement part. We will then return the part to the dealer. This warranty
does not include shipping and handling charges which will be collected from you by the dealer.
Parts repaired or replaced under this three (3) year warranty will be covered under warranty to the
end of the original three (3) year warranty period. This warranty is also subject to the conditions and
limitations outlined under the heading “General Conditions and Limitations” below.
One-Year Limited Warranty for Lamps and Sleeves
VIQUA warrants original lamps and sleeves to be free from defects in material and workmanship for
a period of one (1) year from the date of purchase. During this time, VIQUA will repair or replace, at
its option, any defective parts covered by the warranty.
4
Water quality is extremely important for the optimum performance of your
UV system. The following levels are recommended for installation:
• Iron:<0.3ppm(0.3mg/L)
• Hardness*:<7gpg(120mg/L)
• Turbidity:<1NTU
• Manganese:<0.05ppm(0.05mg/L)
• Tannins:<0.1ppm(0.1mg/L)
• UVTransmittance:>75%(callfactoryforrecommendationson
applicationswhereUVT<75%)
* Where total hardness is less than 7 gpg, the UV unit should operate efficiently
provided the quartz sleeve is cleaned periodically. If total hardness is over 7
gpg, the water should be softened.If your water chemistry contains levels in
excess of those mentioned above, proper pre-treatment is recommended to
correct these water problems prior to the installation of your UV disinfection
system. These water quality parameters can be tested by your local dealer, or
by most private analytical laboratories. Proper pre-treatment is essential for the
UV disinfection system to operate as intended.
• CAUTION, electronic ballast must be connected to a grounded receptacle
and the lamp connector ground wire connected to the stainless steel
reactor chamber.
• The disinfection system is designed to be mounted vertically using the
bracket at a single location such as the kitchen or bathroom sink.
• The ballast should be mounted either above or beside the reactor chamber.
This will prevent moisture caused by condensation from entering the ballast
enclosure, causing a potential for ballast failure.
• For safety purposes, the disinfection system should be connected to a
ground fault interrupt circuit.
• The disinfection system is intended for indoor use only, do not install
disinfection system where it may be exposed to the weather.
• Install the disinfection system on cold water line only.
WATER CHEMISTRY
INSTALLING YOUR UV DISINFECTION SYSTEM
7
CARTRIDGE REPLACEMENT
1. Shut-off the water flow to the unit via the main line shut-off valve.
2. Remove the filter sumps from the unit by turning counter-clockwise until the sump
falls free from the head (be careful as the sumps will be full of water and they will
be heavy).
3. Discard the used cartridge and clean the sump housing as required. Make sure to
thoroughly rinse the sump with water to get rid of any cleaning agents.
4. Install the new cartridge in the reverse procedure as stated above turning the
sump clockwise until the sump is tight. DO NOT OVER TIGHTEN.
5. Plug UV unit into the applicable outlet and power-up system.
6. Slowly turn on the water supply and allow any air that may now be present to
bleed off from the system. This can easily be accomplished by partially opening
a nearby faucet. Once the water runs without the presence of any air, return the
system to use.
11. Reinstall sleeve bolt with 2 new
o-rings.
12. Screw lamp into sleeve hand-tight.
Caution: Over tightening will break
the sleeve.
1
2
13. Push lamp plug onto end of lamp.
14. Push safety cap into place.
15. Turn off the shut-off valves.
16. Check for leaks.
17. Connect the system to the power
source.
1. For shipping purposes,
the UV lamp and sleeve
are shipped in a separate
cardboard box. Carefully
remove the UV lamp from
the shipping box being
careful not to touch the
“glass” portion with your
fingers. Insert the UV lamp
into the quartz sleeve and
chamber making sure the
connection end is inserted
last. Mount the disinfection system to the wall or cabinet.
2. If the disinfection system is to be hard plumbed, make sure you leave enough
clearance in front of the lamp connector to facilitate lamp service (a length
equal to the length of the unit should suffice).
3. This system is designed to install on the main cold water line. Install the
disinfection system before any branch lines. Mount the system to the wall
using the two mounting holes in the back of the disinfection system with
appropriate fastening devices. Various connection methods can be used to
connect the water source to the disinfection system, however union type
connectors are recommended.
4. Prior to connecting the power source, check all connections to ensure that
they are indeed secure, turn on water supply and check for any leaks. If
satisfied that there are no leaks, proceed with the following steps.
5. Push lamp plug onto end of lamp.
6. Attach ground (green/yellow) and relief (red) wires from lamp. Plug to the
ground lug on the chamber. Secure both wires with locking screw provided.
7. The power source provided with your disinfection system must be located
within (5) feet of an electrical outlet. DO NOT USE AN OUTLET THAT CAN
BE SWITCHED OFF (IE. A WASTE DISPOSAL OUTLET).
5
12
Insert Lamp/
sleeve assembly
and screw into
chamber.
Caution: Over
tightening will
break the sleeve.
Note: If ballast enters alarm condition, power must be unplugged for several seconds to
allow ballast to reset.
Note: As the system requires time to reach its full operating capacity,please allow the
disinfection system to operate 3 - 5 minutes prior to using the water from the unit. In
addition, to clear any air or debris from the system, open the faucet and allow water to
run through the disinfection system for 2 - 3 minutes.
6
SLEEVE CLEANING AND LAMP REPLACEMENT
1. Turn off the shut-off valve situated by the inlet of the drinking water system.
2. Open a tap downstream of the UV system to release pressure.
Then, close this tap.
3. Turn off the shut-off valve situated by the outlet of the drinking water system.
4. Disconnect the power.
5. Let the system cool down for 10 minutes.
6. Squeeze sides opposite of tabs to remove cover. The strain relief wire should
remain connected.
1
2
7. Hold the sleeve
bolt to remove
lamp/sleeve
assembly (first
twist, then pull).
8. For sleeve cleaning only:
Skip to step 14.
Note: Sleeve must be replaced if it
cannot be completely cleaned or if
it appears scratched or cracked.
For lamp or sleeve replacement:
Clean sleeve and follow steps
10-13.
9.
Sleeve
bolt
Lamp
tab
1
10. Remove o-rings and sleeve bolt
from sleeve.

Other Viqua Water Filtration System manuals

Viqua VH200 User manual

Viqua

Viqua VH200 User manual

Viqua Arros 9 User manual

Viqua

Viqua Arros 9 User manual

Viqua UVMax IHS12-D4 User manual

Viqua

Viqua UVMax IHS12-D4 User manual

Viqua Trojanuvmax IHS12-D4/2 User manual

Viqua

Viqua Trojanuvmax IHS12-D4/2 User manual

Viqua D4 User manual

Viqua

Viqua D4 User manual

Viqua AWP40B-V User manual

Viqua

Viqua AWP40B-V User manual

Viqua SHF-140 User manual

Viqua

Viqua SHF-140 User manual

Viqua Trojanuvmax IHS12-D4 User manual

Viqua

Viqua Trojanuvmax IHS12-D4 User manual

Viqua Sterilight VT1/12 User manual

Viqua

Viqua Sterilight VT1/12 User manual

Viqua Sterilight Cobalt SC200-DWS10 User manual

Viqua

Viqua Sterilight Cobalt SC200-DWS10 User manual

Viqua S2Q-OZ User manual

Viqua

Viqua S2Q-OZ User manual

Viqua H User manual

Viqua

Viqua H User manual

Viqua K User manual

Viqua

Viqua K User manual

Viqua UVMAX PRO10 User manual

Viqua

Viqua UVMAX PRO10 User manual

Viqua VH410-F20 User manual

Viqua

Viqua VH410-F20 User manual

Viqua VH150 User manual

Viqua

Viqua VH150 User manual

Viqua IHS10-D4 User manual

Viqua

Viqua IHS10-D4 User manual

Viqua Trojanuvmax IHS12-D4 User manual

Viqua

Viqua Trojanuvmax IHS12-D4 User manual

Viqua D4+ User manual

Viqua

Viqua D4+ User manual

Viqua S2Q-PA User manual

Viqua

Viqua S2Q-PA User manual

Viqua S2Q-PV User manual

Viqua

Viqua S2Q-PV User manual

Viqua WS series User manual

Viqua

Viqua WS series User manual

Viqua S2Q-PA User manual

Viqua

Viqua S2Q-PA User manual

Viqua Sterilight S1Q-PA User manual

Viqua

Viqua Sterilight S1Q-PA User manual

Popular Water Filtration System manuals by other brands

stefani UC2 manual

stefani

stefani UC2 manual

Filters itm HYDRAULIC-200-H-INOX user manual

Filters itm

Filters itm HYDRAULIC-200-H-INOX user manual

DAB DAB E.SYBOX Instruction for installation and maintenance

DAB

DAB DAB E.SYBOX Instruction for installation and maintenance

Gecko in.clear user manual

Gecko

Gecko in.clear user manual

Oasis SFG Series manual

Oasis

Oasis SFG Series manual

Veolia Orion II 500 Operator's manual

Veolia

Veolia Orion II 500 Operator's manual

Angel Water PurAzone A03 manual

Angel Water

Angel Water PurAzone A03 manual

Millipore Sigma Pellicon 3 Cassettes Installation and user guide

Millipore Sigma

Millipore Sigma Pellicon 3 Cassettes Installation and user guide

Aventics MU1 Series operating instructions

Aventics

Aventics MU1 Series operating instructions

SpectraPure Single 90 Installation and operating manual

SpectraPure

SpectraPure Single 90 Installation and operating manual

Oase FiltoClear 5000 operating instructions

Oase

Oase FiltoClear 5000 operating instructions

Flexco PLY 130 WB Safety and operation manual

Flexco

Flexco PLY 130 WB Safety and operation manual

ControlOMatic MegaChlor Installation & operation manual

ControlOMatic

ControlOMatic MegaChlor Installation & operation manual

bora UUE 3 Mounting and installation instructions

bora

bora UUE 3 Mounting and installation instructions

LifeSource Premier Series owner's guide

LifeSource

LifeSource Premier Series owner's guide

BWT AQA drink TC200 Installation and operating instructions

BWT

BWT AQA drink TC200 Installation and operating instructions

Ferplast bluwave 03 user manual

Ferplast

Ferplast bluwave 03 user manual

Yamato WG 1000 instruction manual

Yamato

Yamato WG 1000 instruction manual

manuals.online logo
manuals.online logoBrands
  • About & Mission
  • Contact us
  • Privacy Policy
  • Terms and Conditions

Copyright 2025 Manuals.Online. All Rights Reserved.