4
Preparing for use
Place the lamp on a solid, level oor, close to a power socket. Make sure
that it is not able to tip over and that the cable does not pose a trip hazard.
The StandBright 2’s cable does have an anti-trip socket that disconnects if
pulled but the cable is still a trip hazard, even with this added safety feature.
Move the lamp head to your desired position by adjusting the exible
gooseneck arm by tilting and twisting it.
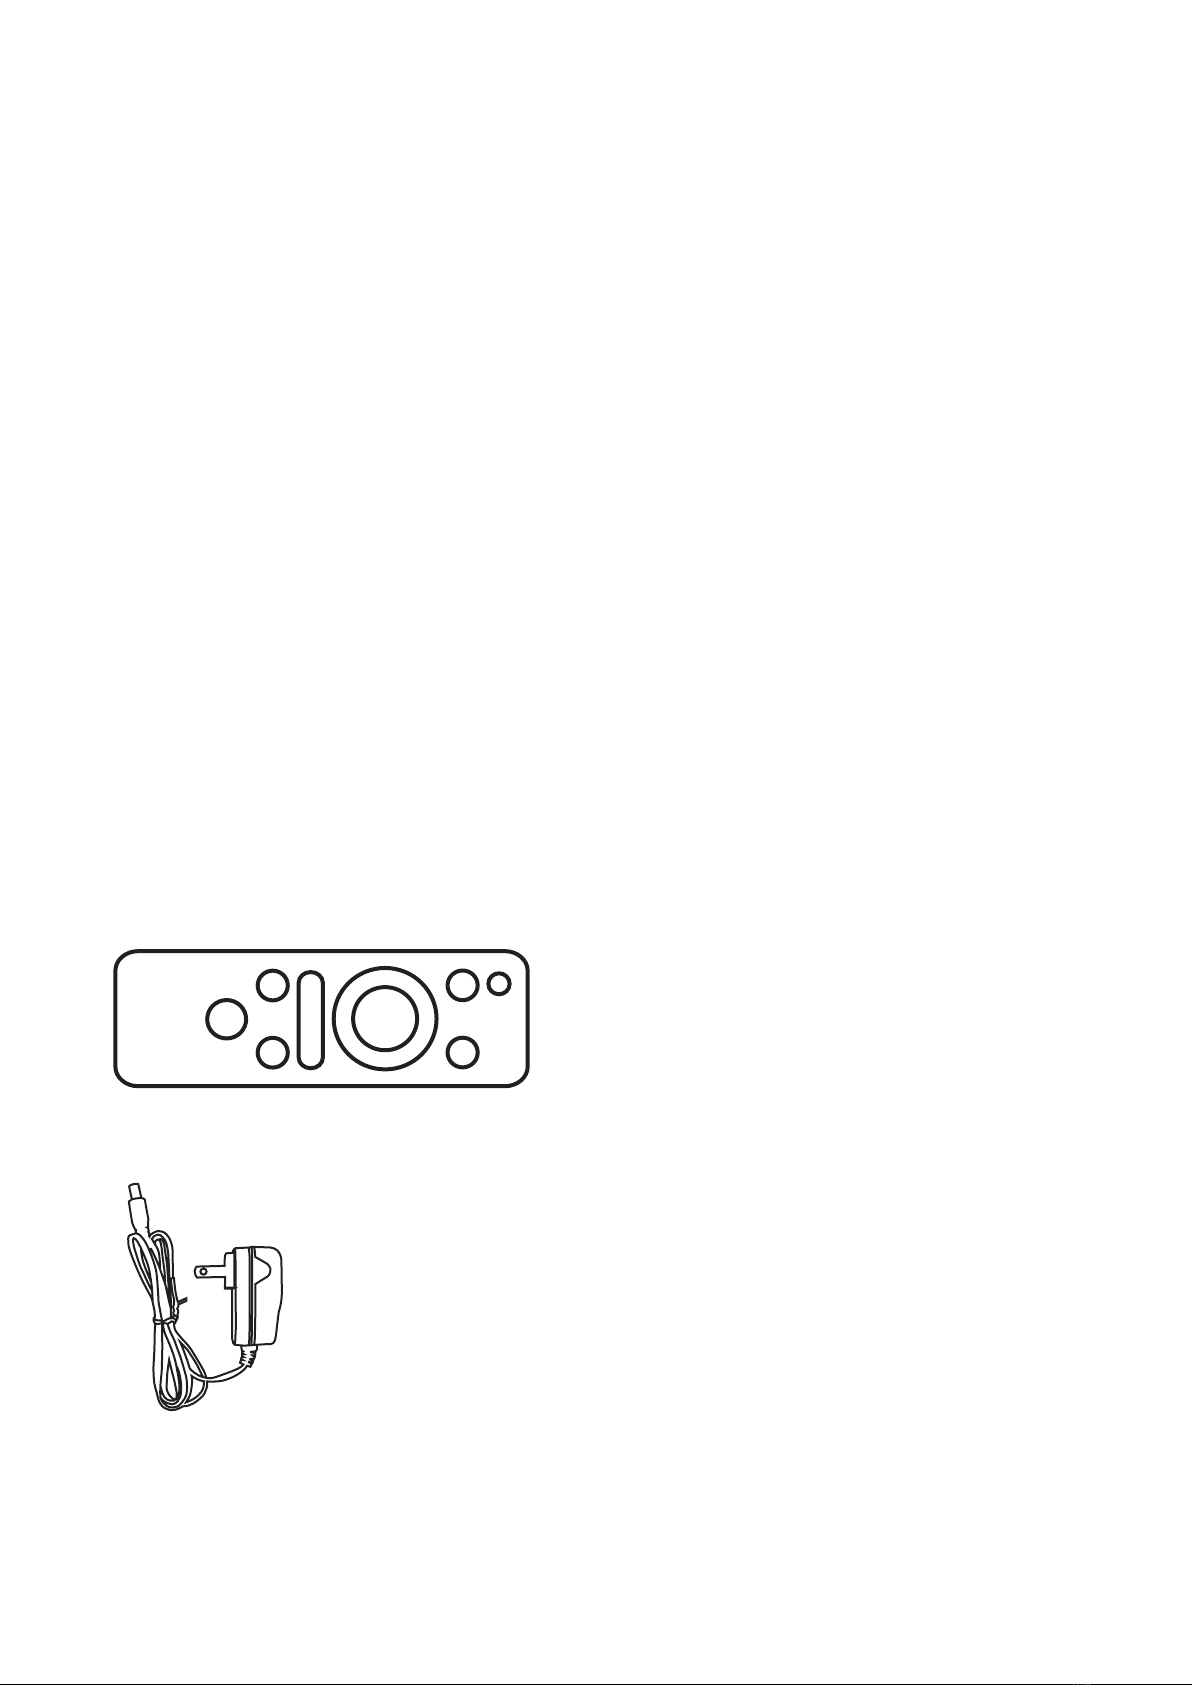
Using the StandBright 2
The StandBright 2 can be operated largely without touching any buttons
thanks to its hand motion sensor. It also includes a single tactile button
to adjust colour temperature on the top of the lamp head as well as a 14
button, tactile remote control.
Motion sensing controls
Power on / off
Wave your hand underneath the front of
the lamp head (within 4cm - 1.5 inches)
and it will turn on instantly.
Doing the same again will turn the lamp
off, 1 second after your hand is waved.
StandBright 2 remembers your last used brightness and colour temperature
settings when powered off and back on again, providing it hasn’t been
disconnected from mains power.
Brightness control
StandBright 2’s brightness is adjustable from 480 to 4,900 lux. Please note,
the brightness can vary depending on the colour temperature used. There is
a special night light mode which operates at lower brightness.
When powered on, hold your hand underneath the front of the lamp head
(within 4cm - 1.5 inches) to smoothly adjust the brightness. Remove your
hand when the brightness is at your desired level. It will stop adjusting when
it reaches the maximum or minimum level. When this happens, remove your
hand and place it back again to being adjusting in the other direction.
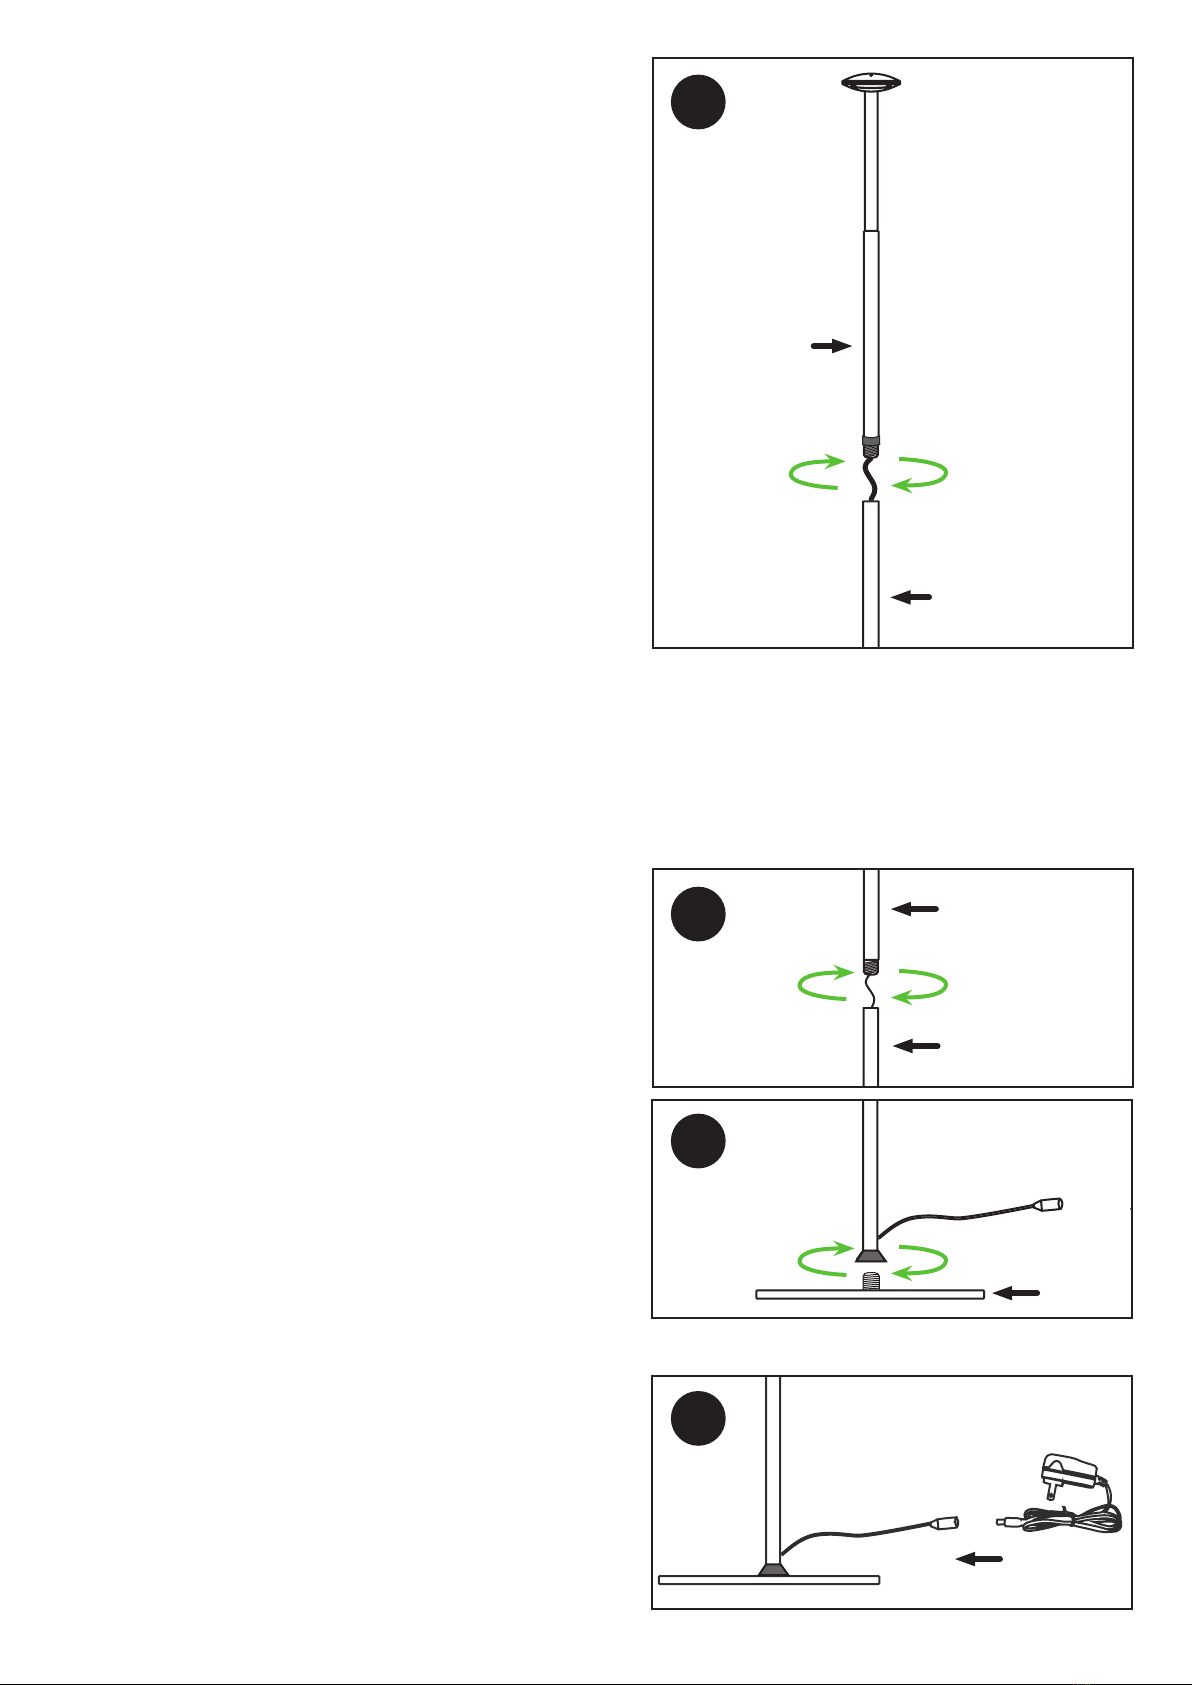
4. There is a nut in the middle of the
box holding the weighted base in
place. Please unscrew this and
place the weighted base on the oor.
5. Screw the main head of the lamp
with its goose-neck arm (with
a silver collar at one end) to its
adjacent section, being careful not
to trap the internal cable as you do
so (Fig. A).
If there is excess cable between
the poles, very gently pull the white
cable at the base of the last pole
(pole section 2) and this will pull the
internal cable through and allow you
to screw them together more easily.
When screwing the poles together, do not use excessive force as this
could damage the threads. If the threads become crossed, unscrew and
try again.
6. Screw pole section 1 to pole section
2. Again, take care that the cable is
not caught in the thread as you screw
it together (Fig. B).
7. Hold the unit upright and make sure
the goose neck section is pointing
straight up. Then screw pole section
2 to the base (Fig. C).
8. Ensure all 3 sections are tight.
9. Remove the power adapter from the
box and plug it into the socket that
is coming out of the bottom pole
section 2. Plug your StandBright 2
into a convenient electrical socket
and it’s ready for use (Fig. D).
A
B
C
D
Lamp
head
section
Cable
section 1
Cable
section 2
Base
Pole
section 1
Pole
section 1
Pole
section 2
Pole
section 2
Plug in power
adapter