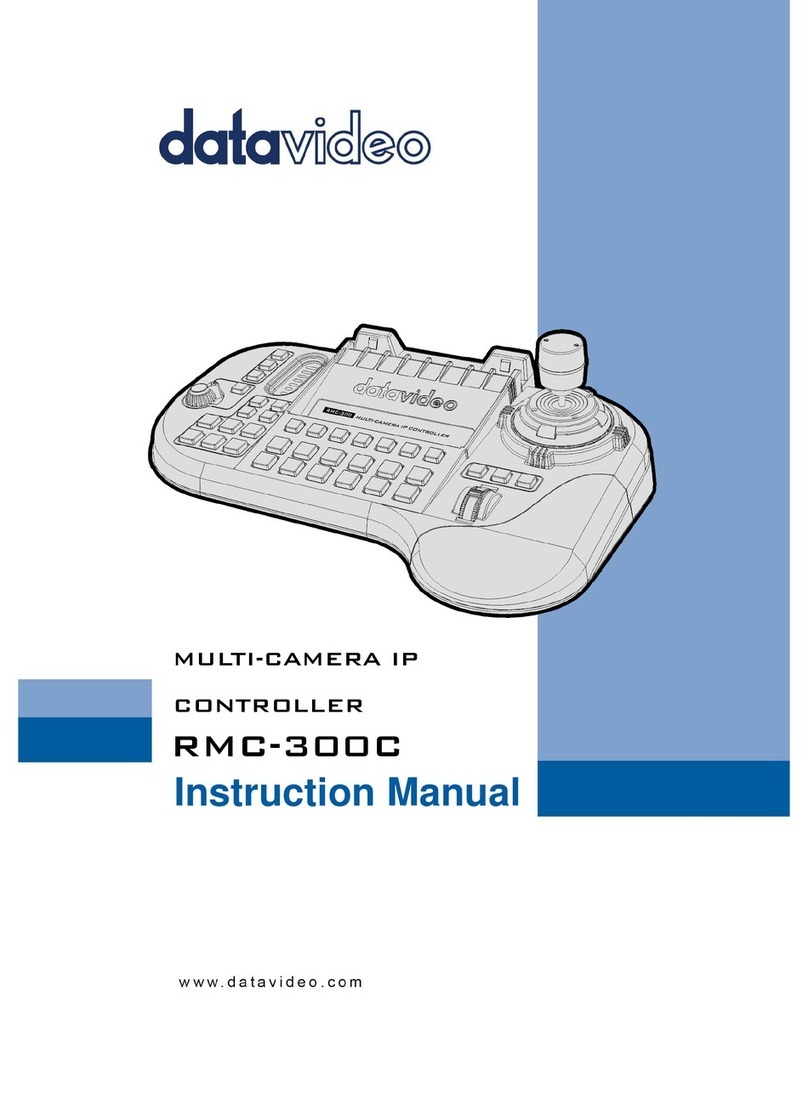
Viso Systems VX01 User manual

VX01
Installation guide
VX01
安装指南

2
VX01 Installation Guide VX01 安装指南

© 2007 Viso Systems ApS, Denmark
© 2007 Viso Systems ApS, Denmark
All rights reser ed. No part of this manual may be reproduced, in any form or by any means,
without permission in writing from Viso Systems ApS, Denmark.
版权所有。事先未经 Viso Systems ApS, Denmark 书面许可,不得以任何形式或途径复制本手
册中的任何内容。
Information subject to change without notice. Viso Systems ApS and all affiliated companies
disclaim liability for any injury, damage, direct or indirect loss, consequential or economic loss
or any other loss occasioned by the use of, inability to use or reliance on the information
contained in this manual.
产品规格如有变动,恕不另行通知。Viso System ApS 及其关联公司对任何由于使用本手册,
或无法使用本手册,抑或利用本手册所含信息而造成的伤害和损毁不承担任何责任,且不承担
任何由此引发的直接或间接损失、从属损失、经济损失或其他任何损失。
Dimensions

4 VX01 Installation Guide VX01 安装指南
尺寸
尺寸尺寸
尺寸
Bracket lock screw:支架锁紧螺丝

VX01 Installation Guide VX01 安装指南
5
Contents
Dimensions
............................................................................ 3
Introduction
.......................................................................... 10
Installation
........................................................................... 13
Controller and bracket
......................................................... 14
Power supply
.................................................................... 15
Connections
......................................................................... 16
Controller to power supply
.................................................... 17
Power supply to lights
......................................................... 18
Line terminator
.................................................................. 20
AC power supply cable plug
................................................. 20
Using with computer
............................................................... 22
Introduction
...................................................................... 23
Software installation
........................................................... 23
Changing preset
................................................................ 24
Factory default
...................................................................... 29
Restoring factory default
...................................................... 38
Troubleshooting
.................................................................... 40
Connecti ity (Ad anced)
............................................................. 42
Introduction
........................................................................ 43
Selecting connecti ity modes
.................................................... 43
Master / Sla e mode
.............................................................. 45
DMX through mode DMX
........................................................ 48
Input control mode
................................................................ 51

6 VX01 Installation Guide VX01 安装指南
Contact closure mode 52
DMX and RS232 mode 54
Specifications
....................................................................... 61
目录
尺寸
尺寸尺寸
尺寸
..................................................................................... 3
介绍
介绍介绍
介绍
................................................................................... 10
安装
安装安装
安装
................................................................................... 13
控制器和支架
控制器和支架控制器和支架
控制器和支架
.................................................................... 13
电源控制器和支架
电源控制器和支架电源控制器和支架
电源控制器和支架
.............................................................. 14
接线
接线接线
接线
................................................................................... 15
电源控制器
电源控制器电源控制器
电源控制器
....................................................................... 16
灯电源
灯电源灯电源
灯电源
........................................................................... 17
线路
线路线路
线路终结器
终结器终结器
终结器
....................................................................... 18
交流电源线插
交流电源线插交流电源线插
交流电源线插头
................................................................. 19
计算机
计算机计算机
计算机应用
应用应用
应用
.......................................................................... 20
介绍
介绍介绍
介绍
........................................................................... 21
软件安装
软件安装软件安装
软件安装
.......................................................................... 21
改变预置
改变预置改变预置
改变预置
.......................................................................... 22
出厂默认设置
出厂默认设置出厂默认设置
出厂默认设置
....................................................................... 26
恢复出厂设置
恢复出厂设置恢复出厂设置
恢复出厂设置
.................................................................... 34
故障解决
故障解决故障解决
故障解决
............................................................................. 35
互联性(高级)
....................................................................... 37
介绍
........................................................................... 37
选择互联模式
...................................................................... 37

VX01 Installation Guide VX01 安装指南
7
主从模式
........................................................................... 39
DMX 直通模式
..................................................................... 42
输入控制模式
...................................................................... 45
接触闭合模 45
DMX 及RS232 模式 48
技术规格
技术规格技术规格
技术规格
............................................................................. 55

8 VX01 Installation Guide VX01 安装指南
Safety Information
安全信息
Warning! This product is not for household use.
警告
警告警告
警告!
!!
!本
本本
本品不
品不品不
品不适合家庭使用
适合家庭使用适合家庭使用
适合家庭使用。
。。
。
Read this manual before installing and operating the
controller, follow the safety precautions listed below, and
obser e all warnings in this manual.
在安装和操作控制器之前,请阅读本手册,注意下方所列出
的安全预防措施,并遵守本手册中的所有警告事项。
Preventing electric shocks
防止电击
防止电击防止电击
防止电击
Always ground (earth) the power supply.
电源应始终接地。
Use only a source of AC power that complies
with local building and electrical codes, and that has both
o erload and ground-fault protection.
仅采用与当地建筑及电气规定相符的交流电源,并得到过载
和接地保护。
If the controller or power supply are in any way damaged,
defecti e, wet, or show signs of o erheating, disconnect the
power supply from AC power and contact Viso Ser ice for
assistance.
如控制器或电源遭到任何形式的破坏,存在缺陷,受潮或出
现过热迹象,应断开与交流电源的连接,并与 Viso 服务部门
取得联系,获得协助。
Do not install or use the de ice outdoors. Do not spray with
or immerse in water or any other liquid.

VX01 Installation Guide VX01 安装指南
9
不得在户外安装或利用装置。避免设备被水或其他液体淋湿
或浸泡。
Do not remo e any co ers or attempt to repair the controller
or power supply. Refer any ser ice to Viso.
不得擅自拆开或尝试维修控制器或电源。如需维修请联系
Viso。
Disposing of this product
产品
产品产品
产品处置
处置处置
处置
Viso products are supplied in compliance with Directive
2002/96/ C of the uropean Parliament and of the Council of
the uropean Union on W (Waste lectrical and
lectronic quipment), as amended by Directive 2003/108/ C,
where applicable.
Viso 产品的供应遵循欧洲议会及欧盟委员会关于
产品的供应遵循欧洲议会及欧盟委员会关于产品的供应遵循欧洲议会及欧盟委员会关于
产品的供应遵循欧洲议会及欧盟委员会关于 W (
((
(废弃电
废弃电废弃电
废弃电
气和电子设备
气和电子设备气和电子设备
气和电子设备)
))
)的
的的
的2001/96/ C 的指令
的指令的指令
的指令,
,,
,及
及及
及由
由由
由2003/108/ C 指令修
指令修指令修
指令修
订的适用版本
订的适用版本订的适用版本
订的适用版本。
。。
。
Help preserve the environment! nsure that this product is recycled at the
end of its life. Your supplier can give details of local arrangements for the
disposal of Viso products.
请保护环境
请保护环境请保护环境
请保护环境!
!!
!确保本产品在使用寿命结束后得到
确保本产品在使用寿命结束后得到确保本产品在使用寿命结束后得到
确保本产品在使用寿命结束后得到回收
回收回收
回收利用
利用利用
利用。
。。
。供应商可向您提供有关
供应商可向您提供有关供应商可向您提供有关
供应商可向您提供有关
所在地
所在地所在地
所在地 Viso 产品处置
产品处置产品处置
产品处置办法
办法办法
办法的详细信息
的详细信息的详细信息
的详细信息。
。。
。

10 VX01 Installation Guide VX01 安装指南
Introduction

VX01 Installation Guide VX01 安装指南
11
介绍
介绍介绍
介绍
About the VX01
关于
关于关于
关于 VX01
The VX01 is a re olutionary new lighting controller for DMX
controllable color changing lights. Programmed with each
fixture’s unique color cur e, it pro ides the simplest, yet
most powerful interface e er de eloped to control and
match colors from multiple sources.
VX01 是一具有革命性的全新照明控制器,专为 DMX 控制换
色灯而设计。利用每一灯具的独特颜色曲线进行编程,可提
供最为简洁但同时最为强大的界面,控制并搭配来自多源的
颜色。
Package contents
内装物
内装物内装物
内装物
The VX01 package contains the following items.
VI01 套装中包含以下条目
VX01 Controller
• VX01 控制器
48 V Power o er Ethernet (POE) power supply
• 48 伏以太网供电(POE)电源
CD-ROM with documentation and Vdesigner software
• 附带程序说明和 Vdesigner 软件的 CD-ROM
5 m UTP patch cable
• 5 米长 UTP 跳线
1.5 m USB cable

12 VX01 Installation Guide VX01 安装指南
• 1.5 米长 USB 线
About this document
关于本文件
关于本文件关于本文件
关于本文件
This guide describes how to install and set up the VX01
controller.
本指南阐述出 VX01 控制器的安装和设置方法。
For a description of how to operate the controller, please
refer to the VX01 Quick Guide.
有关控制器的操作方法,请参见
《
VX01
快速指南》。
For help with Vdesigner, refer to the program’s online help.
有关利用 Vdesigner 帮助的内容,请参见程序的在线帮助。
For installation and setup of lighting de ices, please refer to
their user manuals.
有关照明设备的安装和设置,请参见相应的用户手册。

VX01 Installation Guide VX01 安装指南
13
Installation

14 VX01 Installation Guide VX01 安装指南
安装
安装安装
安装
Controller and bracket
控制器和
控制器和控制器和
控制器和支架
支架支架
支架
The VX01 is designed to be wall-
mounted using the included
bracket. To mount:
VX01 采用壁挂式设计,利用自配
支架。在安装时:
1. Loosen the set screw on
the bottom of the VX01
with a 2 mm hex wrench
and remo e the wall
bracket.
1. 利用一 2毫米六角扳手松开 VX01 底部的固定螺丝,
并拆下墙壁支架。
2. Center the bracket on the desired mounting position
with the hooks pointing up.
2. 将支架放在理想安装位置的正中央,挂钩朝上。
3. Fasten the bracket to the wall with four suitable
screws (not included).
3. 利用 4只大小合适的螺丝(未提供)将支架固定在墙
壁上。
4. Plug the included 5 m UTP patch cable into the
RJ-45 socket on the back of the controller.
4. 将自配的 5米长 UTP 跳线插入到控制器背面的 RJ-45
插座之中。

VX01 Installation Guide VX01 安装指南
15
5. Place the controller on the bracket and slide it down
o er the hooks.
5. 将控制器放在支架上,向下滑动使其挂在挂钩上。
6. Tighten the set screw a few turns to hold the
controller in place. Do not over tighten: stop as
soon as you feel light resistance!
6. 旋紧固定螺丝数圈,固定控制器。不得过度旋紧
不得过度旋紧不得过度旋紧
不得过度旋紧:
::
:在
在在
在
感到轻微阻力时即可停止
感到轻微阻力时即可停止感到轻微阻力时即可停止
感到轻微阻力时即可停止。
。。
。
Power supply
电源
电源电源
电源
Install the power supply in a dry location within a 40 meter
cable run of the controller.
在控制器 40 米电源线范围内的某一干燥位置安装电源。

16 VX01 Installation Guide VX01 安装指南
Connections

VX01 Installation Guide VX01 安装指南
17
接线
接线接线
接线
Data:
::
:数据
数据数据
数据;
;;
;Data:
::
:数据
数据数据
数据;
;;
;PO in:
::
:以太网供电输入
以太网供电输入以太网供电输入
以太网供电输入;
;;
;PO out:
::
:以太网供电输
以太网供电输以太网供电输
以太网供电输
出
出出
出;
;;
;Power:
::
:供电
供电供电
供电;
;;
;Terminator:
::
:终结器
终结器终结器
终结器
Warning ! Device is to be connected only to Po networks without routing to
the outside plant.
警告
警告警告
警告!
!!
!设备只能连接到在
设备只能连接到在设备只能连接到在
设备只能连接到在工厂外
工厂外工厂外
工厂外无布线
无布线无布线
无布线的
的的
的Po (
((
(以太网供电
以太网供电以太网供电
以太网供电)
))
)网络上
网络上网络上
网络上。
。。
。
Controller to power supply
电源控制器
电源控制器电源控制器
电源控制器
Connect a UTP patch cable (pro ided) between the RJ-45
socket on the back of the controller and the OUT socket on
power supply before connecting the power supply to AC.
在连接到交流电源之前
之前之前
之前,利用 UTP 跳线(已配备)将控制器
背面的 RJ-45 插座与电源上的输出
输出输出
输出插座连接在一起。
When power is applied to the power supply, all 3 LEDs will
light for 2 seconds and then the "ON" LED will illuminate

18 VX01 Installation Guide VX01 安装指南
green. The “CONNECT” LED illuminates green when the
controller is connected and recei ing power.
在电源通电后,全部 3只LED 灯将亮 2秒钟的时间,随后
“ON”LED 将变为绿色。在连接控制器并通电时,
“CONNECT”LED 将变为绿色。
Power supply to lights
灯
灯灯
灯电源
电源电源
电源
Connect another UTP patch cable (not included) between
the power supply’s IN socket and the DMX input on one of
the lights. If the light does not ha e an RJ-45 socket, you
will need a 3-pin or 5-pin XLR-to-RJ45 adaptor that
connects the pins as shown below.
利用另一根 UTP 跳线(未配备)将电源的“IN”插座与其中
一盏灯上的 DMX 输入连接在一起。如果灯未配备 RJ-45 插
座,需要一 3脚或 5脚XLR-to-RJ45 适配器,插脚的连接方
式如下图所示。
XLR pin
XLR 插脚
插脚插脚
插脚
RJ45 pin
RJ45 插脚
插脚插脚
插脚
Function
功能
功能功能
功能
1 7, 8 signal common
信号公共线
2 2 data –
数据 -
3 1 data +
数据 +
4, 5 no contact
未接触
not used
未使用
Connect the lights together in a serial chain, output to input.
Connect no more than 32 lights and keep the total cable run

VX01 Installation Guide VX01 安装指南
19
to 300 m (1000 ft.) or less. If the application exceeds these
limits, DMX splitter/amplifiers may be used after the power
supply to increase the cable run and/or number of lights.
利用从输出到输入的串联方式将灯连接在一起。连接的灯的
数量应不超过 32 盏,且电线的总敷设长度不超过 300 米
(1000 英尺)。如果实际应用中超出上述限制,则可能需要
利用 DMX 分配器/放大器以增加电线敷设的长度和/或灯的数
量。
RJ45
GND 8
GND 7
IN - 6
NC 5
NC 4
IN + 3
OUT - 2
OUT + 1
SHIELD
POE
OUT
IN
GND
DATA+
DATA-

20 VX01 Installation Guide VX01 安装指南
Out:输出;In:输入;POE:以太网供电;SHIELD:防护
罩;DATA+:数据+;DATA-:数据-;GND:接地
Line terminator
线路
线路线路
线路终结器
终结器终结器
终结器
Terminate the end of the data line to pre ent reflections that
can distort the signal. This is usually accomplished by
inserting a suitable 120 ohm termination plug into the DMX
output of the last fixture in the line.
终结数据线的末端,以防止反射对信号产生干扰。通常需要
将一合适的 120 欧姆的终结插头插入到线路上最后一盏灯具
的DMX 输出之中。
AC power supply cable plug
交流电源
交流电源交流电源
交流电源线
线线
线插头
插头插头
插头
Warning: Risk of electric shock! Plug
installation shall be performed by a qualified
electrician.
警告
警告警告
警告:
::
:此处有电击危险
此处有电击危险此处有电击危险
此处有电击危险。
。。
。应由具备资质的电工执行
应由具备资质的电工执行应由具备资质的电工执行
应由具备资质的电工执行插头
插头插头
插头安
安安
安
装
装装
装。
。。
。
A grounding-type (earthed) power plug that fits the local
power outlet must installed on the AC cable for the power
supply. Alternati ely, you can acquire an IEC power cable
with a suitable grounding-type plug from most consumer
electronics stores.
与本地电源插座适配的接地型电源插头必须安装在电源的交
流线上。或者,利用适合于接地型插头的 IEC 电线,这些电
线在大多数消费电子商店均可购买到。
When installing the plug connect pins as follows:
在安装插头时,插脚的连接方式如下:
Table of contents
