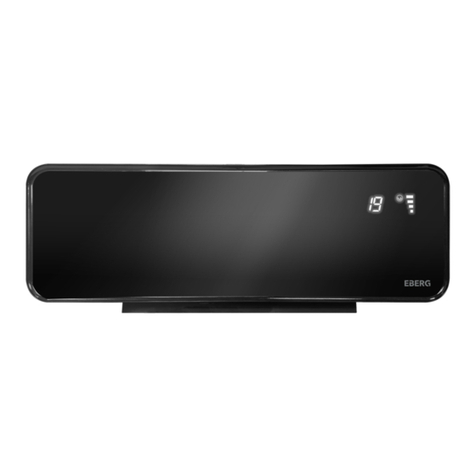
Vitesse 30-SP-BLK User manual

INSTRUCTION MANUAL
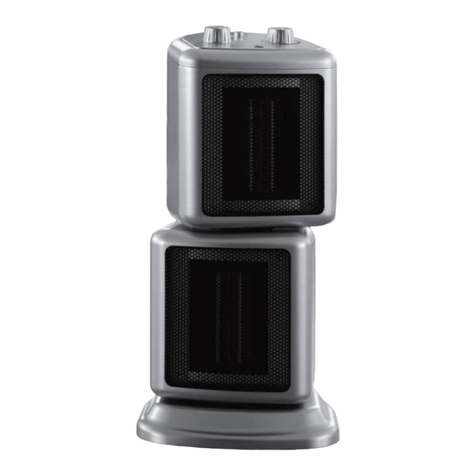
Ceramic heater
30-SP-BLK
PLEASE READ AND SAVE THESE
INSTRUCTIONS.
IMPORTANT INSTRUCTIONS:
PLEASE READ AND SAVE THESE IMPORTANT SAFEGUARDS
To ensure the best performance from your heater, please read and save the following
instructions.
WHEN USING ELECTRICAL APPLIANCES, BASIC PRECUATIONS SHOULD ALWAYS BE
FOLLOWED TO REDUCE THE RISK OF FIRE, ELECTRIC SHOCK AND INJURY TO
PERSON, INCLUDING THE FOLLOWING:
● Read all instructions before using this heater.
● This heater is hot when in use. To avoid burns, do not let bare skin touch hot surfaces. Use grip handle
when provided.
● Keep combustible materials such as drapes, furniture, pillows, bedding, papers, clothes, and curtains at
least three (3) feet (0.9m) from the front of heater and keep them at least 1 foot (0.3m) the sides and rear of
the heater.
● Extreme caution is necessary when heater is used by or near children or invalids and whenever the heater
is left operating and unattended.
● Always unplug heater when not in use.
● Do not use any heater with a damaged cord or plug or after the heater malfunctions or has been dropped or
damaged in any manner. Return heater to manufacturer for examination, electrical or mechanical
adjustment, or repair. (See Warranty for information).
● Do not use outdoors.
● This heater is not to be used in bathrooms, laundry areas or other similar indoor locations. Never locate
heater where it may fall into a bathtub or other water container.
● Do not run cord under carpeting. Do not cover cord with throw rugs, runners or the like. Arrange cord away
from traffic area where it will not be tripped over.
● To disconnect heater, turn control to OFF then remove plug from outlet.
● Do not insert or allow foreign objects to enter any ventilation or exhaust opening as this may cause electric
shock or fire or damage the heater.
● To prevent possible fire, do not block air intakes or exhaust in any manner. Do not use on soft surfaces, like
a bed, where openings may become blocked.
● A heater has hot and arcing or sparking parts inside. Do not use it in areas where gasoline, paint or
flammable liquids are used or stored.
● Use this heater only as directed in this manual. Any other use not recommended by the manufacturer may
cause fire, electric shock or injury to persons.
● Always plug heaters directly into a wall outlet/receptacle. Never use with an extension cord or relocatable
power tap (outlet/power strip).
● If the heater will not operate: See specific instructions in Safety Feature explained in this manual.

CLEANING/ MAINTENANCE INSTRUCTIONS:
During Season Care:
●Before cleaning, be sure to turn off and unplug the heater.
●Carefully wipe the unit with a soft, damp cloth. Please be very cautious near the motor and
heating elements.
●Do not immerse the heater in water.
●Never use gasoline, benzene or thinner. This will damage the surface of the heater.
●After cleaning, be sure to completely dry the unit with a cloth or towel.
After Season Care:
●Store heater in a cool and dry location with power cord properly secured.
●Please store the unit in its original carton or suitable container.
PRE—OPERATING INSTRUCTIONS:
Carefully remove your heater from the box (please save the carton for off-season storage)
Assemble the Iron tube and basement as following steps:
(Step1)Aiming the assemble poles with the corresponding holes, and insert the poles into the
holes.screw tightly into the screw holes of the base.
(Step 2)Insert the Iron tube into the hole on the basement tightly.
STEP 1 STEP 2
(Step 3) Using the screw stem to screw the Iron tube at the bottom tightly.
(Step 4)Position the vein on the body in the flute of the Iron tube, Insert the Iron tube into the unit
body.
STEP 3 STEP 4
(Step 5)Aiming the body assemble holes with the corresponding holes on the Iron tube.
(Step 6)Screw tightly into the aimed holes.
STEP 5 STEP 6
Make sure the unit is in the OFF position before plugging the heater into the outlet.
Place heater on a firm level surface.
Screws
Base
Iron Tube
Hole on the base
screw stem
Flute
Unit body
Vein on the body
Iron Tube
Assemble holes
on the body
Screws

OPERATING INSTRUCTIONS:
Before inserting the plug into an electrical outlet, make sure that the electrical supply in your
area matches that on the rating label on the unit.
When plugged in, turn on the Main power switch at the back of the unit.
When in Standby mode, only the switch on both control panel and remote control will
respond to your touch, and the LED display shows the room temperature. Press to access
the rest of the control panel or remote control
a) Low Power: (Press “ ” to switch it)
b) High Power: (Press “ “to switch it)
c) TIMER: Press ” ” button repeatedly to set a period after which the heater will turn
itself off (From 0 to 8 hours)
d) + , - : adjust room temperature .Temperature setting from 50-95°F degree. “+” to
increase the desired temperature and “-“ to decrease the desired temperature. (On
Remote control only)
e) Osc : Press “ “to activate oscillation. Press it again to cancel.
f) Press to turn off the heater, the unit will keep working 30 seconds of cool air after turn
off it . this design can protect item use longer.
Warning: The heater will remain hot for some time after it is turned off; handle with care.
REMOTE CONTROL
The remote control uses on button cell battery, type CR2025(3V).To remove the battery carriage
use your thumb to squeeze the release tab to the right and then pull the carriage out. Place the
battery into the carriage and slide the carriage back into the remote. See Fig.1. We recommend the
use of a Lithium-ion battery for longer use. NOTE: Follow battery disposal instruction on battery
packaging, or contact your local safety council for safely disposal of batteries.
Before using the remote control, you must remove the insulating film as shown in the figure below.
1. All functions performed with remote control work identically to the heater control panel.
2. Aim the remote control at the heater control panel to operate the heater.
OVERHEAT PROTECTION
This heater is protected with an overheat protection that switches off the appliance automatically in
case of overheat, e.g. due to the total or partial obstruction of the grids. In this case, unplug the
appliance, wait about 30 minutes for it to cool and remove the object which is obstructing the grids.
Then switch it back on as described above. The appliance should operate normally. Should the
problem persist, please contact the nearest customer service.
TIP-OVER PROTECTION
This heater is protected with a safety switch that turns off the appliance automatically when the
heater falls over, or is at an excessive angle from the horizontal. This helps prevent accidents, and
the heater will back to the standby mode when it is put back upright, press the buttons on control
panel or remote control to reset the heater
SPECIFICATION
Model No
KPT-5167HL
Voltage
120V AC
Frequency
60Hz
Output Power (W)
1500W

CONTACT INFORMATION
Contact Weave Support
Need service or support?
Start your request by Emailing Us.
AND we will find you a Solution.
@HelloWeaveGaming@Gmail.com
We will get back toyou within 24hrs.
This manual suits for next models
1
Popular Heater manuals by other brands

Rowenta
Rowenta CLASSIC Instructions for use
Toyotomi
Toyotomi KS-R26 operating manual

Clas Ohlson
Clas Ohlson CH-1500M THER-UK instruction manual

Rinnai
Rinnai 37AHA04508KA5 Installation, operation and maintenance manual
bathstore
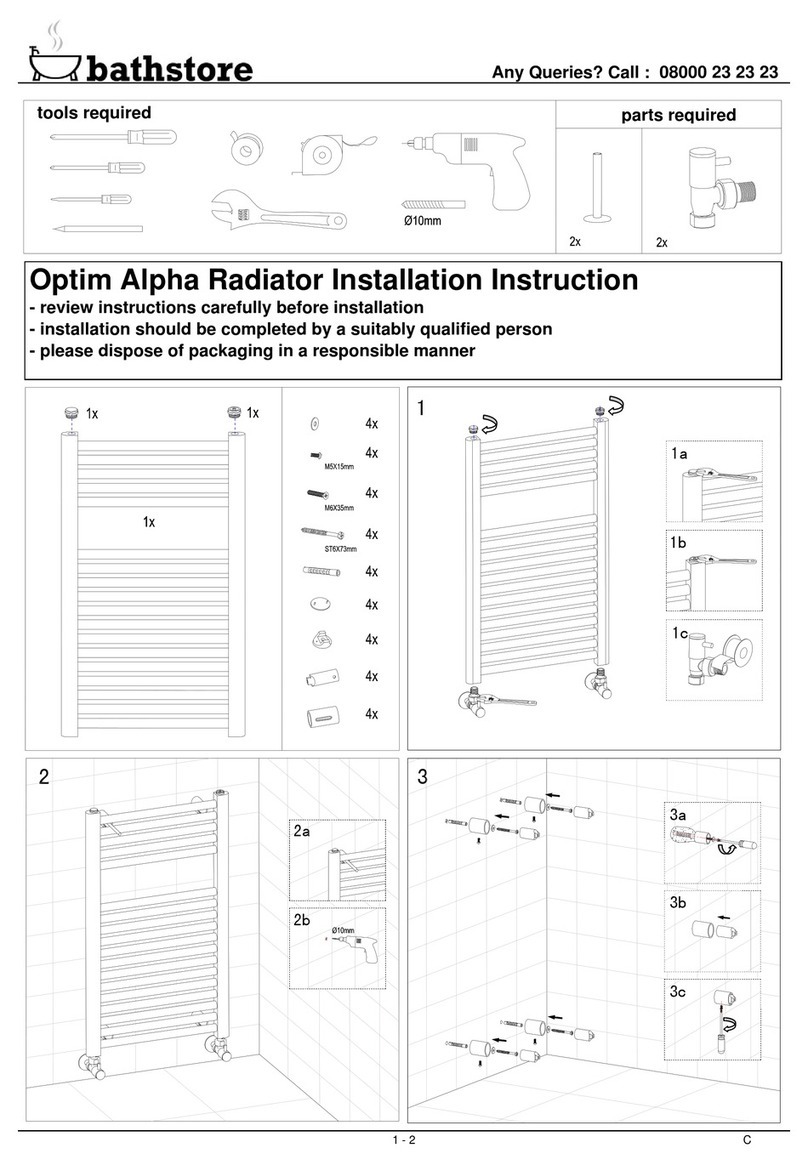
bathstore Optim Alpha Installation instruction

Zehnder Rittling
Zehnder Rittling OLGE-090 installation instructions
