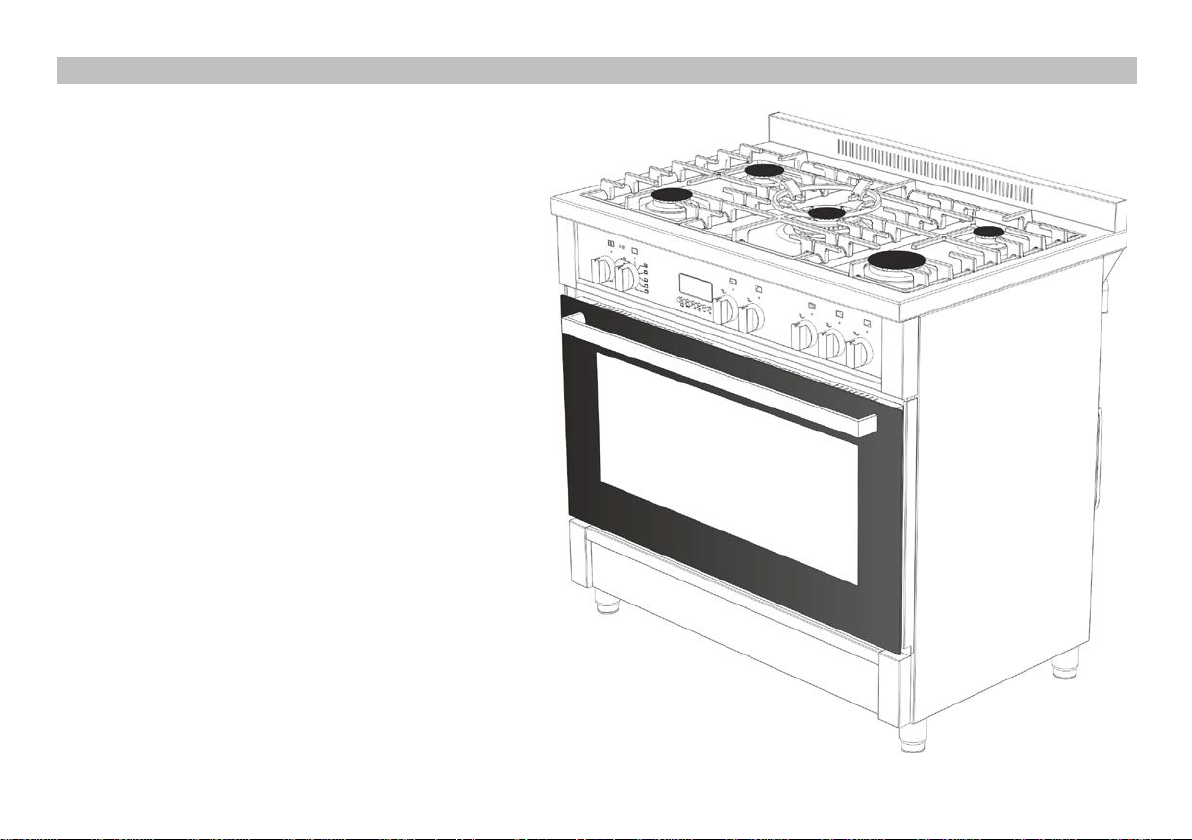
VITROKITCHEN CB9060IB User manual

GB
90x60 SEMI-PROFESSIONAL FREE
STANDING GAS-ELECTRIC COOKER
USER MANUAL
Dear User,
It is our ultimate desire that you achieve the best performance from our product, which has been passed
through meticulous quality control checks and is manufactured in modern facilities.
To this effect, we recommend that you read the entire guide carefully before operating the product and
keep it as a reference.
ATTENTION!
THIS APPLIANCE SHALL BE INSTALLED IN ACCORDANCE WITH THE REGULATIONS IN
FORCE AND ONLY USED IN A WELL VENTILATED LOCATION. READ THE INSTRUCTIONS
BEFORE INSTALLING OR USING THIS APPLIANCE.,
1 - TABLE OF CONTENTS
Part 1
Index
Part 2
Installation of your oven
Part 3
Installation of the oven feet
Part 4
Technical features of your
oven
Part 5
Nozzle change operation
Part 6
Important warnings
Part 7
Descriptions of the control
panel
Part 8
Descriptions of the appliance
Part 9
Using the burner groups
Part 10
Using oven section
Part 11
Using the grill deflector sheet
Part 12
Maintenance and cleaning

2 - INSTALLATION OF YOUR OVEN
Electrical Connection and Security
1. Your oven is adjusted in compliance with 230 Volt 16 Ampere electric supplies. (For 3 phase 230V/400V
32 Ampere) If the mains is different from these values, contact your authorized service.
2. Electrical connection of the oven should only be made by the sockets with earth system installed in
compliance with the regulations. If there is no proper socket with earth system in the place where the oven
will be placed, immediately contact a qualified electrician. Manufacturer shall never be responsible from the
damages that will arise because of the sockets connected to the appliance with no earth system.
3. Electrical cable should not touch the hot parts of the appliance.
4. Some models are supplied without a plug-an-lead set. In this case please use a flexible cable to suitable for
connection to mono phase: H05 VV-F 3 G 4 mm2 or for 3 phase: H05 VV-F 5 G 1.5 mm2
Gas Connection and Security
1. Before your appliance is connected to the gas supply, ensure that the gas category and pressure
specifications shown in the data plate corresponds with your gas supply. If necessary call authorized service
for adjusting to gas category.
2. This appliance shall be installed in accordance with the regulations in force and only used in a well
ventilated space. Read the instructions before installing or using this appliance. In the interest of safety this
appliances must be installed and / or serviced by a competent person as stated in the gas safety regulations
current editions.

3. The appliance must not be installed in a room without a window or other controllable opening. If is installed
in a room without a door which opens directly to the outside, a permanent opening is required. The air
circulation should be 2 m3/h per kW of burners.
4. The gas connection should be performed from the right or left. For this reason, change the hose nozzle, plug
and the seals.
5. Please use flexible hose for gas connection.
6. If you make a connection with a flexible metal hose, locate a seal between the main gas pipes.
7. The inner diameter of the flexible hose, which the butane hose nozzle is connected, should be 6mm for the
house-type gas tubes. The inner diameter of the flexible hose, which the natural hose nozzle is connected,
should be 15mm.The hose should tightly be fitted to the hose nozzle by squeezing with a clamp.
8. The hose should be replaced before its last expiry date.
9. Caution! Make the oven connection to the gas inlet valve, the hose length must be short and be sure that
there is no leakage. The hose used should not be longer than 125 cm for safety.
10. RE-INSPECT THE GAS CONNECTION.
11. When placing your oven to its location, ensure that it is at the counter level. Bring it to the counter level by
adjusting the feet if necessary.
DO NOT MAKE GAS HOSE and ELECTRICAL CABLE OF YOUR OVEN GO THROUGH THE HEATED
AREAS, ESPECIALLY THROUGH THE REAR SIDE OF THE OVEN. DO NOT MOVE GAS
CONNECTED OVEN. SINCE THE FORCING SHALL LOOSEN THE HOSE, GAS LEAKAGE MAY
OCCUR.

3 - INST ALLATION OF THE OVEN FEET
In order to install the oven feet;
1. Foot attachment lath is installed on the oven from the bottom of the oven as shown in Figure 1. Nuts are
centered on these lathes in order to screw feet (Figure 2). Complete the feet installation process by screwing
the feet to the nuts (Figure 3).
2. You can balance your oven by turning the screwed feet according to the surface type you are using.
3. If your oven has plastic food as in Figure-4 you can adjust your ovens height from these feet as turned
clockwise or anticlockwise.
Figure 1 Figure 2
Figure 3
Figure 4

4 - TECHNICAL FEATURES OF YOUR COOKER
Before making the connections of your appliance:
Before starting to use the appliance, read the user manual of the appliance carefully. In this user Manual, there
are important information regarding your, our customers' security, how you will use it and how you will make
its maintenance. The conversion to the natural gas will be made by exchanging the auxiliary material (injector)
given in the delivery of the oven with the equivalent one which was installed to the oven and mentioned in the
user manual Idling adjustment will be made according to the flame high pursuant to the below data by turning
counter clockwise of the adjustment screw in the tap shaft.
Specifications
90x60 Cooker
Natural gas
LPG
Outer width
950 mm
G 20-20
G 30-30
Outer depth 635 mm
Wok
Burner
Injecto
r
mm 1.30 0.96
Outer height
880 mm
Power
KW
3.35
3.60
Inner width 765 mm Rapid
Burner
Injecto
r
mm 1.15 0.85
Inner depth
410 mm
Power
KW
2.77
3.00
Inner height 355 mm Semi-rapid
Burner
Injecto
r
mm 0.97 0.65
Oven volume
110 lt.
Power
KW
1.78
1.78
Lamp power 15 W Auxiliary
Burner
Injecto
r
mm 0.72 0.50
Turnspit power
4 W
Power
KW
1.00
0.88
Top heating
element
1500 W
Oven
Burner
Injecto
r
mm 1.45 1.00
Bottom heating
element
2000 W Power KW 4.00 4.00
Turbo heating
element
2 x 1250 W Grill
Burner
Injecto
r
mm 1.20 0.85
Grill heating
element
2500 W Power KW 2.60 2.90
Supply voltage
220-400V, 50-
60 Hz
Hot plate 145 mm
(opt)
1000 W
Hot plate 180 mm
(opt)
1500 W
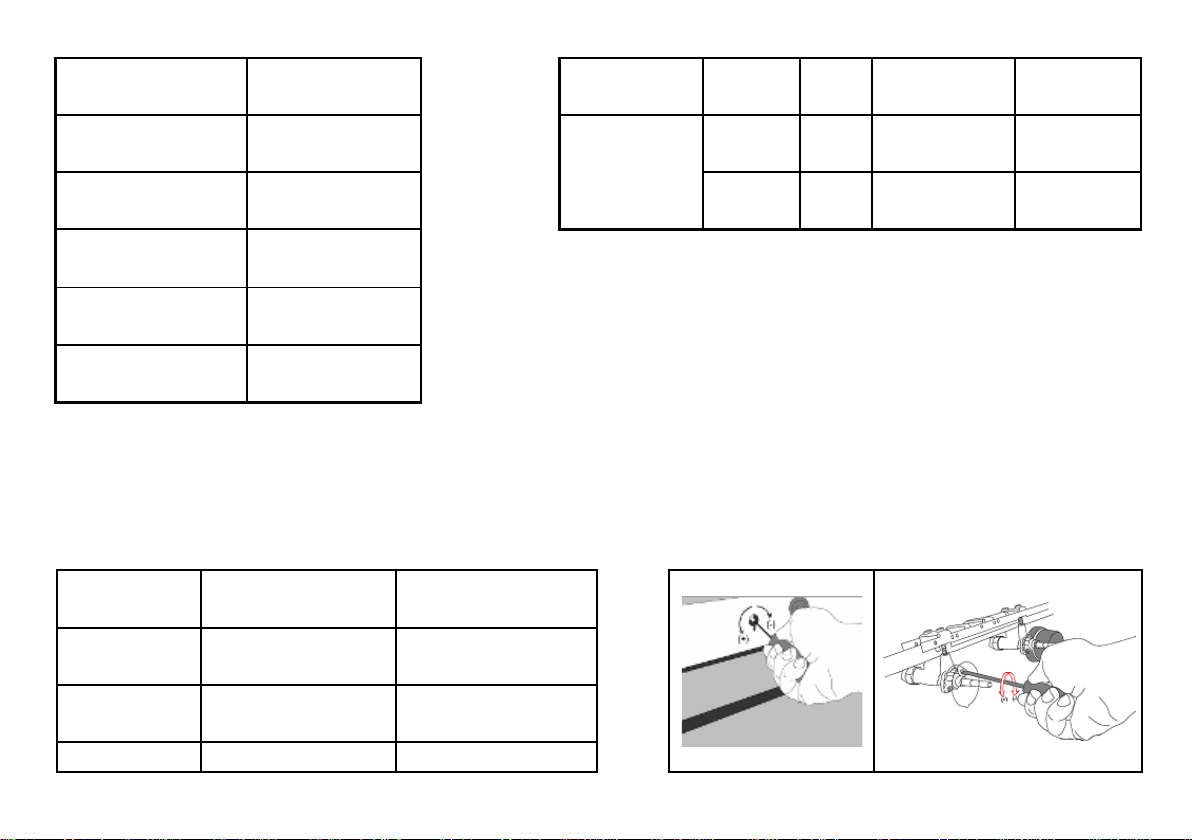
Reduced Flame Gas Cock Adjustment:
to adjust your oven acc. to the gas type, make the adjustment for reduced flame carefully by turning with a
small screwdriver as shown below on the screw in the middle of the gas cocks as well as nozzle changes (figure
5 and 6).
From LPG to
Natural gas
From Natural gas
to LPG
Rapid
Burner
3 turns
anticlockwise
3 turns clockwise
Semi-rapid
Burner
2.5 turns
anticlockwise
2.5 turns clockwise
Auxiliary
2 turns
2 turns clockwise

Burner
anticlockwise
Wok
Burner
4 turns
anticlockwise
4 turns clockwise
Oven
Broiler
4,5 turns
anticlockwise
4,5 turns clockwise
Grill Broiler
4 turns
anticlockwise
4 turns clockwise Figure – 5 Figure – 6
5 - NOZZLE CHANGEMENT OPERATION
1. Please use driver with special head for
removed and install nozzle as figure-7
2. Please remove nozzle (figure-8) from burner
with special nozzle driver and install new
nozzle (figure-9)
Figure - 7
Figure - 8
Figure - 9
Oven Burner Nozzle Change:
1. Rem ove the oven broiler cover that is fixed with screws to the cavity. (figure 10)
2. Unscrew the screw that fixes the broiler to the cavity. Thus, the broiler is free from the cavity. (figure
3. The ignition electrode and the thermocouple are fixed by clip. Carefully disengage it from the clip and
detach the burner and the connection from each other as shown in the figure 12.
4. The burner remains unconnected after the removal of the ignition electrode and the thermocouple. Remove
the burner by raising it slightly and apply rightward pull-force. (figure 13)
5. The oven broiler injector is reached easily after the oven broiler is removed. (figure 14)
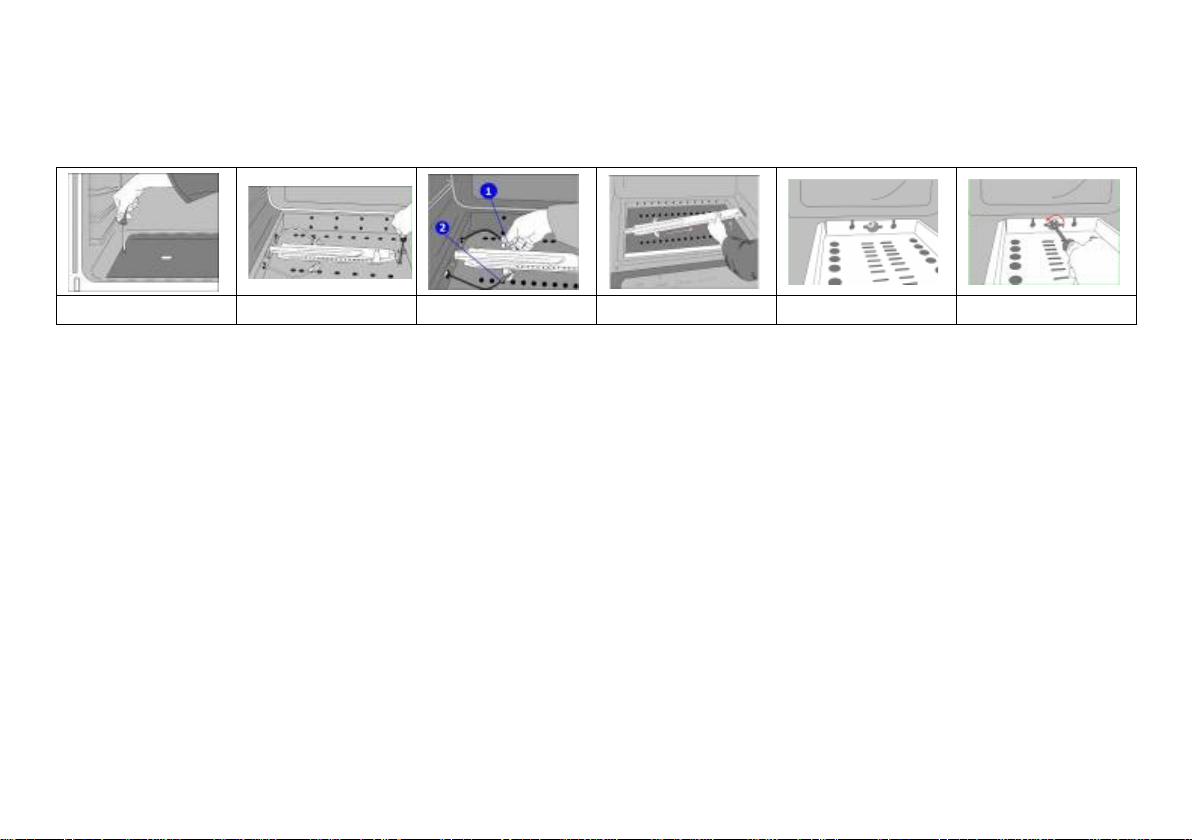
6. A 7-mm spanner shall be used in order to replace the injector. (figure 15)
7. Grill broiler doesn’t have a cover. There are screws that fix the grill broiler to the cavity, unscrew them by a
crosshead screwdriver.
Figure - 10
Figure - 11
Figure - 12
Figure - 13
Figure - 14
Figure - 15

6 - IMPORTANT WARNINGS
1. The cooker is supplied setup according to the conditions shown on the rating label which is stuck to the rear
of the appliance. From this sticker you can learn for which gas type (LPG or NG) this appliance is
configured when supplied.
2. Power supply voltage of your oven is 220-240V, 50-60 Hz for mono phase and 230V/400V, 50-60 Hz for 3
phases.
3. If the current rate of the fuse in your inst allation is less than 16 Ampere (for mono phase) 32
Ampere (for 3 phase), make a qualified electrician fit a 16 / 32 Ampere fuse.
4. Since the plug of your oven has earth system, ensure using socket with earth system. If it is used without
earth system, our firm is not responsible for any loss which may arise.
5. Keep the gas hose and electrical cable of your oven away from the hot areas; do not let them touch the
appliance. Keep them away from sharp sides and heated surfaces.
6. When the supply cable gets defective, get it replaced by conducting our service as soon as possible.
7. Before changing the oven lamp, disconnect the power plug from the wall socket.
8. Be sure that the cooker is configured correctly for local requirements (for example, the jets must be suitable
for local gas type and gas pressure)
9. Connect your oven to LPG cock in shortest way and without any leakage. Minimum 40 cm - Max. 125 cm
10. When making gas leakage check, never use any flame type like those of lighter, matches, cigarette fire or
similar ones.
11. Usage of your appliance creates moisture and heath in the room it is placed, make sure that your kitchen is
ventilated well.
12. Maintain the natural ventilation ducts properly.
13. When the oven is being used, the reachable parts may be hot, children should be kept off from hot surfaces
and the areas where charged with electricity.
14. When the oven is hot never touch the oven glass by hand or touch by means of a tool.

15. Before starting to use your appliance, keep curtain, tulle, paper or inflammable things away from your
appliance. Do not keep flammable materials inner side of or around the appliance.
16. You must use the safety sheath of control panel when the oven section is in grill mode.
17. Gas tapes are secured by locks. Do not turn before pressing the button.
18. Oven valve has safety cock. Flames are kept about 3-5 sec. If the oven burner can not flame, repeat this
procedure 5-6 times. If the problem persists, please contact with the nearest service.
19. Please place the tray to the lowest shelf and add 200 ml water when you cook something in chicken roast
section.
20. Make sure that rear pulley section of the grill swelling is fixed on V-bed on the grill when you use the grill
swelling.
21. It is not suitable to operate both lower and upper burners simultaneously. The lower burner is designed for
cooking and upper burner is designed for frying.

7 - DESCRIPTION OF THE CONTROL PANELS
Front right burner (small burner)
Rear right burner (middle burner)
Wok burner or hotplate
Front electric hot plate
Rear electric hot plate
Rear left burner (middle burner)
Front left burner (big burner)
Grill burner or heating element
Oven burner (optional) or heating
element
Timer (optional)
Thermostat (optional)
Turnspit
Lamp
Ignition lighter

8 - DESCRIPTION OF THE APPLIANCE
1
2
3
4
5
67
89
10 11 12
14
15
16
13
23
:02
1- Door handle
2- Glass oven door
3- Push buton switches
4- Command knob
5- Command panel
6- Cooker top plate
7- Semi-rapid burner
8- Cooker grid
9- Semi-rapid burner
10- Wok burner
11- Wok burner grid
12- Splash back
13- Auxiliary burner
14- Rapid burner
15- Side panel
16- Turbo fan (double)

9 - USING THE BURNER GROUPS
Using Gas Cooker:
1. Our gas ovens top and bottom burner working system is one by one. When you want use your preference
burner, before you must make press the tap knob and wait nearly 5-10 second. Then you can to inflame
trough with automatic ignition system (optional) or match. You must wait 10-15 second after inflame to
have press by tap knob and after you can make allow the knob. If you can not made this operation you must
try again.
2. The cocks controlling the gas cookers have special mechanism. In order to light the cooker;
3. Always press on the switch forward and bring it to flame symbol by turning anticlockwise (left). All of the
lighters shall operate and the cooker you controlled shall light only. Keep the switch pressed until ignition is
performed. (OPTIONAL)
4. If your oven has ignition system from push button switch please press and turn gas valve open position and
same time press ignition button.
5. In models with security system, when flame of the cooker is extinguished, control valve cuts off the gas
automatically. For operate the burners with gas security system you must make press the knob and turn
antilock wise. After the ignition (with optional automatic ignition system or match) you must wait nearly 5-
10 second for gas security systems activation.
6. Do not continuously operate the igniter for more than 15 seconds. After 15 seconds, if the burner does not
ignite, then stop and if you are trying to ignite the oven then open the door and wait a minimum of one
minute before trying again. If the burner is extinguished for of the any reason, close the gas control valve
and wait a minimum of one minute before trying again.
LEVEL
1
LEVEL
2
LEVEL
3
LEVEL
4
LEVEL
5
LEVEL
6
145 mm
95 W
155 W
250 W
400 W
650 W
1000 W
180 mm
115 W
175 W
250 W
600 W
850 W
1500 W
145 mm
Rapid
135 W
165 W
250 W
500 W
750 W
1500 W
180 mm
Rapid
175 W
220 W
300 W
850 W
1150 W
2000 W
Closed
Fully
open
Half
open
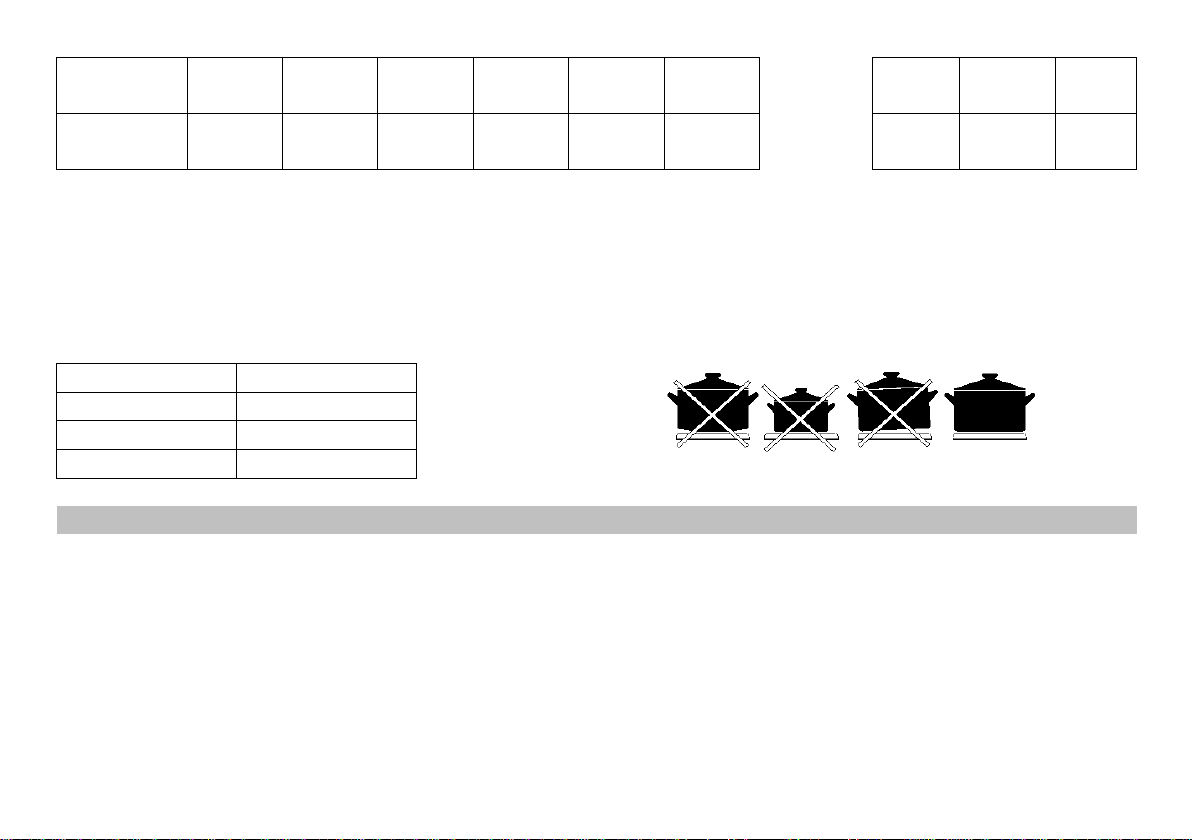
1. Electric Hotplates have standard of 6 temperature levels (as described herein above)
2. When using first time, operate your electric hotplate in position 6 for 5 minutes. This will make the agent on
your hotplate which is sensitive to heat get hardened by burning. Use flat bottomed saucepans which fully
contact with the heat as much as you can, so that you can use the energy more productively.
3. In order to obtain maximum output, be careful that the saucepan which will be used should be flat
bottomed, and use the saucepans with dimensions given below.
Wok Burner
24 - 28 cm
Big Burner
22 - 26 cm
Normal Burner
18 - 22 cm
Small Burner
12 - 18 cm
10 - USING OVEN SECTION
1. When your oven is operated first time, an odor will be spread out which will be sourced from using the
heating elements. In order to get rid of this, operate it for 45 minutes while it is empty. In order to make
cooking in your oven; oven switch must have been rotated and ignition must have been made. Otherwise,
your oven will not run.
2. Kinds of meals you will cook, cooking times and Thermostat positions (Optional) were given in cooking
table. The values given in the cooking table are characteristic values and were obtained as a result of the
tests performed in our laboratory. You can find different flavors suitable for your taste depending on your
cooking and using habits.
3. Open the oven cover at level 1 and use the safety panel when grilling on your oven
4. Cooking times: The results may change according to the local voltage and material having different quality,
amount, and temperatures.
5. During the time when cooking is being performed in the oven, the lid of the oven shouldn't be opened
frequently. Otherwise circulation of the heat may be imbalanced and the results may change.
6. Cake forms while cooking cake gives better result.
7. MECHANIC TIMER KNOB (Optional): In order to operate the oven, timer switch should be adjusted to
desired time.
COOKING TABLE
Meals
Rack position
Cooking time (min.)
Creamed cake
2
30 - 35
Pastry
2
35 - 45
Biscuit
3
20 - 25
Cookie
3
20 - 35
Cake
2
25 - 35
Braided
cookie
2 30 - 40
Filo pastry
2
35 - 45
Savory pastry
2
20 - 30
Lamb meat
3
20 - 25
Veal
3
30 - 40
Mutton
3
30 - 40
Chicken (in
pieces)
3 30 - 40
Fish
3
20 - 30

11 - MAINTENANCE and CLEANING
1. Disconnect the plug supplying electricity for the oven from the socket and cutoff the gas by closing the gas
valve.
2. Never clean the interior part, panel, lid, trays and all other parts of the oven by the tools like hard brush,
cleaning mesh or knife. Do not use abrasive, scratching agents and detergents.
3. After cleaning the interior parts of the oven with a soapy cloth, rinse it and then dry thoroughly with a soft
cloth.
4. Clean the glass surfaces with special glass cleaning agents.
5. Wash the heads of the burners sometimes with soapy water and clean the gas ducts by means of a brush.
6. Never use inflammable agents like acid, thinner and gasoline when cleaning your oven.
7. Do not clean your oven with steam cleaners.
8. Don't wash any part of your oven in dishwasher.
9. In order to clean the front glass lid of the oven; remove the fixing washers fixing the inner glass by means
of a screwdriver, clean and rinse it thoroughly. After drying, place the gasket properly and re-install the
glass.
10. While oven is operating or shortly after it starts operating, it is extremely hot. You must avoid touching
heating elements.
11. Before opening the upper lid of the oven, clean spilled liquid off the lid. Also, before closing the lid, ensure
that the cooker table is cooled enough.

IF YOUR OVEN DOES NOT OPERATE
1. Please check main gas valve.
2. Gas hose is can be broken or bend.
3. Please check the connection of gas hose with oven.
4. Please check noise of gas rate.
5. Please check the gas valve, suitable or unsuitable for your oven.
6. If you can not to solve the problem, to apply manufacturer-supplier services agent or similar qualified
persons.
7. We are recommended per 2 year chance your ovens gas valve.
8. Please check the plug of power supply cord has a well connection with wall socket or not.
9. Please check the electric network.
10. Please check the fuse.
11. Please check power supply cord for any damage problems.

ES
90x60 GUÍA PARA USO DEL HORNO DE GAS Y ELÉCTRICO SEMI PROFESIONAL
Estimado cliente,
Nuestro objetivo es proveer este producto que se ha producido sin dañar el medio ambiente, conforme al
enfoque de calidad total en las nuestras modernas instalaciones de el ambiente de trabajo, con la mejor
eficiencia.
Por este motivo, le recomendamos que lea cuidadosamente las instrucciones antes de usar el producto, mantiene
para su uso en su caso.
NOTA:
Esta guía ha sido preparada para más de un modelo. Algunas características pueden no estar disponibles en su
dispositivo como se especifica en el manual.
"ESTE DISPOSITIVO DEBE SER INSTALADO CONFORME A LA NORMATIVA APLICABLE Y SÓLO
EN LUGARES BIEN VENTILADOS. POR FAVOR LEA LAS INSTRUCCIONES ANTES DE USAR O
INSTALAR ESTE DISPOSITIVO."
Este producto ha sido fabricado en modernas instalaciones que respetan el medio ambiente sin dañar la
naturaleza.

1 - TABLA DE CONTENIDOS
Capítulo 1
Tabla de contenidos
Capítulo 2
Instalación del dispositivo
Capítulo 3
Instalación de los pies del
dispositivo
Capítulo 4
Especificaciones del dispositivo
Capítulo 5
Proceso de cambio del inyector
Capítulo 6
Avisos Importantes
Capítulo 7
Identificación del panel de control
Capítulo 8
Identificación del dispositivo
Capítulo 9
Uso de la cocina
Capítulo 10
Uso del horno
Capítulo 11
Mantenimiento y limpieza
Table of contents
Languages:


