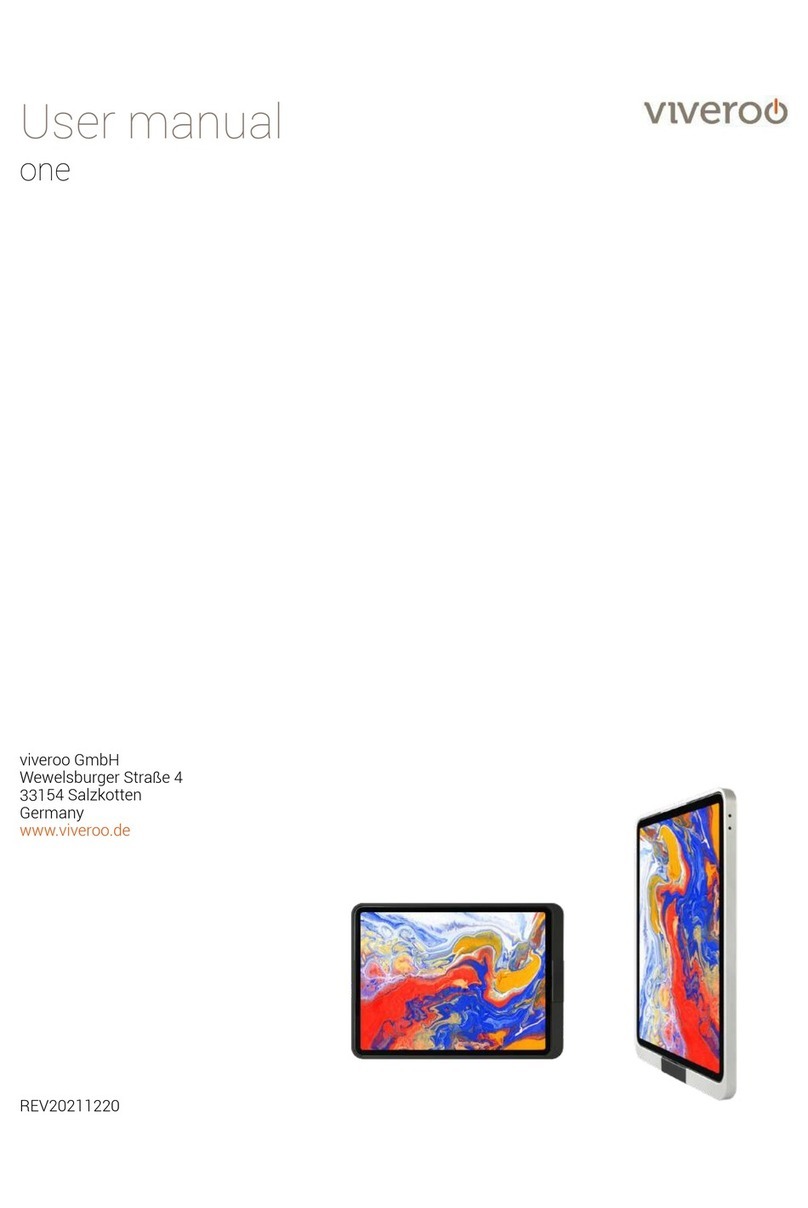
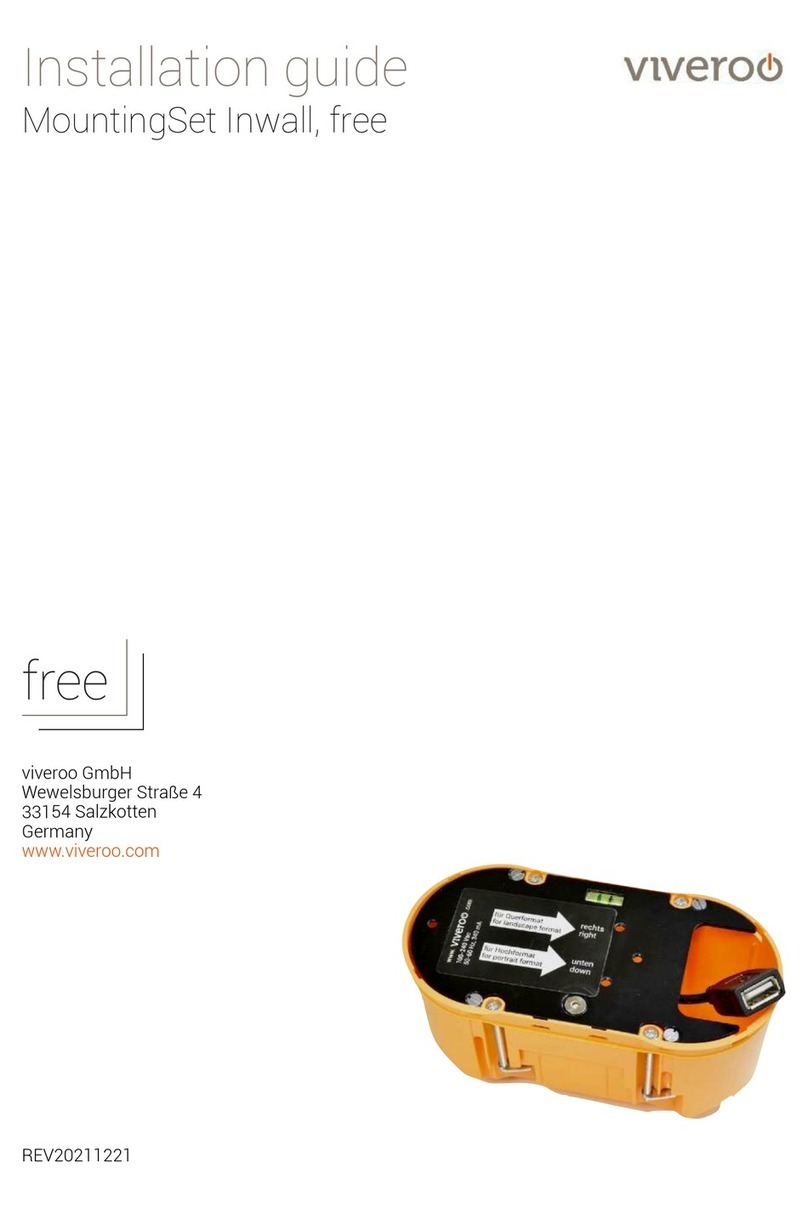
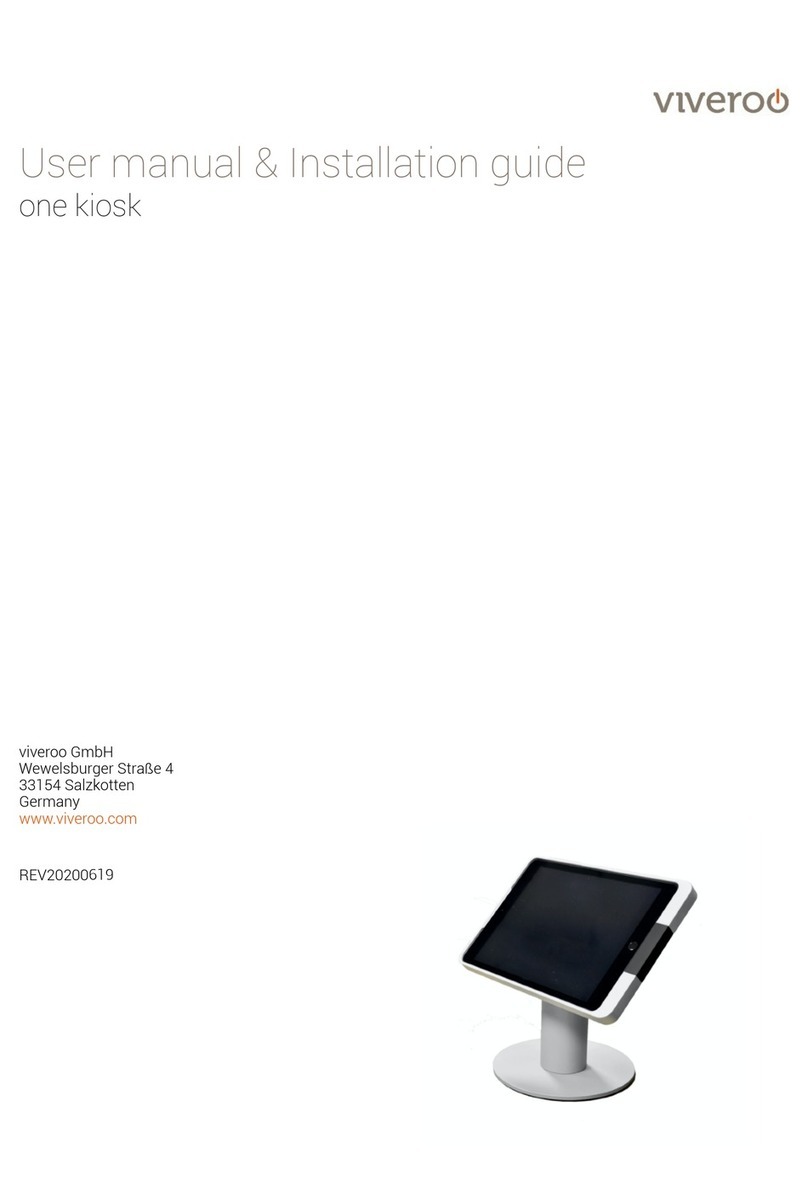
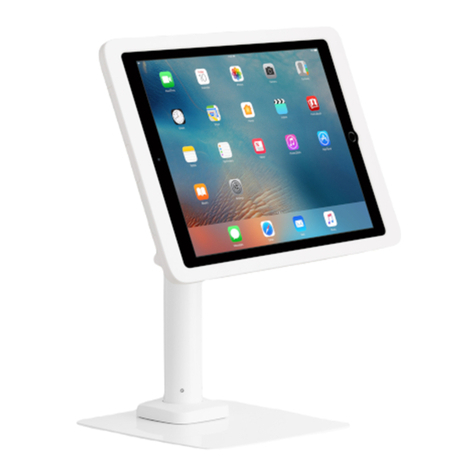
viveroo Square User manual

Installation guide
Inwall, square
!
viveroo GmbH
Wewelsburger Straße 4
33154 Salzkotten
Germany
www.viveroo.de
REV20180926

Safety information
Installation guide square. Inwall, Inwall Zero, Furniture
page of2 17
!ATTENTION
Please read the assembly instructions included carefully before
installing the MountingSet. Please also read the square user
manual completely before using your square. Please follow the
instructions and recommendations to ensure proper use and
maximum enjoyment.
Safety
information
square and all square mounting sets are intended for use in
enclosed and dry living spaces.
The following conditions must be provided:
-Operating temperature between 0° C (32° F) and 35° C (95° F).
-Relative humidity (during use): 20!% to 90!%, non-condensing.
-No external environmental influences such as oil, chemicals, salt,
extensive dust, etc.
The maximum altitude is 2.000m.
Installation, service or repairs, if necessary, may only be performed
by authorized persons.
The installer is responsible for selecting the proper mounting
location and safe installation of square. This also applies to
installation in movable parts, such as doors. The installer is
responsible for performing and documenting all necessary safety
tests.
All electrical installation work may only be conducted by
authorized, trained electricians, always adhering to the general
rules and regulations applying to electrical installation. Wire end
sleeves and ferrules must be used for flexible cables.
Should it become apparent that safe operation of square is not
assured, then square must immediately be taken out of service and
secured against potential misuse. If the square functions are
limited, blocked or disabled, if an unusual odor is present, if noises
such as scratching are audible or damage is visible, safe operation
can no longer be guaranteed.
!

Technical Data
Installation guide square. Inwall, Inwall Zero, Furniture
page of3 17
Product
contents
-Installation guide Inwall
-square flush mounting box
-Power supply (IN 100-240 Vac, 50-60 Hz, OUT 12 Vdc) with
pre-installed square power cable (including usage
guidelines and installation guide)
-Fastening screw packet for attaching square
Compatability
Electrical operation of square is permitted only in connection
with square Mounting Set and power supply and cable
included in the Mounting Set. Operation of square without a
Mounting Set will lead to immediate loss of guarantee and
warranty.
Measurements
in mm
Design cover
364 x 294
Depth square
36
Opening in the wall for flush-mounted box
344 x 271
Installation depth flush-mounted box
76
Weight in kg
square
3,8
Electrical
connections
voltage!
(Power supply is provided in MountingSet)
Power consumption
100-240 Vac
50 - 60 Hz
18 Watt
Removal from
power supply
square may be removed from the power supply via the circuit
breaker in the respective rooms.
Circuit Breaker
16A (EU) , 20A (USA/Canada)
Overvoltage
category
OVC II
wire cross-
section
The permitted conductive cross-section is between 0.75mm²
and 2.5mm².
*) Technical changes and mistakes are excepted.
iPad is a registered trademark of Apple Inc.

Installation guide"
Installation guide square. Inwall, Inwall Zero, Furniture
page of4 17
Step 1
square can be installed either in portrait or landscape
format, it is your choice. Make an angular opening in the
wall.
Measurements for portrait: 271mm length, 344mm height.
Measurements for landscape: 344mm length, 271mm
length.
The depth should be approximately 75mm. In this guide we
show the installation for mounting in landscape.
Step 2
There is a hole for the power cable already cut in the flush
mount box. Pull 20-25 cm of the cable through the opening.
Step 3
Then insert the flush mount box into the opening in the wall.
Fix and secure the box with the four pre-installed screws in
the corners.
! IMPORTANT: During installation, pay attention that the
flush mount box is fastened parallel to the surface and is
not shifted or offset in the wall.
! IMPORTANT: It is important that the flush mounted box is
not deformed in any way. Do not use any foaming
installation materials that may put pressure on the box and
deform it.
!! WARNING: Make sure that the power supply cord is
unplugged during the entire installation and cannot be
turned on accidentally.
Step 4
Plug the power cord into the power supply. Plug the power
cord into the 3-pin device connecting terminal (N, L, PE).
Step 5
A protective conductor is mounted on the back of the
square. Connect this protective earth cable to the free PE
terminal of the device connection terminal.
Box Deformation

Installation guide"
Installation guide square. Inwall, Inwall Zero, Furniture
page of5 17
Step 6
Now connect the plug of the connection cable from the
power supply unit to the plug-in contact on the back of the
square.
! ATTENTION: When inserting the square, make sure that
no cables are squeezed or that they are under tensile
stress.
Step 7
Now you can place the square into the opening. The four
fastening points for the square are easily identifiable. Use
the screws included in the MountingSet and fasten the
square.
Please note: We recommend to fasten only two screws
first. Then you can adjust the square to its final position
and then fasten the last screws.
! ATTENTION: After completing installation, please make
sure that the loop is solidly secured to the wall as well as
secure electrical connection/function.

Technical Details !
square
Measurements for installation in drywall, stone or solid wall
(with wallbox), in mm"
Installation guide square. Inwall, Inwall Zero, Furniture
page of6 17

Technical Details !
square
Cutting Measurements for installation in drywall, stone or
solid wall (with wallbox), in mm"
Installation guide square. Inwall, Inwall Zero, Furniture
page of7 17

MountingSet Inwall zero square
Incl. MountingSet Inwall + flush mount frame with reinforcing grid
Safety informaion
! Important:
Before installing this MountingSet please read the following information. Follow the instructions and recommendations
described.
General conditions:
The MountingSet Inwall zero is an extension of MountingSet Inwall. Accordingly, it is assumed that both products are built
in combination.
The following embedding materials are approved for the attachment and incorporation of MountingSet Inwall zero: mineral
plaster, polymer modified adhesive and reinforcement cement.
The MountingSystem is designed for installation in dry and closed living spaces.
The following environmental conditions are ensured:
Ambient temperature 0 °C to 35 °C
No environmental influences, such as oil, chemicals, salt and comparable
No direct sunlight
The MountingSet must be processed and installed only by authorized personnel. This includes the proper installation of
electrical connections. The responsibility for proper installation and safe installation of the mounting system is only with
the processor. Basically, the user has to make and certify all safety checks.
Delivery contents
- Installation guide, flush-plastered MountingSet Inwall zero
- Flush mount frame with reinforcing grid
Installation in hollow walls (plasterboard)
Make an angular opening in the wall: Measurements for portrait: 271mm length, 344mm height. Measurements for
landscape: 344mm length, 271mm length. The depth should be approximately 76mm. Place the power cable.
Clean the surface of the gypsum board thoroughly and fix the flush mount frame on the gypsum fibreboard - pay attention
that the flush mount box is fastened parallel to the surface and is not shifted or offset in the wall.
! Important: The gypsum fibreboard must provide a very smooth, surface adhesion for the flush mount frame, stress-
and distortion-free!
Incorporate the flush mount frame with approved embedding material (see above). To do this, prepare the surface
according to VOB, Section C, DIN 18363, DIN 18350 or BFS notices. Then apply the embedding material evenly to the
gypsum fibreboard according to the manufacturer's instructions. Embed the reinforcement fabric of the frame in the wet
coating without any creases. After that apply embedding material again evenly, so that the grid is no longer visible.
Depending on the design ideas the flush mount frame can be plastered up to the upper edge.
After the embedding material has perfectly dried out, please clean the inner surfaces of the frame and insert the wall
case / flush mount box. Please follow the installation guide for the MountingSet Inwall.
! Attention: Install the flush box so deep that it rests firmly on the inner ring of the frame.
! Attention: Screw the wall case / flush mount box so tight that it stabilizes the frame."
Installation guide square. Inwall, Inwall Zero, Furniture
page of8 17

MountingSet Inwall zero square
Incl. MountingSet Inwall + flush mount frame with reinforcing grid
REV20180809
Installation in brick walls and concrete walls (shell)
Make an angular opening in the wall: Measurements for portrait: 271mm length, 344mm height. Measurements for
landscape: 344mm length, 271mm length. The depth should be approximately 76mm. Place the power cable.
Apply subsoil / substrate plaster to the wall and fix the flush mount frame - pay attention that the flush mount box is
fastened parallel to the surface and is not shifted or offset in the wall.
! Important: The subsoil / substrate plaster must provide a very smooth, surface adhesion for the flush mount frame,
stress- and distortion-free!
Incorporate the flush mount frame with approved embedding material (see above). To do this, prepare the surface
according to VOB, Section C, DIN 18363, DIN 18350 or BFS notices. Then apply the embedding material evenly to the
gypsum fibreboard according to the manufacturer's instructions. Embed the reinforcement fabric of the frame in the wet
coating without any creases. After that apply embedding material again evenly, so that the grid is no longer visible.
Depending on the design ideas the flush mount frame can be plastered up to the upper edge.
After the embedding material has perfectly dried out, please clean the inner surfaces of the frame. Insert the wall case /
flush mount box and fix it with fastening material such as plaster or mortar or cement – Please follow the installation
guide for the MountingSet Inwall.
! Attention: Install the flush box so deep that it rests firmly on the inner ring of the frame.
! Attention: Screw the wall case / flush mount box so tight that it stabilizes the frame."
Installation guide square. Inwall, Inwall Zero, Furniture
page of9 17

Images for illustration
Information:
Follow sequence: 1. Flush mount frame , 2. flush mount box , 3. square
Install the flush box so deep that it rests firmly on the inner ring of the frame."
Installation guide square. Inwall, Inwall Zero, Furniture
page of10 17

Images for illustration
Information
When installed, the square forms a flat surface with the wall. There is a 1mm wide
shadow gap (red) around the square.
Sectional drawing"
Installation guide square. Inwall, Inwall Zero, Furniture
page of11 17
Example, loop
C
C
C-C
Plaster/
wall
flush mount frame
1mm wide
shadow gap
cover, !
flush to the wall
flush mount box

Installation guide
MountingSet Furniture for loop and square
Installation guide square. Inwall, Inwall Zero, Furniture
page of12 17
viveroo GmbH
Wewelsburger Straße 4
33154 Salzkotten
Germany
www.viveroo.de

Safety information
Installation guide square. Inwall, Inwall Zero, Furniture
page of13 17
!
!ATTENTION
Please read the assembly instructions included carefully before
installing the MountingSet. Please also read the loop user manual
completely before using your loop. Please follow the instructions
and recommendations to ensure proper use and maximum
enjoyment.
Safety
information
loop and all loop mounting sets are intended for use in enclosed
and dry living spaces.
The following conditions must be provided:
-Operating temperature between 0° C (32° F) and 35° C (95° F).
-Relative humidity (during use): 20!% to 90!%, non-condensing.
-No external environmental influences such as oil, chemicals, salt,
extensive dust, etc.
The maximum altitude is 2.000m.
Installation, service or repairs, if necessary, may only be performed
by authorized persons.
The installer is responsible for selecting the proper mounting
location and safe installation of loop. This also applies to
installation in movable parts, such as doors. The installer is
responsible for performing and documenting all necessary safety
tests.
All electrical installation work may only be conducted by
authorized, trained electricians, always adhering to the general
rules and regulations applying to electrical installation. Wire end
sleeves and ferrules must be used for flexible cables.
Should it become apparent that safe operation of loop is not
assured, then loop must immediately be taken out of service and
secured against potential misuse. If the loop functions are limited,
blocked or disabled, if an unusual odor is present, if noises such as
scratching are audible or damage is visible, safe operation can no
longer be guaranteed.

Technical data"
Installation guide square. Inwall, Inwall Zero, Furniture
page of14 17
Product
contents
-Installation guide MountingSet Furniture
-Power supply (IN 200-240 Vac, 50 Hz, OUT 12 Vdc) especially
for furniture mounting, incl. seperate installation guide
-1m cable (to connect power supply to loop or square)
-1m power cord (to connect power supply to wall socket)
-screw set: 4 pieces 3x25mm and 4 pieces 3,5x25mm
Compatability
Electrical operation of loop is permitted only in connection with loop
Mounting Set and power supply and cable included in the Mounting
Set. Operation of loop without a Mounting Set will lead to immediate
loss of guarantee and warranty.
Electrical
connections
Netzspannung
Power consumption.
!! Attention: Please also the manual provided
twith the power supply.
200-240 Vac
50 Hz
15 Watt
Removal from
power supply
loop may be removed from the power supply via the circuit
breaker in the respective rooms.
*) Technical changes and mistakes are excepted.
iPad is a registered trademark of Apple Inc.

Technical Details !
square
Measurements for installation in furniture, cabinets, wooden
materials, in mm"
Installation guide square. Inwall, Inwall Zero, Furniture
page of15 17

Cutting measurements for wood, in mm
"
Installation guide square. Inwall, Inwall Zero, Furniture
page of16 17
a = 7mm for flush installation
a = 0mm for overlying mounting

Do it right!
Installation guide square. Inwall, Inwall Zero, Furniture
page of17 17
1)
!! Important!
for loop
for square
!
Use included screws only!
Why? The screw head must be
extremely flat.
Special screws of assorted diameters
are included. The choice is yours.
For square use the 4 inner screw holes.
For loop use the 3 outer screw holes.
2)
!! Important!
for loop
After tightening the screws, cover the
screw holes by affixing the three
adhesive dots included!
Other manuals for Square
3
Table of contents
Other viveroo Tablet Accessories manuals
