Vivitar Clipshot 11698 User manual
Other Vivitar Digital Camera manuals

Vivitar
Vivitar ViviCam 8690v2 User manual

Vivitar
Vivitar VIVICAM 5118V2 User manual

Vivitar
Vivitar 91372, 91373 User manual
Vivitar
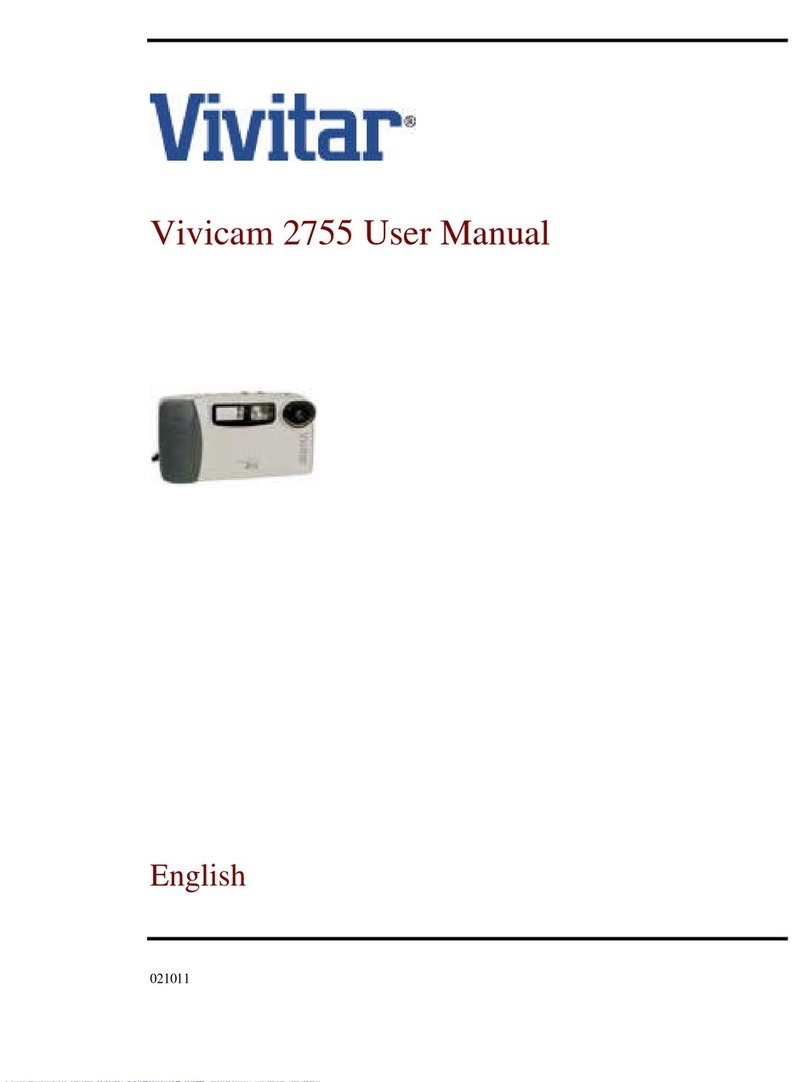
Vivitar Vivicam 2755 User manual
Vivitar
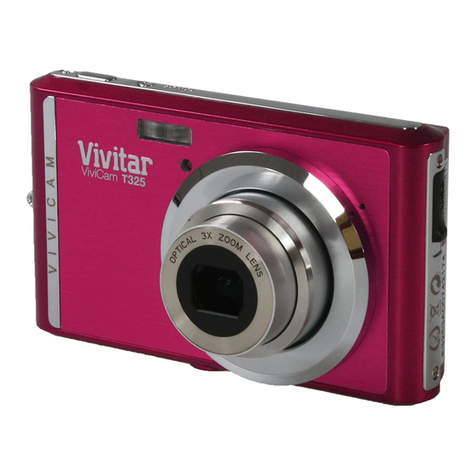
Vivitar ViviCam T325 User manual
Vivitar
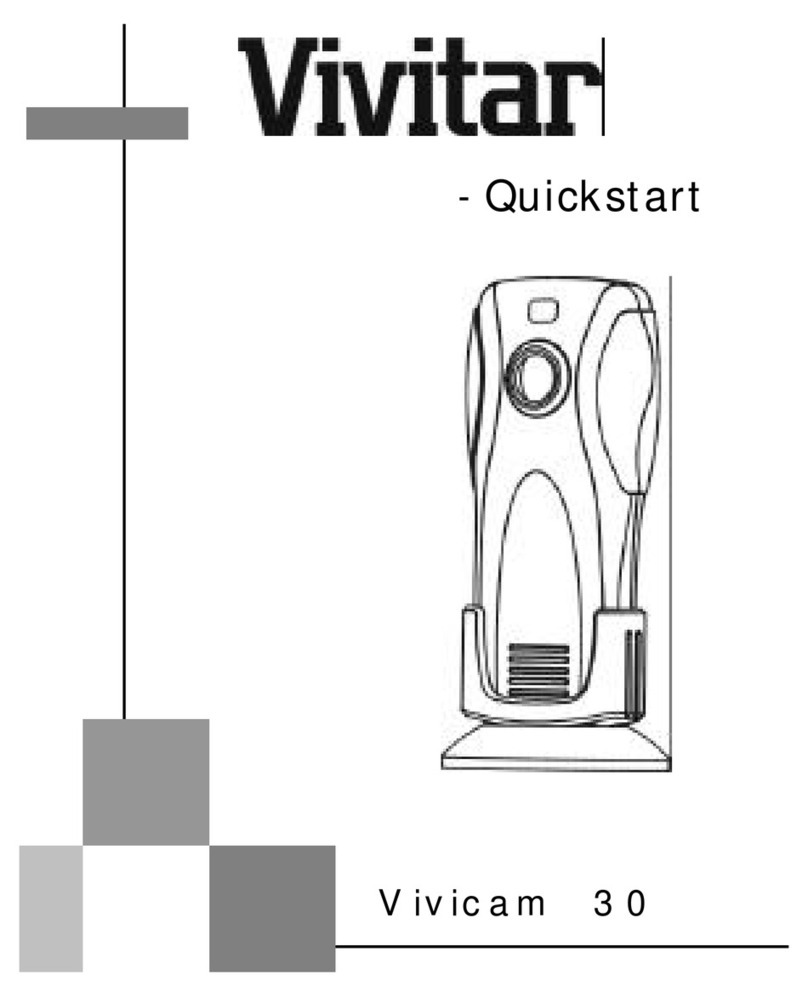
Vivitar Vivicam 30 User manual
Vivitar
Vivitar Vivicam 3755 User manual
Vivitar
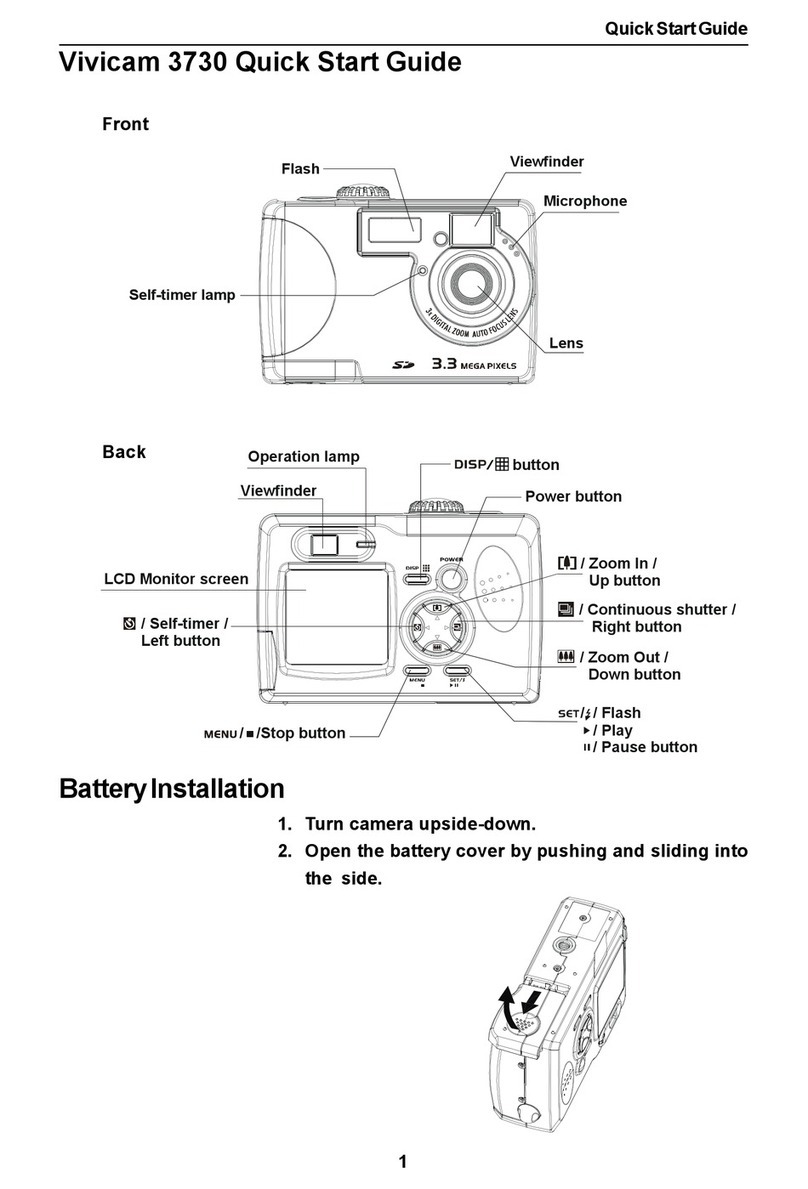
Vivitar ViviCam 3730 User manual

Vivitar
Vivitar Vivicam 55 Assembly instructions

Vivitar
Vivitar VIVICAM 5028 User manual

Vivitar
Vivitar Vivicam 35 User manual
Vivitar
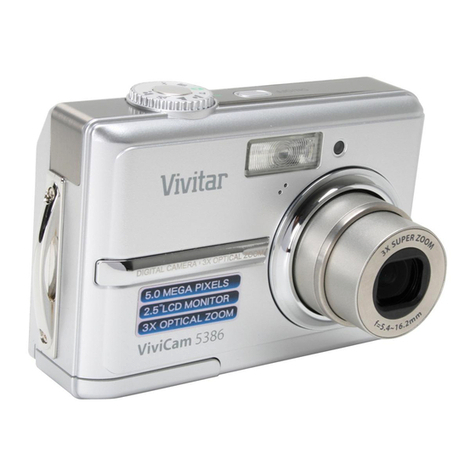
Vivitar VIVICAM 5386 User manual
Vivitar
Vivitar Vivicam 5399 User manual

Vivitar
Vivitar ViviCam T139 User manual
Vivitar
Vivitar ViviCam X022v2 User manual
Vivitar
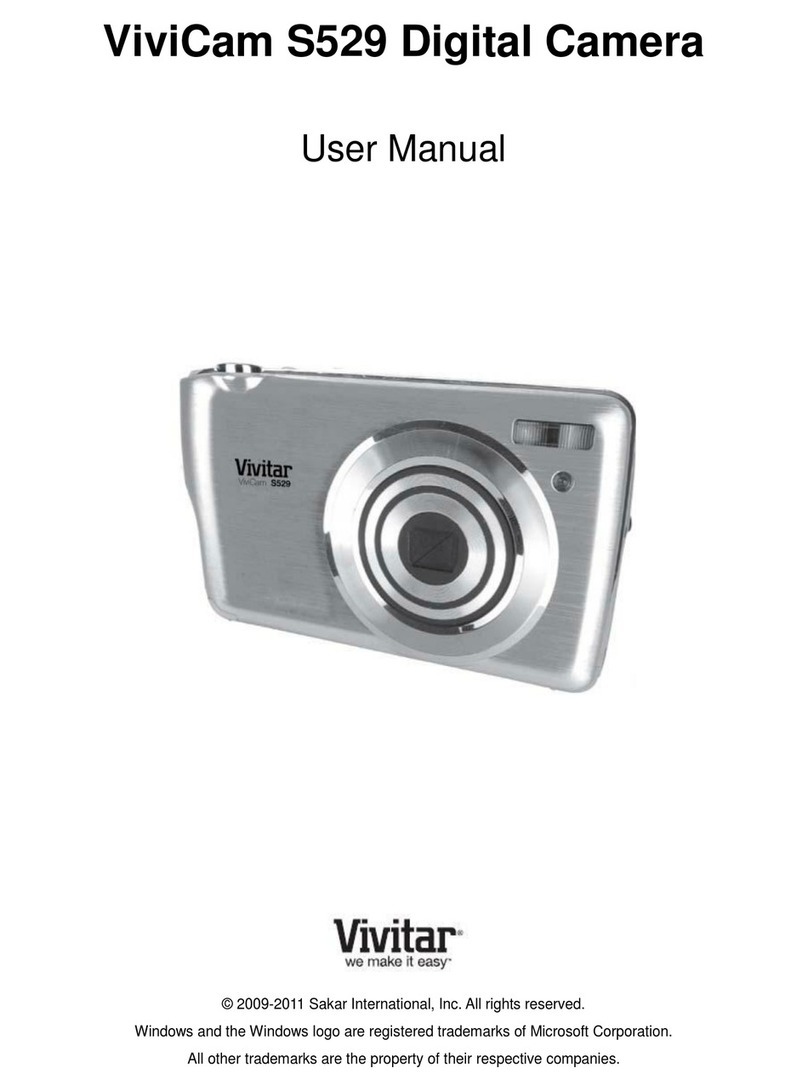
Vivitar ViviCam S529 User manual
Vivitar
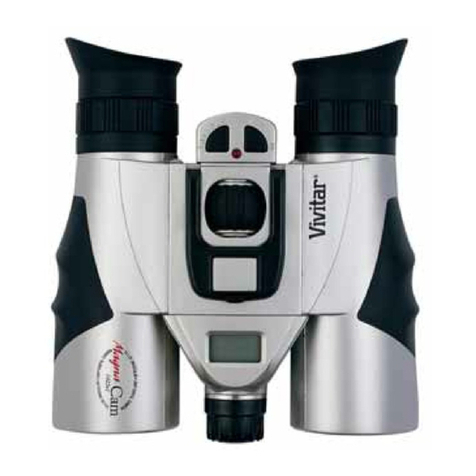
Vivitar MagnaCam 1025x1 Digital Camera/Binocular User manual

Vivitar
Vivitar ViviCam T119 User manual

Vivitar
Vivitar ViviCam 8018 User manual
Vivitar
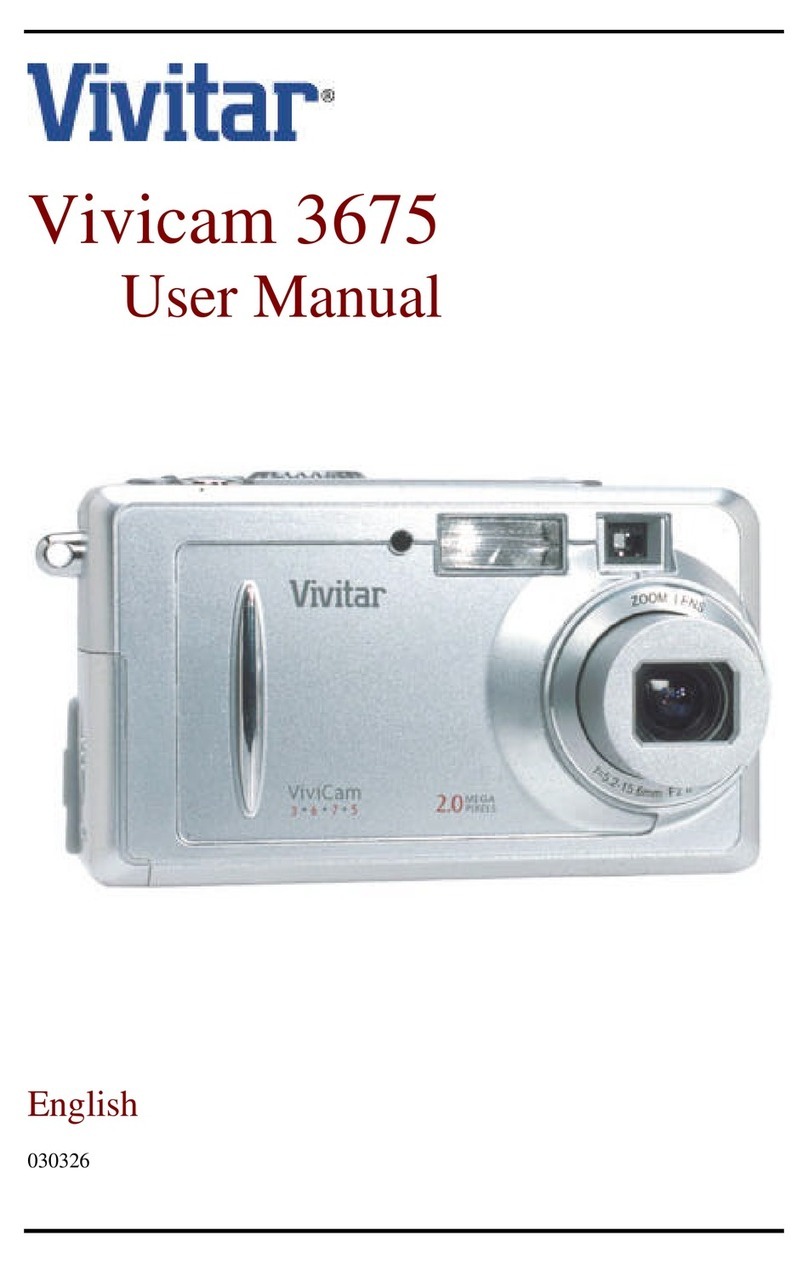
Vivitar Vivicam 3675 User manual
