Aem#$ Step
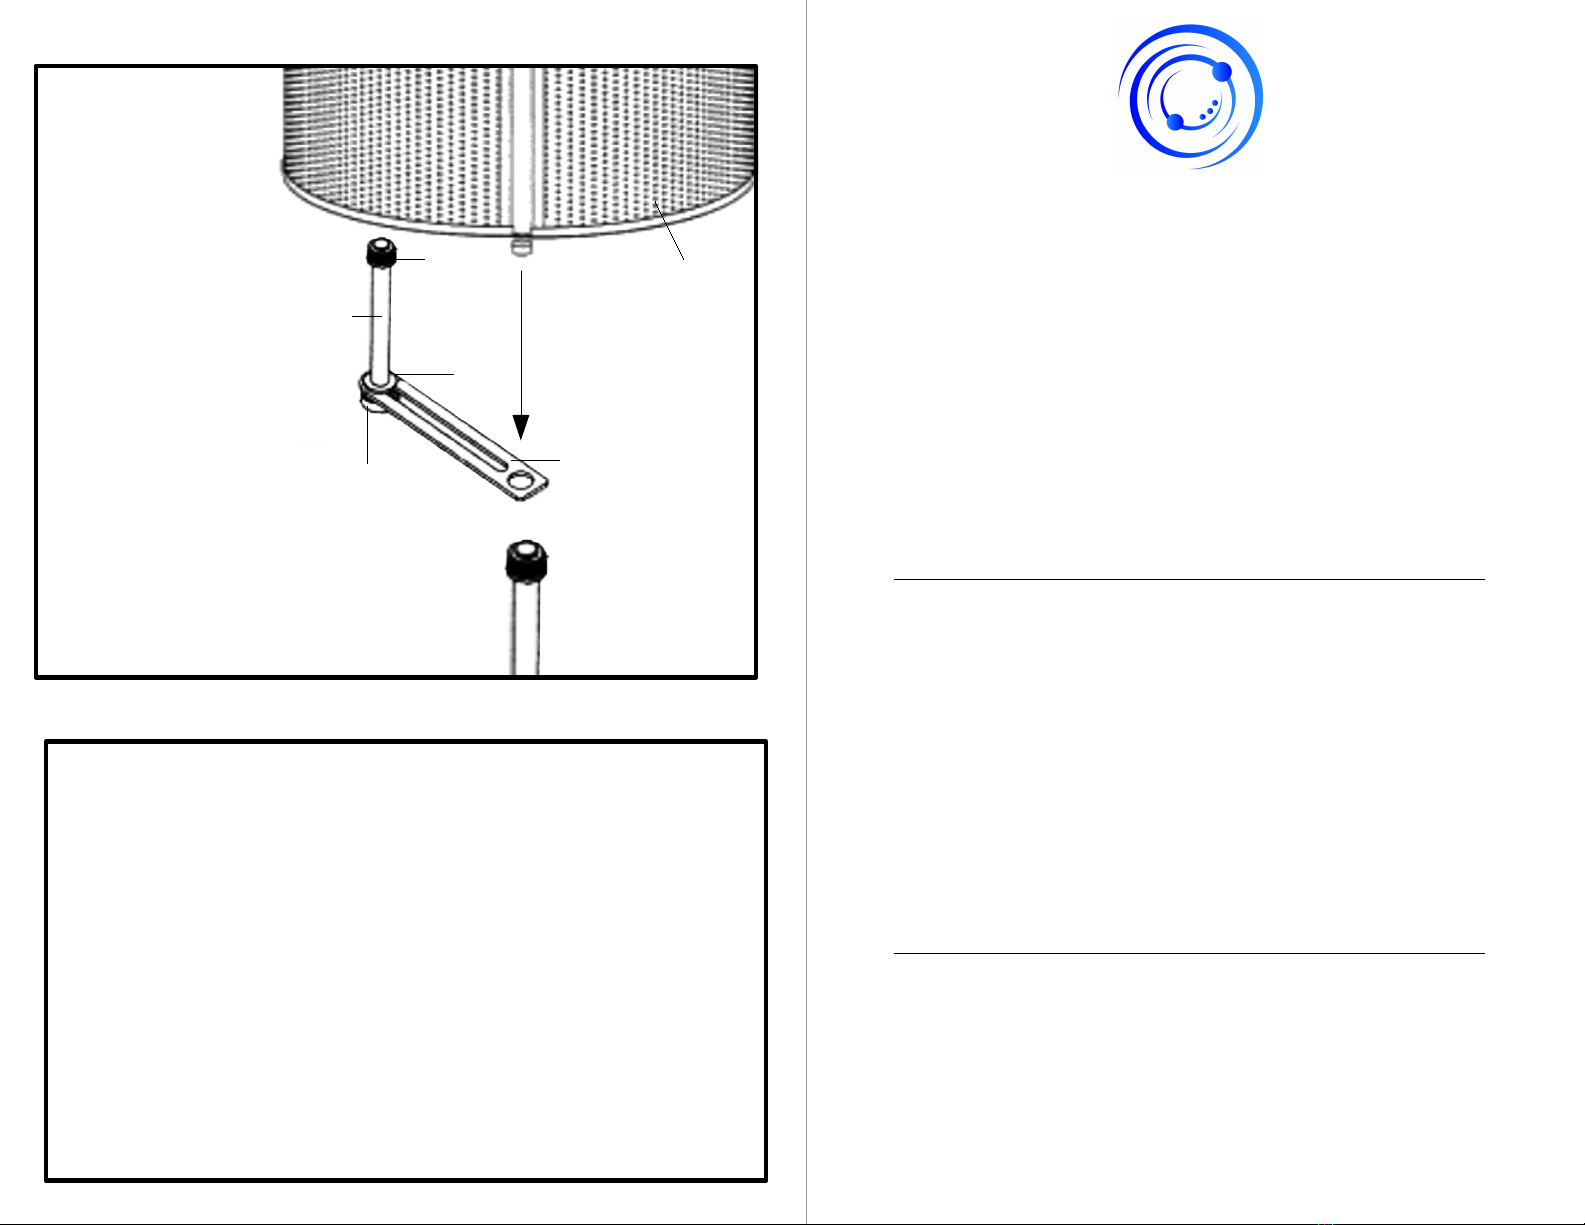
2
Assemble the
microphone mount
(B1) as shown. Place
microphone mount on
top of your
microphone stand,
then screw vocal
recording booth (A1)
onto microphone
stand. Attach a
microphone to the
mount, and adjust as
desired.
Select a microphone that has a cardoid pickup pattern. Compared with
an omnidirectional microphone used at the same distance, a cardoid
microphone will be more sensitive to the direct sound from the vocalist
or other source, and less sensitive to reflected sound arriving at the
sides and rear of the microphone. Selecting a large-diaphragm cardoid
capacitor microphone is the most common choice for vocal recordings.
Additional measures to improve your audio recordings can include
hanging a broadband absorber behind the vocalist to trap reflections
that might otherwise bounce off the rear wall and into the sensitive front
side of the microphone. Using a Pop Filter will also block explosive
consonants and excessive sibilance at the source. Finally, the position of
the mic in relations to the screen can make a difference in your
recordings. Moving the mic further into the screen area should increase
the attenuation of room reflections You’re ready to start recording!
Recordin Tip
A1
A
B
C
D
E
If you do not understand these directions, or if you have any
doubts about the safety of the installation, please call a
qualified technician. Check carefully to make sure there are no
missing or defective parts. Improper installation may cause
damage or serious injury. Do not use this product for any
purpose that is not explicitly specified in this manual. We
cannot be liable for damage or injury caused by incorrect
assembly or inappropriate use.
Email: help@vivo-us.com
Live chat: www.vivo-us.com
Call: 1-800-371- 6 4
For more VIVO products, check out our
website at
www.vivo-us.com.
If any parts are received damaged or defective, please contact
us. We are happy to replace parts to ensure you have a fully
functioning product.
Safet$ Warnin
Contact u at
Last updated: 06/27/18


