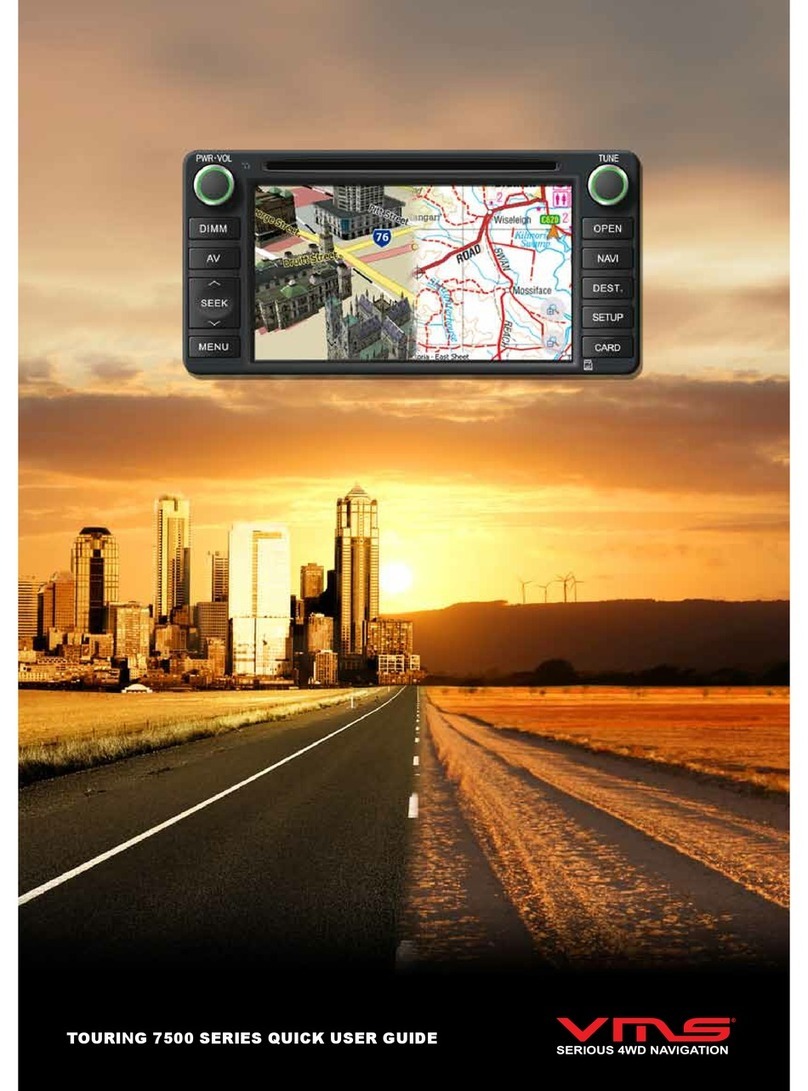
VMS T7500 User manual

gsfgdsgsf
GPS Navigation User Guide
TM

CONTENTS
NAVIGATION
Selecting on or off road modes.............................................................................. 3
OFF-ROAD NAVIGATION (Available to street and off-road units only)
Your choice of off road software............................................................................ 4
MAIN MENU
Main Menu Options............................................................................................... 5
VIEW MAP SCREEN
Viewing the map.................................................................................................... 6
On screen controls................................................................................................ 6-7
ROUTES
What is a route?.................................................................................................... 8
Creating a route.................................................................................................... 8-9
Viewing and Navigating along a route.................................................................. 10
Modifying a route.................................................................................................. 12
WAYPOINTS
What is a waypoint?.............................................................................................. 13
Adding a waypoint on the map.............................................................................. 13-14
Adding a waypoint by coordinates........................................................................ 15
Adding a waypoint at current location................................................................... 16-17
SEARCHING MAPS
Searching for a location........................................................................................ 18
TRACKLOGS
What is a tracklog?................................................................................................ 19
Creating a tracklog................................................................................................ 19-20
Accessing and modifying a tracklog...................................................................... 21
MAP LIST
Browsing the Map list............................................................................................ 22
SETTINGS
Accessing and modifying the settings................................................................... 23
ABOUT
Accessing About............................................... .................................................... 23
EXIT
Exiting VMS OFF ROAD GPS................................................................................ 23

3
To start any of the navigation applications, turn on your GPS and select the navigation or GPS icon.
VMS Portable GPS VMS In Dash GPS
Select the following options
(a) Street navigation
(b) Off road GPS
The default Off Road application is
VMS Off Road.
(c) Change Off road GPS software.
If you wish to select another Off Road
application, you can do so here (d).
c
b
a
d
NAVIGATION
Selecting on or off road modes

4
OFF-ROAD NAVIGATION
Your choice of off-road navigation software
The VMS Touring range are preloaded with two Off-Road GPS apps
VMS Off Road GPS OR OziExplorer CE (demo version)
Both apps perform the same job, that is to aid in Navigation in Off Road conditions.This Quick Navigation
Manual is compact and portable. It focuses on the VMS app, which is the recommended Off RoadApp. If
you prefer to use Ozi CE, sales, help & support is provided by OziExplorer directly from www.oziexplorer.
com
VMS Off Road GPS
The VMS app is developed inAustralia with easy of use and great features in mind. Therefor, it performs
very well on touch screen enabled devices which is a popular feature on all VMS GPS products. The app
is great for novice and experienced operaters of Off Road software. It provides a no fuss, intuitive user
experience and is packed with great features.
VMS Off Road GPS app technical support
Tutorials, Hints & Tips: can be found on our website http://kb.vms4x4.com
Ozi Explorer CE
A demo version of Ozi Explorer CE is preloaded on this device for convenience and by request from
customers who are experienced with the software, and are familiar with it’s operations. OziExplorer iVMS
does not provide technical support Ozi Explorer CE. For help and support, please contact Ozi Explorer
directly.
The demo version does require an activation key. Although all features can be accessed in the demo
version, the application will time out after 30 minuntes of use. To register Ozi Explorer, a registration code
can be purchased through the Ozi Explorer website. www.oziexplorer3.com/eng/aussiepurchase.html
Ozi Explorer technical support & user guides
www.oziexplorer.com
Please Note: Off-Road Navigation is not available to “street only” navigation purchases.

5
MAIN MENU
Main Menu Options
View Map
Displays the map screen with the last open map and position. See pages 5-6 for more information.
Routes
Create a new route or modify an existing route. See pages 7-11 for more information.
Waypoints
Create a new waypoint or modify an existing waypoint. See pages 12-16 for more information.
Find Place
Key in the name of place or destination to then go to or view on the map. See page 17 for more
information.
Tracklogs
Track where you have been. Start / stop or view your track log. See pages 18-20 for more
information.
Map List
Easy access to a complete list of maps. See page 21 for more information.
Settings
Access to a variety of common settings that can help tailor the application to suit your needs.
See pages 22 for more information.
About
Check the current version and build of the app. See pages 23 for more information.
Exit
Exits the app.

6
When you launch the VMS app you will
be presented with the main menu. To start
tracking your current position, the simplest
way is to tap on the “View Map” button.
Zoom Out Speed
Menu Lock GPS PositionCurrent GPS Position
Map
Heading Position
Altitude
Map Name
Zoom In
On screen controls
VIEW MAP SCREEN
Viewing the map

7
VIEW MAP SCREEN
Current GPS position
Only if you have acquired a GPS position will you see this current position arrow. The current position
arrow pinpoints your location precisely on the map. The arrow points in the direction you are heading
and rotates accordingly as you change your course.
Heading
Heading displays the angle of the direction in which you are travelling. 0 (true north) to 360 degrees.
Lock position
Use the “Lock GPS” button to display your current GPS position centred on the map. This can be
helpful for when you are browsing around any map and wish to quickly revert back to your current
position.
Map
Shows the current map on screen. To browse around the map, simply tap and drag the map in the
desired direction you wish to move the map.
Menu
Brings up the main menu options (see page 4)
Position / Altitude / Map Name
By tapping in this location you can rotate between the three different displays available to you, they are:
Position: Displays your current / live gps position in a coordinate format.
Formats available are: longitude latitude: Degrees, Minutes, Seconds.
Decimal Minutes, Decimal Degrees.
Altitude: Displays current altitude in metres.
Map Name: Displays the name of the current visible maps.
Speed
Displays your current speed. Formats available: Metric, Imperial or Nautical.
Zoom in
Tap the “Zoom in” button to view the current map in more detail. When the maximum zoom
level has been reached for a map, the next tap of the “Zoom In” button will automatically load the next
available map scale.
Zoom out
Tap the “Zoom out” button to view the current map in less detail. When the maximum zoom
level has been reached for a map, the next tap of the “Zoom In” button will automatically load the next
available map scale.

8
A route is a series of waypoints linked together to provide more accurate navigation information along
a route. Each waypoint on the route is a via point. When each via point is reached, the next waypoint in
the route is automatically called.
Prior to accessing the routes menu, please
locate the region or map you wish to plot the
route.
When ready, access the main menu and
press on “Routes”
Press the “New Route” button
ROUTES
What is a route?
Creating a route

9
A crosshair will be displayed on the centre
of the map. Position the map so that the
crosshair is in the position you wish the
begin route from. Press the icon with the A+
symbol to drop the rst point.
The beginning of the route will be labelled
with an (A) marker. (As in going from point
A to B.)
After the starter point has been placed,
continue to add as many more points as you
desire to draw your route.Again simply move
the map to line up the position of the next
checkpoint and press the A+ symbol to drop
each via point as illustrated.
When you have nished the route press the
green tick button. Your last via point dropped
will become the end of the route and be
labelled by a (b) marker.
ROUTES

10
If you plan to navigate along the route
you have just created, please return to
the main menu, select “Routes”, and
select “Route” list.
Here we can see the route we have just
created. We can see the title of the route
with its date, the distance of the route,
and it’s starting coordinates. Please
select the route for more information
and options.
From this screen here we have a large
range of options to choose from.
(a) If you wish to simply get going and
navigate to this route, simply press the
“Follow Route” button.
This will bring take you to your current
position on the map and create a
heading guidance line to assist in
navigating you to the beginning of the
route, or the nearest via point.
(b) If you wish to start from the other
end, select “Reverse route”
a
b
ROUTES
Viewing and Navigating along a route

11
In this instance the rst checkpoint is
closer then the beginning position (A),
so the guidance line has automatically
locked on to whatever point is closest.
You also have the option of choosing
which via point you wish to navigate to.
To do this access the Route Information
page on the route you are interested in.
(a) Select the via point you are interested
in and select “Go to”.
(b) You even have the option of simply
viewing this via point on the map by
pressing “View on Map”.
If you selected “Go to” a particular via
point, the map screen will display and a
guidance line will point in the direction of
the selected via point.
b
a
ROUTES

12
By accessing the route information page
of a desired route, you will have the ability
to modify the routes title, via points,
route description or delete the route all
together.
(a) To modify the title of a route, select on
the title of the route, by default the route
title will be labelled with the date, and the
route number.
(b) To modify the position or title of
each via point, select on the title of the
Via point, by default the via point tile will
be labelled Via point X, and display the
longitude and latitude coordinates
(c) To add a description to the route tap
on the description box to add your own
notes about this route.
(d) To delete the whole route including all
it’s via points, press the “delete” button.
When you have selected a via point of
choice, it is here you will have the ability
to modify the via points title, coordinates,
description or simply deleting the current
via point.
(a) To modify the title of a via point, select
on the title of the via point, by default the
via point title will be labelled as Via point
X, x being the number order from which
that via point was created.
(b) To modify the position of the selected
via point, you can modify the coordinates
of the Longitude and Latitude.
(c) To add a description to the via point
tap on the description box to add your
own notes about this via point.
(d) To delete this single via point, press
the “delete” button.
a
b
c
a
b
c
d
d
ROUTES
Modifying a route

13
Prior to accessing the Waypoints menu,
please locate the region or map you
wish to plot the route.
When ready, access the main menu
and press on “Waypoints”.
Press the “Add waypoint” button.
Next you will be prompted to select a
method for creating your way point.
Each method will be explained below.
Waypoints are used to mark points of interest such as locations or landmarks for later reference. The
Waypoint can be stored in memory and loaded for later use. Examples of using waypoints could be
marking a camp site, vehicles location, a hazard or even your favourite shing spot. Waypoints can be
marked prior to or during your trip either by manually entering coordinates or simply by marking them
on the navigators map.
What is a waypoint?
Adding a waypoint on the map
WAYPOINTS

14
To add a waypoint on the map, press
the “on map” button.
A crosshair will be displayed on the
centre of the map. Position the map so
as the crosshair is in the position with
where you want to place your waypoint.
Press the icon with the “pin and +
symbol” to drop the rst point.
More than one waypoint can be
placed on the map while in this mode.
Continue adding as many waypoints as
desired. When you are happy with your
placements, please press the “green
tick” button.
WAYPOINTS

15
To add a waypoint by coordinate press
the “By Coordinates button”
If you know the coordinates of a
location of interest, this is the page you
will enter them in.
(a) If required, title your waypoint by
pressing into this box here. If you
leave the waypoint untitled it will
automatically title your waypoint with
the date and waypoint number.
(b) To enter in your coordinate
information, tap in each individual box
to modify the value.
(c) To add a description to the waypoint
tap on the description box to add your
own notes about this location.
(d) To navigate to the waypoint, press
the “Go to” button to be taken to your
current GPS position on the map with a
guide line to your in the heading of the
waypoint selected.
(e) To delete the waypoint, press the
“delete” button.
(f) To place the waypoint and view it’s
current position on the map, press the
“View on map” button.
b
d
e
f
Adding a waypoint by coordinates
WAYPOINTS
a
c

16
To add a waypoint at your current GPS
location simple press the “At location”
button.
Awaypoint will be placed at your current
GPS position as illustrated.
To access a waypoint previously placed
on the map, select the “Waypoint list”
button from the waypoints menu.
WAYPOINTS
Adding a waypoint at current location

17
The waypoint list will bring up a list of all the
waypoints you have created in the past.
From here you have the option of selecting a
waypoint of interest, of which you are able to
view on the map, navigate or modify its details.
(Figure 1) Navigating to a waypoint
(Figure 2) Viewing a waypoint
b
d
e
f
From this menu you have a series of options
relating to the waypoint you have just selected.
(a) To modify the waypoints existing title, press
on the title it’s self.
(b) To modify the coordinate location of this
current waypoint , tap in any of the individual
elds to modify each individual value.
(c) To add or modify the waypoints description,
tap on the description box to add your own
notes about this location.
(d) To navigate to the waypoint, press the
“Go to” button to be taken to your current gps
position on the map with a guide line to your in
the heading of the waypoint selected.
(See gure 1)
(e) To delete the waypoint, press the “delete”
button.
(f) To view the waypoints current position on the
map, press the “View on map” button.
(See gure 2)
WAYPOINTS
a
c

18
If you know the name of a place of interest, you
can use the app’s search feature to search for your
destination via a keyboard. To begin, select the “Find
Place” button.
Begin typing in part or the whole word your destination.
The search will return a list of results that contain part
of the word typed into the search. Search results may
vary depending on the maps loaded into the VMS app.
Tap on the required place of choice.
When the destination has been selected, you are
presented with an information page that contains some
various options.
(a) Displays the title of the location
(b) Displays the longitude and latitude of the location
(c) Select the “Go to” button if you wish to set this
location as your destination. A guidance line will
automatically point in the direction of the destination
from your current GPS Position.
(d) Select the “View on map” button if you wish to
simply view the location of interest on the map.
a
b
c
SEARCHING MAPS
Searching for a location
d

19
All the tracklog features can be accessed
via the main menu by tapping on “Tracklog
“button.
Press the “New track log” button to begin
creating your new track log.
As soon as you select the “New track log”
button, the map screen will be displayed and
your track log will begin tracking from your
current GPS position.
Atrack log, also known as a bread crumb trail is simply a record of your previous GPS positions displayed
as a “trail” on the map.
TRACKLOGS
What is a tracklog?
Creating a tracklog

20
Your track log will be marked out by a
yellow line as indicated on the map. If
you wish to modify or stop the current
track log, press the track button with
the (i) symbol to bring up the Track log
information page.
The track log information page will be
displayed containing some various
modication options relating to that
track log le created.
(a) If required, title your track log by
pressing into this box here. If you leave
the track log untitled it will automatically
title your track log with the date and
track log number.
(b) Start Time/ Date: TheTime and Date
of the track log are recorded.
(c) Travel Time:Atimer records the time
that the track log has been active for.
(d) To add a description to the track log
tap on the description box to add your
own notes about this track log.
(e) Press the “Stop” button to stop the
track log from recording your footsteps.
(f) Press the “Delete” button to delete
this track log.
(g) Press the “view on map” button to
view the current status of your track log.
a
bc
d
e
f
g
TRACKLOGS
Table of contents
Other VMS GPS manuals
VMS
VMS Touring 500S User manual
VMS
VMS Touring 700HDs II User manual
VMS
VMS Touring X Series User manual
VMS
VMS 3DX User manual
VMS
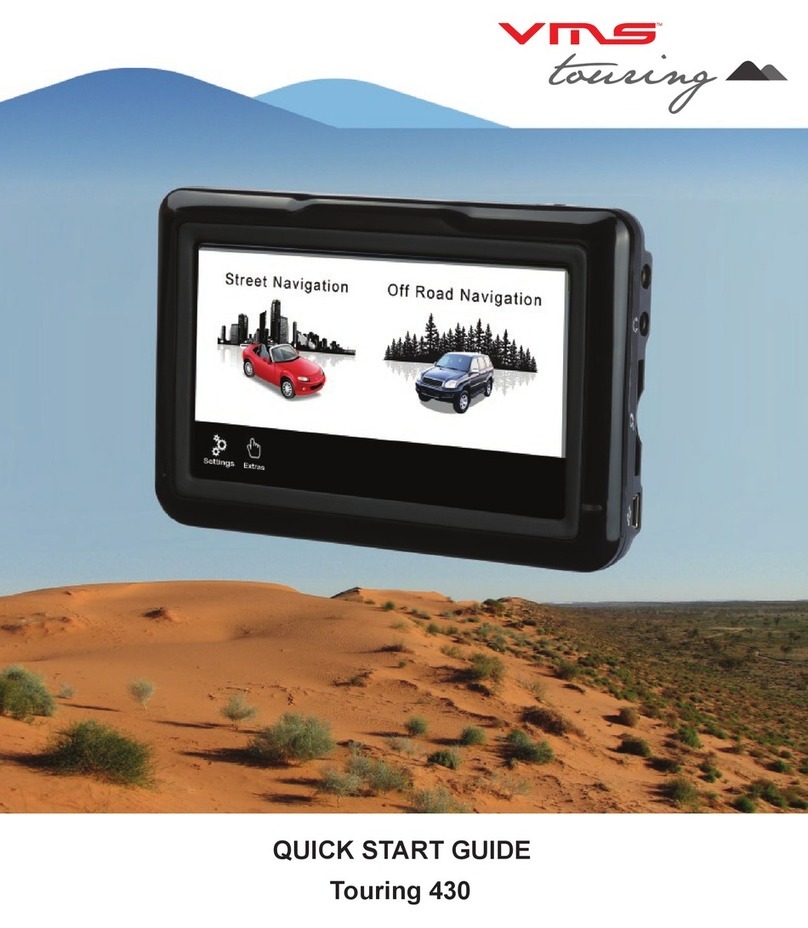
VMS Touring 430 User manual
VMS
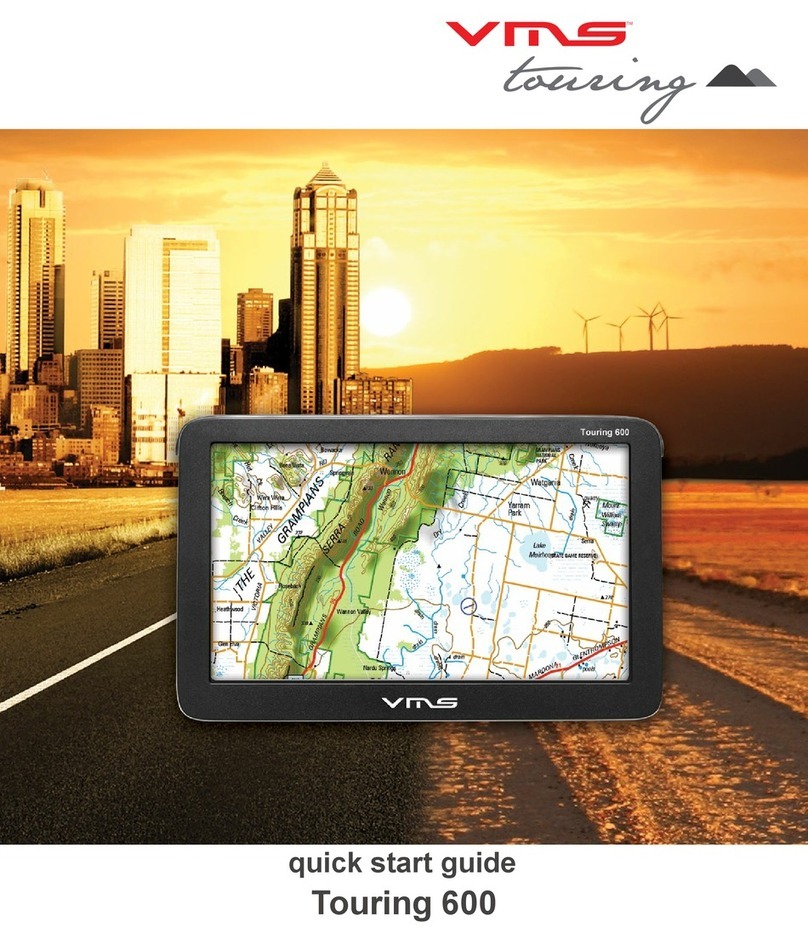
VMS Touring 600 User manual
VMS
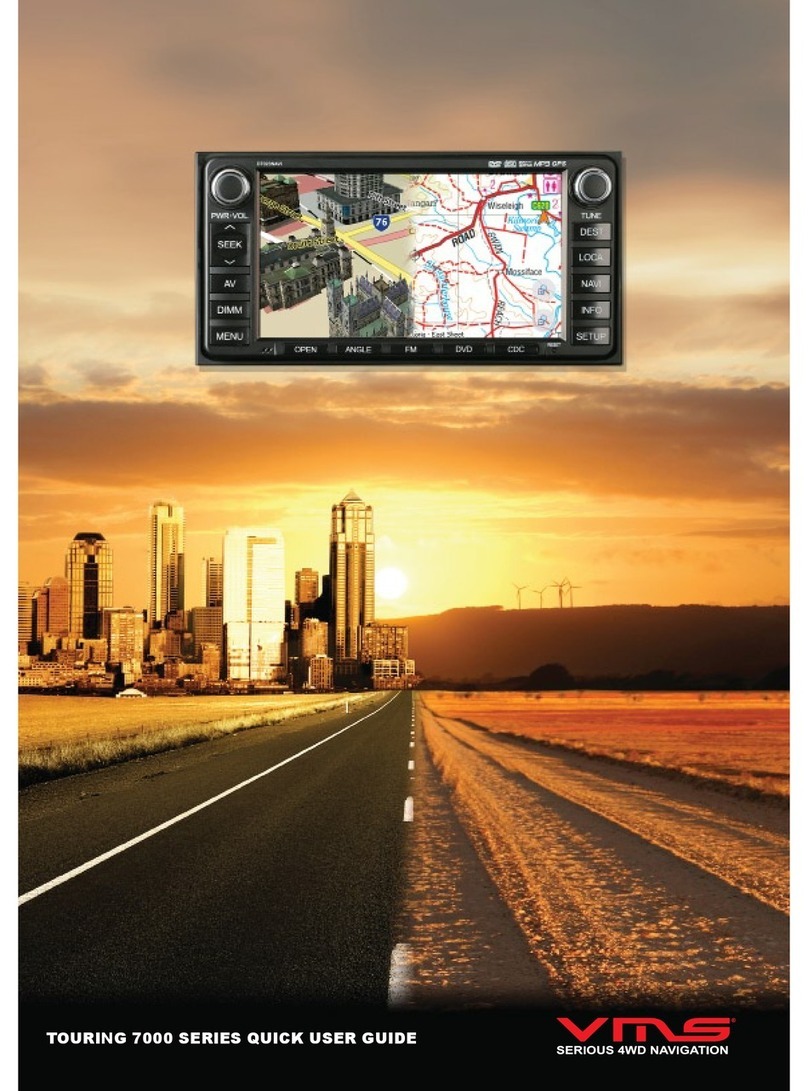
VMS TOURING 7000 SERIES Instruction manual
VMS
VMS AVNC Instruction manual
VMS
VMS TOURING 7500 SERIES Instruction manual
