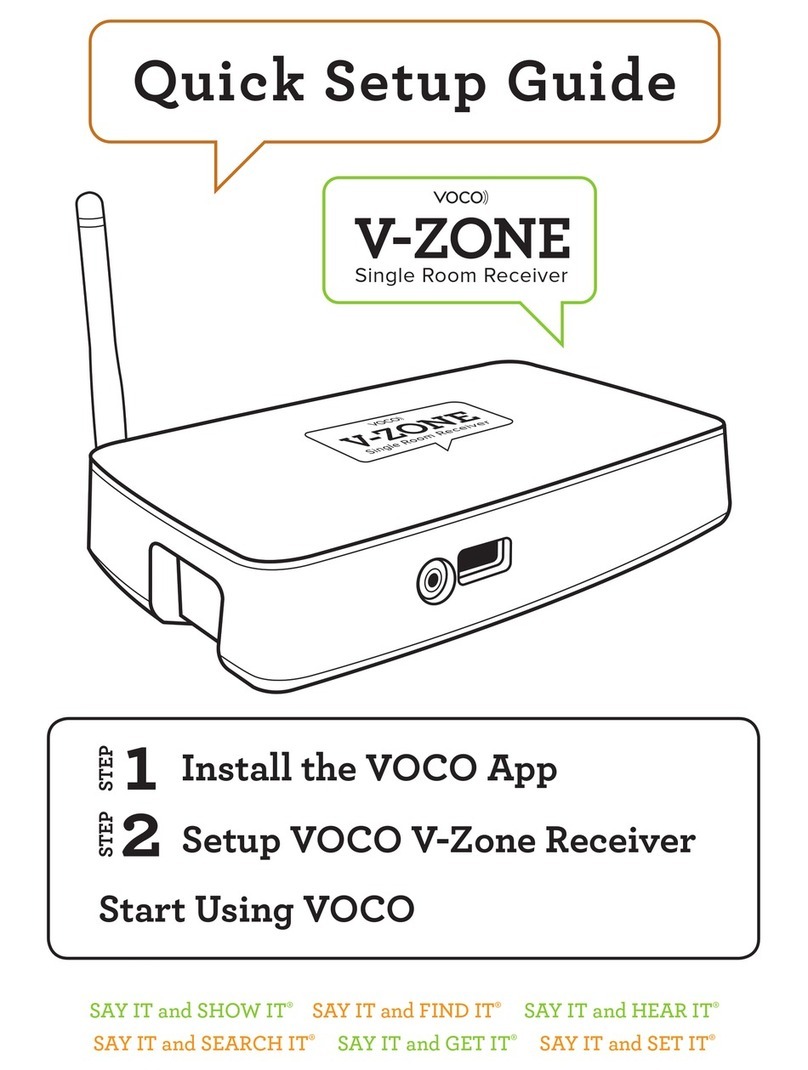
VOCO V-Zone User manual

Stream Music & Video
In Any Room. Wirelessly.
V-ZONE
Quick Start Guide
READ ME
FIRST

VOCO Controller App from the Apple App Store® or Google Play®
Home WiFi Network
Android® or Apple® Smartphone or Tablet
2
31
1
iPad
VOCO Controller App from the Apple App Store® or Google Play®
Home WiFi Network
2
4
1
4
VOCO V-ZONE Package Contents
V-Zone Music Receiver
Powercord
(American or European) Ethernet Cord (6’)
Whats Required:
North
American
European
BACK V-ZONE
*Note: For automatic setup connect your VOCO device directly to Ethernet. Also, VOCO is
always striving to provide you with the best possible experience using your VOCO device,
which may require a firmware update to your VOCO device, upon initial setup. Because of this
we recommend connecting your VOCO device directly to Ethernet on initial setup.
*Note: Have your Wifi network
password ready.
Figure
Figure
1
Page
Figure
3
Figure
Antenna

CONFIGURE
Install the VOCO Controller App
Power Up Your VOCO V-Zone
Connect your Android® device to Wifi
Setup VOCO V-Zone on the Network
Go to Google Play® on your Android device and download the VOCO
Controller app
STEP 1:
Screw the antenna onto the back of your V-Zone where it is labled
ANTENNA. Connect the Powercord to your V-Zone and plug it in to your
outlet. The lights on the front of the device will signify that the power is on.
Connect your Android device to your home
Wifi network.
Open your VOCO Controller app and in the ZONES screen select the
CONFIGURE icon to setup the VOCO device.
Simply follow the on screen instructions and it will walk you through a short
setup process for your VOCO device. Your VOCO device will be ready when
you see the status “...Ready”
next to the name you gave to your
VOCO device.
Complete Setup
STEP 2:
STEP 3:
STEP 4:
STEP 5:
CONTINUE TO PAGE 4: Create a myvoco.net account
Android V-Zone Setup
*Note: This could take up to 30 minutes
2
Figure
2
Page
3
Figure

iPad
Go to Settings on your Apple® device, then Wi-Fi and connect your Apple
device to the Wi-Fi hotspot named:
VOCO_CONFIG_00….
Open the VOCO Controller app and it will automatically
take you to the start of the setup process for your VOCO
device. Simply follow the on screen instructions.
Your VOCO device will be ready when you see the
status “...Ready” next to the name you gave to your
VOCO device.
Go to the Apple App Store® on your Apple device and download the VOCO
Controller app
Connect your Apple® device to VOCO Wifi Network
Setup VOCO V-Zone on the Network
Once you are finished with the setup of your VOCO device, go to Settings
on your Apple® device and connect to the same
Wi-Fi you just setup your VOCO device on
(usually your home Wi-Fi network).
Connect Apple Device to Your Home Wifi Network
Apple V-Zone Setup
Install the VOCO Controller App
STEP 1:
Power Up Your VOCO V-Zone
STEP 2:
STEP 3:
STEP 4:
*Note: This could take up to 30 minutes
STEP 5:
3
Page
CONTINUE TO PAGE 4: Create a myvoco.net account
Screw the antenna onto the back of your V-Zone where it is labled
ANTENNA. Connect the Powercord to your V-Zone and plug it in to your
outlet. The lights on the front of the device will signify that the power is on.
2
Figure 3
Figure

Now play music to your V-Zone. See the included User
Guide to learn to play music to your V-Zone+
By creating a myvoco.net account you enable your VOCO device to
remember your login information for music services such as Pandora and
Murfie, and thus you won’t have to login everytime you wish to stream
Online Services to your VOCO device.
Go to the VOCO Controller app on your Android or Apple device,
and tap on the Online Services icon, at the top of the screen.
You will receive a pop-up window, select Setup your account.
Walk through a short registration process until you get to the
screen notifying you that your account was successfully
created, and select Done.
A validation email will be sent, to the email address that you
used to create your myvoco.net account, from
http://validate.myvoco.net/cgi/validate
Open the VOCO Controller app on your Apple® or Android®
device and tap on the Online Services icon and select the
option “Click here to set or change the user.” This will now associate your
VOCO device with your Online Service accounts.
TROUBLESHOOTING: For troubleshooting, latest Quick Start Guide, Full Manuals
and additional assistance go to the SUPPORT section of www.myvoco.com
Or contact us at:
Phone: 888-879-VOCO (8626)
Email: [email protected]
CONGRATULATIONS! You have successfully set up your V-Zone. For instructions on
using the V-Zone please visit the Get To Know Me section of the VOCO Controller
app on your phone or at myvoco.com.
STEP 6:
STEP 7:
STEP 8:
STEP 9:
STEP 10:
4
Page
Create a myvoco.net account

Red:
1. When red light is solid, it means the device is beginning to boot up or has recycled
power; your player will not be functional at this stage.
2. When red light is blinking alone, it means one of two things: (1) this device is doing a
media scan (your player may be functional at this stage) or (2) your VOCO app is in the
“Config Wizard” configuring a zone (your device may be functional at this stage).
3. When red light is blinking rapidly along with the blue light, it means that it is
downloading new or updated software. Your device will not be functional at this point,
and you must let the download happen. Timing on this will depend on your WiFi or
internet connection speed.
Orange:
1. When orange light is solid, that means the device is currently connected to Ethernet.
2. When the orange light is blinking, the device is recognizing Ethernet.
3. When the orange light is flickering (devices with touch panels), that means the device’s
touch panel is being manually touched.
VOCO DEVICE LED’s
What Do They Mean?
Green:
1. When green light is blinking that means the device is currently not on the (a) network.
This happens most often if the device is configuring or if the device has not yet been
configured.
2. When green light is solid, the device is successfully on the (a) network. This is a
prerequisite for the device working properly.
Blue:
1. When blue light is blinking (blink, blink, blink…pause) repeatedly, that means the device
is not connected to the server. This could be while it is warming up for a boot up or if a
server that the unit was previously connected has become unavailable on the network.
2. When blue light is solid, this means that media (music or video) is currently streaming.
3. When blue light is blinking rapidly with the red light: Please refer to #3 under red.
During your initial setup of your VOCO device you will see the LED
lights on the front go through the following sequence and what each
means:
1.) Slow Blinking Red - New Firmware is being uploaded
2.) Fast Blinking Red and Blue - Firmware packages being updated
3.) Solid Green - All firmware has been updated and it is reconnected
5
Page
After initial setup of your VOCO device, the following is a guide to what
the LED’s mean on your VOCO device.

Stream Music & Video In Any Room. Wirelessly.
For troubleshooting, latest Quick Start Guide, Full Manuals
and additional assistance go to the SUPPORT section of
www.myvoco.com
Or contact us at:
Phone: 888-879-VOCO (8626)
Email: [email protected]
Table of contents
Other VOCO Receiver manuals
Popular Receiver manuals by other brands
FRIEDHELM LOH
FRIEDHELM LOH Rittal RiLine Compact SV 9635.210 Assembly instructions

Realistic
Realistic DX-75 Operating and service instructions

Omega Engineering
Omega Engineering UWTC-REC3 user guide
Dish Network
Dish Network Satellite Television user guide
Becker
Becker RN3320 Installation and operation
Meinberg
Meinberg TCR180PEX-EL manual
