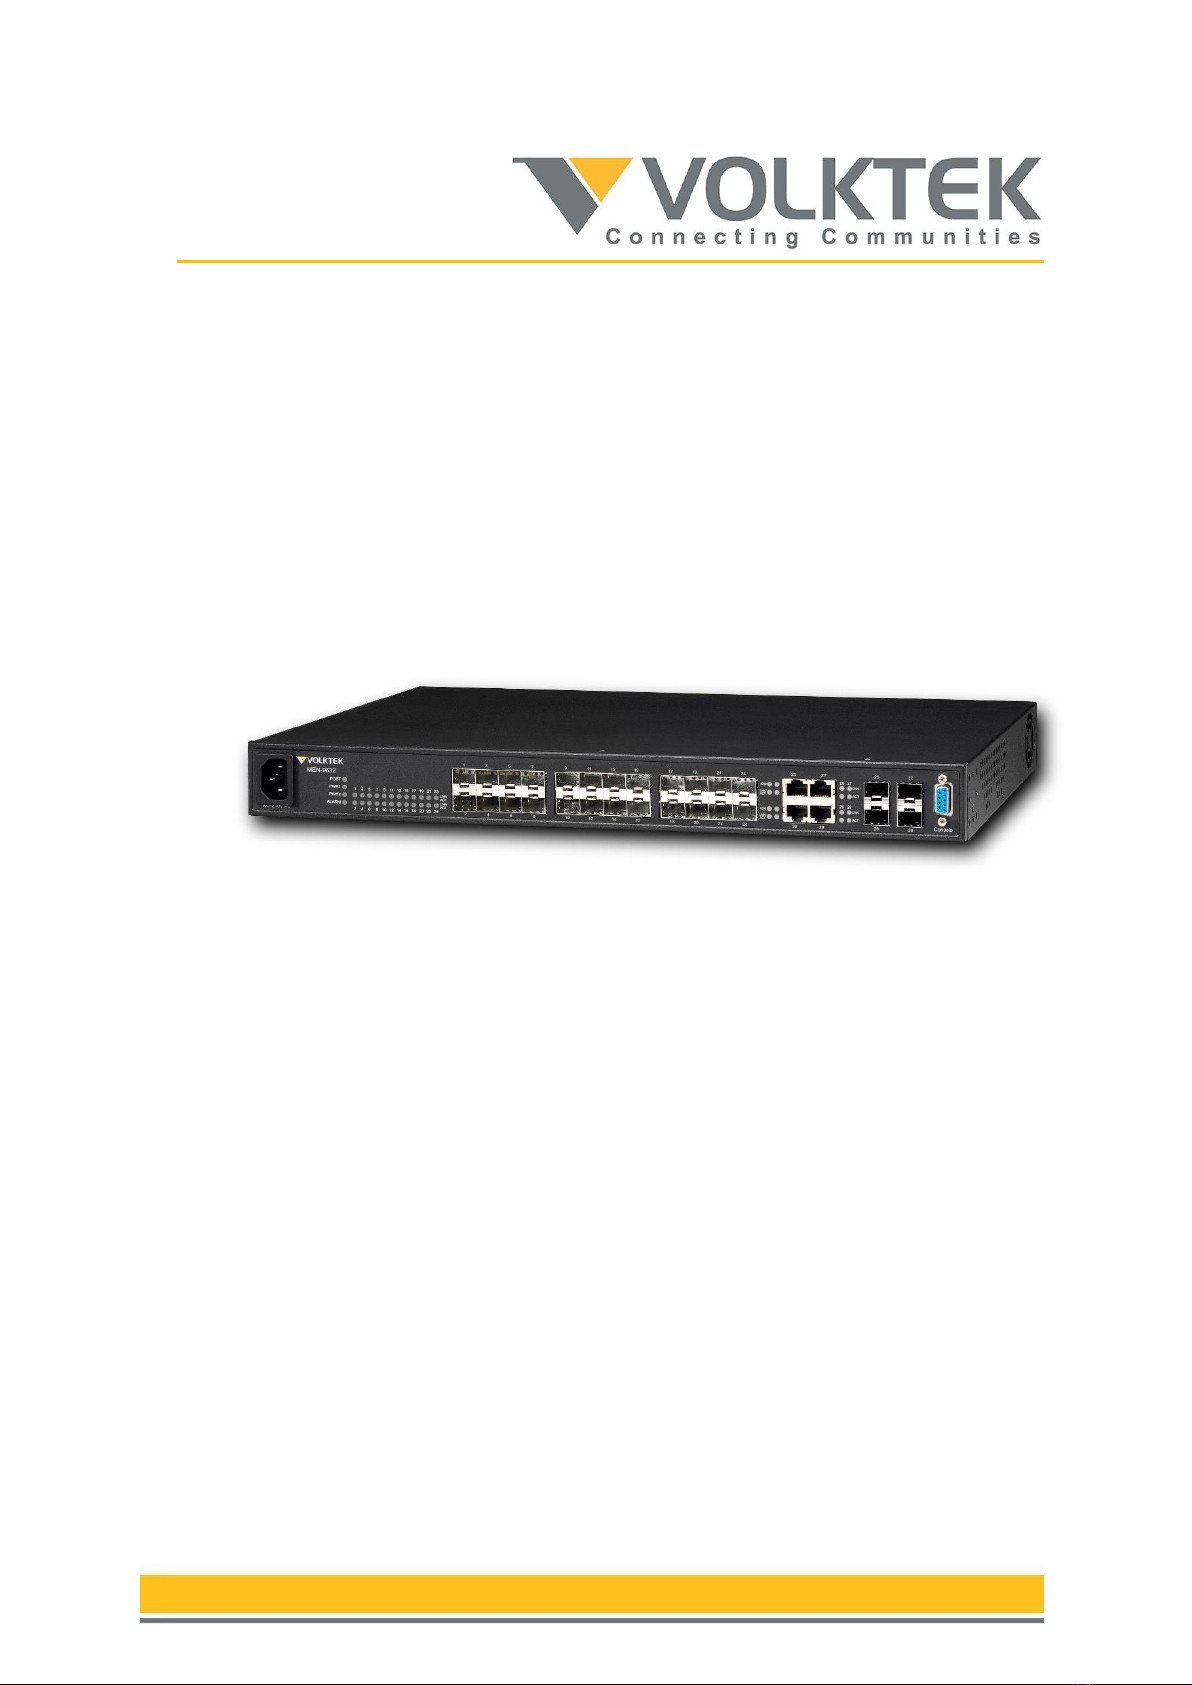
Installation Guide for MEN-9632
3
Contents
Preface .....................................................................................................4
Related Documentation...............................................................................4
1. Hardware Installation..........................................................................5
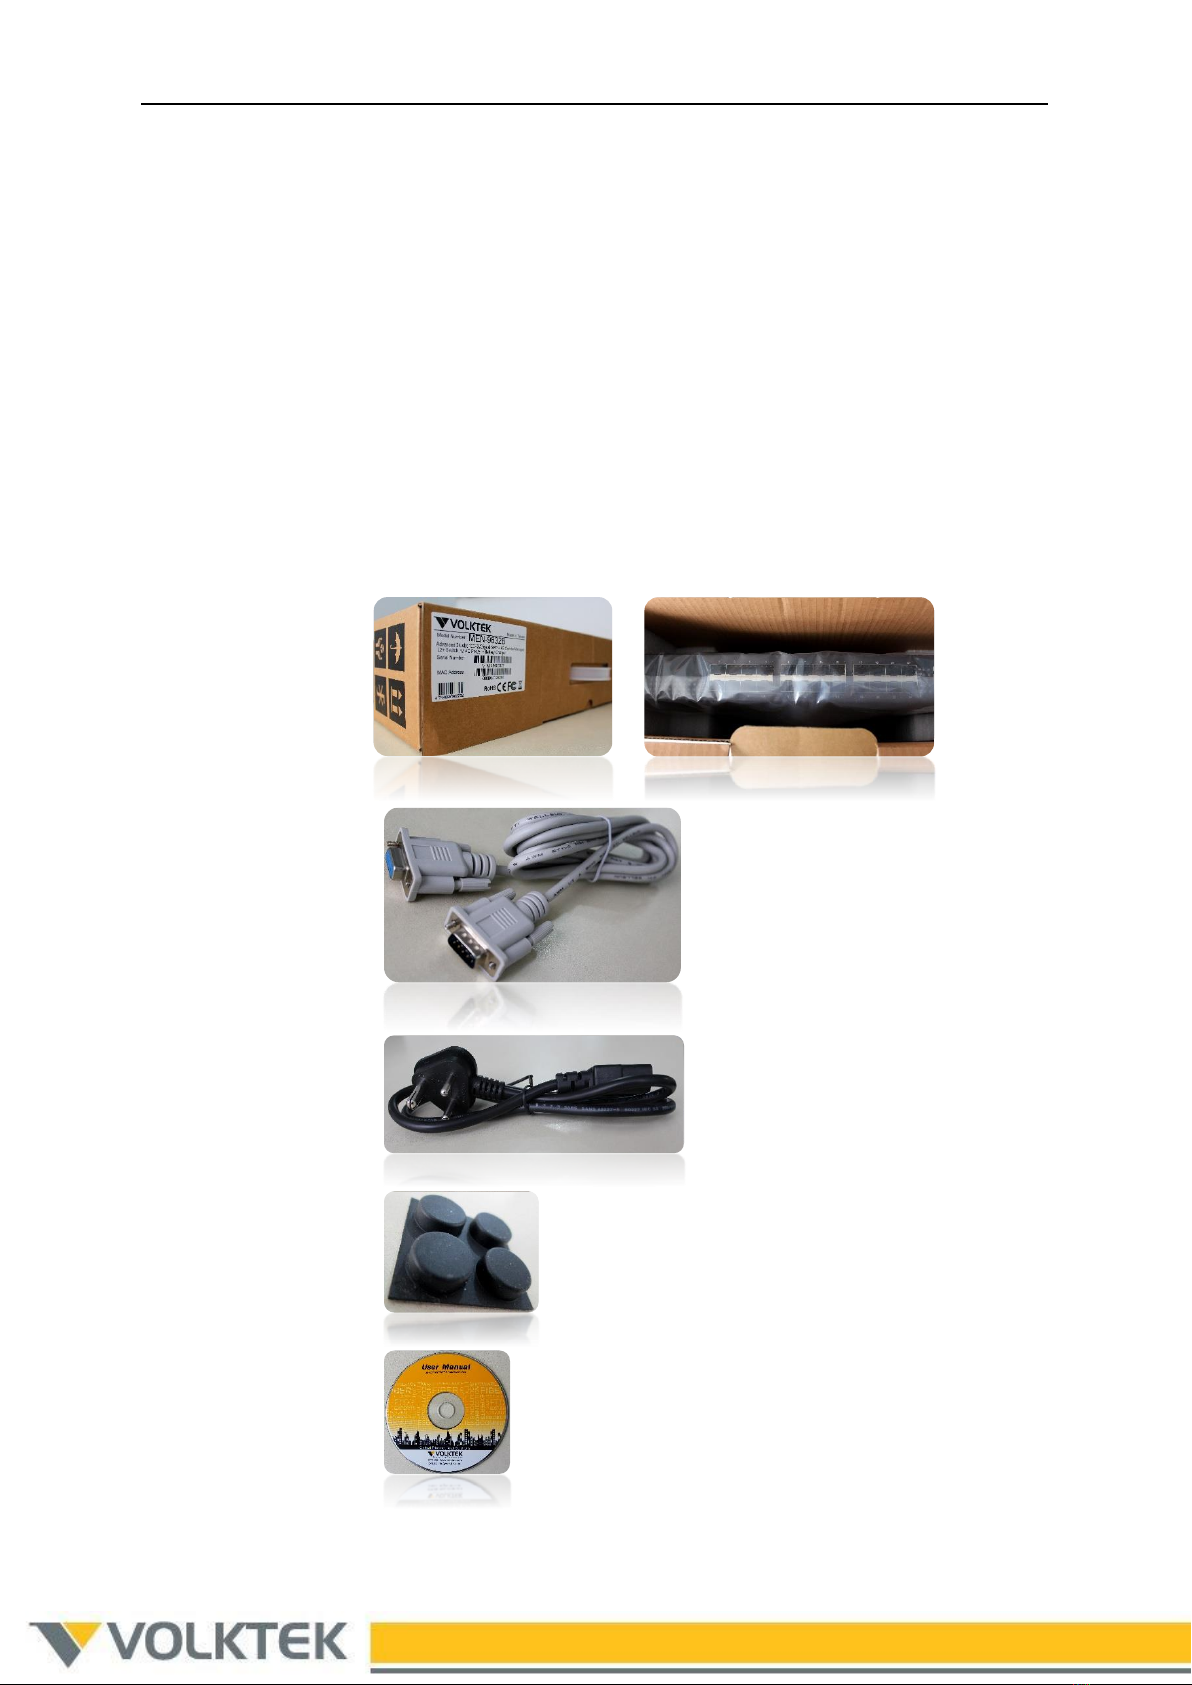
1.1. Unpacking .............................................................................................. 5
1.2. Product Layout........................................................................................ 6
1.3. Connecting AC/DC/Battery Power .............................................................. 7
1.4. Installing SFP modules and Fiber cables ..................................................... 8
1.5. LEDs...................................................................................................... 9
2. Software Configuration...................................................................... 11
2.1. Switch Access ....................................................................................... 11
2.1.1. Web-based management interface ..................................................... 11
2.1.2. Console .......................................................................................... 12
2.2. Configuration Backup/Restore ................................................................. 15
2.3. Reset to Default Configuration ................................................................ 16
2.4. Firmware Upgrade ................................................................................. 16
Support .................................................................................................. 17