(7)Connect the test lead with the two ends of the diode, and then read the value
of forward voltage drop value.
(8)When the test lead is under reverse connection or open-circuit status, the display
will display “OL”.
NOTE : a)When the resistance measured is above 1MΩ, it needs several seconds
for the reading to be stable, it is normal when measuring high resistance.
b)When measuring high resistance, insert the resistance pin directly into
the V Ω and COM jack, so as to avoid interference
c)When measuring resistance in a circuit make sure the power to the circuit is
turned off and all capcitors are discharged,
4.5 Measurement of capacitance
Warning! When measurement of capacity, the measured capacitor should
be completely discharged.
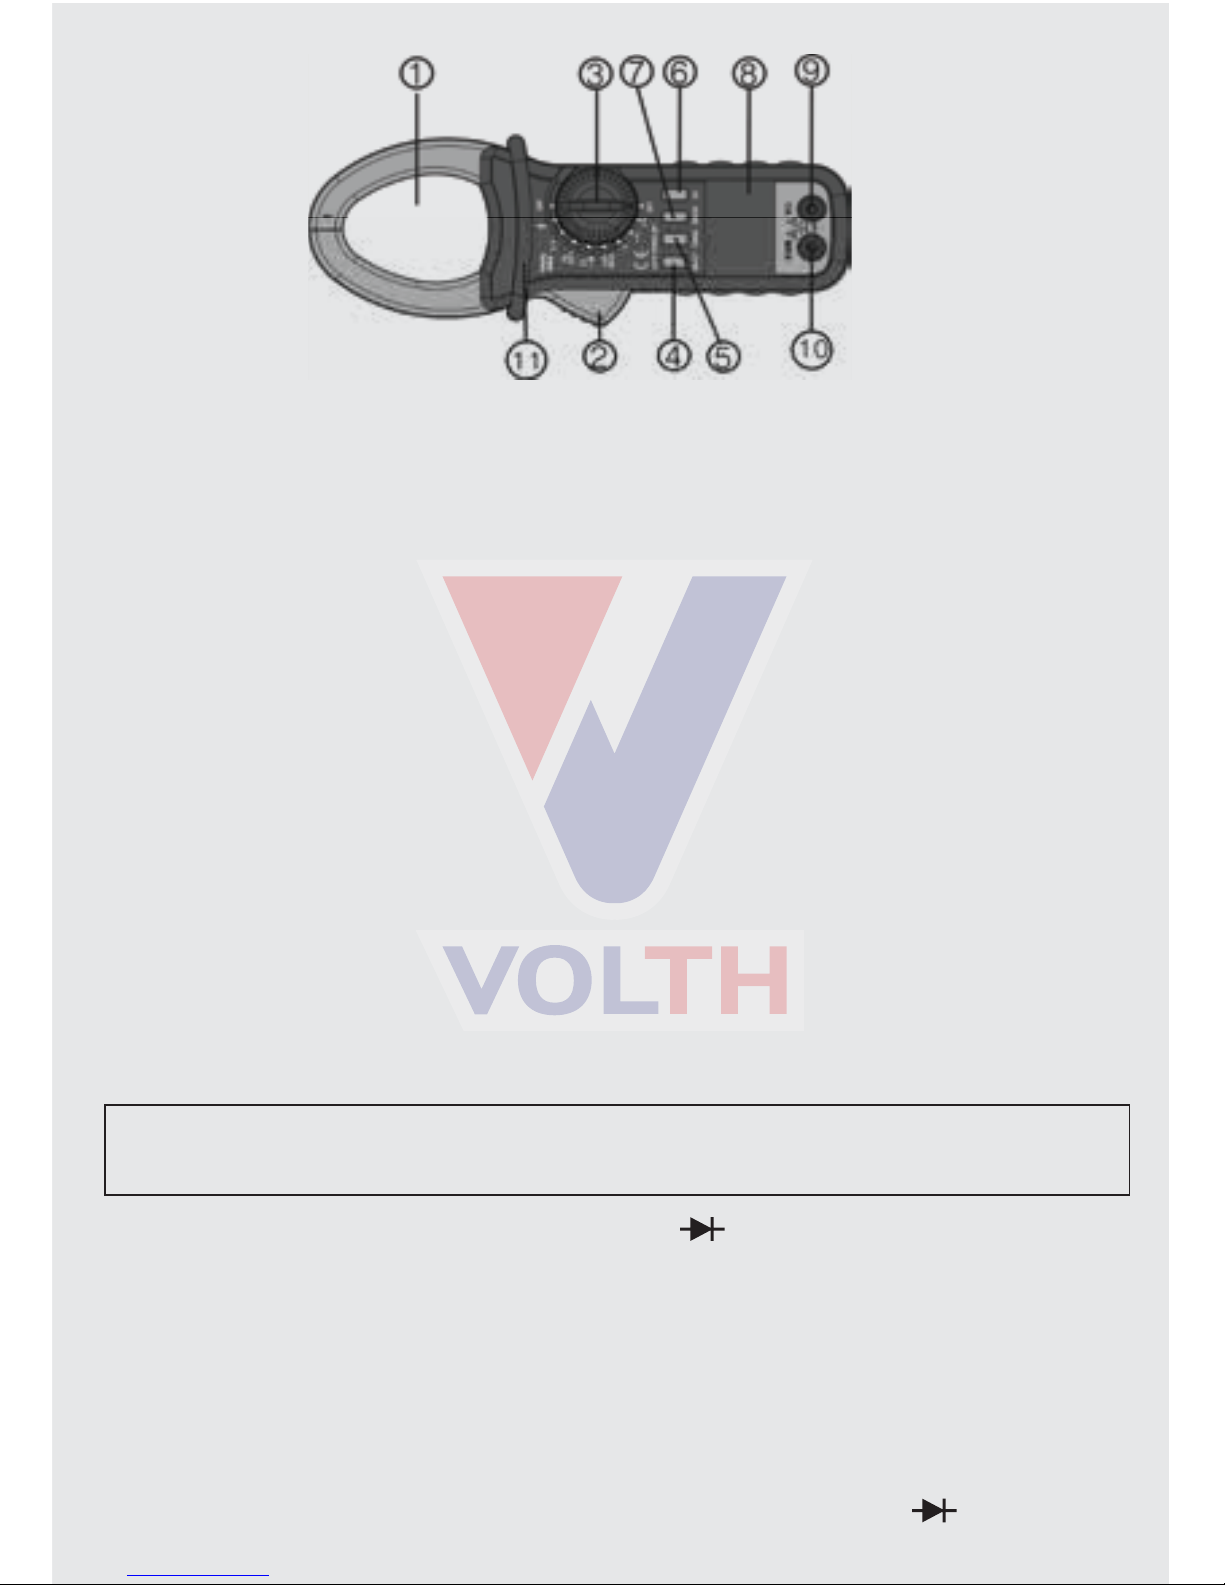
(1)Turn the Rotary switch to “CAP” function. Plug red lead in “V/Ω” socket, and plug
black lead in “COM” socket. Warning:The range for capacitor can’t be set manually.
When the capacity value is large, the time for measurement may be a little longer.
a. Do not take an external voltage or charged capacitor (especially a large
capacitor) connected to the test terminal
b. When a large capacitor is serious leakage or breakdown, the measurement
value may be instability
4.6 Measurement of frequency / DUTY Ratio
(1) Turn the Rotary switch to “Hz” function.if you want to measure DUTY Ratio, Press
SELECT key to switch
(2) Plug red test lead in “V/Ω” terminal and plug black lead in “COM” terminal.
(3) Connect the leads with measured circuit and then read the reading.
(4) when the voltage exceeding 30V, please enter the Voltage frequency measurement
mode by pressing the SELECT key in the “ACV” measurement function.
4.7 Measurement of temperature
Turn the Rotary switch to the function of temperature, then plug the cold end (plug
end) of temperature sensor to the V/Ω and COM socket(black end for COM socket
and red end for V/Ω socket). Place the working end (temperature end) of the
sensor on or in the measured object. Then read the temperature value (in°C) on the
°C display. If you need to measure that “°F”, presses the SELECT key to switch.
Caution : When the cold terminal of the sensor isn’t inserted into the
meter, the meter might display approximate environmental temperature.
K WRNM- 010 bare contact thermojunction has a limiting temperature of 250°C
(300°C for short time).
4.8 NON CONTACT VOLTAGE TESTING
Turn the Rotary switch to the “ ” function, then the LCD display NCV and ~ symble,
plug red test lead in the “V/Ω” terminal and black lead without being used,place the
red test lead near the electric line, switch,or socket,the phase metal terminal need
not to be connected,when the detected voltage is above AC RMS 110V,a reverse C
will be displayed on the LCD,the higer the testing voltage is ,the more reverse C will
be display,with buzzer alarm sounds more intensive.