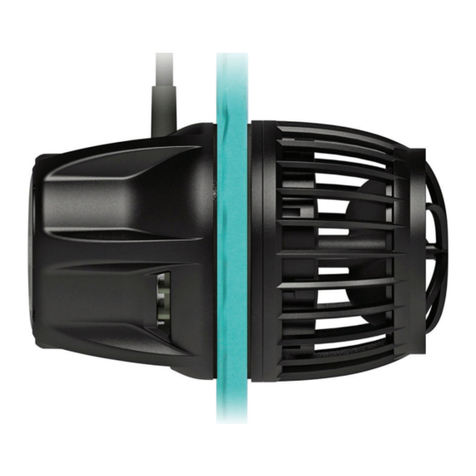
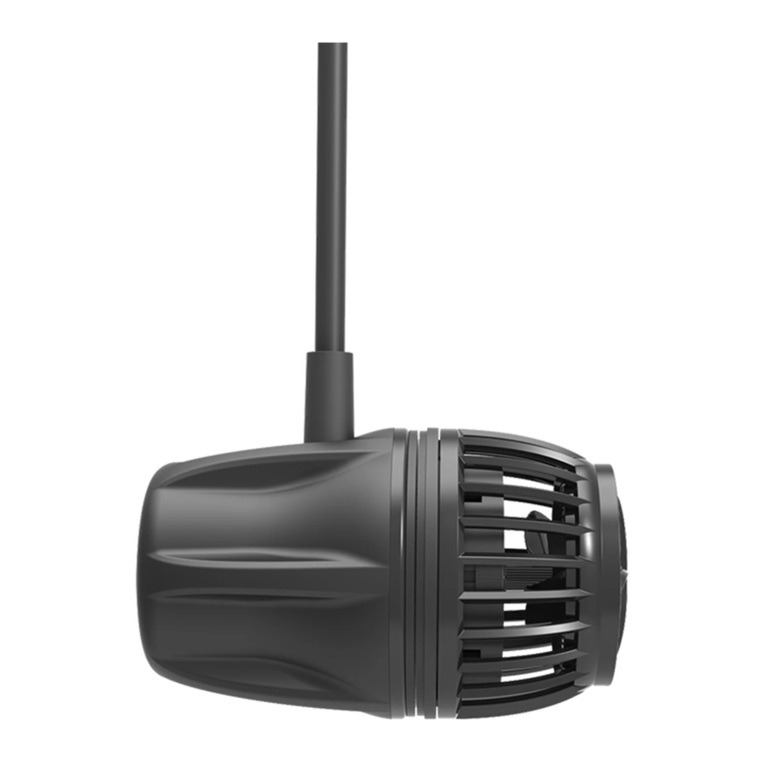
Vortech MP10 User manual

031620
works with
More information atMore information at mobius.app

SETUP GUIDE
MP10 PROPELLER PUMP
Vortech

Customer Support...................... 1
Inside the Box ............................ 2
Maintenance............................... 3
Installing the VorTech™.............. 4
The VorTech™ Driver.................. 8
Mounting the Driver.................... 9
Operational Modes..................... 10
Tidal Swell Mode........................ 12
Nutrient Transport Mode ............ 13
Congratulations on your
purchase of a VorTech™ MP10
Propeller Pump!
Please read this entire setup guide before using your pump. By purchasing,
installing or using this product, you are acknowledging that the Limited
Warranty on p. 19 is part of the sale terms.
Short Pulse Mode....................... 14
Gyre Mode.................................. 15
Reef Crest Random Mode.......... 16
Additional Modes ....................... 16
Lagoonal Random Mode ............ 17
Troubleshooting.......................... 18
Limited Warranty ........................ 19
Regulatory Information............... 20
1
Customer Support
Many of the steps in this guide have corresponding how-to videos. View them
on the EcoTech Marine website at ecotechmarine.com/media-gallery/video.
The EcoTech Marine Community is another tool for users to troubleshoot and
learn about our products. For additional information about your VorTech
Propeller Pump, please visit us at community.ecotechmarine.com.
UNITED STATES & CANADA
Contact EcoTech Marine directly for all warranty service and returns.
Visit ecotechmarine.com/support
INTERNATIONAL
Contact your local distributor directly for all warranty service and returns.
Visit ecotechmarine.com/find-retailers/international-distributors
Customer Support
1-800-785-0338
ecotechmarine.com/support

2
Inside the Box
POWER SUPPLY POWER CORD FOAM GUARD
MOUNTING TABS (X4)
DRIVER
VELCRO STRIPS (X2)
DRY SIDE
ZIP TIES (X4)
RUBBER SPACERWET SIDE

3
Your VorTech Propeller Pump is designed to
operate optimally with little attention after initial
setup; however, due to the harsh conditions of a
saltwater aquarium and resulting buildup of algae
and other organic matter, it is advisable to clean your
wet side to ensure the longevity of your purchase.
EcoTech recommends doing a wet side cleaning
every 6 to 8 weeks or as necessary.
This can be accomplished by disassembling the
pump's wet side and gently brushing with a soft
brush under running water. If there is calcium
buildup, it may be necessary to soak these
parts in a mild acid solution such as vinegar.
Do not use strong acids, because these may
damage the components.
After cleaning, reassemble the wet side.
WET SIDE
DISASSEMBLY
WATCH THE VIDEO:
ecote.ch/mp10qddisassemble
Maintenance

Installing the VorTech™
STEP 1: Choose Pump Location
• Where the pump output is unobstructed
• High enough above the sand bed so sand is not disturbed
• Sufficiently below the surface so air is not sucked
into a vortex
STEP 2: Prepare Aquarium
• Use an aquarium scraper to clean the inside surface of
the aquarium and a damp cloth to clean the outside.
• Use caution when handling an aquarium scraper.
STEP 3: Attach Mounting Tab
•
Peel backing from the adhesive and place the tab 2-3"
above the desired mounting location on the outside of
the aquarium (Figure A).
4
SET UP YOUR
MP10
WATCH THE VIDEO:
ecote.ch/mp10qdsetup

STEP 4: Place Dry Side on Aquarium
• Place the rubber spacer directly on the wall of the
aquarium at the desired location (Figure B).
• The included rubber spacer must be used between
the dry side and the aquarium wall for thicknesses
of 1/8” (3mm) and 3/16” (5mm).
• The rubber spacer is NOT needed for thicknesses
of 1/4” (6mm) or 3/8” (10mm).
• Position the dry side so the cord points straight up
in the 12 o’clock position (Figure C).
• Tie the cord to the mounting tab using a zip tie
(Figure C). Trim the excess end of the zip tie.
Never place the dry side in the aquarium.
Failure to use the rubber spacer can damage the
pump, which will NOT be covered under warranty.
5
Figure A
Figure C
Figure B

STEP 6: Attach Wet Side
•
Place the wet side into the aquarium and allow ALL air
to escape from the propeller housing.
• Carefully align the wet and dry sides through the glass
(Figures D).
• Optional: Place the foam guard over the wet side of
the pump. The foam guard can be used to ensure that
delicate marine animals do not get caught in the nozzle.
6
Installing the VorTech™
Continued
Figure D

7
STEP 7: Align Pump
• Plug the power supply into the driver. If the pump is not
already in Constant Speed Mode, press the MODE button
until the control dial is green.
• If there is vibration or excessive noise, carefully adjust the
propeller housing (wet side) by moving it very slightly left,
right, up or down until the noise/vibration is eliminated
or minimized (Figure E).
• Rotate the control dial clockwise
and set it to the maximum speed,
indicated by the blue LEDs.
• Press the MODE button to select
the mode of your choice and
then turn the control dial to the
desired flow rate.
Figure E
See page 9 for instructions on mounting the driver.

8
The EcoSmartTM Driver
SET Button
MODE Button
Wireless Indicator
LED Strip
OPTION/Power Button
Battery Backup Input Pump Cable Slot
Power Input
Control Dial
USING THE
QUIETDRIVE
DRIVER
WATCH THE VIDEO:
ecote.ch/qdmodes

Mounting the Driver
9
Figure A
Figure B
Figure C
1. Mount the driver where it will not get wet using
the included velcro strips (Figure A).
If the control dial is not green, check the
power cable connections.
The driver is NOT water proof, and water
damage will NOT be covered under warranty.
2. Plug the power supply into the driver and then
plug the power cord into the outlet (Figure B).
The driver will turn on and be in Constant Speed
Mode by default (green control dial).
3. Observe that the control dial is illuminated
green, indicating that the pump is powered
and operational (Figure C).

EcoSmar tTM Driver Operational Modes
10
(Hold) – Feed Mode (Hold) – Power Off
NTM
TSM
EcoSMART*
EcoSMART*Constant
Speed

EcoSmar tTM Driver Operational Modes
11
*
LED bar will indicate change between modes.
Gyre
Gyre
Short Pulse
Short Pulse
Speed Set Speed Set
Freq. Set Freq. Set
Saved Saved
Wave Wave
Random*
Reef Crest
Random*
Lagoon

Side
Opposite
Master
Same
Side as
Master
Back of
Aquarium
Tidal Swell Mode
MASTER/SLAVE RELATIONSHIP
Multiple VorTech pumps can be set up to run together.
The colors in the diagrams above represent the flow
pattern and placement of multiple pumps running together
in a Master/Slave relationship. Master/Slave relationships
12
Tidal Swell Mode (TSM) creates a harmonic
balance reminiscent of the changing flow
conditions found in nature. Over the course of
several hours, the flow pattern will go from very
chaotic to calm, followed by a detritus-clearing
surge at the very end of the cycle. The flow
direction will change direction every cycle. The
control dial is used to set the maximum pump
speed during this mode.

Nutrient Transport Mode (NTM) creates circulation
in a two-phase program. The first phase uses wave
motion to stir up detritus. The second phase follows
with a surging motion to move the detritus into
the overflow and out of the aquarium. This mode
promotes maximum health, nutrient export and
increased growth for sensitive corals such as SPS.
The control dial is used to adjust the maximum pump
speed during this mode.
Nutrient Transport Mode
Back
of
Aquarium
Side
Opposite
Master
are only available with wireless-enabled versions
of the VorTech pump. For more information
and instruction, visit our support community
at community.ecotechmarine.com.13
MASTER/SLAVE
WATCH THE VIDEO:
ecote.ch/qdmasterslave

14
AUTO TUNE
Auto Tune allows you to create a wave within your tank.
To create a wave using Auto Tune, Hold SET and OPTION
until LEDs move back and forth slowly. Press and hold SET
until the control dial flashes and then breathes blue, indicating
MAKE WAVES
WATCH THE VIDEO:
ecote.ch/qdmakewave
Short Pulse Mode
When first entering Short Pulse Mode, set the
maximum pump speed with the control dial and
press the SET button to lock it. The LEDs will
begin to ramp, indicating the pulsing frequency
between 0.2 seconds and 2 seconds. Next, use
the control dial to adjust the pulse frequency.
Press and hold SET until the control dial flashes
and then breathes blue, indicating the wave
is saved.
14

15
that the wave has been saved. This saved wave will
also be used in EcoSmart mode. To fine tune the
wave, press MODE to speed up the wave and OPTION
to slow it down. Press SET to save the wave.
AUTO TUNE
WATCH THE VIDEO:
ecote.ch/qdautotune
Gyre Mode
15
When first entering Gyre Mode, set the maximum pump
speed with the control dial and press the SET button
to lock it. The LEDs will begin to ramp, indicating the
pulsing frequency between 2 seconds and 2 hours.
Next, use the control dial to adjust the pulse frequency.
The first six LEDs represent 2 seconds to 2 minutes.
The seventh through 12th LEDs represent 5, 10, 20, 60,
90 and 120 minutes, respectively. Press and hold SET
until the control dial flashes and then breathes pink,
indicating the wave is saved.

Reef Crest Random Mode simulates a high-energy reef
environment. It is indicated by both a yellow control
dial and the first two blue LEDs illuminated. The control
dial is used to set the maximum pump speed during
this mode. The pump will change speed frequently and
drastically to simulate crashing waves and surging tide.
Reef Crest Random Mode
Additional Modes
16
FEED MODE
Press and hold the MODE
button for 3 seconds to
enter Feed Mode. The
control dial will blink white and the
pump will spin very slowly for 10
minutes (default setting) and then
resume its set mode.
All modes are set to default duration,
speed or percentage of speed. Refer
to the full manual to learn how to
customize these modes.

Lagoonal Random Mode
NIGHT MODE
Press and hold the MODE and
SET buttons, pause, and then
press and hold the MODE and
SET buttons again. The control dial will
breathe white and spin at 50% power for
10 hours (default setting), and then resume
its set mode.
17
BATTERY BACKUP MODE
When a Battery Backup
accessory is added to the
VorTech pump, the pump will
automatically switch to Battery Backup
Mode during a power outage. The pump
will run at the minimum speed to maximize
run time during this critical period.
Lagoonal Random Mode simulates a low-energy
lagoon environment. It is indicated by a yellow control
dial and the third and fourth LEDs illuminated. The
control dial is used to set the maximum speed of this
mode. The speed of the pump is changed slowly to
recreate the gentle currents of a lagoon.
Other manuals for MP10
1
Table of contents
Other Vortech Water Pump manuals
Popular Water Pump manuals by other brands

Vogt
Vogt L Series Service manual

Wilden
Wilden PS Stallion Series manual

Neptun
Neptun NSP-E 95 Inox Original operating instructions

Pentair
Pentair MYERS MCU Series owner's manual

Hilti
Hilti DD VP-U operating instructions

GORMAN-RUPP PUMPS
GORMAN-RUPP PUMPS D Series Installation, operation, and maintenance manual with parts list