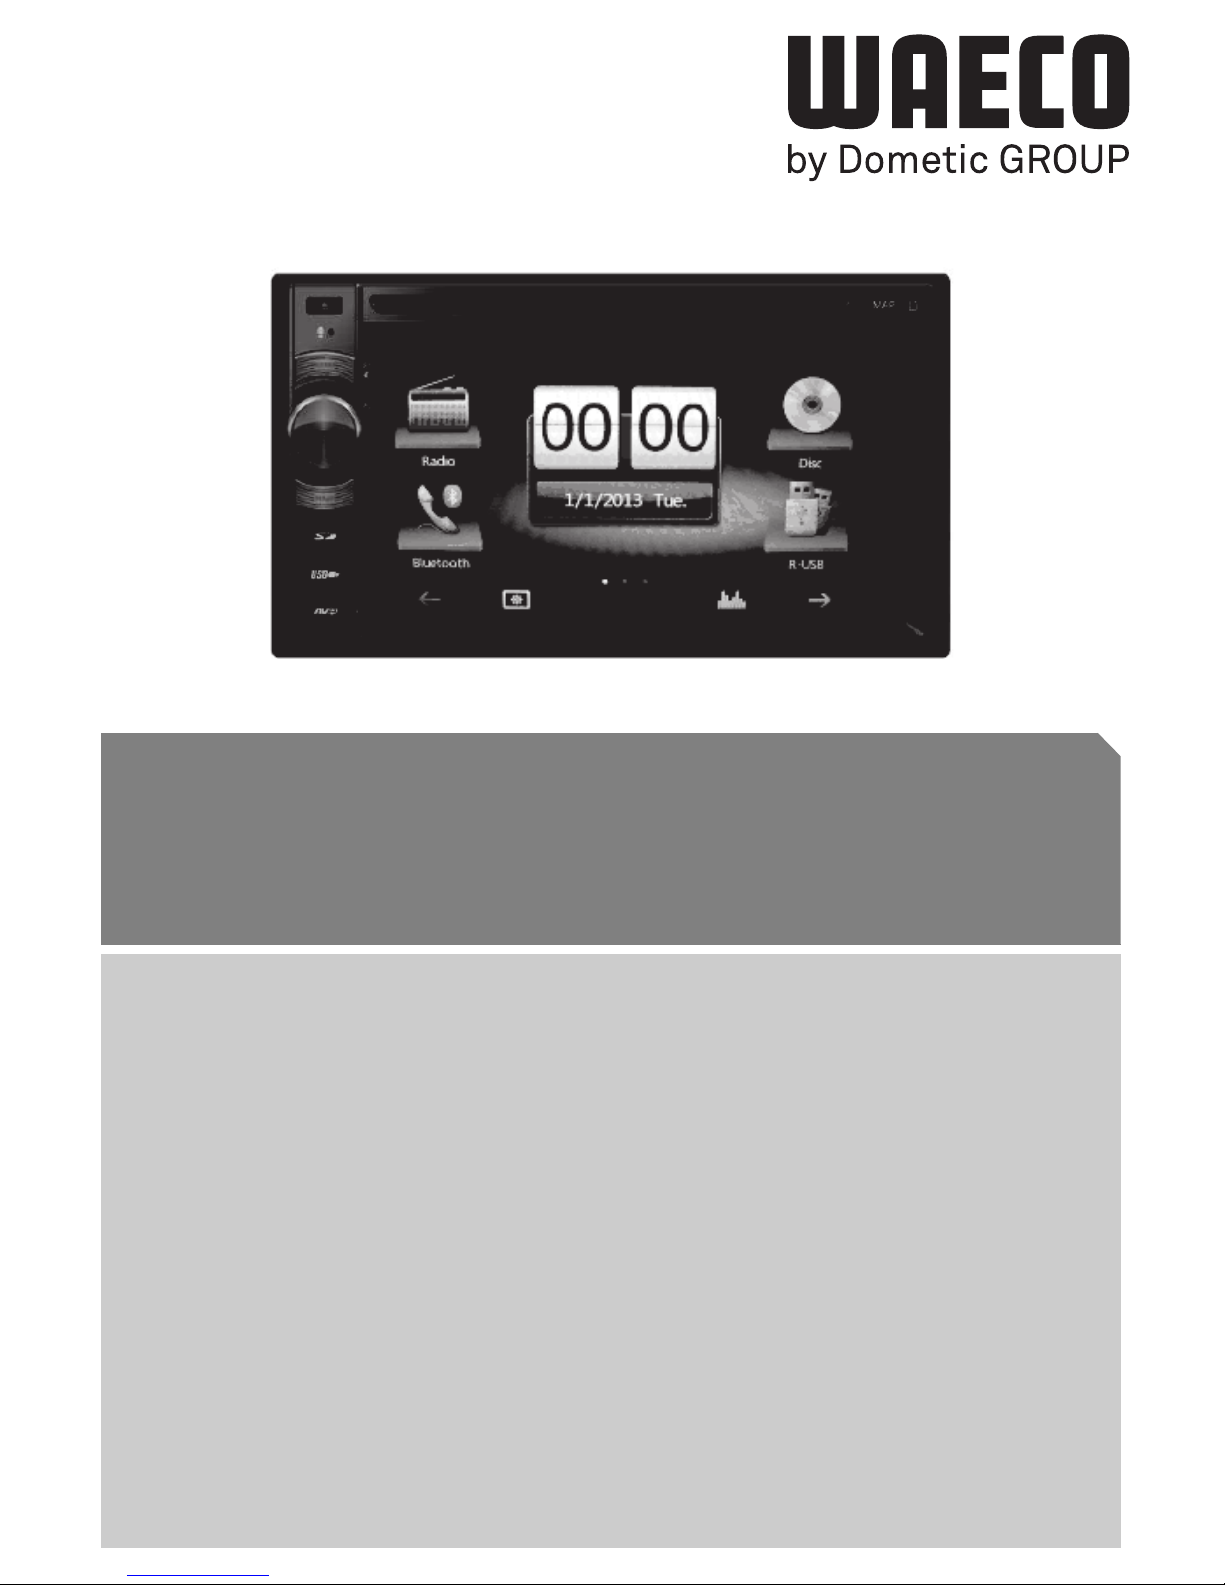
Waeco PerfectView MC402 User manual

PerfectView MC402
EN Moniceiver
Installation and Operating Manual

Fordern Sie weitere Informationen zur umfangreichen Produktpalette aus dem Hause
Dometic WAECO an. Bestellen Sie einfach unsere Kataloge kostenlos und unverbindlich
unter der Internetadresse: www.dometic-waeco.de
We will be happy to provide you with further information about Dometic WAECO products.
Please order our free catalogue with no obligation to buy on our homepage:
www.dometic-waeco.com
Demandez d’autres informations relatives à la large gamme de produits de la maison
Dometic WAECO. Commandez tout simplement notre catalogue gratuitement et sans
engagement à l’adresse internet suivante : www.dometic-waeco.com
Solicite más información sobre la amplia gama de productos de la empresa Dometic
WAECO. Solicite simplemente nuestros catálogos de forma gratuita y sin compromiso en
la dirección de Internet: www.dometic-waeco.com
Per ottenere maggiori informazioni sull’ampia gamma di prodotti Dometic WAECO è
possibile ordinare una copia gratuita e non vincolante del nostro Catalogo all’indirizzo
Internet: www.dometic-waeco.com
Maak kennis met het omvangrijke productscala van de firma Dometic WAECO. Bestel onze
catalogus gratis en vrijblijvend onder het internetadres: www.dometic-waeco.com
Bestil yderligere information om det omfattende produktudvalg fra Dometic WAECO.
Bestil vores katalog gratis og uforpligtende på internetadressen: www.dometic-waeco.com
Inhämta mer information om den omfattande produktpaletten från Dometic WAECO:
Beställ våra kataloger gratis och utan förpliktelser under vår Internetadress:
www.dometic-waeco.com
Be om mer informasjon om det rikholdige produktutvalget fra Dometic WAECO. Bestill vår
katalog gratis uforbindtlig på Internettadressen: www.dometic-waeco.com
Pyytäkää lisää tietoja Dometic WAECOn kattavista tuotevalikoimista. Tilatkaa
tuotekuvastomme maksutta ja sitoumuksetta internet-osoitteesta:
www.dometic-waeco.com
Peça mais informação sobre a ampla gama de produtos da empresa Dometic WAECO.
Peça simplesmente os nossos catálogos de forma gratuita e sem qualquer compromisso,
disponível no site: www.dometic-waeco.com
Запросите дальнейшую информацию об обширном ассортименте продукции
компании Dometic WAECO. Просто закажите наши каталоги на сайте
www.dometic-waeco.com; эта услуга предоставляется бесплатно ини кчему не
обязывает.
Proszęsięzapoznaćz informacjami na temat szerokiej gamy produktów Dometic WAECO.
Proszęzamówićnasz bezpłatny katalog i zapoznaćsięzniewiążącąofertąpod adresem:
www.dometic-waeco.com
Žádejte další informace o rozsáhlé nabídce výrobkůfirmy Dometic WAECO. Stačí zdarma
a nezávazněobjednat naše katalogy na internetové adrese: www.dometic-waeco.com
Vyžiadajte si ďalšie informácie o rozsiahlej palete výrobkov Dometic WAECO. Objednajte
si bezplatne a nezáväzne náš katalóg na internetovej adrese: www.dometic-waeco.com
Kérjen további információkat a Dometic WAECO cég széles körűtermékpalettájáról.
Rendelje meg ingyenes katalógusainkat kötelezettség nélkül a következőinternetcímen:
www.dometic-waeco.de
DE
EN
FR
ES
IT
NL
DA
SV
NO
FI
PT
RU
PL
CS
SK
HU

MC402
3
OD RDM
EJECT
ZOOM
DIM
1
2
3
4
5
1
1
2
3
4
5
6
7
8
10 9
2

MC402
4
1
3
2
45
3
SLOW RDM
EJECT
DIM
1
2
3
4
5
6
7
8
9
13
12
14
10
11
15
16
17
18
19
20
21
22
23
24
25
26
27
28
4

MC402
5
5
6
7

MC402
6
8
1
9

MC402
7
1
1
0
1
a

MC402
8
A + B
b

MC402
9
c
1
d

EN
MC402
10
Please read this instruction manual carefully before installation and
first use, and store it in a safe place. If you pass on the product to
another person, hand over this instruction manual along with it.
Table of contents
1 Explanation of symbols. . . . . . . . . . . . . . . . . . . . . . . . . . . . . . . . . 12
2 Safety information . . . . . . . . . . . . . . . . . . . . . . . . . . . . . . . . . . . . . 12
2.1 Safety when installing the device. . . . . . . . . . . . . . . . . . . . . . 12
2.2 Operating the device safely . . . . . . . . . . . . . . . . . . . . . . . . . . 15
3 Scope of delivery . . . . . . . . . . . . . . . . . . . . . . . . . . . . . . . . . . . . . . 16
4 Accessories . . . . . . . . . . . . . . . . . . . . . . . . . . . . . . . . . . . . . . . . . . 16
5 Intended use. . . . . . . . . . . . . . . . . . . . . . . . . . . . . . . . . . . . . . . . . . 17
6 Technical description . . . . . . . . . . . . . . . . . . . . . . . . . . . . . . . . . . 17
6.1 Control elements on the moniceiver . . . . . . . . . . . . . . . . . . . 19
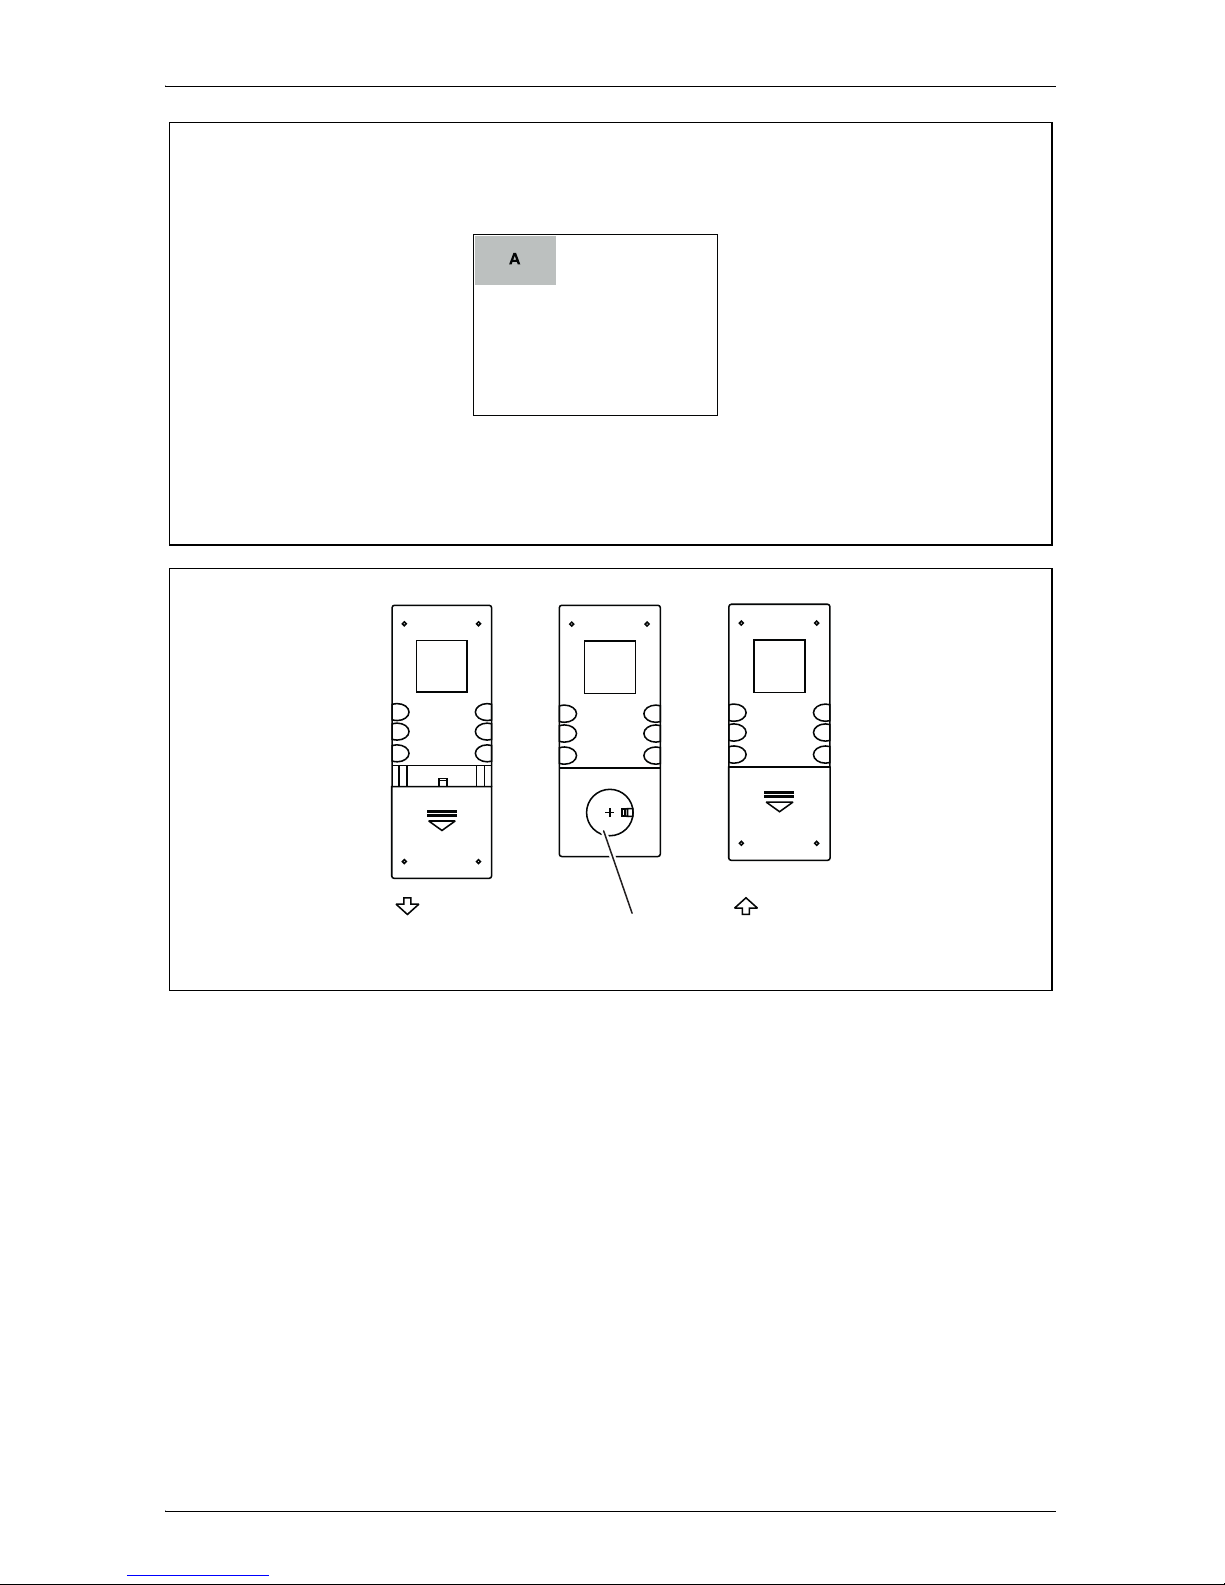
6.2 Remote control . . . . . . . . . . . . . . . . . . . . . . . . . . . . . . . . . . . 20
7 Installing the moniceiver. . . . . . . . . . . . . . . . . . . . . . . . . . . . . . . . 22
7.1 Notes on the electrical connections . . . . . . . . . . . . . . . . . . . . 22
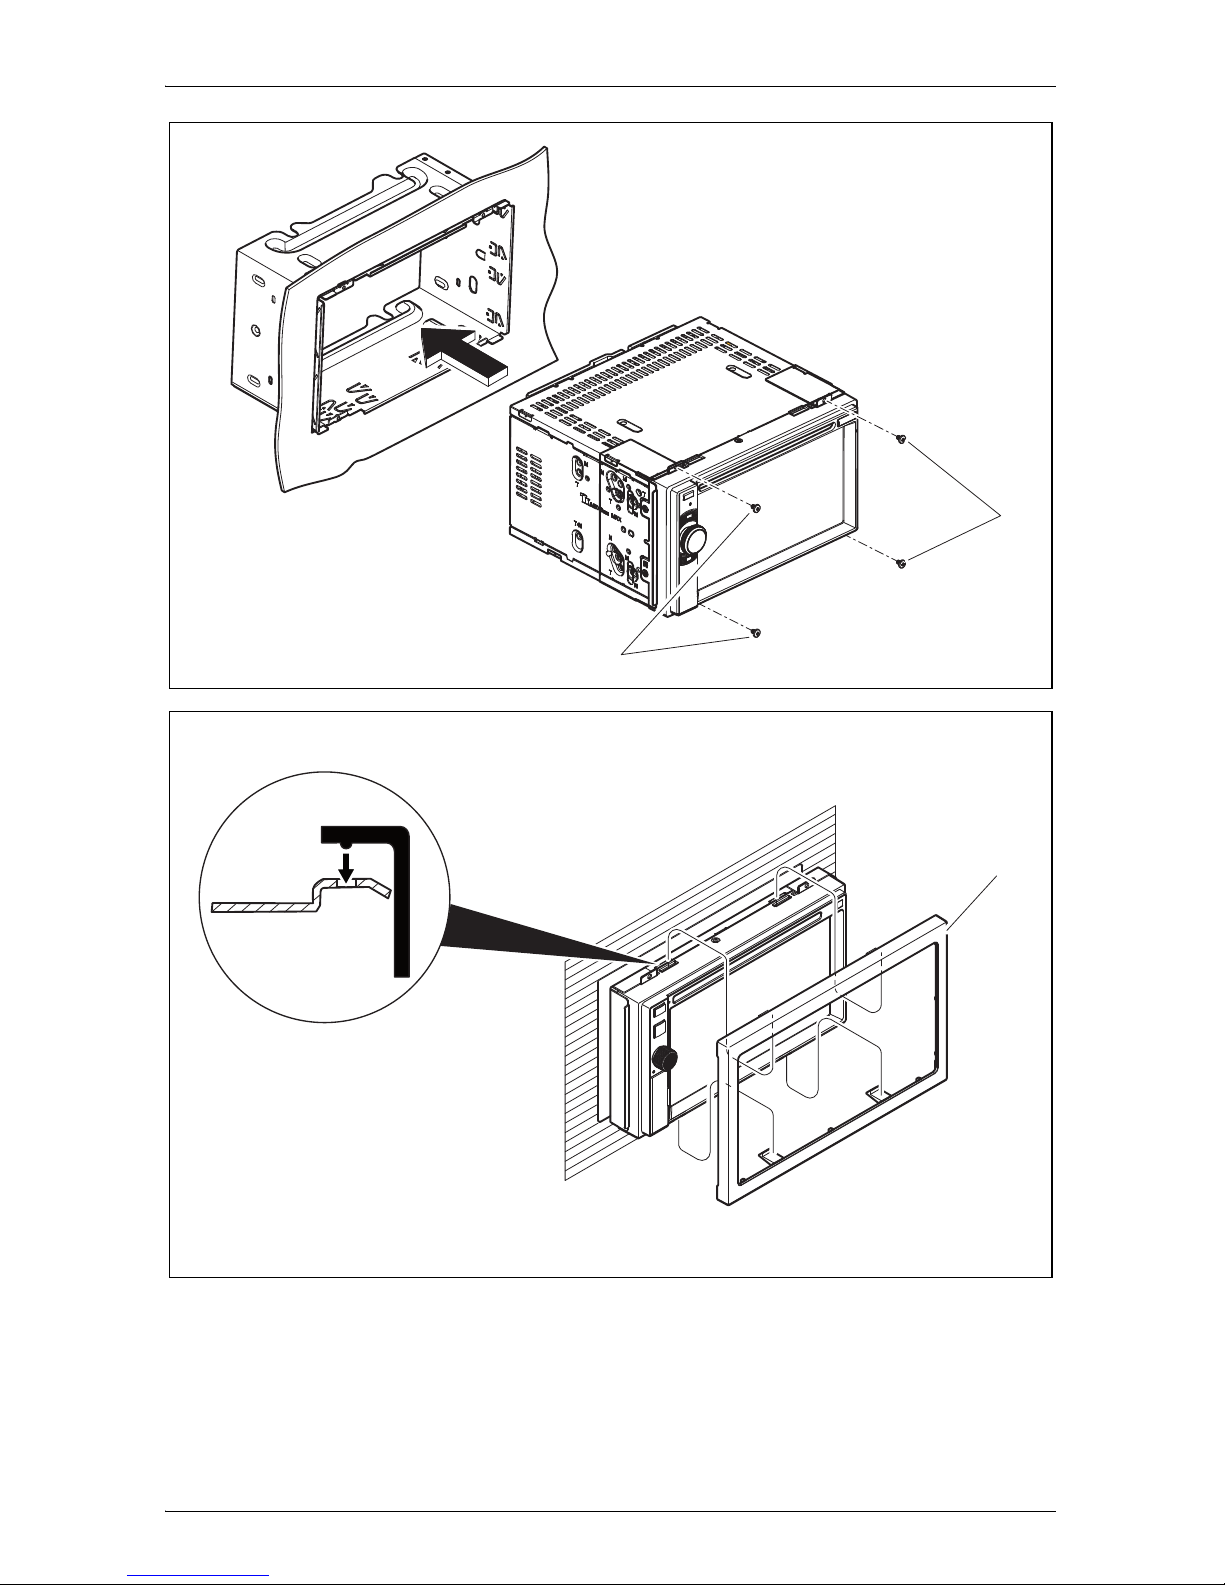
7.2 Installing and connecting the moniceiver. . . . . . . . . . . . . . . . 22
8 Operating the moniceiver . . . . . . . . . . . . . . . . . . . . . . . . . . . . . . . 26
8.1 Basic functions. . . . . . . . . . . . . . . . . . . . . . . . . . . . . . . . . . . . 26
8.2 Using the remote control . . . . . . . . . . . . . . . . . . . . . . . . . . . . 28
9 Playing media. . . . . . . . . . . . . . . . . . . . . . . . . . . . . . . . . . . . . . . . . 30
9.1 Menus . . . . . . . . . . . . . . . . . . . . . . . . . . . . . . . . . . . . . . . . . . 30
9.2 Inserting and ejecting a disc . . . . . . . . . . . . . . . . . . . . . . . . . 34
9.3 Inserting and removing a storage medium . . . . . . . . . . . . . . 35
9.4 Connecting external audio and video sources. . . . . . . . . . . . 36
9.5 Play back media . . . . . . . . . . . . . . . . . . . . . . . . . . . . . . . . . . 36
9.6 Media settings . . . . . . . . . . . . . . . . . . . . . . . . . . . . . . . . . . . . 39
10 Using the radio. . . . . . . . . . . . . . . . . . . . . . . . . . . . . . . . . . . . . . . . 41
10.1 Menus . . . . . . . . . . . . . . . . . . . . . . . . . . . . . . . . . . . . . . . . . . 41
10.2 Listening to radio . . . . . . . . . . . . . . . . . . . . . . . . . . . . . . . . . . 42
10.3 Radio settings . . . . . . . . . . . . . . . . . . . . . . . . . . . . . . . . . . . . 43
11 Using Bluetooth devices . . . . . . . . . . . . . . . . . . . . . . . . . . . . . . . . 45
11.1 Menus . . . . . . . . . . . . . . . . . . . . . . . . . . . . . . . . . . . . . . . . . . 46
11.2 Coupling Bluetooth devices . . . . . . . . . . . . . . . . . . . . . . . . . . 48
11.3 Making calls . . . . . . . . . . . . . . . . . . . . . . . . . . . . . . . . . . . . . . 49
11.4 Using audio/video devices . . . . . . . . . . . . . . . . . . . . . . . . . . . 50
11.5 Bluetooth device settings. . . . . . . . . . . . . . . . . . . . . . . . . . . . 51

EN
MC402
11
12 System settings . . . . . . . . . . . . . . . . . . . . . . . . . . . . . . . . . . . . . . . 53
12.1 Setting the equalizer (EQ) . . . . . . . . . . . . . . . . . . . . . . . . . . . 53
12.2 Opening settings . . . . . . . . . . . . . . . . . . . . . . . . . . . . . . . . . . 54
12.3 General menu settings. . . . . . . . . . . . . . . . . . . . . . . . . . . . . . 54
12.4 Time settings menu . . . . . . . . . . . . . . . . . . . . . . . . . . . . . . . . 56
12.5 Sound settings menu . . . . . . . . . . . . . . . . . . . . . . . . . . . . . . . 57
12.6 Video settings menu . . . . . . . . . . . . . . . . . . . . . . . . . . . . . . . 58
12.7 Disc settings menu . . . . . . . . . . . . . . . . . . . . . . . . . . . . . . . . 59
12.8 Volume settings menu . . . . . . . . . . . . . . . . . . . . . . . . . . . . . . 61
12.9 Resetting . . . . . . . . . . . . . . . . . . . . . . . . . . . . . . . . . . . . . . . . 61
12.10 Use of steering wheel control (optional) . . . . . . . . . . . . . . . . 62
13 Cleaning and caring for the moniceiver . . . . . . . . . . . . . . . . . . . 62
14 Troubleshooting. . . . . . . . . . . . . . . . . . . . . . . . . . . . . . . . . . . . . . . 63
15 Warranty . . . . . . . . . . . . . . . . . . . . . . . . . . . . . . . . . . . . . . . . . . . . . 64
16 Disposal . . . . . . . . . . . . . . . . . . . . . . . . . . . . . . . . . . . . . . . . . . . . . 65
17 Technical data . . . . . . . . . . . . . . . . . . . . . . . . . . . . . . . . . . . . . . . . 65

EN
Explanation of symbols MC402
12
1 Explanation of symbols
!
!
A
I
➤Action: This symbol indicates that action is required on your part. The
required action is described step-by-step.
✓This symbol describes the result of an action.
Fig. 15, page 3: This refers to an element in an illustration. In this case,
item 5 in figure 1 on page 3.
2 Safety information
The manufacturer accepts no liability for damage in the following cases:
Faulty assembly or connection
Damage to the product resulting from mechanical influences and excess
voltage
Alterations to the product without express permission from the manu-
facturer
Use for purposes other than those described in the operating manual
2.1 Safety when installing the device
Please observe the prescribed safety instructions and stipulations
from the vehicle manufacturer and service workshops.
WARNING!
Safety instruction: Failure to observe this instruction can cause
fatal or serious injury.
CAUTION!
Safety instruction: Failure to observe this instruction can lead to
injury.
NOTICE!
Failure to observe this instruction can cause material damage and
impair the function of the product.
NOTE
Supplementary information for operating the product.

EN
MC402 Safety information
13
!WARNING!
Inadequate supply cable connections could result in short circuits,
which could have as a consequence that:
Cable fires occur
The airbag is triggered
Electronic control devices are damaged
Electric functions fail (indicators, brake light, horn, ignition,
lights)
ANOTICE!
To prevent the risk of short circuits, always disconnect the negative
terminal of the vehicle's electrical system before working on it.
If the vehicle has an additional battery, its negative terminal should
also be disconnected.
Please observe the following instructions:
When working on the following cables, only use insulated cable lugs,
plugs and flat push-on receptacles:
– 30 (direct supply from positive battery terminal)
– 15 (connected positive terminal, behind the battery)
– 31 (return line from the battery, earth)
– L (indicator lights left)
– R (indicator lights right)
Do not use terminal strips.
Use a crimping tool to connect the cables.
When connecting to cable 31 (earth), screw the cable
– to the vehicle's earth bolt with a cable lug and a gear disc or
– to the sheet-metal bodywork with a cable lug and a self-tapping screw.
Ensure that there is a good earth connection.
If you disconnect the negative terminal of the battery, all data stored in the
volatile memories will be lost.
The following data must be set again, depending on the vehicle equip-
ment options:
– Radio code
– Vehicle clock
–Timer
– On-board computer
– Seat position

EN
Safety information MC402
14
You can find instructions for making these settings in the appropriate
operating instructions.
Observe the following installation instructions:
!CAUTION!
Secure the parts installed in the vehicle in such a way that they
cannot become loose under any circumstances (sudden brak-
ing, accidents) and cause injuries to the occupants of the
vehicle.
Secure any parts of the system covered by the bodywork in
such a manner that they cannot be come loose or damage other
parts and cables or impair vehicle functions (steering, pedals,
etc).
Always follow the safety instructions of the vehicle manu-
facturer.
Some work (e.g. on retention systems such as the AIRBAG etc.)
may only be performed by qualified specialists.
ANOTICE!
To prevent damage when drilling, make sure there is sufficient
space on the other side for the drill head to come out.
Deburr all drill holes and treat them with a rust-protection agent.
Observe the following instructions when working with electrical parts:
ANOTICE!
When testing the voltage in electrical cables, only use a diode
test lamp or a voltmeter.
Test lamps with an illuminant take up voltages which are too
high and which can damage the vehicle's electronic system.
When making electrical connections, ensure that:
– they are not kinked or twisted
– they do not rub on edges
– they are not laid in sharp edged ducts without protection.
Insulate all connections.
Secure the cables against mechanical wear with cable binders
or insulating tape, for example to existing cables.

EN
MC402 Safety information
15
2.2 Operating the device safely
!WARNING!
Never play videos while you are driving to avoid dangerous sit-
uations in road traffic. Adhere to the country-specific laws and
regulations.
Only use the device in its function as a reversing video system
while driving. The driver must not look at the monitor under any
circumstances while driving along. This could distract the driver
and lead to a serious accident.
Adjust the volume of the device so that noise from traffic, partic-
ularly horns and beeps, are still able to be heard.
Protect the device from humidity and moisture to prevent
sparks, fire or electric shocks.
Switch off the device immediately
– if water gets into the device,
– if smoke is coming out of the device or
– if the device emits an unusual smell.
This reader is certified according to the laser protection class 1.
The accessible laser radiation is safe under reasonably foresee-
able conditions. Avoid looking directly into the laser beam.
Never open the housing of the device. Do not make any repairs
to the device. Contact the manufacturer (see addresses on the
back of the operating manual).
INOTICE!
If you use the monitor in vehicles, the vehicle should be running
during operation to prevent the vehicle battery from discharging.
Only insert round discs into the device.
Do not use any other shaped discs.
Only clean the discs with a soft, dry cloth from the middle to the
outer edge. To remove dirt, use a mild cleaning agent.
New discs may have flaking on the edges. Remove these by
carefully running the side of a ballpoint pen around the edge.
If the interior of the vehicle becomes too hot e.g. as a result of
direct sunlight, wait until the temperature has cooled down to
the operating temperature (under 60 °C).

EN
Scope of delivery MC402
16
3 Scope of delivery
4 Accessories
Available as accessories (not included in the scope of delivery):
No. in
fig. 1, page 3 Quantity Description Item no.
1 1 Moniceiver 9102100024
2 1 2 DIN installation sleeve
3 1 Remote control (incl. batteries)
4 1 Cover frame
5 2 Fastening brackets
– 1 Display cleaning cloth
–1Stylus
– 1 Set of connection cables
– 1 Set of fastening material
– 1 GPS antenna
– 1 Installation and operating manual
– 1 Brief instructions
Description Item no.
CAM18 NAV 9102000041
CAM50 NAV 9102000043
CAM80 NAV 9102000023
CAM44 NAV 9102000062
CAM30CK NAV 9102000050
CAM29BK NAV 9102000076

EN
MC402 Intended use
17
5 Intended use
The moniceiver (item. no. 9102100024) is intended for installation and use in
a vehicle with an on-board 12 Vgpower supply and must be installed in a
double DIN slot. The device combines the functions of a car radio, CD player,
DVD player, playback device for external audio and video sources and a
hands-free system for mobile phones.
!
6 Technical description
The moniceiver is located in a housing which occupies two slots in the vehi-
cle's centre console.
The device can be connected to the handbrake switch. In this way, and for
safety reasons, no video can be played on the installed display while you are
driving. The display will only switch on if the vehicle is stationary and the
handbrake is in use.
If a reversing video camera is connected to the moniceiver, then the device
can be set so that the camera automatically switches on when the reverse
gear is engaged.
With the moniceiver you can listen to music in your vehicle, watch videos,
view photos or make calls using the hands-free system.
The moniceiver allows you to play videos on DVD, audio CDs or MP3, WMA
or JPEG files, as well as files on USB data carriers and memory cards. Pho-
tos stored on data carriers can be played in a slide show.
You can also show movies and images, from DVDs/VCDs/CDs, USB data
carriers and memory cards, on the display or on a connected monitor (Rear
Seat Entertainment – RSE).
WARNING! Danger of death or serious injury.
When using the device, ensure your are not distracted when
driving (e.g. connect MP3 player and selected play list / radio
station before starting the journey, programme in pre-set but-
tons for different radio stations if necessary).
Observe the current laws and regulations of the country in
which the device is being used.
Reversing video systems are designed merely as an additional
aid for reversing, however this does not relieve you of the duty
to take proper care when reversing.

EN
Technical description MC402
18
The radio receives medium wave (AM1 and AM2) and ultra short wave (FM1,
FM2 and FM3). Six radio stations can be stored for each frequency band.
The radio has RDS reception e.g. with AF function (alternative frequency)
and TA function (priority for traffic reports).
The device supports the following disc formats:
Video DVD, DVD-R, DVD-RW, DVD+R, DVD+RW
VCD
Audio CD, CD-R, CD-RW
The device supports the following file formats:
Audio: MP3, WMA from version 9
Video: DVD, VCD, MP4, XVID
Images: JPEG (*.jpg)
ID3 tag from version 2.0
Supported sample rate 8 kHz to 48 kHz (44.1 kHz preferred).
Supported bit rate: 32–320 kbps (128 kbps preferred)
MP3 discs must have the following features:
ISO 9660 or ISO 9660, Joliet format, file names with max. of 30 charac-
ters
Max.of 8 directory levels
Max. of 99 albums
Max. of 999 tracks
Max. track length: 99 minutes 59 seconds.
The following file and disc formats are not supported:
DLF-, AAC-, PCM files and DRM protected WMA files
Unfinalized rewritable discs
This device has the following inputs and outputs on the back.
Audio input
2 audio outputs for front and back
2 inputs for video sources (e.g. reversing video camera)
2 video outputs for rear monitors (optional)

EN
MC402 Technical description
19
There is an additional audio input on the front of the device.
6.1 Control elements on the moniceiver
Front
No. in
fig. 2, page 3 Description Description
1 EJECT button Ejects the disc from the disc com-
partment
2 MENU button Switches between the main menu
and the audio/video source menu
3 ON/OFF/VOLUME knob – Switches the device on and off
– Controls the volume
– Switches to mute
– Controls the brightness
4 BRIGHTNESS button Enables the setting of the brightness
of the display
5 RESET button Resets the device
6 AV input Audio/video input for external
device, 3.5 mm stereo jack
7 USB port Port for USB flash drive
8 Slot for SD or MMC
memory card
Slot for memory cards
9 Touch screen Display with touch input
10 Disc compartment Slot for CDs, VCDs and DVDs

EN
Technical description MC402
20
Rear
6.2 Remote control
No. in
fig. 3, page 4 Description
1 Wiring harness
2 Fuse (15 A)
3 ISO plug for connection of audio / video devices in the vehicle
4 Audio video system input
5 Radio antenna input
No. in
fig. 4, page 4 Description Description
1 SRC Selects the audio/video source
– Radio
– Disc
– SD/MMC memory card
–USB
– AV-IN 1 (audio input on the front of the device)
– AV-IN 2 (audio input on the back of the device)
– Bluetooth
2 EJECT Ejects the disc
3 MENU Displays the DVD menu
4 TITLE Opens the title and chapter list of a DVD
5 ZOOM Zooming (only for photos)
6 BAND Selects the frequency band
7 SEL Opens the EQ SETTINGS menu
8 DIM Sets the brightness
9 Fast search forwards/backwards
10 Making/receiving a call
11 OK Confirms selection
/
Other manuals for PerfectView MC402
2
Table of contents
Other Waeco Car Video System manuals
Popular Car Video System manuals by other brands

Alfa Romeo
Alfa Romeo Giulietta Uconnect 6.5" Radio Nav manual

Jensen
Jensen VM9022 - DVD Player With LCD Monitor Installation and operation manual

ASA Electronics
ASA Electronics LCM1042TV owner's manual

Eonon
Eonon D1303 user manual

Eonon
Eonon L0106 user manual

Blaupunkt
Blaupunkt KIMBERLEY 941 Operating and installation instruction