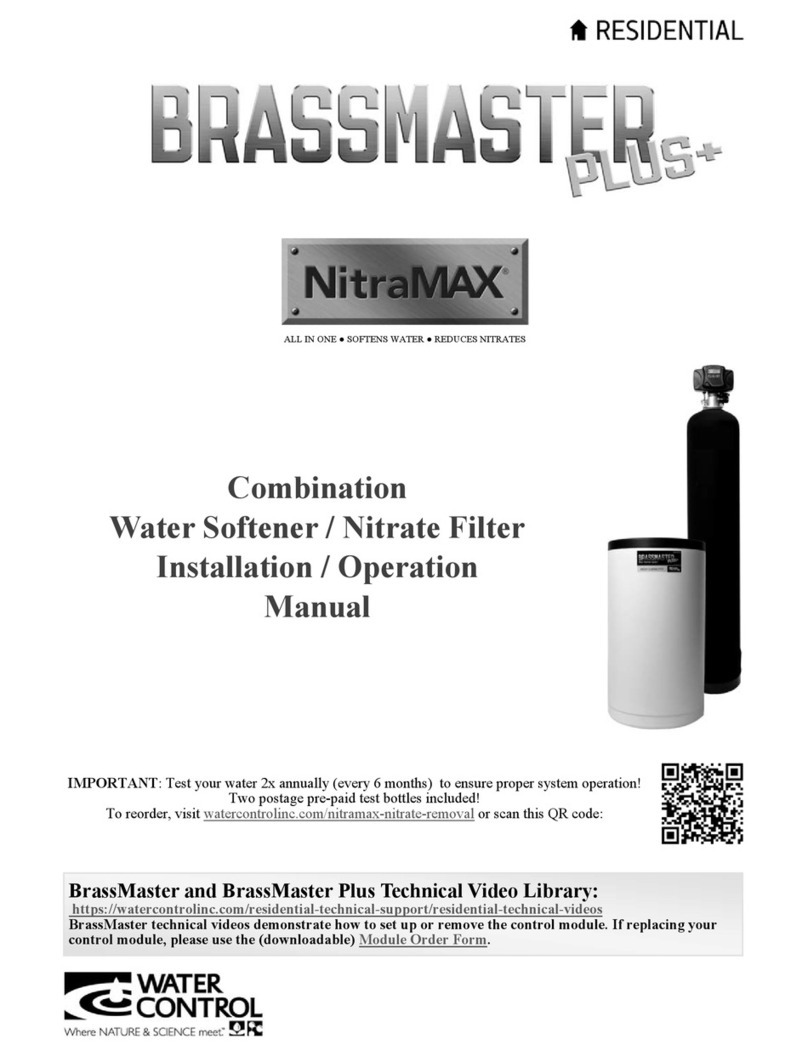
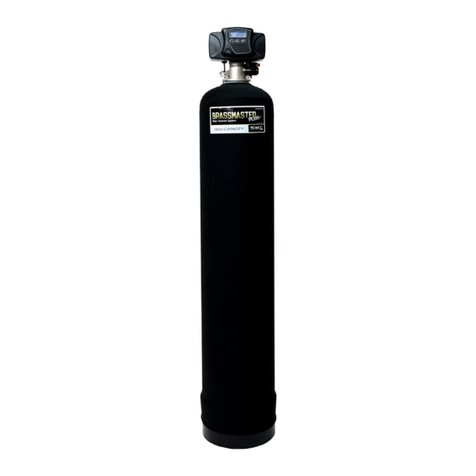
Water Control BrassMaster User manual

Installation / Operation
Manual
Filter for removal of
Arsenic III, Arsenic V,
Iron+Manganese+Hydrogen Sulfide
BrassMaster and BrassMaster Plus Technical Video Library:
https://watercontrolinc.com/residential-technical-support/residential-technical-videos
BrassMaster technical videos demonstrate how to set up or remove the control module. If replacing your
control module, please use the (downloadable) Module Order Form.
IMPORTANT: Test your water quarterly to ensure proper system operation!
Five postage pre-paid test bottles included!
To reorder, visit watercontrolinc.com/element33-arsenic-removal or scan this QR code:

2
Warning!
Consuming water with arsenic levels above the USEPA MCL (Maximum Contaminant Level)
of 10 PPB (10 µg/L) can cause cancer, cardiovascular/respiratory distress, skin ailments, and
developmental delays (in children).
Always install and operate this system according to manufacturer instructions. Test water quar-
terly to verify proper system operation.
Water Control offers inexpensive, non-certified test services (the first 5 test bottles are included
free with system).
System Capabilities
Typical Media Life: 7 years*
Media Regeneration: once per day
Maximum Arsenic III + Arsenic V in raw water: 150 PPB (μg/L)
Maximum Iron + Manganese + Hydrogen Sulfide in raw water: 5 PPM (mg/L)**
Minimum Iron + Manganese in raw water: 0.3 PPM (mg/L)***
Minimum Dissolved Oxygen in raw water: 2 PPM (mg/L)****
Regeneration Water Usage
Model EL33-150 34 gallons (@ 1.7 GPM)
Model EL33-250 48 gallons (@ 2.4 GPM)
System Test Challenges
Raw Water Into Filter Treated Water Out of Filter
Test
#
Total Arsenic
PPB
Fe
PPM
Mn
PPM
H2S
PPM
Total Arsenic
PPB
Fe
PPM
Mn
PPM
H2S
PPM
1 100 10 10 10 None detected 0 0 0
2 100 1 1 1 None detected 0 0 0
3 100 0.5 0.5 0.5 None detected 0 0 0
* IMPORTANT: Test your water quarterly to ensure proper system operation!
Five postage pre-paid test bottles included!
To reorder, visit watercontrolinc.com/element33-arsenic-removal or scan this QR code:
** Exceeding 5 PPM iron, manganese and hydrogen sulfide will reduce the system’s flow rate
capabilities. Contact WCC for a system sizing recommendation.
*** There must be a combined minimum of 0.3 PPM for iron and manganese. Contact WCC if
levels are below this minimum. Alternate equipment may be required for the application.
**** Low dissolved oxygen may reduce arsenic removal efficiency. Contact WCC for recom-
mended options for applications that do not meet the minimum requirement.

3
Installation Procedure
1. Identify installation location. ELEMENT33 piping should originate shortly after incoming
water supply shutoff, but just after any outside water lines. IMPORTANT: there must not be
any filters installed upstream of the ELEMENT33, or insufficient water pressures may af-
fect operational performance. This system and installation must comply with state and local
laws or regulations.
2. Connect water piping. This unit has been supplied with a manually operated bypass device
which enables it to be isolated from the water service lines for maintenance and service, and
also maintain a constant water supply should the ELEMENT33 be removed from service.
IMPORTANT: Make all sweat-solder connections within 6 inches of the unit before apply-
ing threaded fittings to supplied bypass valve. Overheating may cause damage to valve.
Turn supplied bypass valve to “Bypass” position and make connections to household water
lines. Leave unit in the “Bypass” position until the system startup up procedure is per-
formed.
3. Connect drain line. Remove barbed drain line fitting from parts bag. Apply thread seal
tape to threads and install into the female threaded opening on the back side of the control
valve. Connect 5/8” drain line (supplied in parts bag) to barbed end of drain line fitting and
run to a nearby drain.
IMPORTANT: It is highly recommended that a hose clamp be used to secure tubing to
drain fitting to ensure tubing from being removed during elevated pressure situations.
Be sure not to submerse drain line end into drain, as a 1 1/2” minimum air gap must be
maintained to prevent potential backflow hazard. Firmly secure at drain, while maintaining
a minimum 1 1/2” air gap.
4. Connect to electrical power source. Connect power cord to a separate 120VAC, 15Amp,
ground fault interrupt (GFI) outlet.
Proceed to start-up procedure.
Note: This system is not intended to be used for treating water that is microbiologically
unsafe or of unknown quality without disinfection before or after the system.

4
Start-Up Procedure
Placing unit into service
Normal
Operation
Mode Icon
While in service, the Data Display alternates between time of day,
volume remaining or days to regeneration.
The Flow Indicator flashes when outlet flow is detected.
The Faucet Icon flashes if a regeneration cycle has been queued.
1. Fill the mineral tank with water
Keep ELEMENT33 in BYPASS
Press and hold the extra cycle button for 5 seconds, display will indicate BW, Backwash
cycle.
Partially open the bypass valve so that water Slowly begins to enter the resin tank. Allow
water to flow for 5-10 minutes. This will allow the media in the tank to become saturated.
Fully Open bypass valve to the service position.
Push extra cycle button once and let go, display will indicate the normal operation mode
icon.
Push extra cycle button for 5 seconds, this will start a manual regeneration from start-to-
finish. This will take approximately 12 minutes.
Start-up procedure is now complete.
The unit is now pressurized with water and ready for service.
Proceed to setting current time of day.

5
Setting current time of day
User programming
User Programming Mode Steps (Refer to chart above for user mode indications)
1. Press and hold the Up and Down buttons simultaneously for five seconds while valve is in
service. Display will enter programming mode. (Note: Timer will discard any changes and
exit programming mode if any button is not pressed for sixty seconds.
2. Set Day Override: This setting specifies the maximum number of days between regenera-
tion/backwash cycles. System will regenerate regardless of usage if the days since last regen-
eration cycle equals the day override setting. This ensures regular regeneration periods. The
pre-programmed factory recommended setting is 1 day.
Always consult WCC before making any changes to this setpoint.
Setting Current Time / Day
1. Press either the Up or Down buttons to adjust current time of day by one digit. Push and
hold either up or down set button to adjust current time of day display by several digits.
Ensure the AM/PM setting matches the current time of day.
Start-Up Procedure
User Programming Mode Options
Abbreviation Parameter Description
DO Day Override The timer’s day override setting
RT Regeneration/Backwash Time The time of day that the system will
regenerate/backwash.

6
User programming (cont’d)
Control programming is now complete. Press the extra cycle button, and the control will
exit from the programming mode and resume normal operation.
3. Adjust Regeneration Time: Press the Extra Cycle button to advance to next option. This
setting determines the time of day that the unit will enter the regeneration/backwash cycle.
The most common / default setting is 12:30 AM. IMPORTANT: this regeneration time
should be offset from any additional water treatment’s regeneration time by at least 1 hour to
ensure adequate regeneration pressure. Contact Water Control if you have multiple treatment
systems installed.
Start-Up Procedure
Important!
Initial Water Test
After 14 days of operation, fill sample bottle number one (included) with treated water from the
building. Mail the sample bottle to WCC using the supplied pre-postage paid (USPS) mailer
box. WCC will test this sample to ensure proper system operation. Results will be reported in
10 - 14 days.
Test water quarterly after this initial test (first year test bottles included).

7
Maintenance / Warranty Information
All BrassMaster and BrassMaster Plus wa-
ter softeners / filters feature the Assured
Performance Modular (APM) design. If you
experience a failure of any valve compo-
nent, the brass module can be easily re-
moved and replaced.
Reference the BrassMaster and BrassMaster
Plus Technical Video Library on our web-
site (link is provided below) for detailed
steps on how to remove the module. The
required (downloadable) form to have your
module replaced is also located at this site.
Please contact your dealer or Water Control
Corporation for module support.
For factory module support contact:
Water Control Corporation
7150 143rd Ave NW ● Ramsey, MN 55303
Phone: 1-866-405-1268 ● Fax: 763-427-5665
www.watercontrolinc.com
IMPORTANT: Test your water quarterly to ensure proper system operation!
Five postage pre-paid test bottles included!
To reorder, visit watercontrolinc.com/element33-arsenic-removal or scan this QR code:
BrassMaster and BrassMaster Plus Technical Video Library:
https://watercontrolinc.com/residential-technical-support/residential-technical-videos
BrassMaster technical videos demonstrate how to set up or remove the control module. If replacing your
control module, please use the (downloadable) Module Order Form.
Nearly all serviceable
parts lie within the
removable / replaceable
APM module.
This eliminates costly and
time consuming field repairs.

8
Official Warranty
Water Control Corporation
BrassMaster Plus Series Water Softeners / Filters
Limited Warranty
Water Control Corporation warrants the control valve to be free of manufacturer’s defects for a period of 5 (five) years
from the date of installation, and the fiberglass reinforced mineral tank, and plastic brine tank (where applicable), to be
free from leaking due to manufacturers defects for a period of 5 (five) years. We will, at our discretion, repair or replace
defective products. This warranty does not include any costs associated with removal of defective products, or installation
of replacement products. All replacement parts will be provided FOB Ramsey, MN. This warranty is transferable.
DISCLAIMER OF IMPLIED WARRANTIES
Water Control Corporation makes no warranties except those expressly stated in this document. To the extent permitted by
the laws of the applicable state, ALL WARRANTIES CONTAINED IN THIS DOCUMENT ARE EXPRESSLY IN
LIEU OF, AND WATER CONTROL CORPORATION EXPRESSLY DISCLAIMS, ANY AND ALL OTHER
WARRANTIES, EXPRESS OR IMPLIED, INCLUDING THE WARRANTIES OF MERCHANTABILITY AND
FITNESS FOR A PARTICULAR PURPOSE.
WHAT IS NOT COVERED BY THESE WARRANTIES
1. Conditions, damages, and health effects resulting from any of the following:
- Wear or malfunction caused by unfavorable water conditions
- Improper installation, delivery, or maintenance
- Any repair, modification, alteration, or adjustment not
authorized by the manufacturer or an authorized servicer
- Misuse, abuse, accidents, or unreasonable use
- Improper setting of any control
- Incorrect electric current, voltage, or supply
- Failure to test water at recommended intervals
2. Warranties are void if the original serial numbers have been removed, altered, or cannot be readily determined.
3. The cost of service or service call to:
- Correct installation errors
- Instruct the user on proper use of the product
- Transport the product to the servicer
4. Any costs associated with removal of defective products, or installation of replacement products.
5. Consequential, special, or incidental damages sustained by any person as a result of the breach of these
warranties. Some states do not allow the exclusion or limitation of consequential or incidental damages, so the
above exclusion may not apply to you.
Water Control Corporation
7150 143rd Ave NW ● Ramsey, MN 55303
Phone: 1-866-405-1268 ● Fax: 763-427-5665
www.watercontrolinc.com 0120
This manual suits for next models
4
Table of contents
Other Water Control Water Filtration System manuals
