WaterMAXX WWD224bLK-1 User manual

CAUTION: Before using the
water dispenser, read this
manual and follow all safety rules
and operating instructions.
MISE EN GARDE: Avant
d'employer votre distributeur
d'eau, lisez ce manuel et suivez
toutes les règles de sécurité et
les consignes d'utilisation.
PRECAUCIÓN: Antes de usar
el dosificador de agua, lea este
manual y siga todas las reglas
de seguridad e instrucciones
de funcionamiento.
Room and Cold
WATER DISPENSER
DISTRIbuTEuR
D'EAu
ambiant et froid
DoSIfIcADoR
DE AguA
ambiente y fría
REV01
save These InsTrucTIons
conserver ces InsTrucTIons
guarde esTas InsTruccIones
Use & Care Guide
Guide d’utilisation et d’entretien
Manual d uso y cuidado
WWD224bLK-1
WWD224W-1

Thank you for purchasing a WaterMAXX® Water Dispenser. Please read the enclosed operating instructions carefully
and retain this booklet for future reference. We have carefully engineered your WaterMAXX® Water Dispenser to give you
years of enjoyment and trouble free operation.
IMPORTANT SAFEGUARDS
•Neverturnthedispenserupsidedownortiltmorethan45degrees.Ifunithasbeenrestingonitssideforan
extended period of time, place the water dispenser in the upright position for approximately 12 hours before
turning on.
•Forusewith3or5gallon(12or19liter)waterbottlesandmostwaterltrationsystems,(notincluded).
•Neverusethisdispenserwithwaterthatisunsafetodrinkorisfromanunknownsource.
•Neveruseanyotherliquidinthedispenserotherthanknownandmicrobiologicallysafebottledwater.
•Thiswaterdispenserisequippedwithagroundedpowercordplugforyoursafety(seeGroundingInstructions).
• Donotuseanextensioncordwithyourwaterdispenser.
•Keepyourwaterdispenserinadryplaceawayfromdirectsunlight.
•Neverputanythingammableclosetothedispenser.
•Leaveaminimumof2”(5cm)aroundthebackandsidesofthedispenserforproperventilation.
•Alwaysinstallyourwaterdispenseronaleveloor.Wait3minutesbeforerestartingmachineaftershuttingdown.
•Alwaysunplugthewaterdispenserbeforeservicingorcleaning.
• Regularcleaningofyourwaterdispenserisrequiredforyourwarranty.
Please follow cleaning instructions outlined in this manual and clean the
dispenserevery4months.
To avoid water overflow when cleaning your dispenser, always remove the
bottle support collar before pouring water or cleaning solution into the
reservoir.
GROUNDING INSTRUCTIONS
•Improperuseofthegroundingplugcanresultinariskofelectricshockcausingseriousinjury,evendeath.
•Thisappliancemustbegrounded.Intheeventofanelectricalshortcircuit,groundingreducestheriskofelectric
shock by providing an escape wire for the electric current.
•Thisapplianceisequippedwithapowercordhavingagroundingwirewithagroundingplugandmustbe
connectedintoaproperlygroundedpolarizedoutlet.Consultaqualiedelectricianifthegroundinginstructions
arenotcompletelyunderstood,orifdoubtexistsastowhethertheapplianceisproperlygrounded.Ifthewalloutlet
is a standard 2 prong outlet, it is your personal responsibility and obligation to have it replaced with a properly
grounded3-prongwalloutlet.
• Donotunderanycircumstancescutorremovethethird(ground)prongfromthepowercordplug.
•Donotuseanadapterplugwiththisappliance.
• Donotuseanextensioncordwiththisappliance.Ifthepowercordistooshort,haveaqualiedelectricianinstall
an electrical outlet near the appliance.
1 2

YOUR WATERMAXX® WATER DISPENSER
1. Bottle support collar
2. Ready-To-Dispenseindicatorlights:
Green: "on" Poweron
Blue: "on" Thecoldwaterhasreacheditsoptimum
temperature and is ready for dispensing
3.Roomtemperaturewatertap
4. Cold water tap
5.Removabledriptray
6.Coldwaterpowerswitch(rearofdispenser)
7. Adjustablecoldwaterthermostat(rearofdispenser)
8. Condensercoils(rearofdispenser)
1 2
1
2
4
3
5
8
7
6

OPERATING INSTRUCTIONS
Initial Product Cleaning Procedure
Likemostappliances,yourwaterdispenserrequiresperiodicmaintenancefor
maximumefciencyandperformanceandmustbecleanedonaregularbasis
(i.e.every4months).Tomaintainahygienicenvironmentwithinyourwater
dispenserandpreventpotentialformation(growth)ofbacteria,westrongly
recommend regular cleaning. A cleaning kit is available through our Customer
Service Department at 1-866-253-0447 or can be ordered on line at www.
greenwayhp.com.
1. Make sure the unit is unplugged.
2. Removethebottlesupportcollar,saturateacleanclothwithawater
dispenser cleaner or vinegar and wipe the inside of the reservoir.
3. Pourthewaterdispensercleaneroramixtureof4cups/1Lofvinegar
with4cups/1Lofhotwaterintothereservoirandwait20minutes.
IMPORTANT: To avoid water overflow while cleaning the dispenser,
always remove the bottle support collar before pouring water or a
cleaning solution into the reservoir (see Figure A).
4. Press both dispensing taps until water no longer comes out.
5. Rinseagainwithcleanwater.
6. Place bottle support collar back on top of dispenser.
Maintaining Your Water Dispenser
Likemostappliances,yournewwaterdispenserrequiresregularcleaningtooperateefciently.Yourwaterdispenser
mustbecleanedevery4months(see procedure on pg. 5).
Installing the Water Bottle
IMPORTANT: Always wash your hands first! Clean the top (neck) of the bottle with a clean cloth and do not touch
the part of the unit that the water touches. Make sure the unit is unplugged and the power switch is in the OFF
position. The water bottle can be purchased from your local retailer.
1.Removetheprotectivecapfromtheendofthewaterbottleunlessthebottlehasapuncturablecaporsticker.
2. Liftandturnthebottleupsidedown,placingitsecurelyonthebottlesupportcollar.
3.Pressandholdbothdispensertapsuntilwaterowsfromthedispenser.Drainabout4cups/1Lofwaterbefore
initial use. This does not need to be repeated with replacement bottles.
4. Plug in the water dispenser.
5. Itmaytakeapproximately1hourbeforethecoldwaterreachesoptimumtemperature.Tochangethewater
temperatureseeadjustingthetemperature-coldwateronly.
Cleaning Kit
Available online at
www.greenwayhp.com
Figure A
3 4

IMPORTANT NOTICE ABOUT LEAKING BOTTLES
Ifyoundthatyourdispenserisleaking,checkthewaterbottlerst!
Almostall3and5gallonwaterbottlesarerecycled,andhandledextensively
duringcleaning,lling,andshipping.Asaresulttheyareveryproneto
developingpinholesorsmallcracksthatcancauseanoverow(orleak)when
placed on top of a water dispenser.
Mostoften,thereisnothingwrongwithyourwaterdispenser.Ifyouare
experiencing a leak, this simple test will allow you to determine whether your
water bottle or dispenser is the source of the problem.
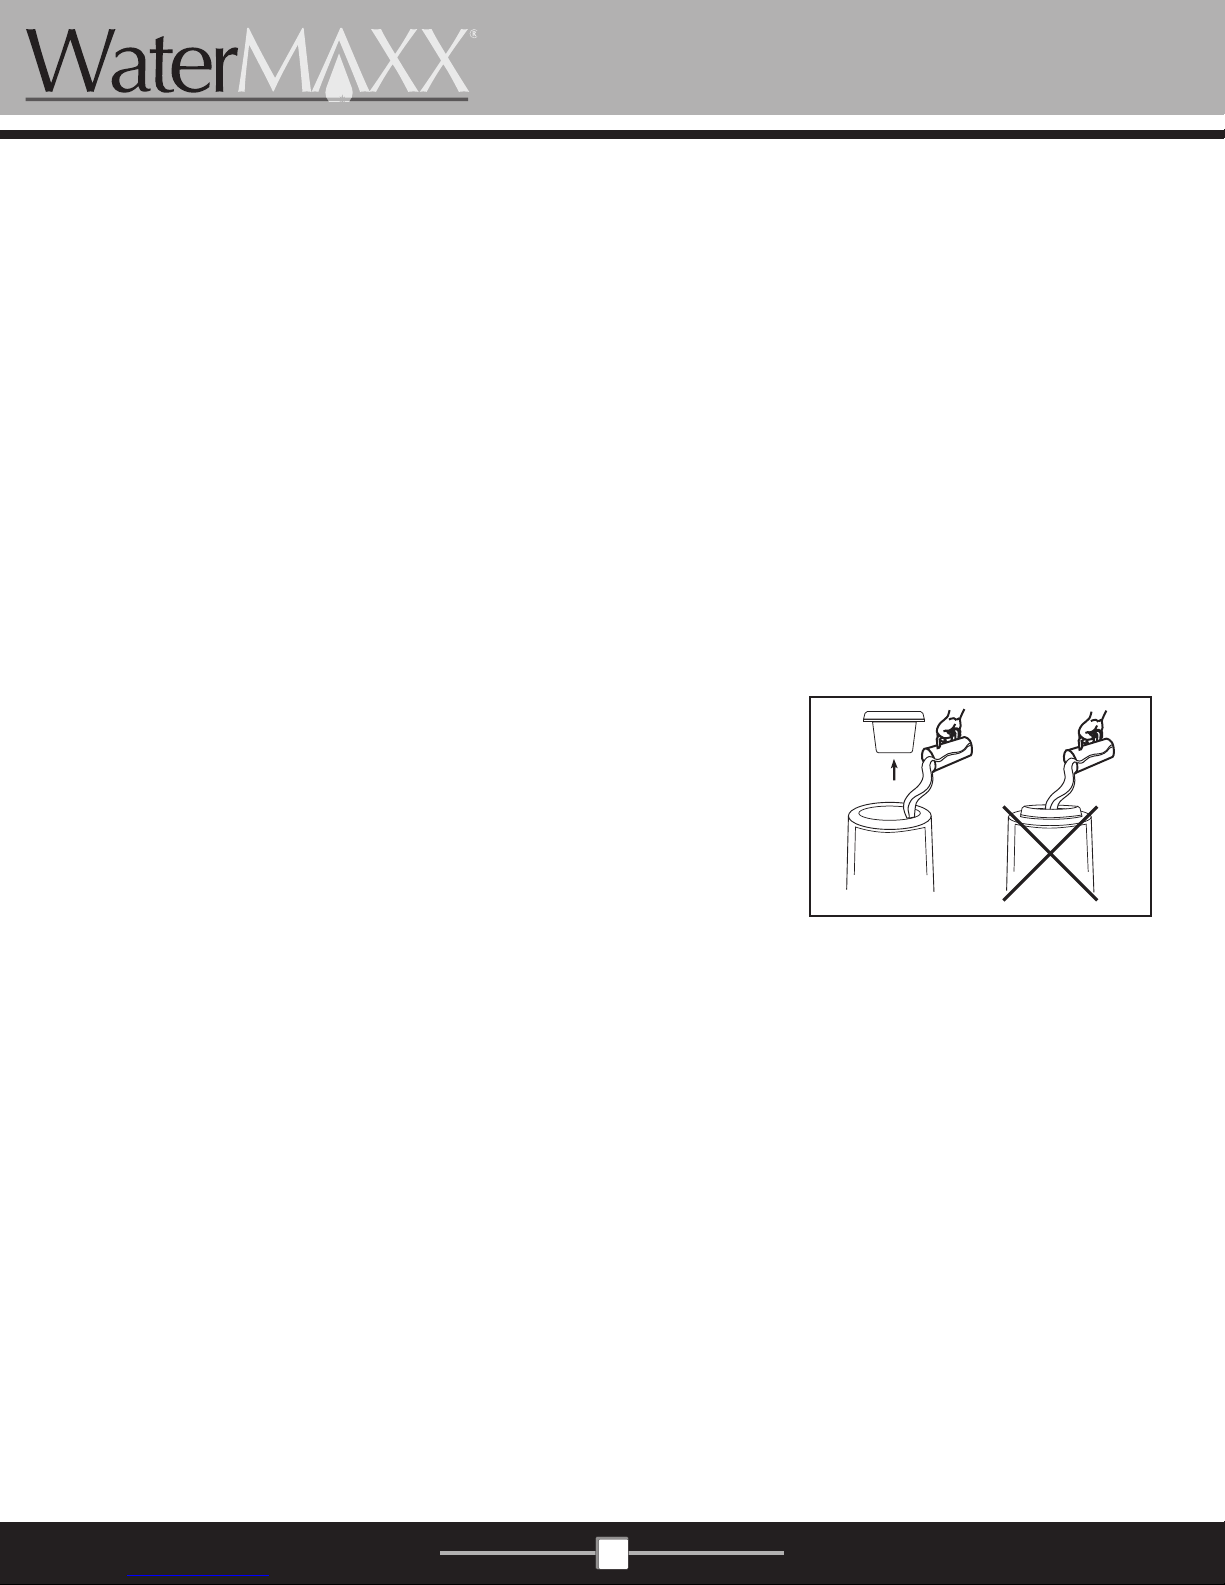
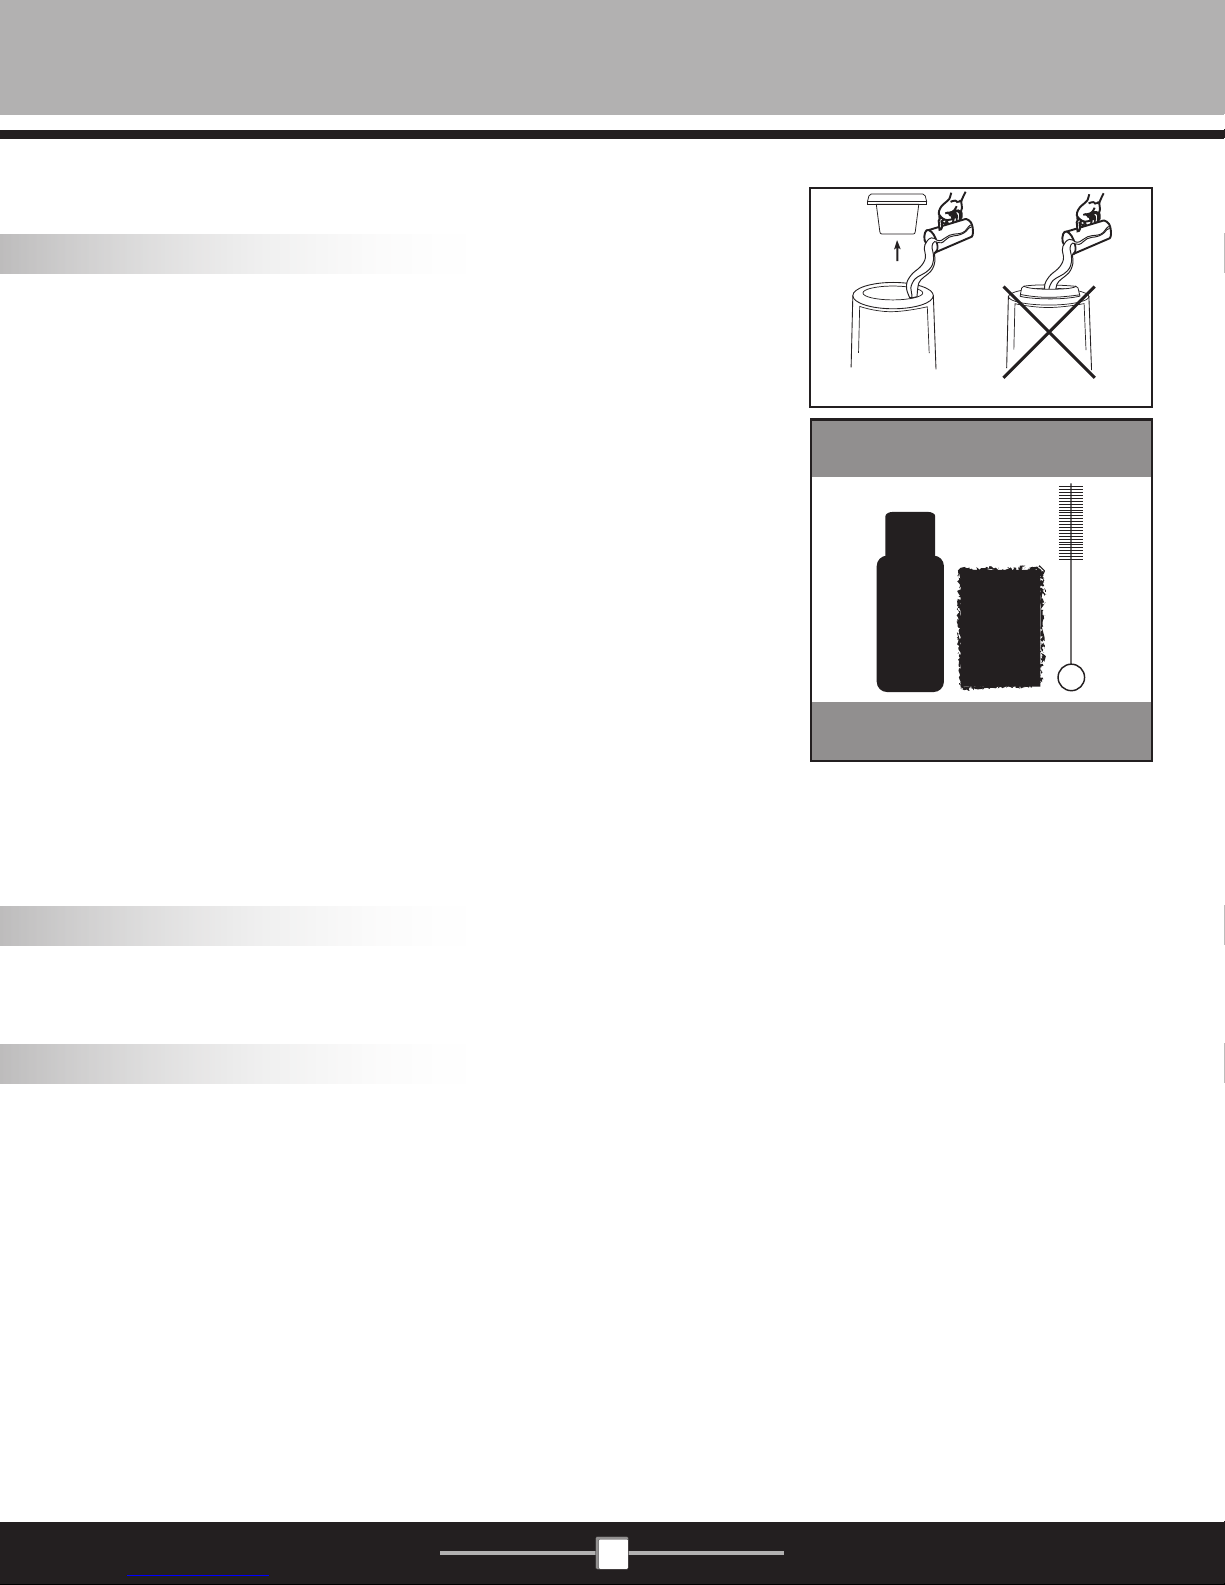
1. Unplug the unit and remove the water bottle.
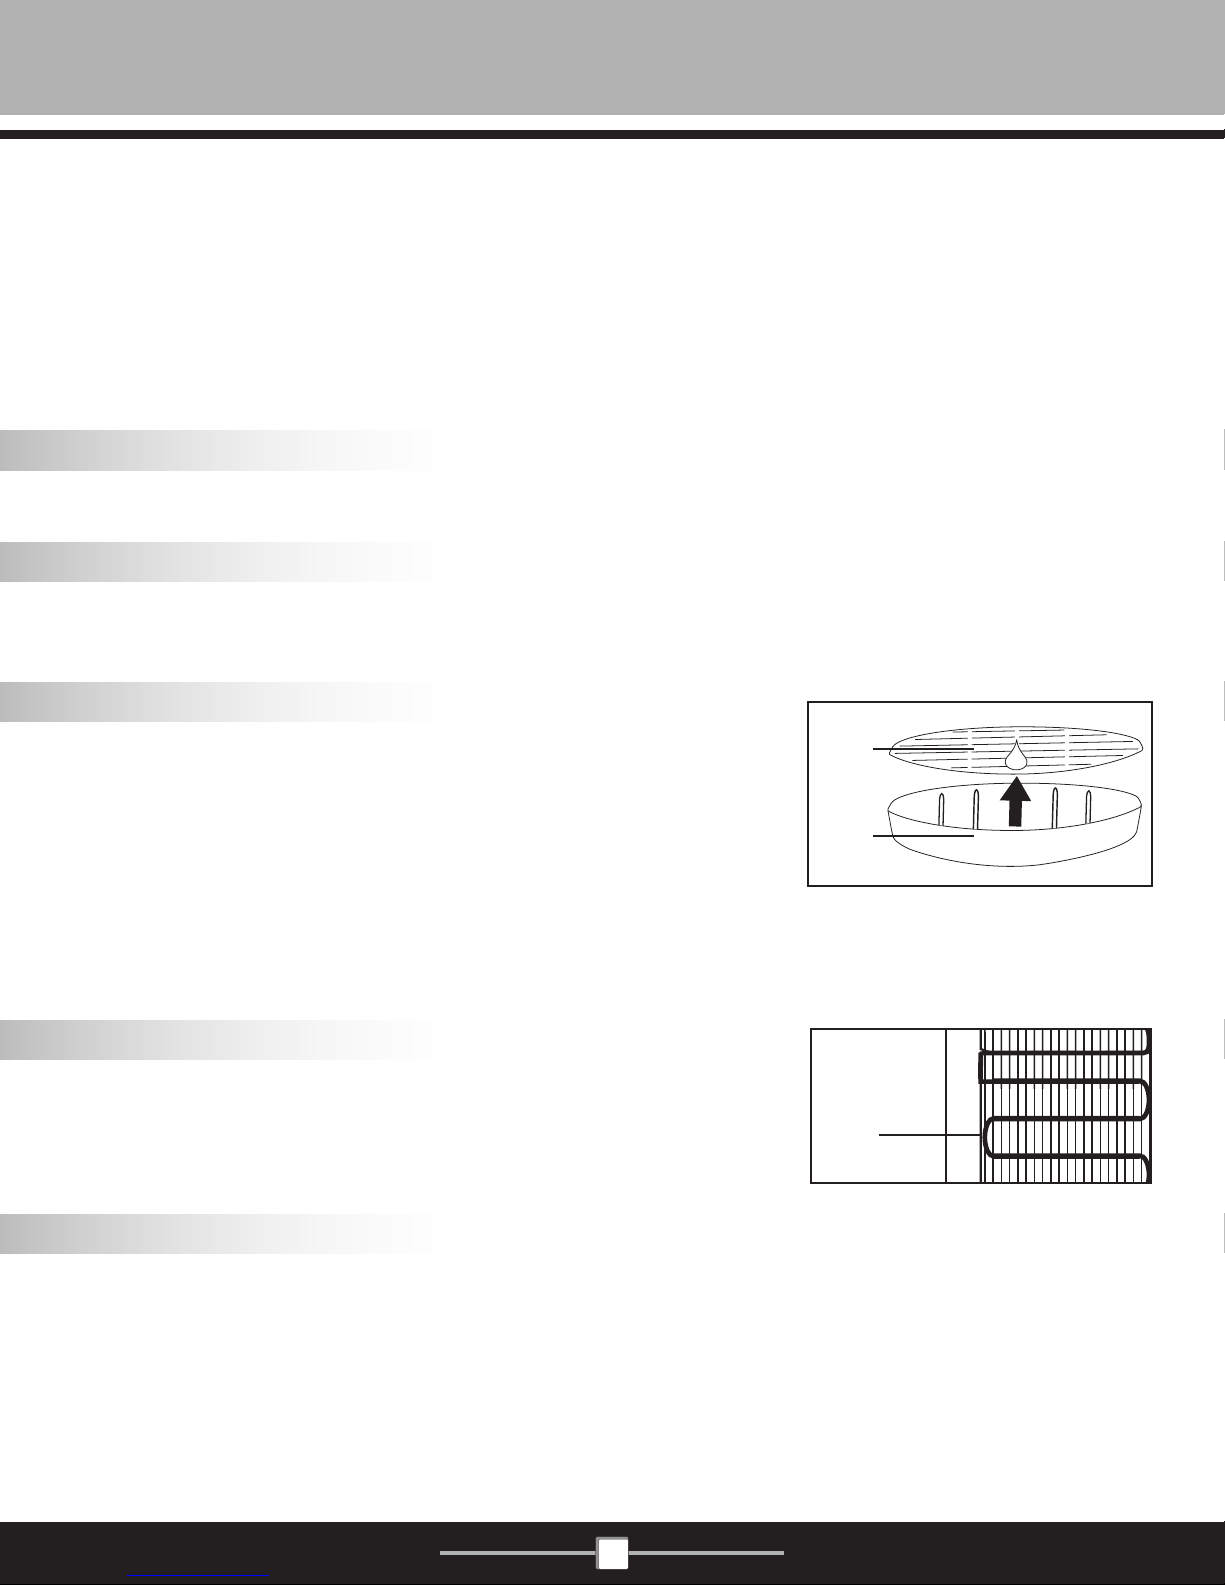
2. a)Removethebottlesupportcollarandcheckthewaterlevelinsidethe
reservoir–itshouldbeatroughlythree-quartersfull.
b)Pleaseaddordrainafewglassesofwatertoachievetherequired
lllevel.
3. Closelymonitorthewaterlevelinsidethereservoir,(1-2hours)ifthe
water level drops, immediately drain the remaining water from the unit and
call customer service at 1-866-253-0447.Ifthewaterlevelremains
constant it is the water bottle not the dispenser that is leaking. Please
contact your water supplier for a replacement bottle.
Please visit us at www.greenwayhp.com for water dispenser accessories and helpful use and care tips.
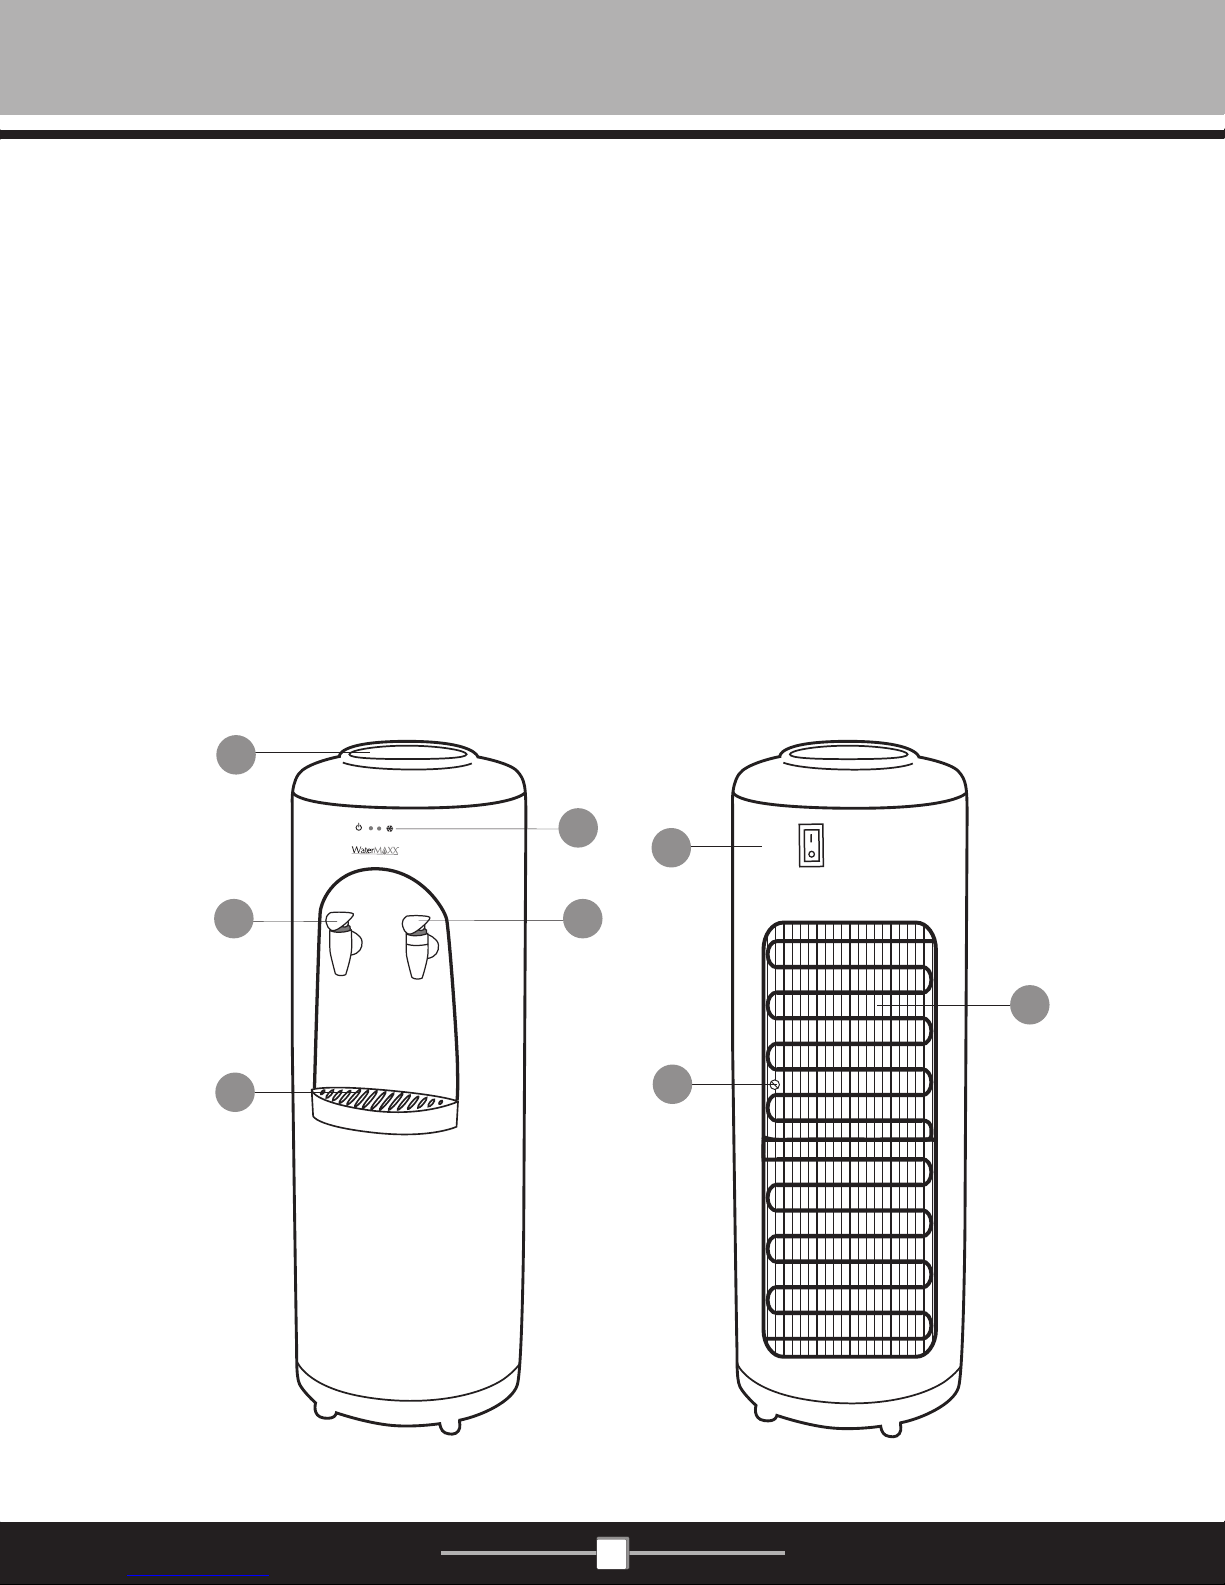
Dispensing Room Temperature Water
Placeaglassunderthetap.Pressthe(whitehandle)tapdownwarduntilthedesiredamountofwaterisdispensed(for
cold water, see Dispensing Cold Water).
Dispensing Cold Water
Placeaglassunderthetap.Pressthe(bluehandle)tapdownwarduntilthedesiredamountofwaterisdispensed.
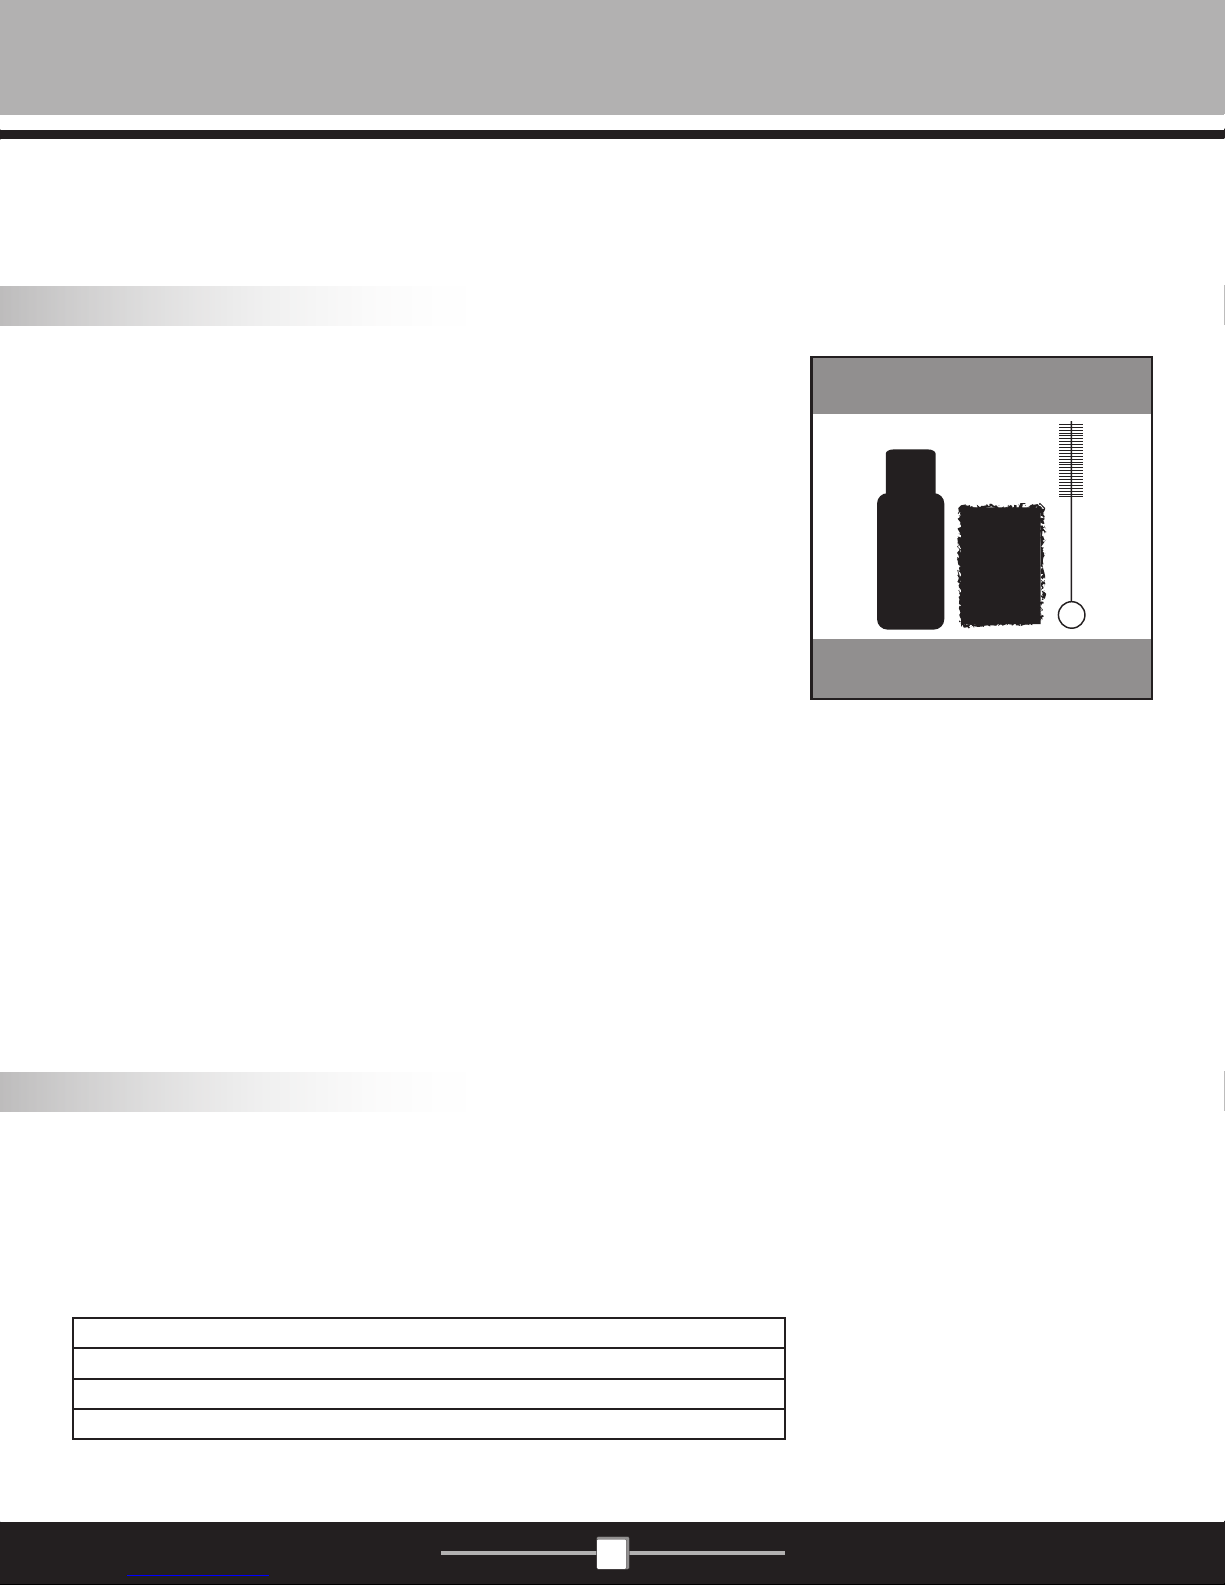
Adjusting the Temperature (Cold water only)
By turning the thermostat at the back of the unit, the temperature can be
adjusted.Turn(rotate)thedialbetweenthe"High"and"Low"settingsuntilthe
desiredtemperatureisreached.Tochangethewatertemperature,adjust(rotate)
thermostatcontrolknoblocatedattherearoftheunit.Rotatecontrolknob
"clockwise"coldertemperature.Rotatecontrolknob"counter-clockwise"warmer
temperature.
Ifthewaterdispenserisnotdispensingwater,therecouldbeapossibleicebuildupduetothethermostat
beingsettoocold.Ifthishappens,unplugthedispenserovernightandchangethethermostatsetting.Set
thermostatto"High",slowlydecreasebasedonyouruseandneedforcoldwater.
Reservoir Lip
Water Level
2.b
2.a
1.
3 4

CLEANING AND MAINTENANCE
Likemostappliances,yourwaterdispenserrequiresperiodicmaintenanceformaximumefciencyandperformanceand
mustbecleanedonaregularbasis(i.e.every4months).Tomaintainahygienicenvironmentwithinyourwaterdispenser
andpreventpotentialformation(growth)ofbacteria,westronglyrecommendregularcleaning.Acleaningkitisavailable
through our Customer Service Department at 1-866-253-0447 or can be ordered on line at www.greenwayhp.com.
Failuretoproperlymaintainyourdispenserwillvoidyourwarranty.
Cleaning Your Water Dispenser
IMPORTANT: Always unplug the dispenser before performing any of the following cleaning procedures.
Cleaning the Outside of the Water Dispenser
Theoutsideofthedispensercanbewipedcleanwithanon-abrasivecleaneroramildsoapandwatermixture.Never
useharshchemicalsorabrasivecleaners.Rinsethoroughlywithcleanwaterandthendrysurfaces.
Cleaning the Drip Tray
Toremove,takethegrilloffthetrayandrmlyliftthetrayup,dislodgingitfrom
the guides. Drain and clean.
The drip tray should be emptied and cleaned regularly to remove spotting and
any mineral deposits. Clean with a water dispenser cleaning solution or a mild
soapandwatermixture.Fortoughdeposits,addvinegarandletitsoakuntilthe
depositscomeloose.Thenwash,rinseanddrythoroughly(notdishwashersafe).
To replace, put the grill back on the tray and slide the tray onto the guides.
Cleaning the Condenser
Vacuum or sweep away the dust from the condenser coils at the back of the
dispenser.Forbestresults,youcanpurchaseabrushdesignedspecically
for this purpose from your local appliance store. This will improve cooling and
efciency.
Draining the Reservoir
Drain the reservoir before and after cleaning, when going on long vacations or if not using the dispenser for long periods
of time.
IMPORTANT! Always unplug the dispenser before performing this procedure.
1. Removethewaterbottle.
2. Press both dispensing taps until water no longer comes out.
Condenser
coils
Grill
Drip
Tray
5 6

IMPORTANT:Collectthewaterinacontainer,notthedriptray.Replacethedraincapandhandtightenonly.
3. Replacethewaterbottle(see Installing the Water Bottle on pg. 3).
Cleaning the Inside of the Dispenser
Topreventmineraldepositsthatcanaffectthetasteandowofthewater,and
to ensure proper product performance, your water dispenser must be cleaned
every4months.
1. Unplug the power cord.
2. Removethewaterbottleandbottlesupportcollar.
3. Drain the reservoir (see Draining the Reservoir on pg. 5).
4. Pourawaterdispensercleaneroramixtureof4cups/1Lofvinegarwith
4cups/1Lofhotwaterintothereservoirandwait20minutes.Ifusinga
water dispenser cleaning solution, please follow the manufacturer's
instructions.
IMPORTANT: To avoid water overflow while cleaning the dispenser,
always remove the bottle support collar before pouring water or a cleaning
solution into the reservoir (see Figure A on pg. 3).
5. Press both dispensing taps until water no longer comes out.
IMPORTANT: Collect the water into a container, not the drip tray.
6. Rinsewithcleanwateranddrain(seedrainingthereservoir).
7. Replacethebottlesupportcollarandthewaterbottle(see Installing the Water Bottle on pg. 3).
IMPORTANT: Drain approximately 4 glasses of water from each tap before initial use. This does not need to be
done with replacement bottles.
Going Away on Vacation
When not using the dispenser for long periods of time or when going on vacation, unplug the dispenser and drain the
reservoir (see Draining the Reservoir on pg. 5).FollowInitialProductCleaningProceduresuponreturnandstartupof
the dispenser.
SPECIFICATIONS
Cleaning Kit
Available online at
www.greenwayhp.com
WWD224W-1/BLK-1
Outputperhr: Cold 0.5gal/2.0L
InternalTank: Cold 0.8gal/3.2L
CoolingTemp(approx.): 8°C/46°F
PowerConsumption: Cold 83W/1.0A/115V
5 6

TROUBLESHOOTING TIPS
Attention: Do not return this product to the store. For questions on operation, assembly or parts, please contact
us at www.greenwayhp.com or 1-866-253-0447.
Problem Possible Cause Suggested Solution
Water dispenser or
dispensing tap is leaking
Smallpinholeorcrackinthebottle,(common
withrecycledwaterbottles).
Conduct water bottle leak test outlined
on pg. 4.
Water was poured directly into bottle support
collarandoverowed.
Drain by pressing dispenser taps.
Possible air pocket. Press tap several times to relieve air pocket and
releasetore-setvalve.
Water is not cold enough All the water in the tank has been used. Replacewithfullbottleandwait30-60
minutes for the water to cool.
The unit is unplugged. Plug unit into outlet.
The circuit breaker in your home is tripped or
the fuse has blown.
Resetthebreakerorreplacethefuse.
Temperature limit tripped. Wait10minutesforthetemperaturelimitswitch
tore-setautomatically.
Thermostat needs to be adjusted colder. Adjustthermostattoalower(cold)settingto
achieve desired temperature.
Water dispenser is not
dispensing water
Empty water bottle. Replacewithfullbottle.
Mineral deposits clogging tank. SeeCleaningtheInsideoftheDispenser.
Possible air pocket. Push down on the dispenser taps to prime the
unit.
Possible ice build up due to thermostat set too
cold.
Unplug overnight. Set thermostat to higher
setting, slowly increasing based on your use
and need for cold water.
Water dispenser is noisy Bottlemakingagurglingnoiseasitlls
the tank.
This is normal.
Water dispenser is uneven. Make sure the dispenser is on an even surface
that can support its full weight.
7 8

FREQUENTLY ASKED QUESTIONS
Q: Why is my water dispenser leaking?
A: Ifyouareexperiencingaleakwithyourwaterdispenserpleasedothefollowingtoseeifthewaterbottleorthe
dispenser is leaking.
1. Unplug the power cord and remove the bottle.
2.Removethebottlesupportcollarandcheckthewaterlevelinsidethereservoir–itshouldbeatroughly
three-quartersfull.
3.Closelymonitorthewaterlevelinsidethereservoir,(1-2hours)ifthewaterleveldrops,immediatelydrainthe
remaining water from the unit and call customer service at 1-866-253-0447.Ifthewaterlevelremainsconstantitis
the water bottle not the dispenser that is leaking. Please contact your water supplier for a replacement bottle.
Q: Why do I get a plastic taste from my dispenser?
A: Aswithmostnewappliancessuchascoffeemakersandkettles,thereisoftenaplastictasteuponinitialstart-upof
theunit.Toremovethistaste,simplyfollowthecleaninginstructionsoutlinedinCleaningtheInsideofthe
Dispenser.
Q: What do the ready-to-dispense indicator lights mean?
A: Whenilluminated,theymeanthefollowing:
Green: "on" Poweron
Blue: "on" Thecoldwaterhasreacheditsoptimum
temperature and is ready for dispensing
Q: What is the spike that goes into the bottle?
A: WaterMAXX®waterdispensersfeaturea“piercingvalve”aspartofthebottlesupportcollar,providingadded
convenience for water bottle installation. Depending on the water bottle supplier, a small opening may or may
notbepresentinthebottlecapforthisspecicpurpose.Ifthepiercingvalveopeningisnotpresent,theentire
bottlecapmustthenberemovedtoeliminatepossibledamagetothepiercingvalve.Iftheopeningispresent,
remove the protective seal prior to installing the bottle.
7 8
This manual suits for next models
1
Table of contents
Other WaterMAXX Water Dispenser manuals
Popular Water Dispenser manuals by other brands

Haws
Haws 1201SFH Installation, operation & maintenance instructions

Miller
Miller Coolmate 4 owner's manual

Fetco
Fetco HWB-10 Technical bulletin

Haws
Haws H1011.8HO Installation, operation & maintenance instructions

Elkay
Elkay EZOOTL8 1A Series Installation and use manual

Elkay
Elkay LZ Series Installation, care & use manual