3
Installation
*Please note: There is some light eld assembly required for this
system. Before beginning the installation of this system, please
make sure all components are present. Compare the contents
of this box to the system drawings located at the end of this
manual. As illustrated by the drawings, not all systems utilize
pressure gauges. These drawings will be referenced in the
installation instruction steps.
1. Turn off all equipment to be fed by the system, locate the water
supply shutoff valve and turn it off.
2. Apply Teon tape to the threads of the inlet and outlet valve
assemblies and pressure gauges (if supplied for your model).
DO NOT USE PASTE TYPE THREAD SEALANT. Thread the
inlet and outlet valve assemblies into the inlet and outlet ports
of the system as shown on the system drawings in this manual.
Install the pressure gauges, if applicable, into the gauge ports as
indicated by the system drawings in this manual.
NOTICE
DO NOT OVER TIGHTEN THESE FITTINGS INTO THE
FILTER HEADS. When installing ttings onto this system, back
any existing receiving ttings with a wrench to prevent
tting movement. Use a wrench to tighten gauges into their
connection ports. Do not twist on gauge case.
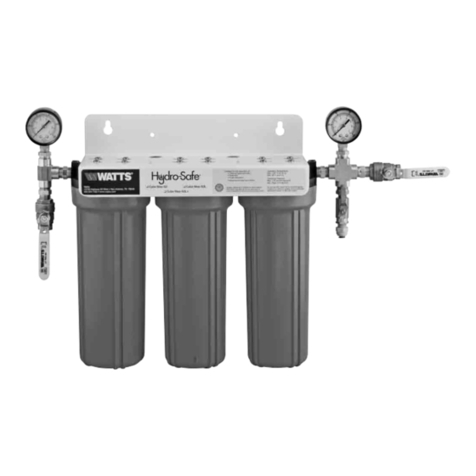
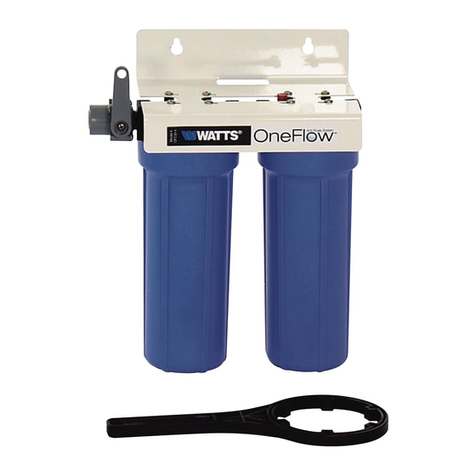
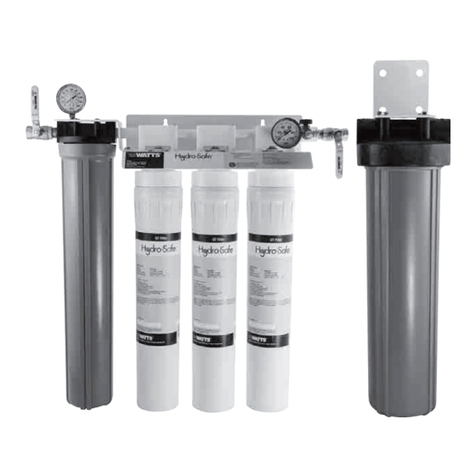
3. Install the lters into the lter manifold. Make sure all plastic
wrapping and protective plastic caps have been removed from
the lters prior to their installation. Insert the prelter into its blue
canister. Make sure the blue canister's oring is properly inserted
into its oring groove. Thread the housing onto the head with
standard clockwise rotation (when viewed from below). Hand
tighten the blue housing (Not all systems will have a blue prelter.
See the system drawings in this manual for proper lter place-
ment). Then install the QT style lter cartridges. To install these
lters, push them into the heads and give them a quarter twist
(clockwise when viewed from below). When the lter is com-
pletely inserted, the cartridge label will be front centered.
4. Anchor the system on a wall stud or suitable mounting material
If applicable, mount the remote lter housing at this time
spanning wall studs. System must be vertical, upright and level.
The mounting hardware used must be selected and installed so
that the system is rmly pressed against the mounting surface.
The system mounting hardware must keep the system from
moving during routine service and operation.
5. Run a suitable line from the tap water source to the inlet ball
valve on the left side of the system. Brace the inlet ball valve on
the system with a wrench when connecting the feed water line.
NOTICE
DO NOT OVERTIGHTEN CONNECTION FITTING INTO
BALL VALVE.
6. Select the appropriate size tubing for the equipment being fed,
and connect it to the outlet ball valve of the system.
NOTICE
DO NOT OVERTIGHTEN CONNECTION FITTING INTO BALL
VALVE.
7. Install the ¼" (8mm) tubing into the Quick-Connect tting on the
outlet of the system and hold it over a drain. Open the 1⁄4" (8mm)
drain valve.
8. Once all inlet and outlet piping has been completed, check and
make sure all lter housing(s) are tight, slowly open the inlet valve
and allow all air to purge from the system through the 1⁄4" tubing.
Slowly close the 1⁄4" (8mm) drain valve, allow the system to reach
operating pressure, and check for leaks.
9. If no leaks are present, open the 1⁄4" (8mm) drain line again and
allow it to run to drain for 5 minutes to ush the system. Then
close the valve.
10. Open the outlet water valve and check for leaks.
11. Record the start up date and pressure gauge values in system
maintenance log.
Maintenance
Routine maintenance of this system involves periodic lter changes.
Filter cartridges should be changed at end of lter life, due to lack of
ltering performance, or whenever a 15 psi pressure drop or greater
is experienced during normal operation, whichever comes rst.
Filter Cartridge Replacement Procedure
Determine whether all equipment connected to the system must
be turned off prior to shutting off water supply from lters.
1. If required, turn off downstream equipment.
2. Turn OFF water to the system by closing the inlet and outlet ball
valves.
3. Open the ¼" drain valve on the outlet of the system to relieve
pressure in the housings.
4. Remove all lters. The blue lter housings unscrew to the left
when viewed from underneath. It has a standard right hand
thread. The QT style lters are removed by rotating them 1/4
turn to the left and then gently pulling down.
5. Clean inside of blue housing sump(s) with warm water. If desired,
disinfect housing using a teaspoon of household bleach. Add
to lter bowl and ll with water. Let stand 5 minutes and then
discard and rinse.
6. Insert new QT style lters into the manifold assembly. Push up
and twist each QT cartridge 1/4 turn to the right to properly
install it into the manifold assembly. When making the 1/4 turn,
the cartridge label should come to a stop facing you.
7. Insert a new prelter cartridge into the blue prelter housing.
Check O-ring for damage and replace if damaged or distorted.
Make certain the O-ring is properly positioned and reinstall the
lter housing. Tighten housings hand tight.
Do not overtighten lter housing, overtightening may damage
O-ring(s), cause water leaks, or affect system performance.
8. Slightly open the inlet ball valve and fully open the ¼" drain
valve. Once full ow of water ows from the drain port, slowly
open the inlet valve to the full open position. Allow water to ush
to drain for 5 minutes.
9. Slowly close the drain valve and check the system for leaks.
10. Slowly open the outlet valve to restore water ow to downstream
equipment.
11. Record lter change date in system maintenance log.
Teflon®is a registered trademark of E.I. DuPont de Nemours & Company.
Overtightening components can damage the system causing
water damage and/or system failure.
NOTICE
WARNING
!
